Fans of the Regencycore vibes of Bridgerton and many other TV dramas, ranging from the BBC's Gentleman Jack to Ghosts, will surely love the lavish interiors as much as the storylines.
The furniture and furnishings are key to creating the sumptuous sets. But it's the walls that are the scene stealers for us! Yes, we're talking paint and wallpaper, but we're also obsessed with the wall panelling!
The great news is, wall panelling is really easy to do yourself. It can be brilliant for covering up wonky walls, and there are so many styles to choose from.
Will you go for traditional tongue and groove, Shaker style, wainscoting, wood slats, geometric or textured? It all depends on the aesthetic you're coveting and the level of DIY you're prepared to put in!
Whatever you choose, adding wall panelling is guaranteed to turn any wall from bland and boring to interesting and characterful. It's time to give your walls some love with our wood panel ideas!
Use these links to quickly jump to where you want the most inspo!
Tongue and groove
Shaker style
Wainscoting
Wood slats
Geometric
Textured
DIY wall panel ideas
Wood panelling ideas for your home
Tongue and groove
Perfect for... a Scandi vibe
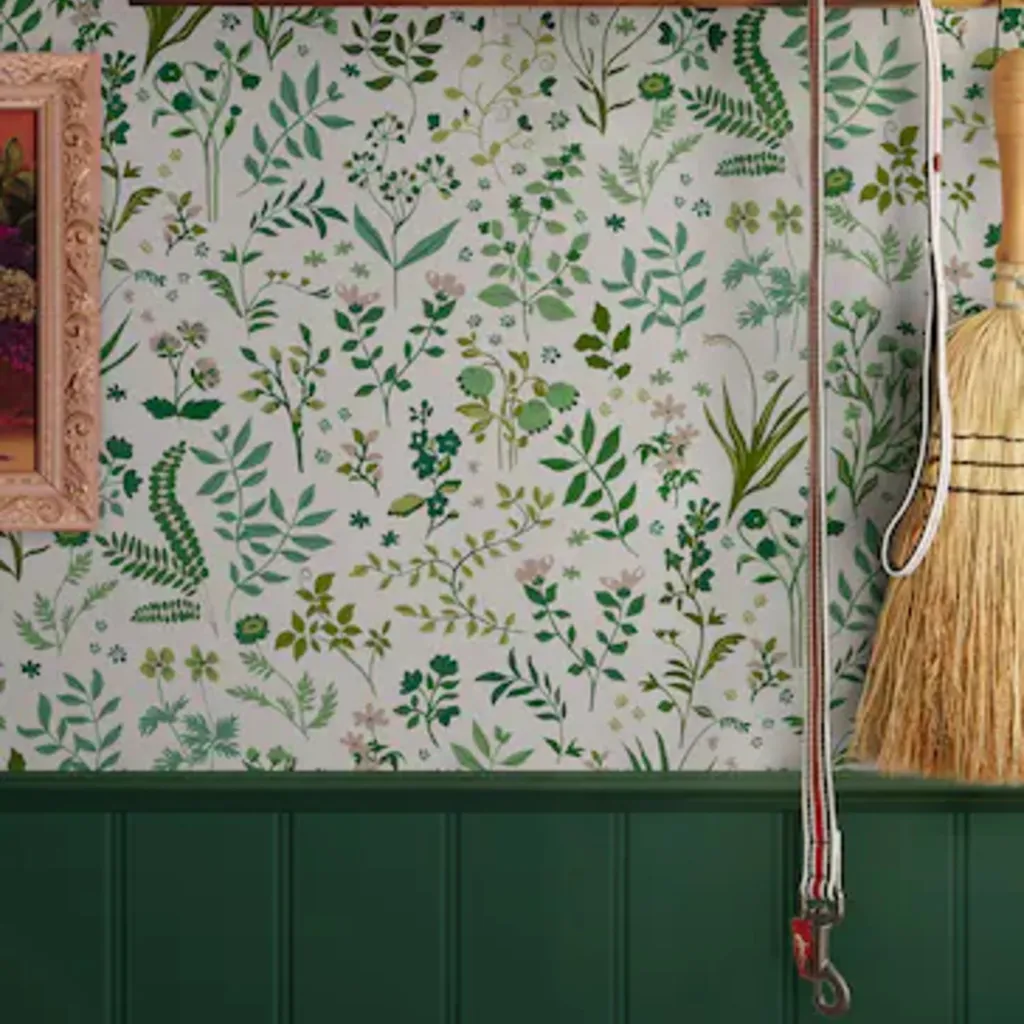
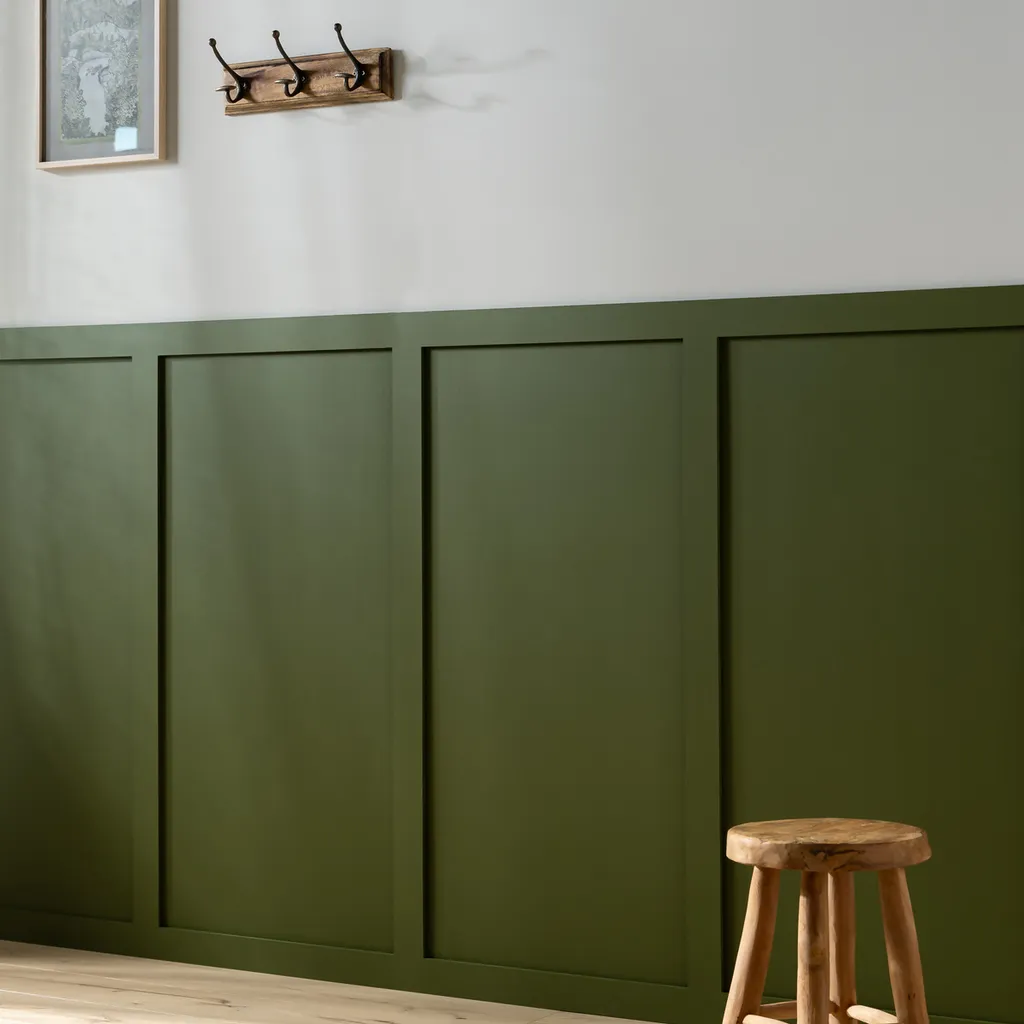
Tongue and groove is a great choice in our wood panel ideas round-up if you enjoy the clean lines and cosy, enveloping aesthetic of Scandi chic.
In the image above, tongue and groove is used on the lower half of the wall to ground the botanical wallpaper from Joules at Next above. Painted a rich forest green, the slats help to connect the room to nature.
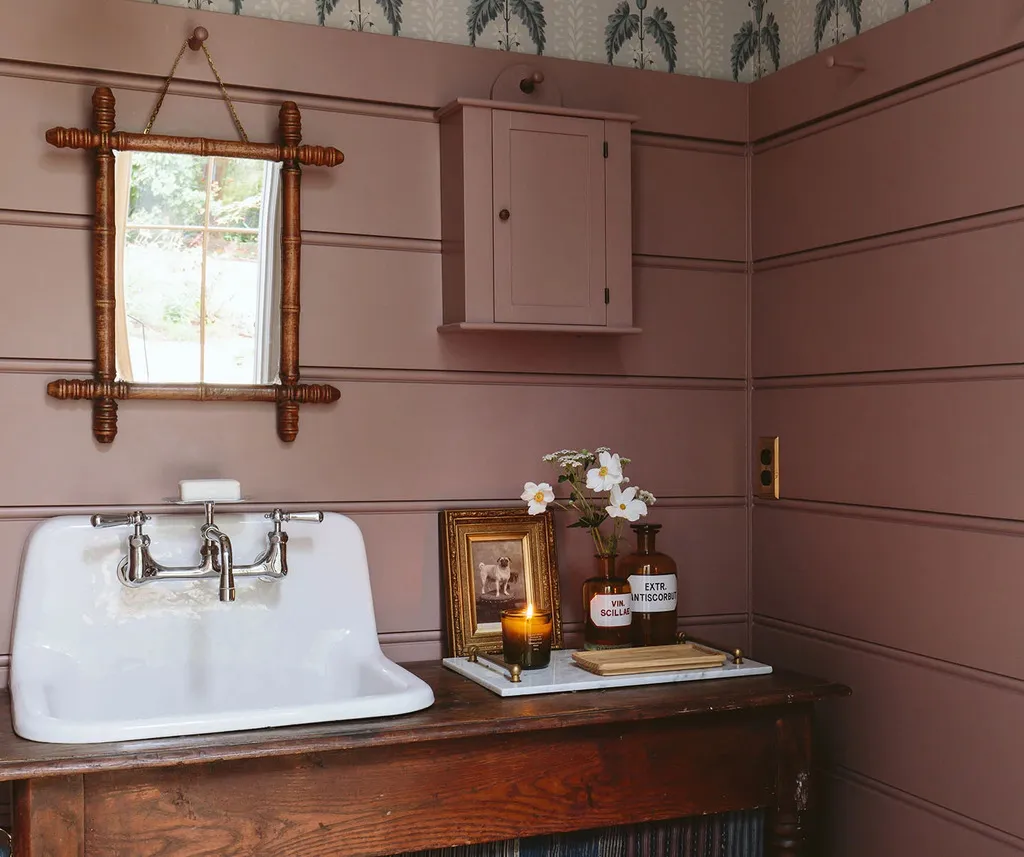
Keep it classic with vertical slats, or go for a more rustic luxe look with horizontal placement, like Emily Henderson has done in this delightful cloakroom. The dusky pink meanwhile adds warmth to the space.
Shaker style
Perfect for... English country house chic
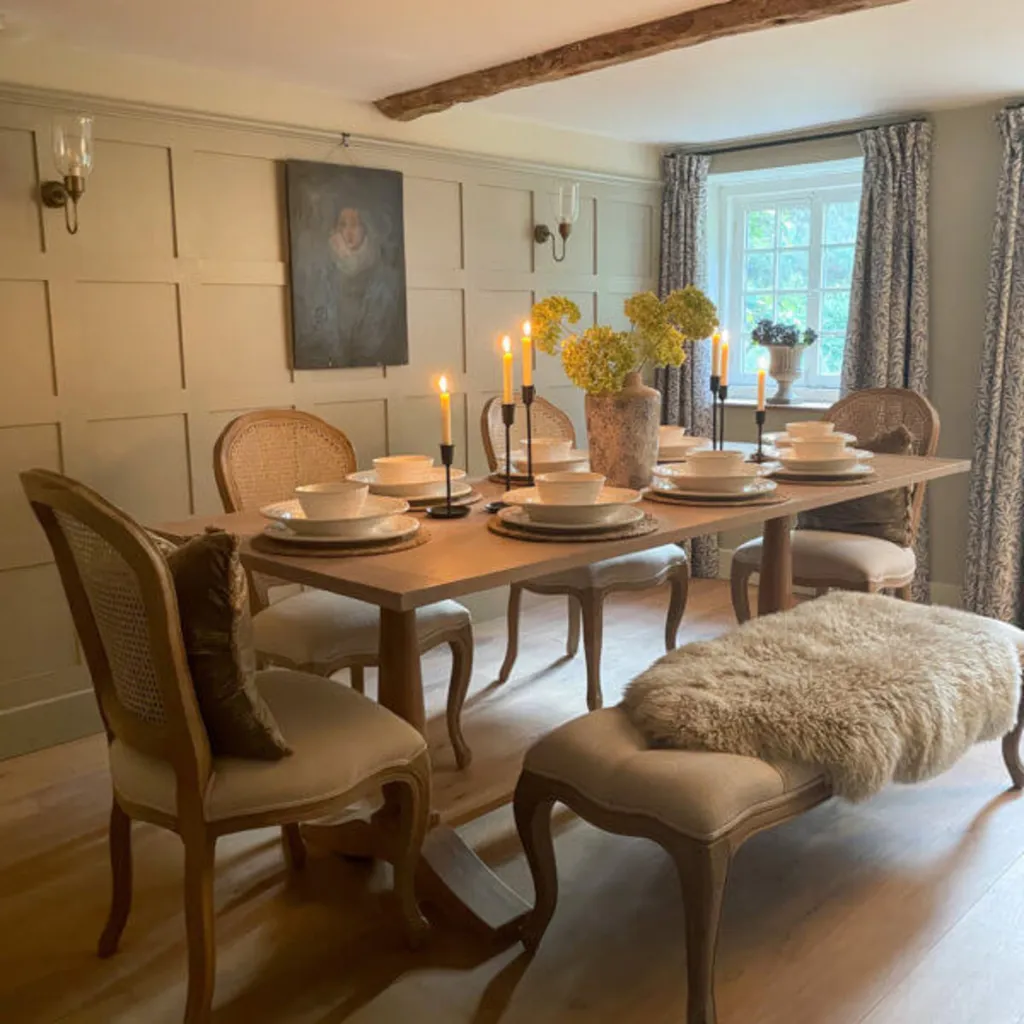
Shaker refers to a style embraced by a religious group which formed in the United States in the late 18th century (an offshoot of the Quakers, who originated in England). The emphasis was on simple, elegant, handcrafted furniture, built to last.
Shaker wall panelling consists of neat squares or rectangles attached in battens to the full height and width of a wall. The English Panelling Company sells the panelling above in MDF sheets, which are easy to attach to the wall. They suggest you finish it off with framing strips to complete the look!
Naturewall sells these MDF wall panelling kits in two sizes, as squares and rectangles, as here. They are supplied in strips of eight for you to stick to your walls. The long rectangles help to elongate your walls, creating the illusion of height.
Wainscoting
Perfect for... a neat, modern aesthetic
This is probably the wall panelling you're most familiar with out of all our wall panel ideas.
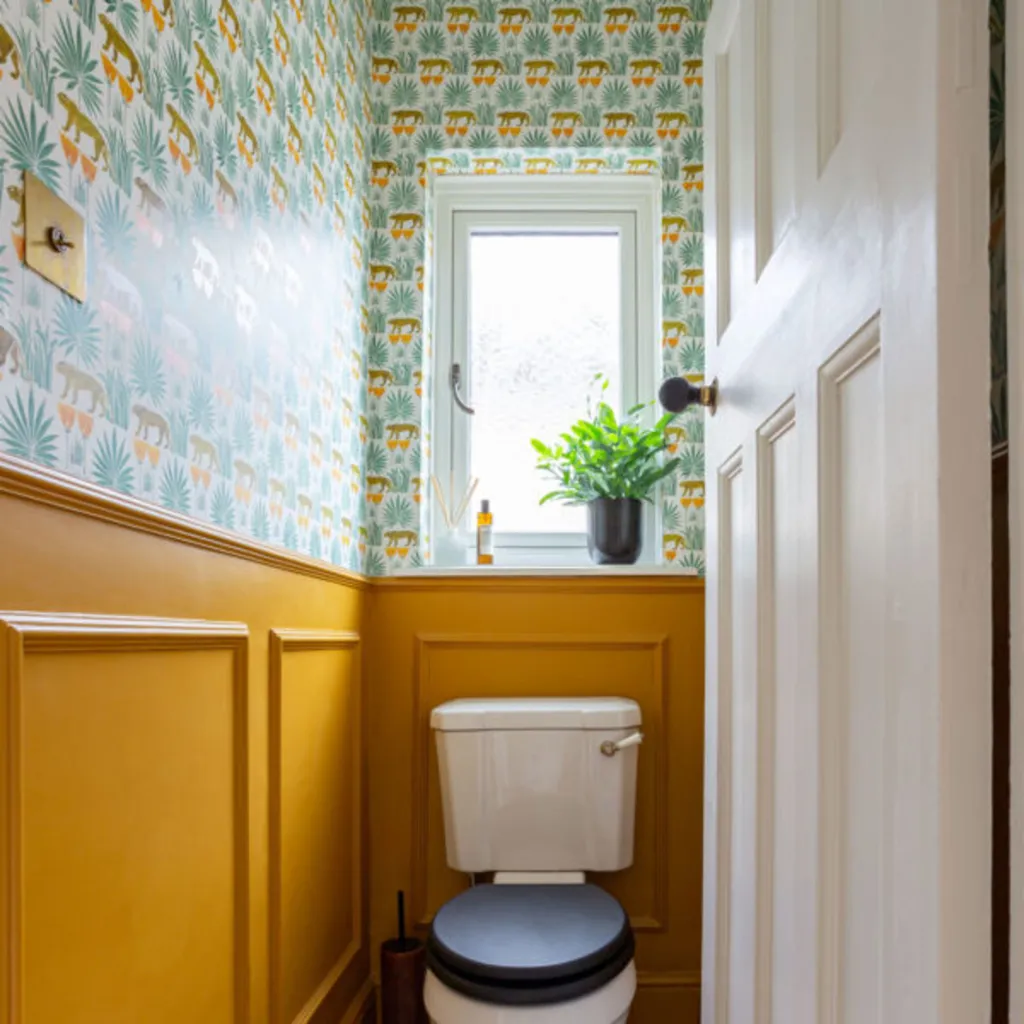
Wainscoting involves thin strips of wood mitred and fixed to your wall in rectangles. Design studio Drawn London have used it to great effect in this downstairs loo. The rich egg-yolk yellow tones beautifully with the Lioness & Palms wallpaper by CFA Voysey.
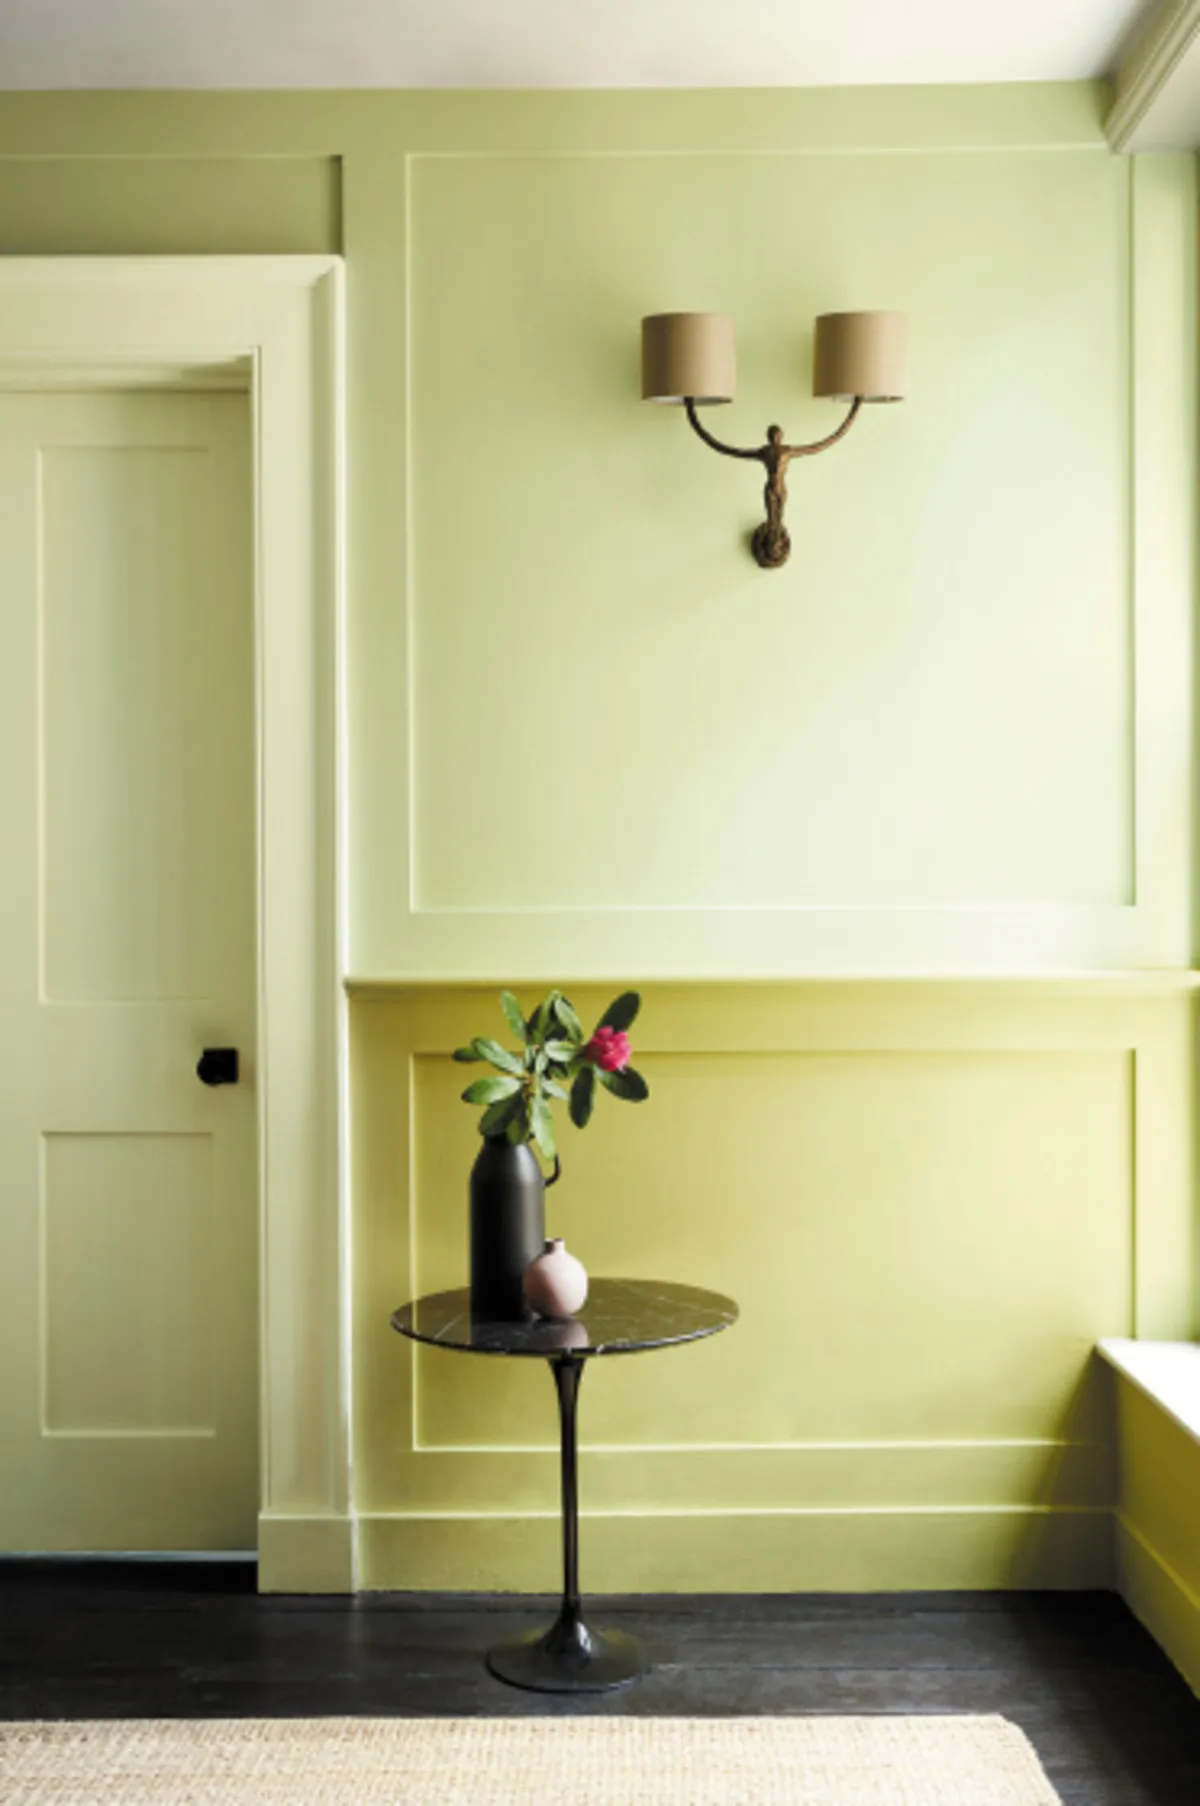
In this image below from paint and wallpaper company Little Greene, both the top and bottom sections of the wall feature wainscoting. This effect creates an eye-catching framework for hanging paintings or positioning wall lights.
Painting the two halves of the wall in different yet complementary shades (Edith's Eye and Wormwood from Little Greene here) adds interest and appears to bring the ceiling height down, creating an inviting ambience.
Wood slats
Perfect for... a beautifully soundproofed, luxe look
Originally constructed as soundproofing for commercial buildings that need good acoustics, wood slats are gaining popularity in domestic spaces. They are one of the most on-trend wood panel ideas in this round-up.
Made from plywood, wood slats absorb sound wonderfully and can be used to zone a space, or to create decorative features.
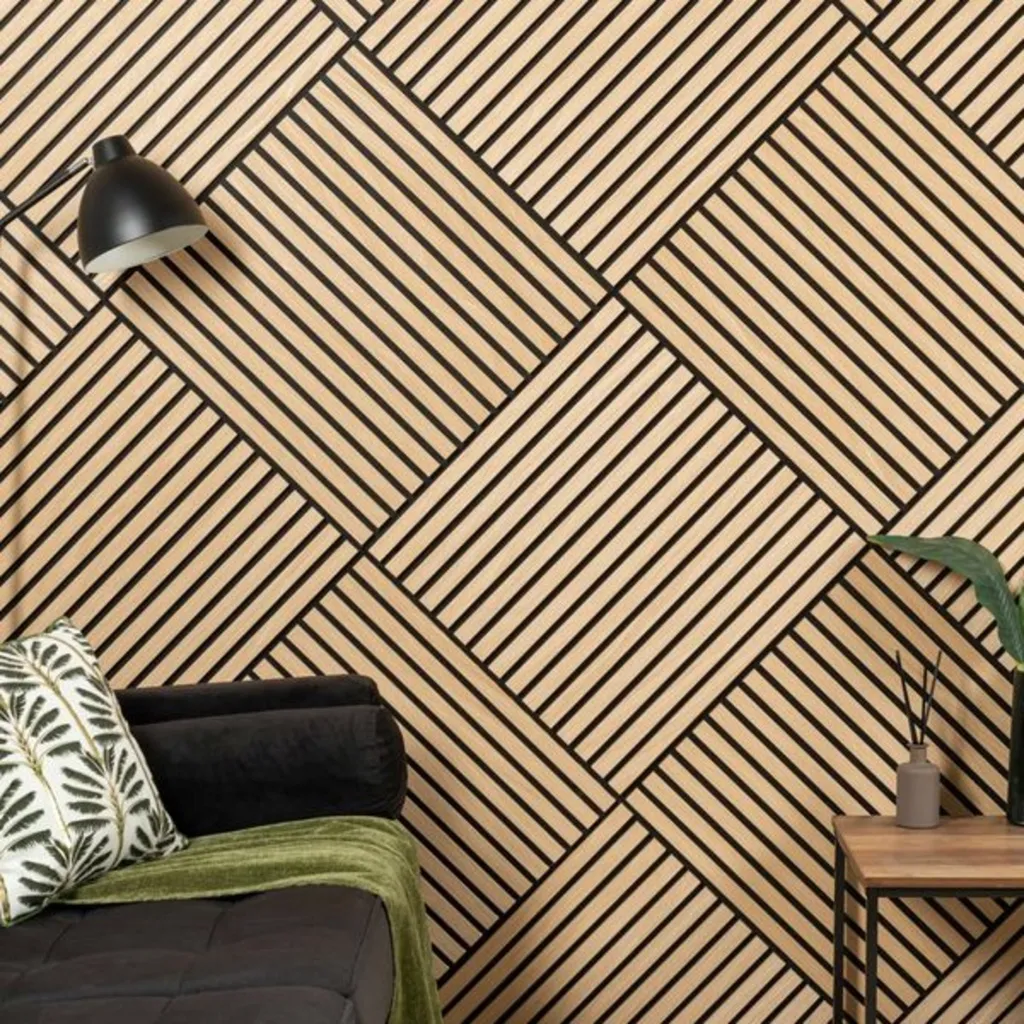
You tend to see them in linear strips behind a TV, for example, to absorb the sound and stop it travelling through the wall behind. But you can also play around with the design of your wood slats and have some fun!
These squares from Trepanel Design have been arranged in a pattern to provide a quirky and eye-catching feature wall.
Geometric
Perfect for... creating avant-garde wow factor
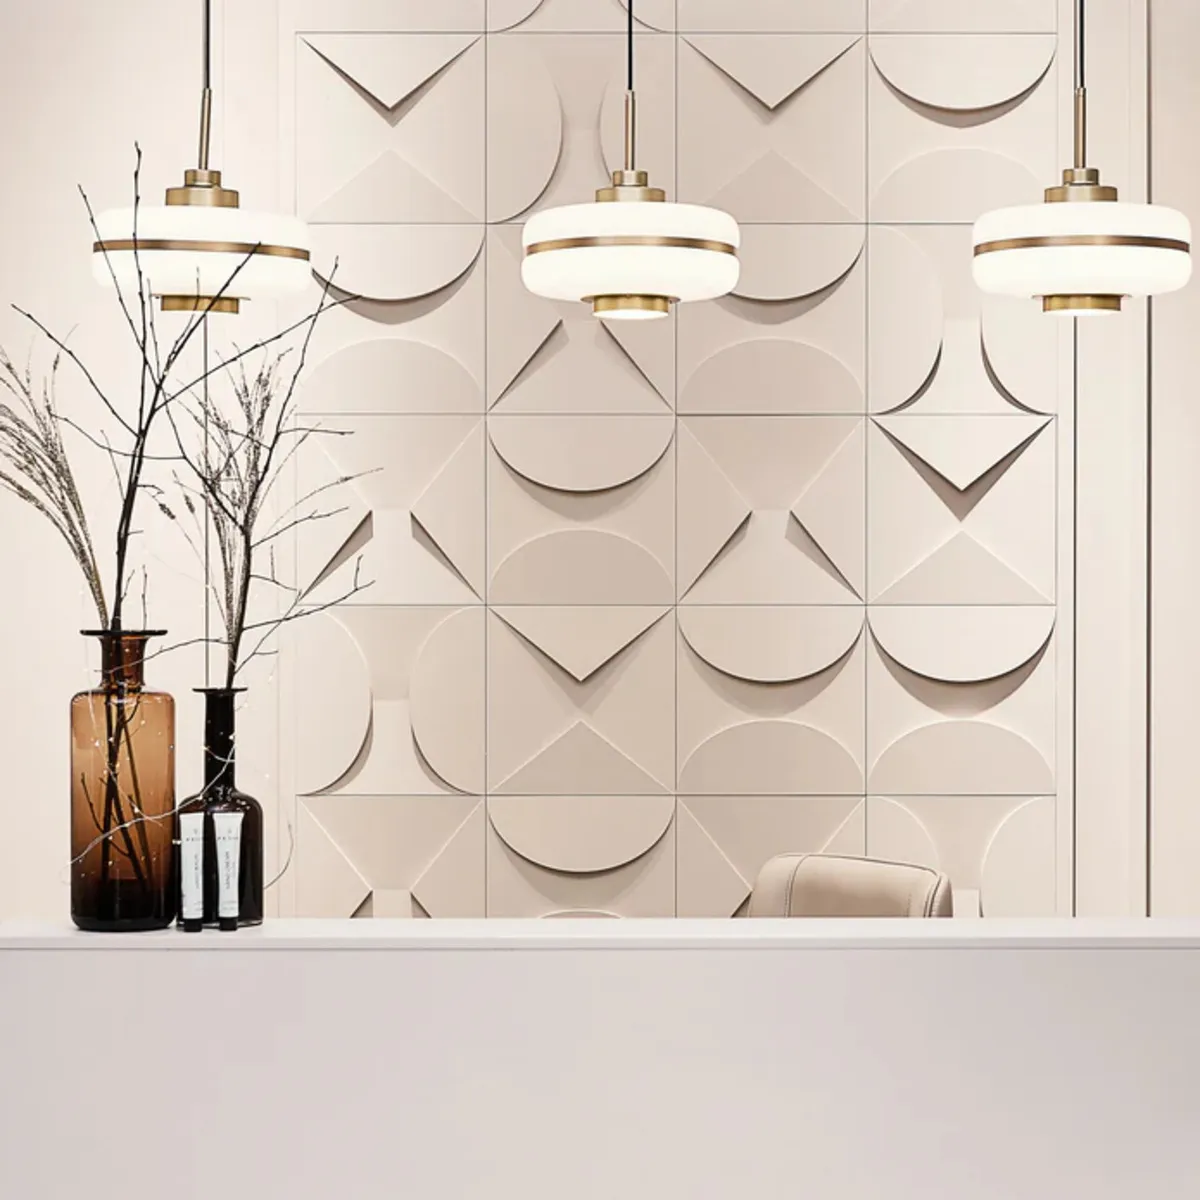
Is this wall panelling or a work of art? Perhaps it can be both! These 3D wall panels from The Wood Veneer Hub are available in circles and triangles, and they've been mixed and matched to perfection here.
Great for a small area where you want to give real impact, such as an alcove or downstairs cloakroom.
The added beauty of these panels is that they are paintable, so you can match them to the existing colour on your walls should you wish.
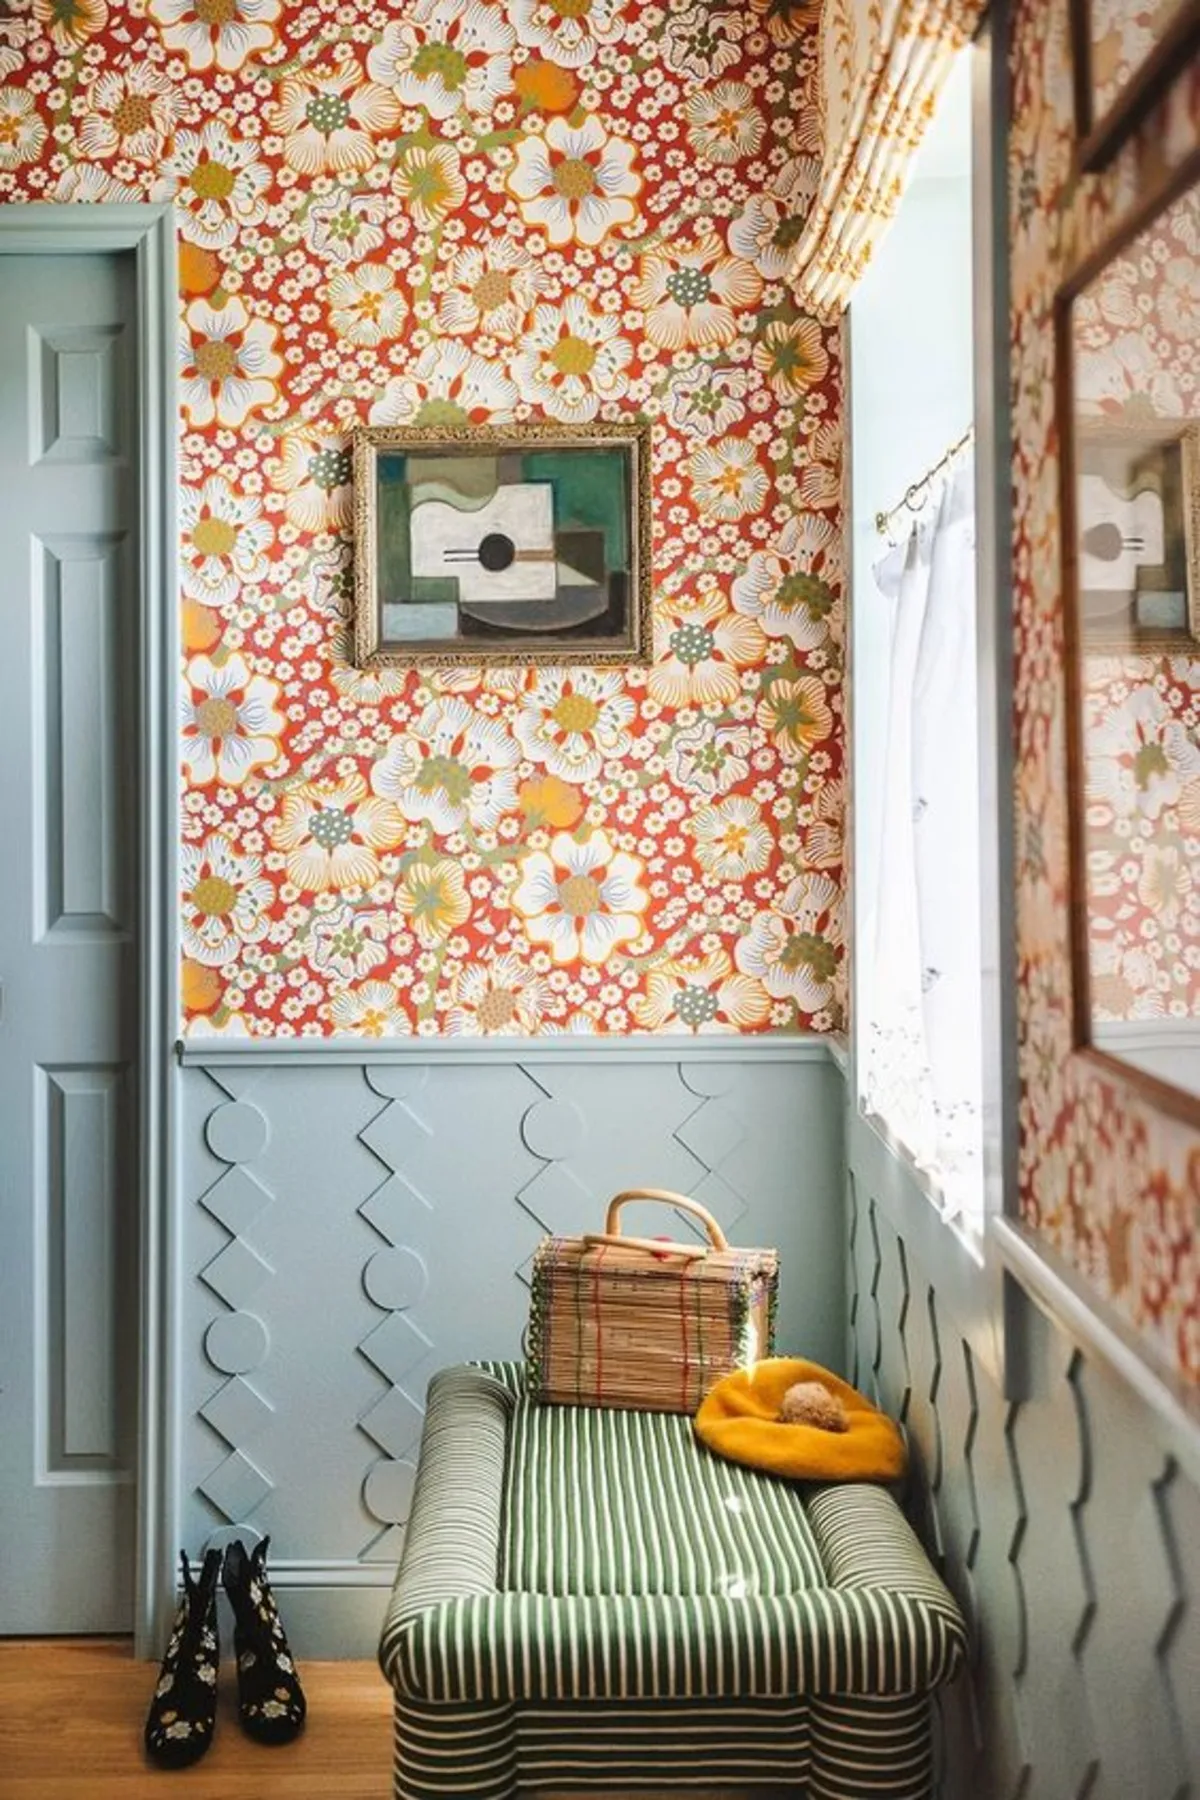
If you're feeling super creative and DIY confident, you can make your own spectacular wall panelling. We can't get enough of this amazing circles and squares design in Meta Coleman's hallway, created in collaboration with The House That Lars Built.
The sky really is the limit when it comes to putting your walls in the spotlight. Which shapes would you choose?
Textured
Perfect for... a reclaimed, boho spirit

Using reclaimed blocks of teak, this panelling from Naturewall is perfect for those with an eye for design who also want to live sustainably. The natural weathering will instantly give your walls warmth, character and tactile rustic charm.
DIY wall panel ideas
If you're planning on fitting DIY wall panelling yourself, you'll find this tutorial from B&Q a handy starting point!
We also love this video from Sade, where she guides you through the complex task of fitting panelling to a staircase in her childhood home. You'll be amazed by the transformation!
We hope you've found plenty to inspire you in this round-up. Once you're ready to give your walls a makeover, check out the step-by-steps below to guide you! Have fun and here's to walls that wow!