Have you got an item of clothing that you want to wear – but it’s got an inconveniently placed logo stitched on the front?
Perhaps you stitched a design onto your favourite outfit, but you want to update the design to something more on-trend. Or maybe you’re stitching a garment using embroidered fabric and would like to remove it from the seams before assembling your new piece?
Well look no further – because we’ve got a ton of tips and tricks to help you remove stitching, whatever the reason.
Tools for removing embroidery from clothing
Getting the right equipment for the job is always a good idea – and this task is no different! Before you begin, make sure that you have these essentials on hand to make the process nice and easy.
Curved embroidery scissors
- Buy now, Amazon
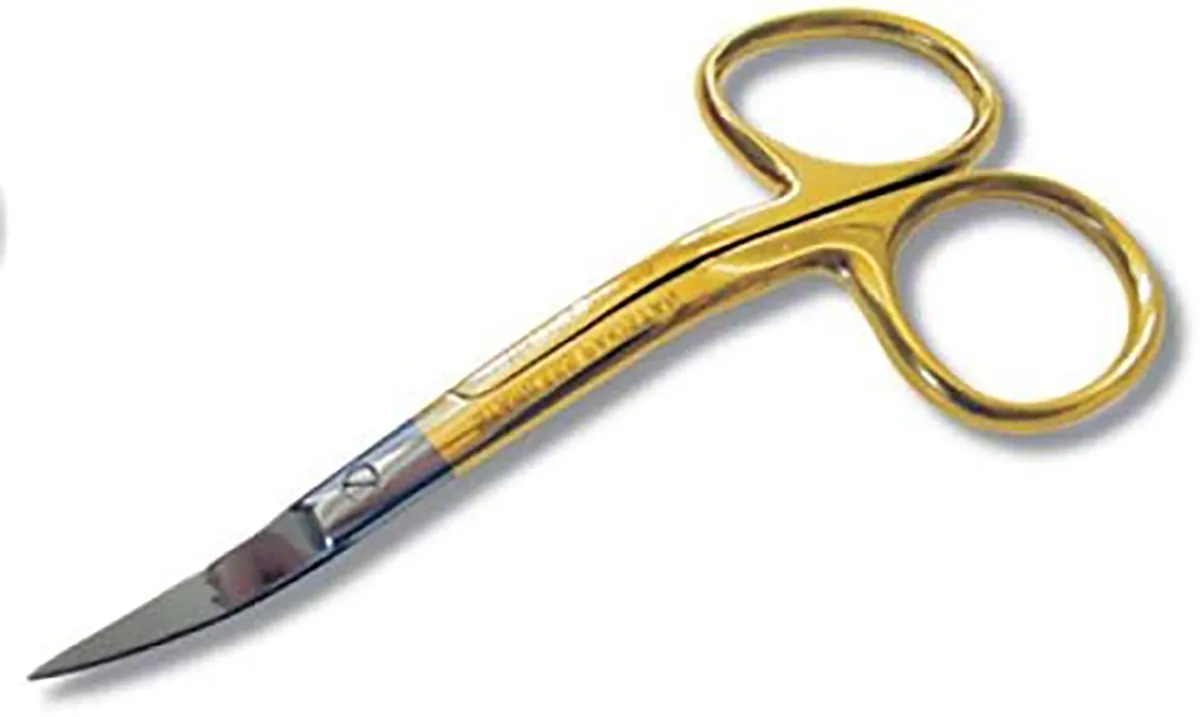
Great for snipping away threads close to the surface of the fabric whilst reducing the risk of accidentally cutting into the fabric.
This nifty little pair of scissors from Madeira is the perfect way to cut intricate and delicate threads on your garments. With super sharp blades and a curved design that is easy to hold, they are the perfect tool for removing embroidery. They also will make a great staple as part of your embroidery kit.
Tweezers
- Buy now, Amazon
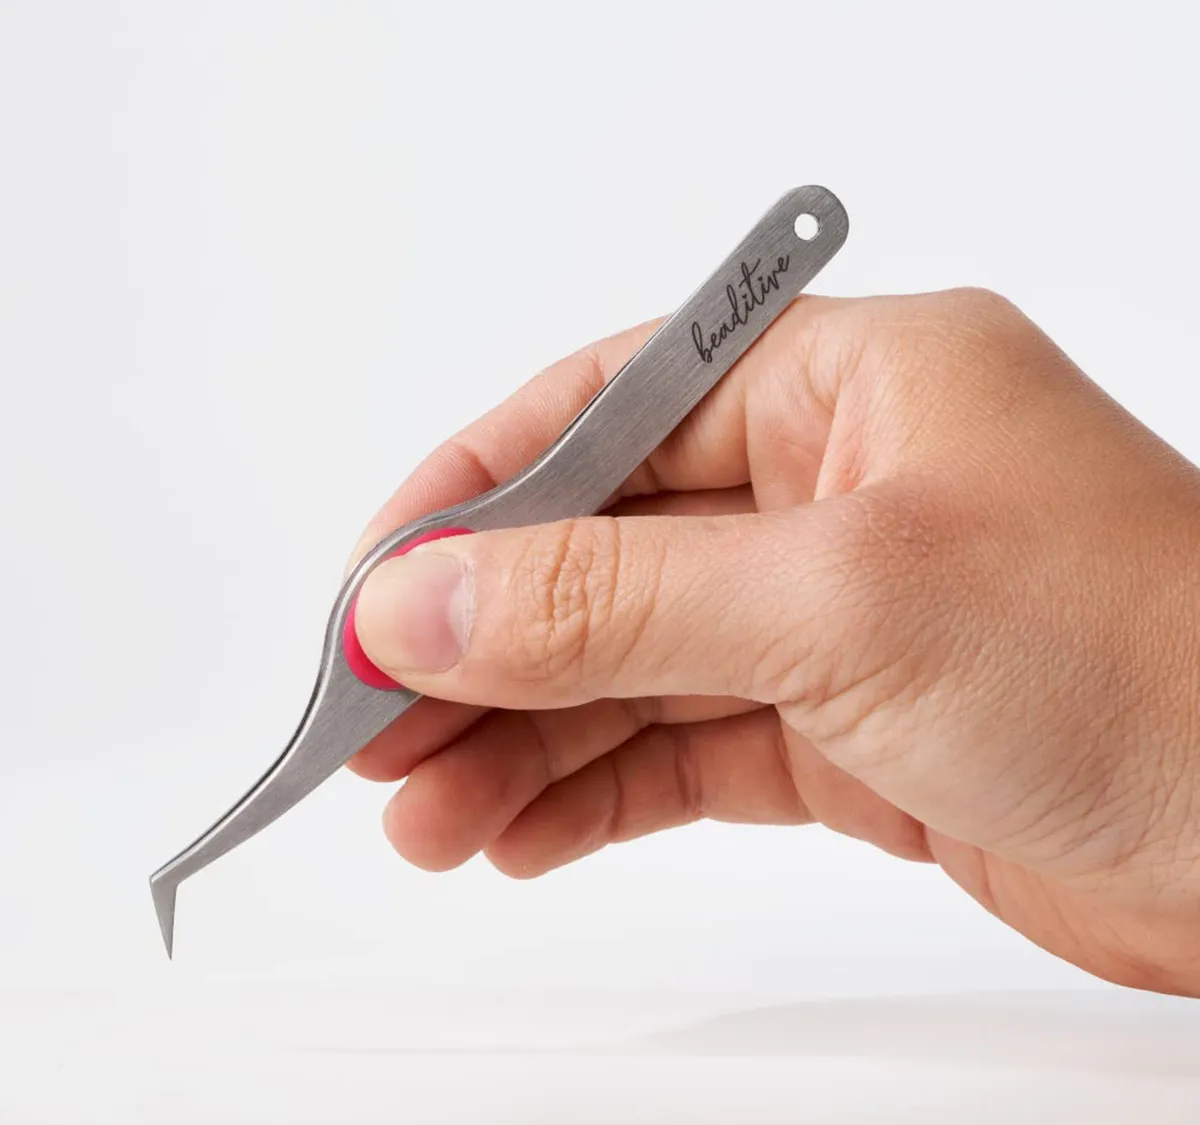
Tweezers are great for grabbing hold of the individual strands of thread and gently pulling them away without damaging the fabric. Angled tweezers are ideal as they can be used for precision grabbing, or can be positioned flat against the fabric for a wider area tweezing.
Get yourself a great pair of tweezers like these from Beaditive, which are made specifically for crafting. With a fine-angled tip, they are perfect for grasping even the fiddliest of threads. They are not only ideal for helping to remove embroidery but they can be used in a number of other crafty ways! A true staple in your stash.
Stitch unpicker/seam ripper
- Buy now, Amazon
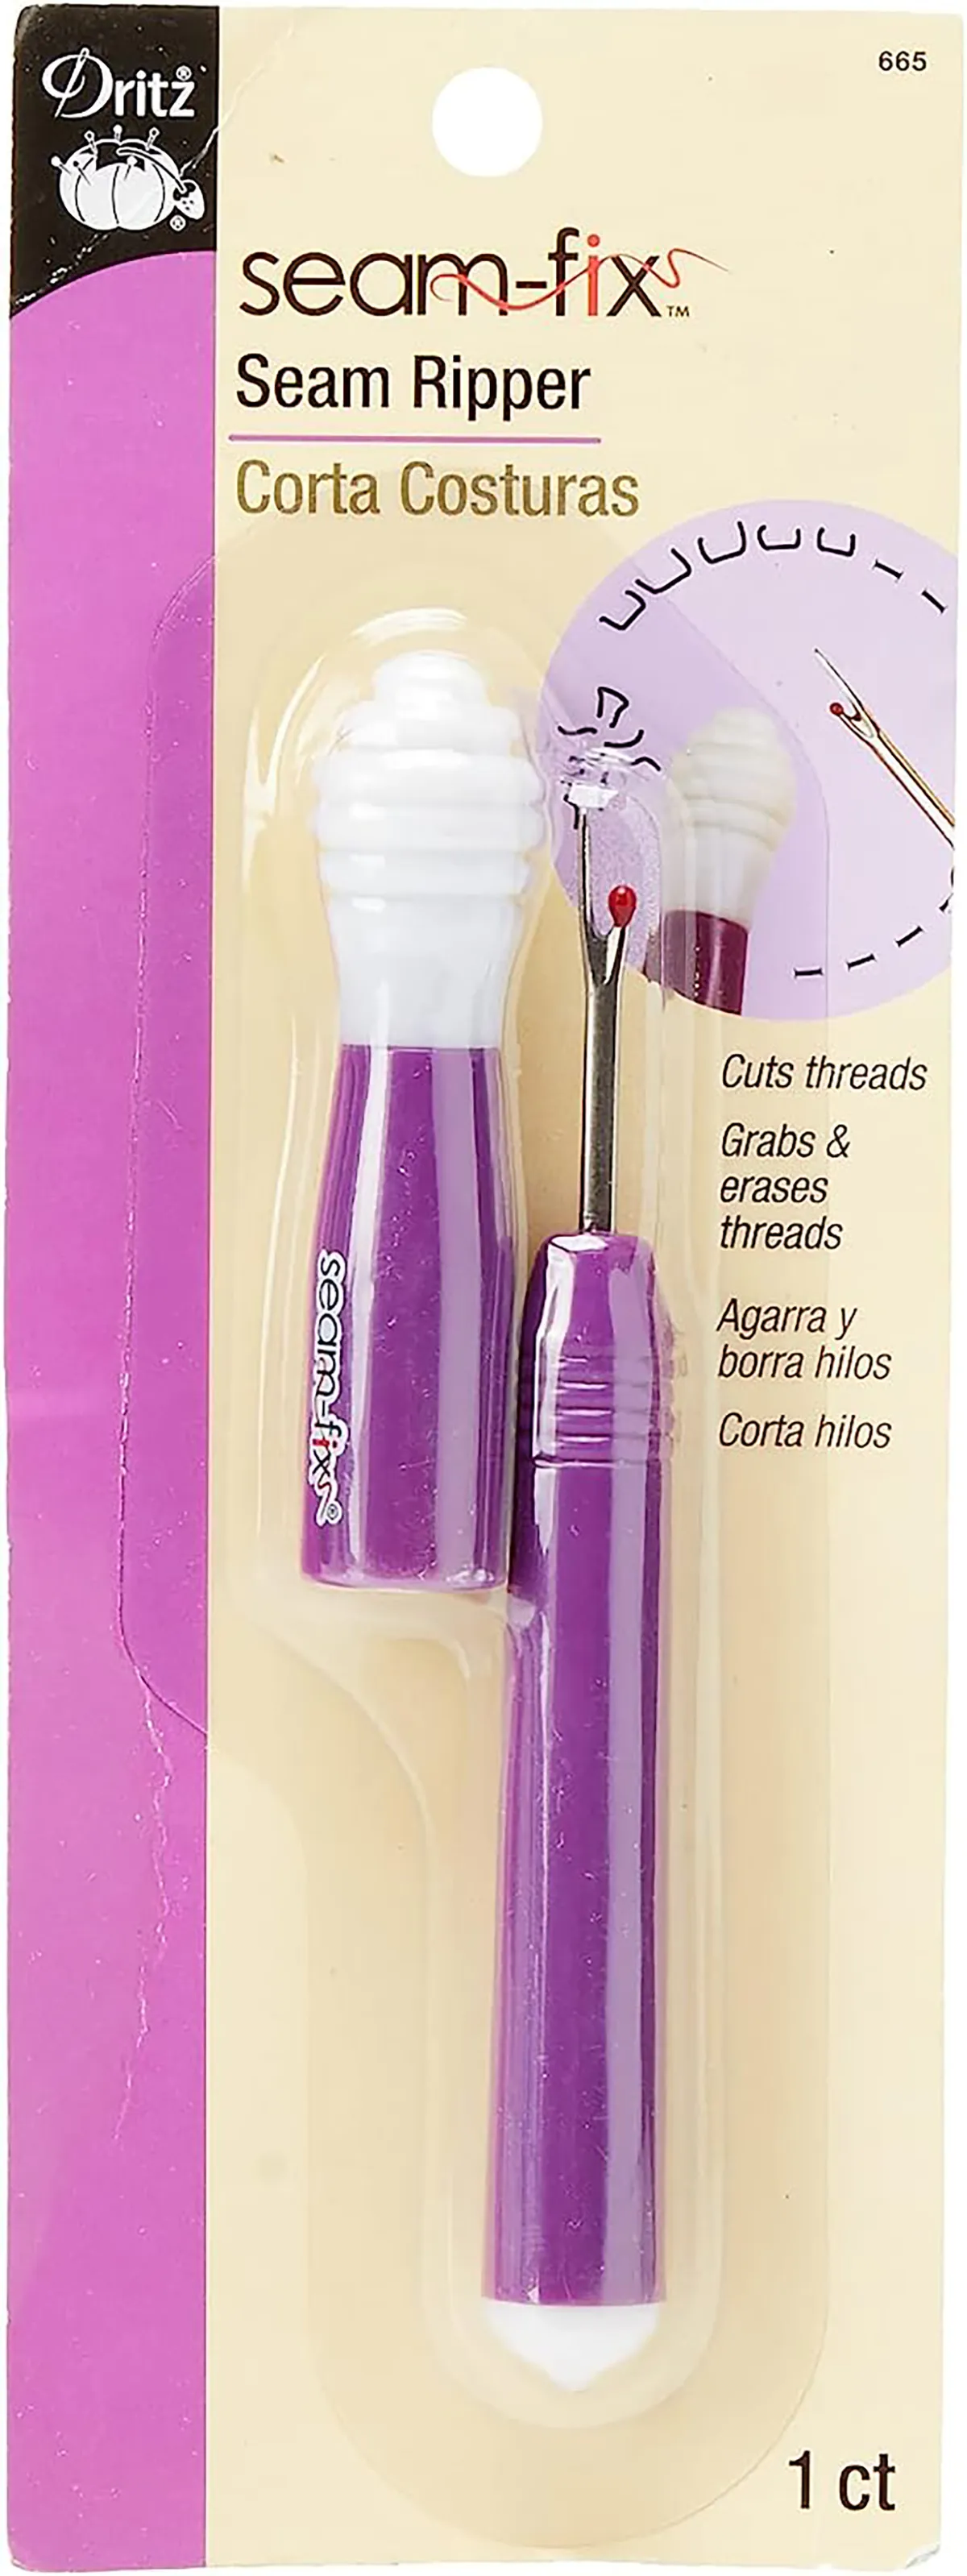
A stitch unpicker/seam ripper is a useful tool for cutting through your stitches and because it works best on stitches that aren’t too tight or dense, they’re particularly helpful for hand embroidery.
This seam ripper from Seam-Fix lets you easily rip out your seams with its super sharp blade. You can use the rubber head to catch and remove all of the little threads.
Stitch eraser/stitch remover
- Buy now, Sewing Street
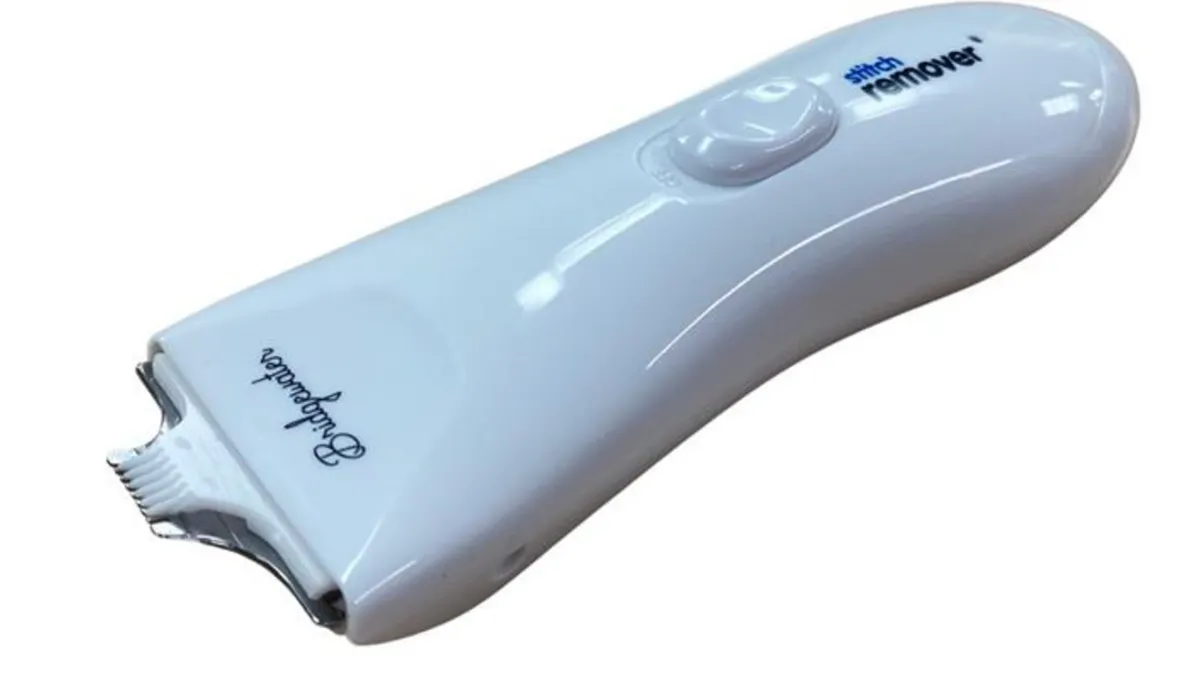
The best tool to remove embroidery is a stitch eraser/stitch remover. This is a specialised tool that works a bit like a hair trimmer with moving blades that get under the stitches, grab the threads, and clip them. This is a great investment if you need to remove embroidery regularly.
Safety razor
A safety razor is great for cutting threads that are too tight to get underneath with your scissors or stitch unpickers – just be careful not to snag the fabric!