Step 1

First, download your free Nativity printables and free Nativity characters! Cut an 18 x 12.5cm piece of red card and cover with a slightly smaller piece of sheet music. Cut a 2 x 12.5cm strip of red card and attach to the bottom of the sheet music with sticky foam pads. This is your card background. From here, you can choose to attach to an ordinary side-fold card blank or opt for a tent fold card.
Step 2

Using the free angel wing templates, cut two angel wings from cream coloured card. Stick the cream wings onto a piece of gold glitter card, and trim around the cream wings leaving a small golden border. Use PVA glue to stick onto the surface of the glitter card so that it holds properly on top of the raised glitter. Add two adhesive gems on each of the wings if you would like.
Step 3

Punch two holes into both of the wings as indicated by the angel wings template. The Hunkydory hole punch is ideal for this, but you could also use a pokey tool, then widen the holes with a pencil.
Step 4

Cut a 14 x 1.7cm acetate strip and punch two holes in the top. These two holes in the acetate correspond with the two inner holes on each of the wings. Thread twine through the acetate from behind, then through the inner holes on each of the wings, attaching the wings to the tab. Tie at the front in a loose knot. Be sure to leave a little wiggle room so that the wings are able to move up and down. If you don’t have any acetate, use a coordinating colour card but remember it needs to be fairly stiff to be able to push the wings up. Or you could cut up some old packaging!
Step 5

Cut a 7.5cm-wide oval from the Bethlehem skyline. We’ve used a die, which makes cutting shapes like oval easier, but it’s not necessary to use a die. Using a craft knife, cut a 2cm horizontal slit into your oval, approx. two-thirds of the way up, where you would like the wings to sit behind the angel.
Step 6

Attach your wing mechanism to the oval skyline, using a pair of brads. Straighten the wings so they are roughly horizontal, and poke the brads through the outer holes on your wings, and through the card at the back. Thread the acetate pull tab through the slit in the oval you made in step 5. The acetate pull tab should sit behind the scene. Now test your mechanism! By attaching the wings horizontally, you allow the wings room to move up and down.
Step 7

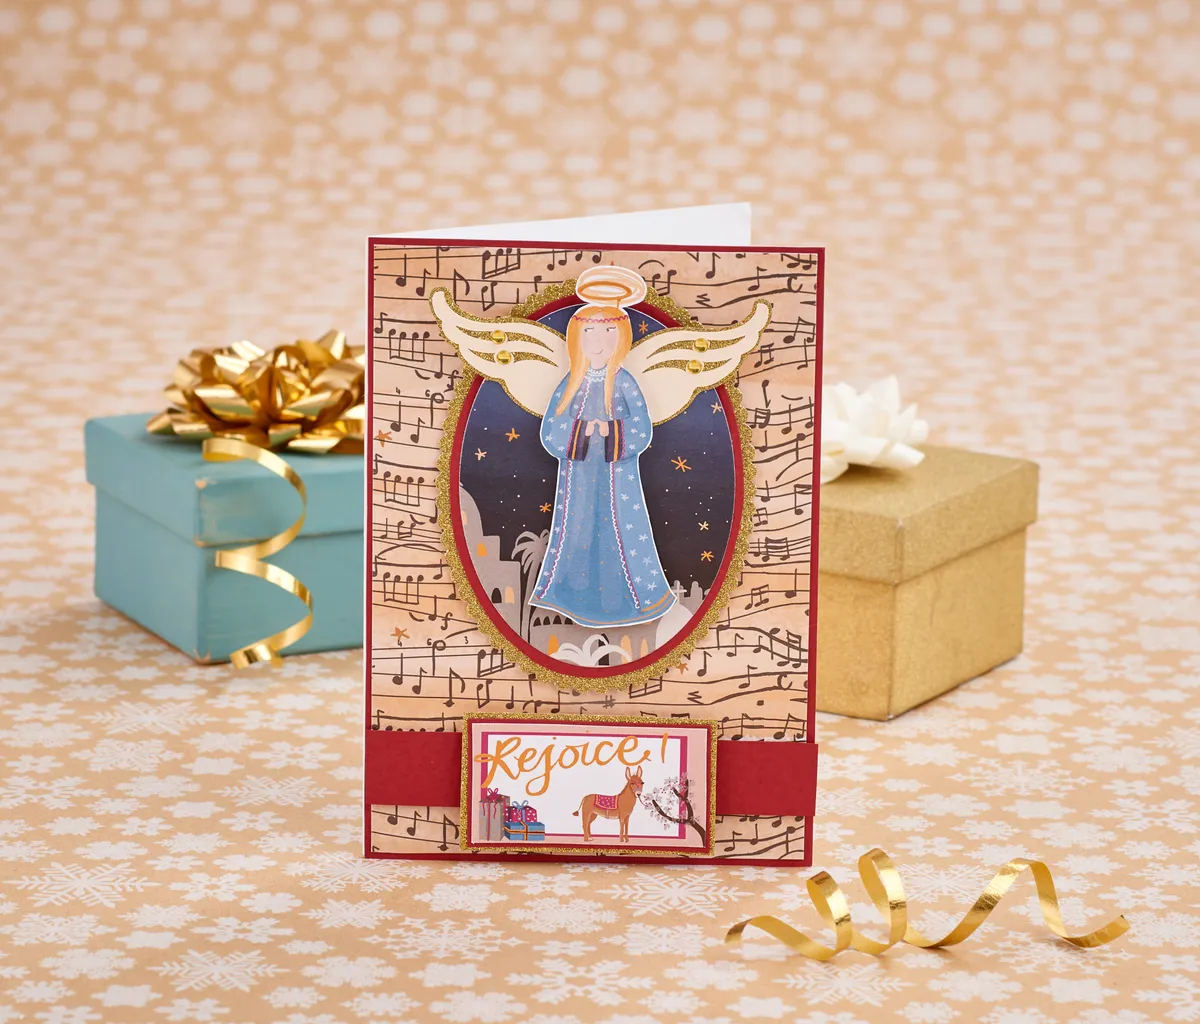
Mount the oval onto your card using foam tape, leaving a channel on the reverse for the pull tab. Print out the angel and snip off her original wings. Position the angel on top of her new wings and attach by using foam pads behind her robes. Attach a sentiment on the end of the acetate as a pull tab. Trim off the excess acetate.