Fancy a cuppa? These dainty floral pincushions are certainly our cup of tea – easy to make, pretty and practical, too! In just a few simple steps, you can transform an old tea set into a creative addition to your stash with our step-by-step instructions. This delicate floral pattern, evocative of a traditional tea service, is created using whole stitches and backstitch. The project would make a lovely gift for a stitchy friend, or you can keep it for yourself to keep all your needles and pins safely tucked away.
Click to find the teacup pincushion free cross stitch pattern
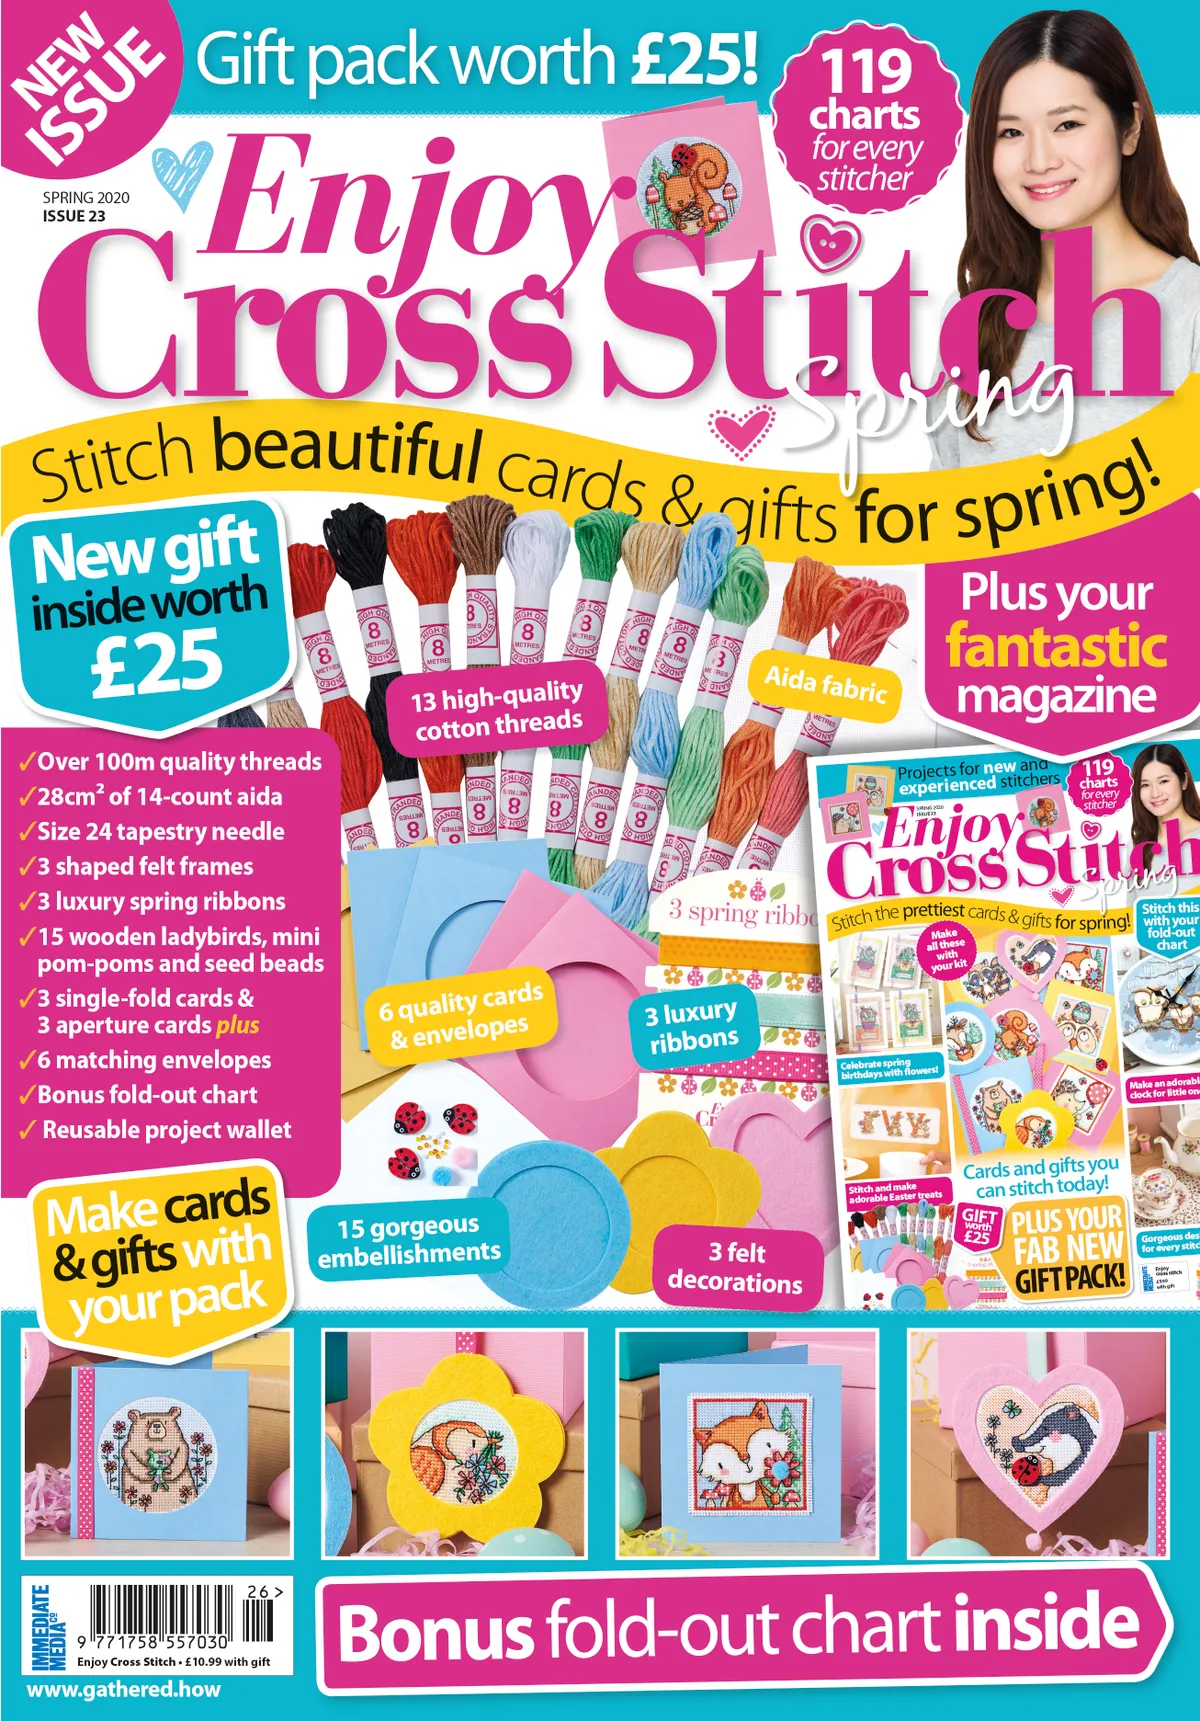
Enjoy Cross Stitch
This brilliant upcycled pincushion project is one of the clever projects you'll find in the Enjoy Cross Stitch bumper pack. Discover this new bumper collection of stitching goodies, worth a whopping £25! You'll also get a fantastic magazine packed with charts like the teacup pincushion, all for just £10.99. Click here to buy our bookazines online.

To stitch the teacup pincushion you'll need...
- Threads - Stranded cotton as listed in the key
- Needle - Size 24 tapestry needle
- Fabric - Zweigart 14-count white aida measuring 18x18cm (7x7in) for each design
- Extras - Teacup, teapot and lid with a suggested minimum inside diameter of 7cm (2¾in), stuffing and strong clear craft glue of your choice from local stores
- Teacup pincushion cross stitch pattern
How to make the teacup pincushion in a teapot lid
- Mark a 12cm (4¾in) diameter circle around your stitching. We used a roll of tape as a template, but you could use a compass. Cut along the line using sharp scissors.
- Sew running stitch around the edge about 0.5cm (¼in) from the edge. Once you complete the circle, gently pull on the thread to gather the edges, creating a pouch.
- Stuff the pouch with wadding until it is very firm. You could add wire wool at this stage as this will help keep your pins sharp. Secure and check that it fits comfortably into the lid.
- Add or remove stuffing if needed, then put some strong clear craft glue into the lid’s rim and insert your stitching, pushing firmly into place. Allow to dry before using.

You can also use your teapot to store your threads and other craft items!
More free cross stitch patterns
We have so many more free cross stitch patterns for you on Gathered! Try our cats cross stitch patterns for loads of cute motifs, or click to try our children's cross stitch. If you'd prefer a larger project, don't miss our Durene Jones cross stitch fox or try our trio of cross stitch cakes. For floral delights, check pout our cross stitch flower patterns or make beautiful cards with our lavender cross stitch patterns and free sunflower cross stitch pattern. For advice on the basics you need to stitch these patterns, check out our cross stitch for beginners guide.