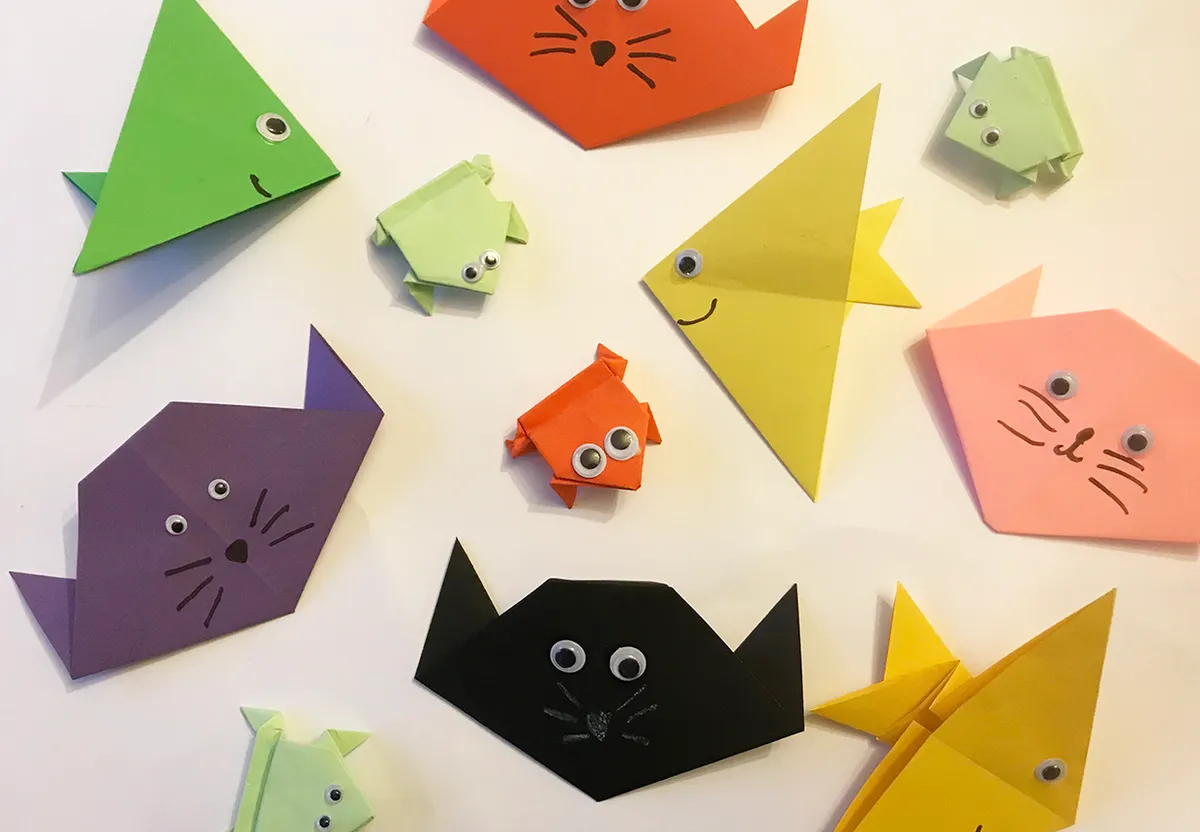
How to make an origami fish
Step 1
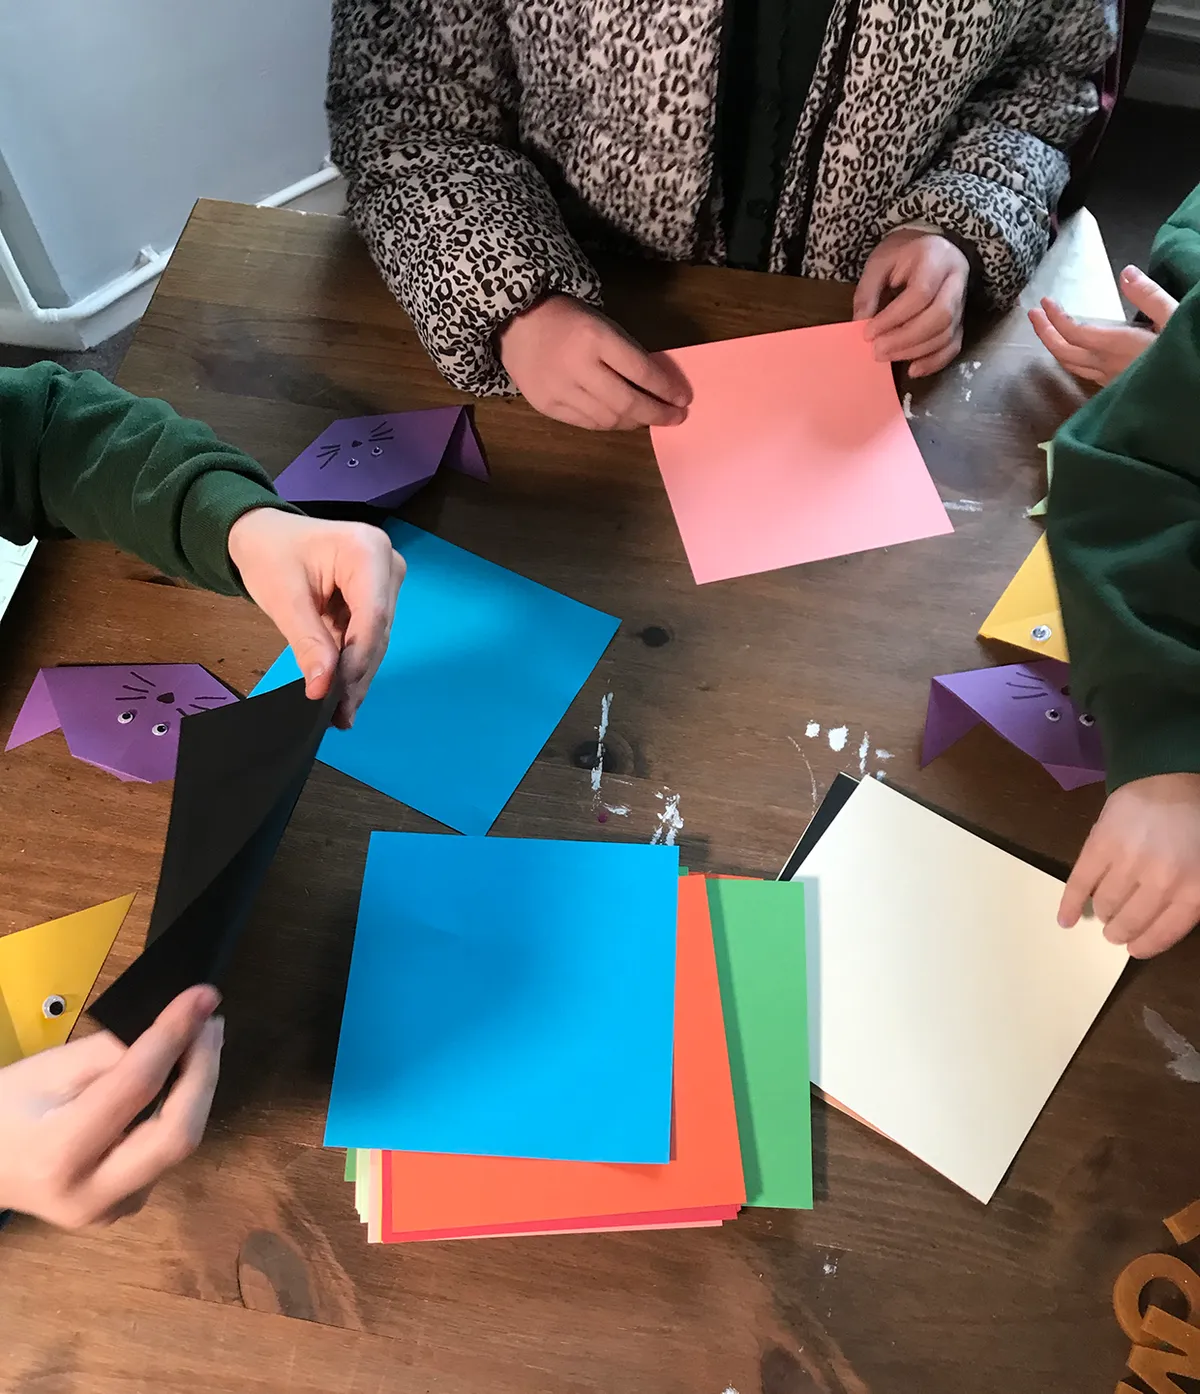
Take a square of origami paper and fold it in half diagonally to make a triangle.

Step 2
Unfold this and then turn 90 degrees. Now fold again diagonally between the other 2 corners.

Unfold and flip your paper upside down.

Step 3
With your paper square in front of you, fold the bottom edge upwards to meet the top edge and fold in half, so the crease of this fold lies where the centre of the 2 previous diagonal creases falls.


Unfold this fold.

Step 4
Rotate your paper by 90 degrees and then repeat step 3, folding the paper in half horizontally again.


Unfold again so you have a flat square with 4 creased fold lines that all meet in the centre.
Step 5
Holding your paper underneath, in the middle of the left and right edges, gently lift the left and right sides of your paper upwards from beneath so that the central point of the left and right edge meets in the middle. Your paper should give way at the diagnonal fold lines as you do this.

Bring the left and right central points in together to meet in the middle.

Now press your shape flat to form a triangle with the folds from your previous steps enclosed within it.


Step 6
Rotate your triangle by 90 degrees so there is a long edge on your left and the point at the right.

Step 7
Take the bottom point of the triangle and fold the top section of it upwards to form a fold line that stretches from the triangle’s righthand point, to about 1 cm below the centre point of the left edge. This is your fish’s first fin.

Step 8
Now repeat this step but this time folding the top left tip downwards in a mirror action to step 7

Step 9
Flip your paper upside down to make the fish.

If you want to, you can add a googly eye with dab of glue to give your fish a little personality.

How to make an origami cat
Step 1
Take a square of origami paper and fold it in half diagonally – folding the bottom point upwards to meet the top point

Step 2
Fold it in half again to make a right angle triangle.

Now unfold to leave the first triangle but with a fold down the middle.

Step 3
Starting at the bottom edge of your triangle, in the centre point where your fold line is, fold the bottom right corner of the triangle upwards to form a point.

Step 4
Repeat, mirrored, on the other side. You have made your cat’s ears.

Step 5
Now take the top central point of your triangle and fold it forwards and down to flatten that top edge. Your cat is ready!

Step 6
Flip your origami cat upside down.

Draw a nose and whiskers on his face.

Glue 2 googly eyes or you can draw these to finish.

How to make an origami frog
Step 1
Fold the paper in half, folding the bottom edge of the square upwards so the bottom edge comes up, over and lines up with the top edge to form a horizontal rectangle with the fold at the bottom.

Step 2
Rotate your paper by 90 degrees anticlockwise.
Now fold the top left corner downwards and to the left to make a diagonal fold. The top edge of the paper will line up with the top part of the right left edge. Fold to form a right angled triangle, with the tip in the top right of your shape.

Step 3
Unfold and press flat, leaving the creased diagonal line from your last fold.

Now repeat step 2 but this time turning the opposite top corner down to form a diagonal crease.

Step 4
Unfold and press flat to reveal a cross of 2 diagonal fold lines on your portrait rectangle shape.

Step 5
Turn the paper upside down on your surface.

Step 6
Fold the top horizontal edge towards you and down, making a fold at the point the centre of the 2 previous creases meets in the middle.

Unfold your paper and flip it upside down.

Step 7
Now take the left and right sides of your creased area and with your fingers beneath the paper, lift them up and press them up and inwards to meet in the middle.

The crease lines will naturally give so you can bring the two edges in to meet in the middle.

Now press the top area flat – this will create a triangular tip.

Step 8
Find the central point along the bottom edge of the triangle section – where the folds met in the middle.

Fold the bottom right tip of the top part of the triangle upwards, creating a digonal fold line from the central point to to the lower section of the right edge. You should see the paper you fold upwards fold look like this.

Step 9
Repeat this step to form a mirror image fold on the left of the paper.

Step 10
Take the bottom edge of your paper and fold it upwards so it meets the line at the bottom of the triangular section you were just working on.

Step 11
Fold the right outside edge of your frog up and in towards the centre, tucking it underneath the top triangle section slightly so the outer edge comes in towards the middle.

Step 12
Repeat this with the left edge – folding it up and bringing it in towards the centre of the frog,


Step 13
Bring the bottom edge upwards and fold it so that this edge now meets the central point.


Step 14
Unfold the fold you made in the last step.

Step 15
Gently untuck the folds of the bottom section.

As you pull the two corners outwards, fold the bottom edge upwards to meet the central point of your two top folds.
Fold the bottom edge flat so the bottom section looks a bit like a boat.


Step 16
Find the diagonal fold line that runs from the top centre of the “boat-shaped section” down to the bottom right corner.

Press this diagonal fold.

Repeat, mirrored, for the left section of your frog. Your paper should now look a bit like a windmill with 4 blades and a pointed tip at the top.

Step 17
Fold the bottom edge up and towards you, folding over so it meets in a horizontal line at the base of the triangular tip.

Your frog should look like this.

Step 18
Take the top edge of this folded section you just made, and fold it in half backwards, downwards, towards you, so it lines up with the bottom edge of your frog.

As you do this, also fold the 2 front tips of the pointed edges that are sticking up beneath this section downwards in the same direction, folding them along the same line so these tips now face downwards. When you do this stage, make sure you leave the other 2 tips (beneath he ones you just folded), pointing upwards – you only want to fold the top 2 tips, not the back 2.

Step 19
Your frog is complete! Flip him upside down to see.

Step 20
Add 2 googly eyes if you'd like to add a little face to your frog. You should now see if you push gently on the top of the concertina at the bottom edge of your frog, he will jump.