How to make balloon animals for beginners
Get to grips with simple balloon modelling with our complete guide to twisting, turning and locking sections of a balloon to create a menagerie of easy balloon animals!
In this article, we'll show you how to make four essential animals hone your skills – a dog, giraffe, dinosaur and swan.
We'll also share our top 10 follow-on balloon modelling tutorials (from swords to monkeys) for you to try with links to find out how they're done, so that by the end of this article, you'll be party-ready!
I can always remember the pure magic of seeing balloon animals at parties as a child. It seemed like witchcraft that you could manipulate a balloon into an actual animal without it popping, and the prospect of ever actually being lucky enough to be given a balloon animal to take home was almost too much excitement. It was not something I ever dreamed I'd be able to try at home myself when I grew up – it felt like the distant realm of magicians, party pros and TV presenters.
Luckily, since then I've learnt a few skills – and got over my fear of the balloons popping! It really doesn't happen that often, and there are some simple ways to avoid it – we'll share these below. I'm here to show you how to make balloon animals from scratch.
Methods of making balloon animals
- The fundamentals of making balloon animals
- How to make a balloon dog
- How to make a balloon giraffe
- How to make a balloon swan
- How to make a balloon dinosaur
The fundamentals of making balloon animals
1. Inflating your balloon
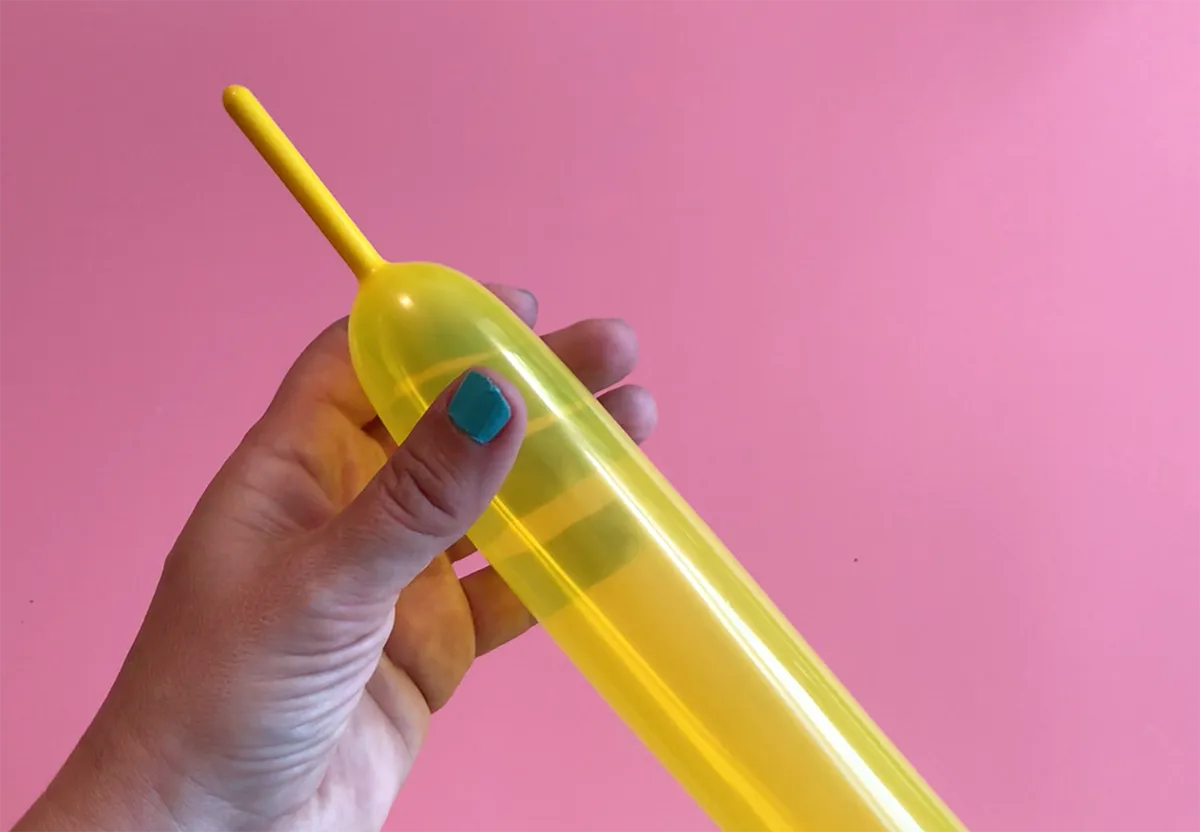
The first crucial step is to inflate your balloon. You can use an air pump to do this, but it's crucial you leave some of the balloon unfilled. If you pump your balloon all the way up and attempt to twist it may pop. Leave one inch uninflated, no matter what your design is. This will give the air in the balloon room to move, and you the ability to twist and knot it.
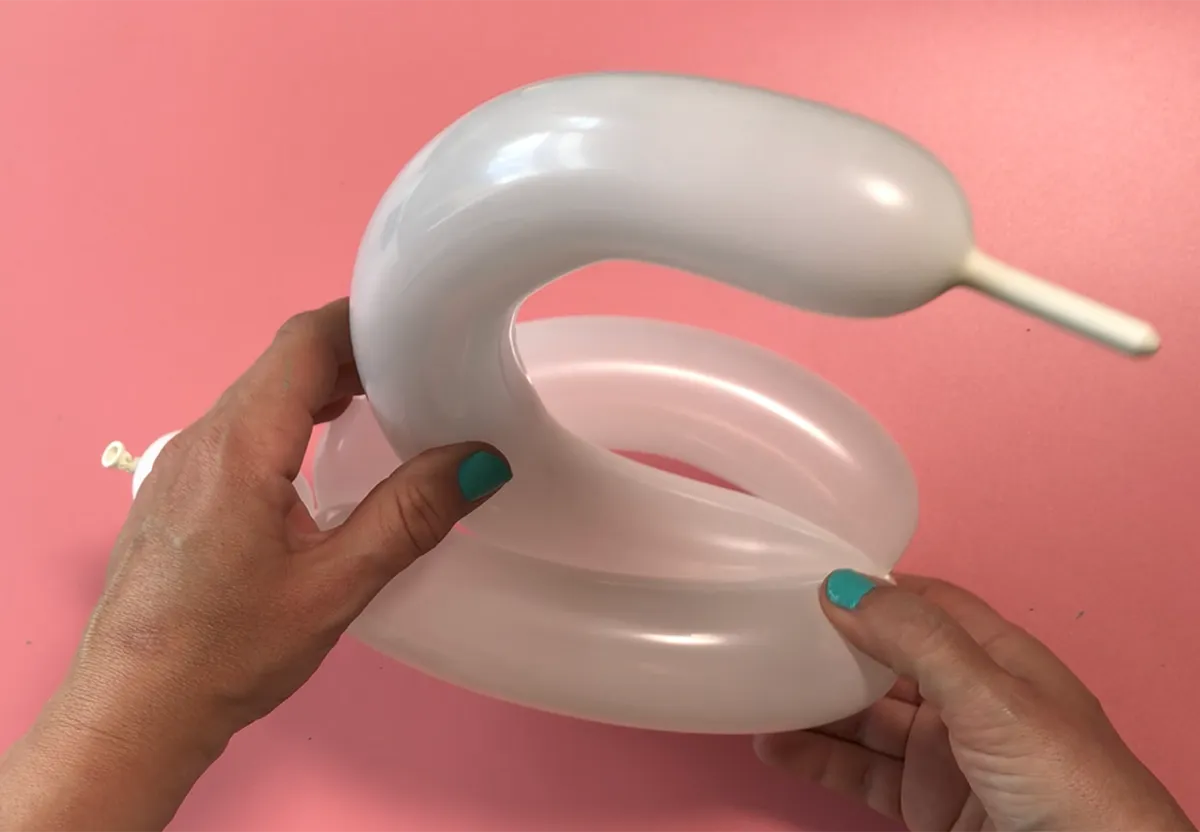
2. How to make a basic twist
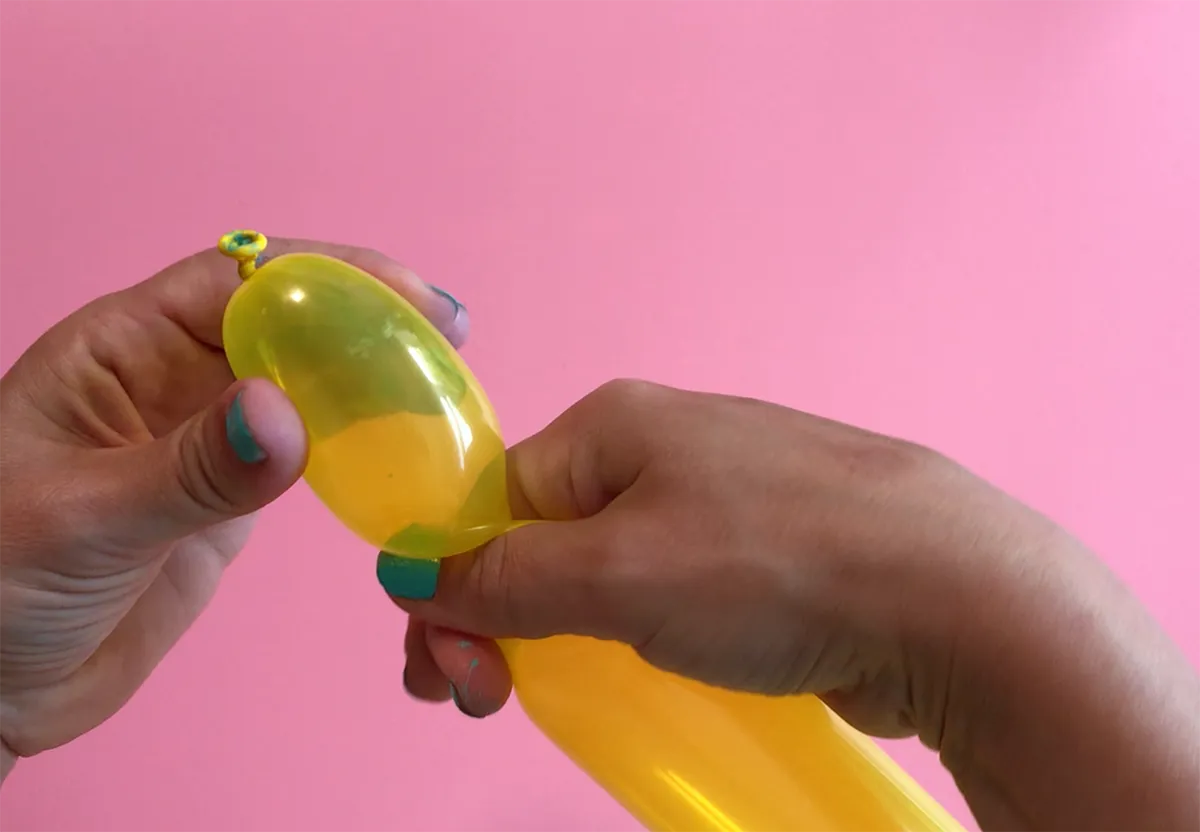
Hold your balloon with one hand and grip further down the balloon with the other. Turn your hands away from one another to create a twist. Keep hold of the balloon to prevent it from untwisting. Keep twisting parts of the balloon depending on how many segments you need. It's as simple as it looks!
3. How to make a lock twist
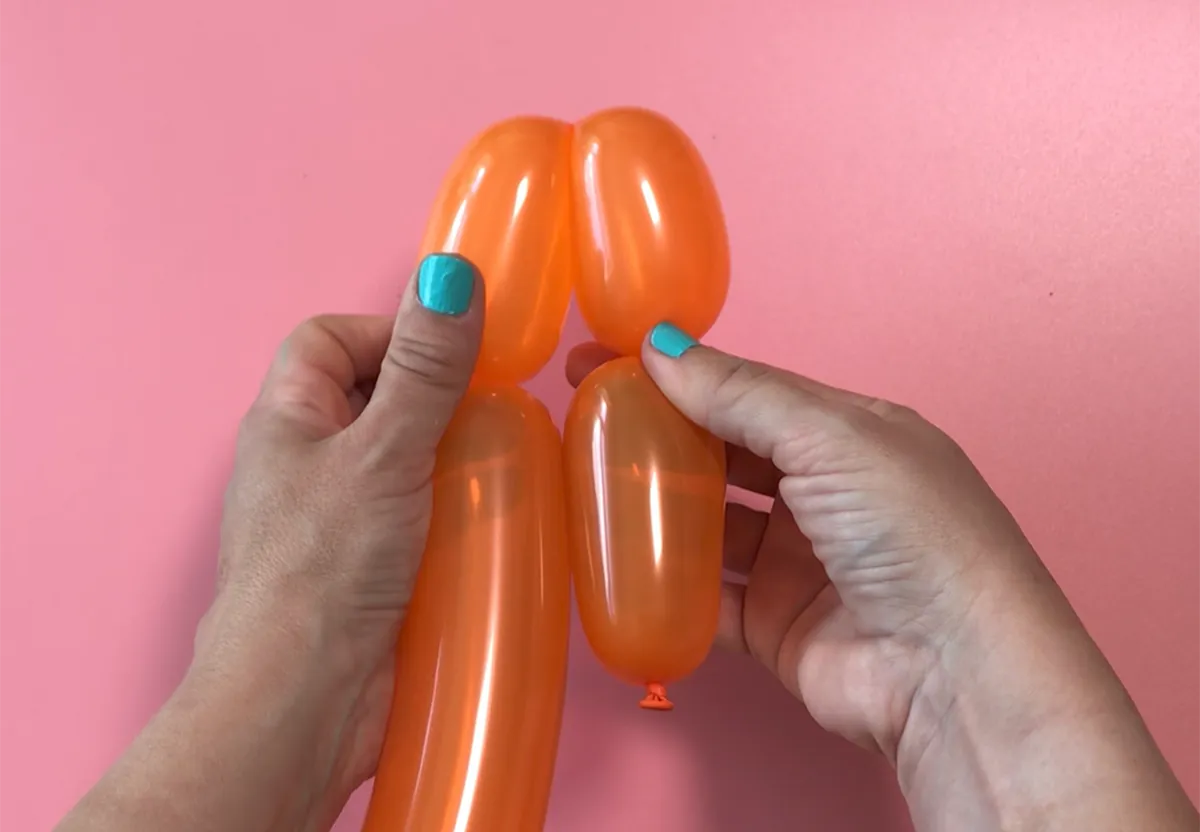
A lock twist is crucial in balloon making. It allows you to twist different balloon segments together firmly to make your animal's body parts. Make four basic twist segments, fold two of them together and twist. Make sure you twist them two or three times so they're securely fixed together.
4. How to make a fold twist
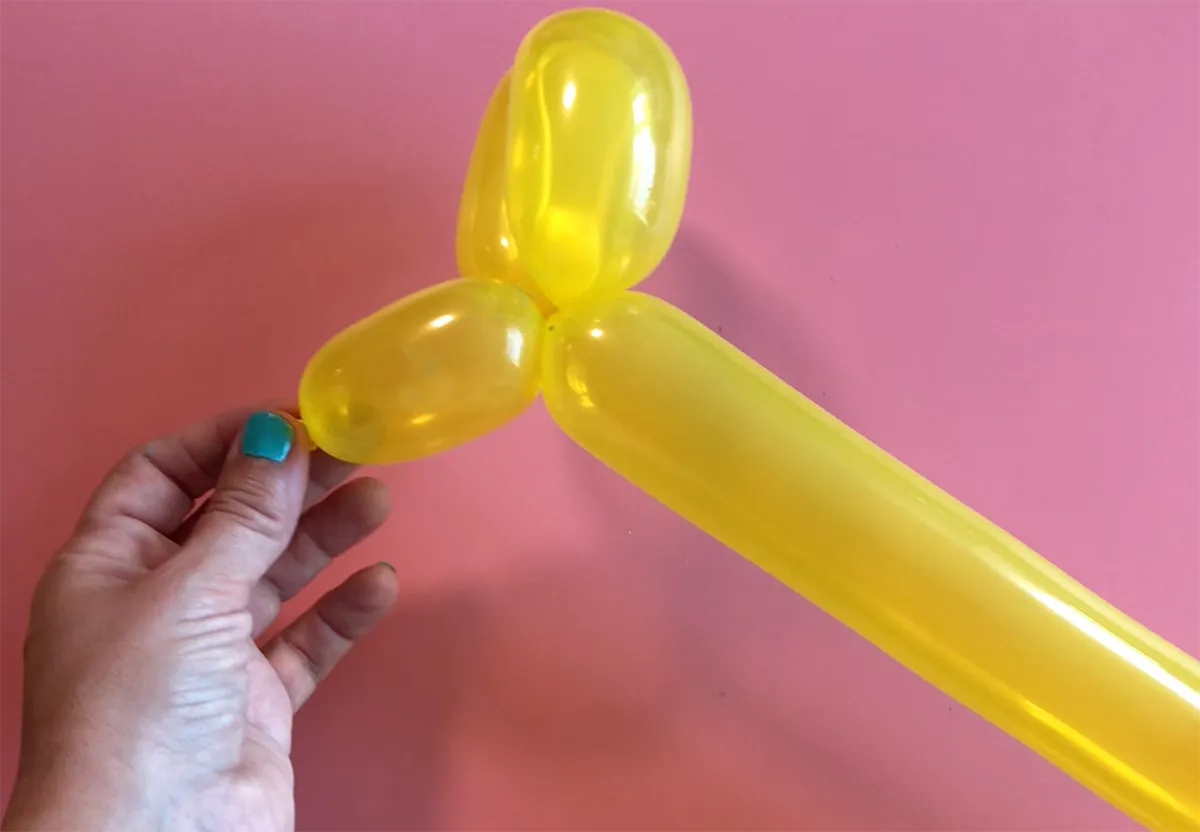
Finally, you need to master the fold twist. This twist is made the same way as a lock twist is except the balloon segments begin further away. For a lock twist, you twist two adjoining segments together for a tight twist. For a fold twist, create three longer basic twist segments. Then twist the first and last segments together. The middle segment will now curve and form a loop. This is your fold twist. You've now created an ear for a little dog!
What do I need to make balloon animals?
Now you have the basic techniques you need to buy your supplies! All you need is a balloon pump and some balloons.
Balloon pump
You do really need a pump (as anyone who has tried blowing up modelling balloons without one can testify), but they're inexpensive, and if you get the right one, they'll last you ages. It's definitely worth investing in a pump that's not the cheapest out there.
I've learnt this the hard way and broken two bargain pumps within minutes before I clocked that it might be a good investment to spend a bit more on hardware that would last. I should add that they're still really not very expensive.
- Magnolia Balloon Inflator Hand Pump SQUIRREL_TEXT_13207239
Balloons
There are various sizes of modelling balloons out there, and they come with a number that refers to the size of their diameter and length once inflated. The most common size for twisting is 260, which means 2 x 60 inches.
I've never used this measurement when buying balloons – either in person in a party shop or online – I just buy a pack of modelling balloons and hey presto they do the trick.
It's always worth doing a practice run of any balloon animal tutorial to check how it works with the balloons you're working with. After a dummy run, you'll soon see if the instructions may need adjusting slightly to suit the length of your balloon – you'll spot pretty quickly if you end up with an extra-long tail or run out of the balloon to twist.
If this happens, simply untwist or try again with a fresh balloon and adjust the length of the different sections of the balloon that you twist accordingly.
- 100 balloons in bright colours: SQUIRREL_TEXT_13207241
How to make four different balloon animals
Here are 4 easy balloon animals to try to learn how it's done...


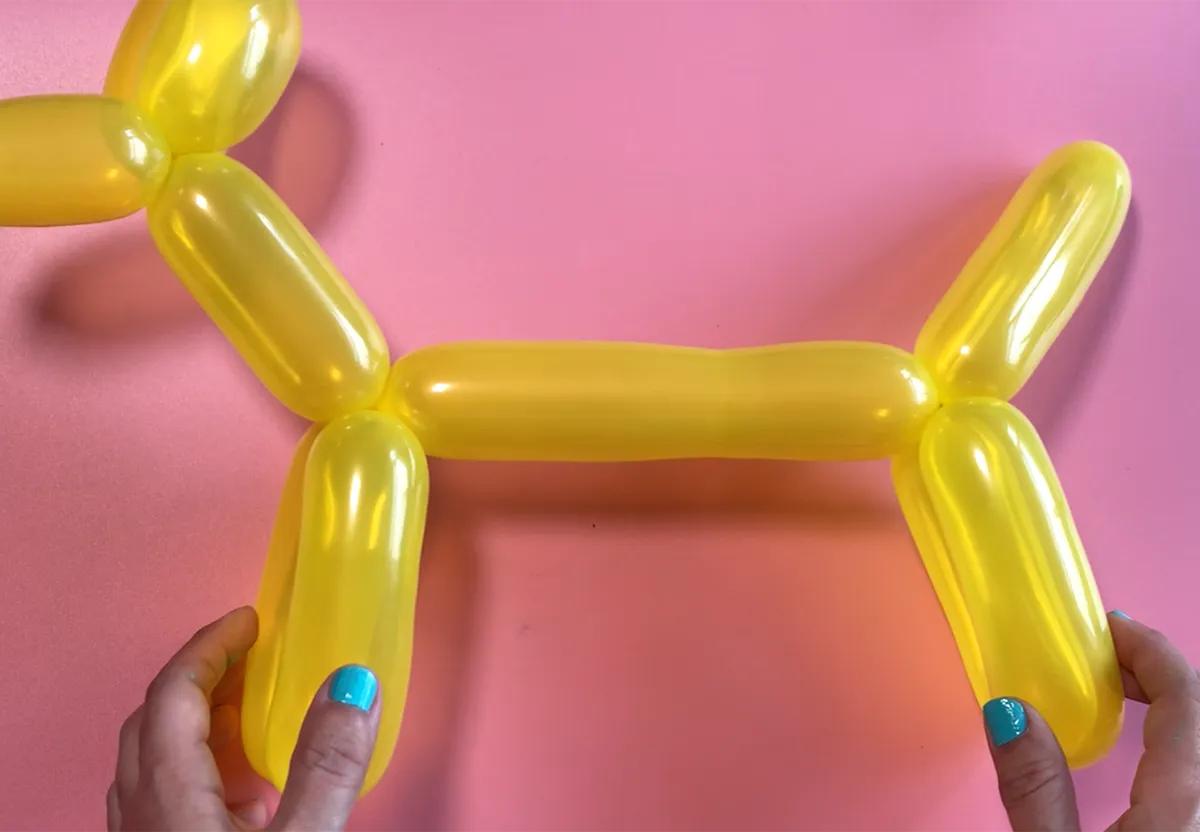
 Line up the points where you twisted A and C and then twist these together at the join to form a lock twist. This will form your dog’s ears.

 The second two sections will be your dog’s front legs. To secure them, line up the points where you twisted D and F and twist at the join a few times to lock the twist and secure the legs.
 Now line up the points where you twisted G and I and twist them together to lock the legs into place.
 This just leaves one last section – your dog’s tail. Adjust the different sections if you need to to get the right angles and perfect your finished dog.


 Now make two more twists (E and F) each 5 inches apart. These will be your giraffe's two front legs. Line up the points where you twisted D and F and twist the joins together several times to form a lock twist.
 This just leaves the last section – your giraffe's tail. Adjust its angle so it's poking upwards and your balloon giraffe is finished!

 inch from the tied end of your balloon.


 These will be your dinosaur's legs. Line up the points where you made twists A and C and twist them together at the twist points, then twist the two twists together to form the base of the dinosaur's neck and his front legs.

 Fold them together and line up the points where you made twist E and the base of the neck from the last step. Twist them at the base of the neck and top of the front legs to lock the dinosaur's body in place.
 Carefully holding them so they don't untwist, secure them by poking the untwisted tail that's left through the hole created in the last step between the dinosaur's body.
 Then move twist I so it sits at the point you made twist D. The pressure of the balloon should hold it in place or you could twist it around twist D for good measure.


