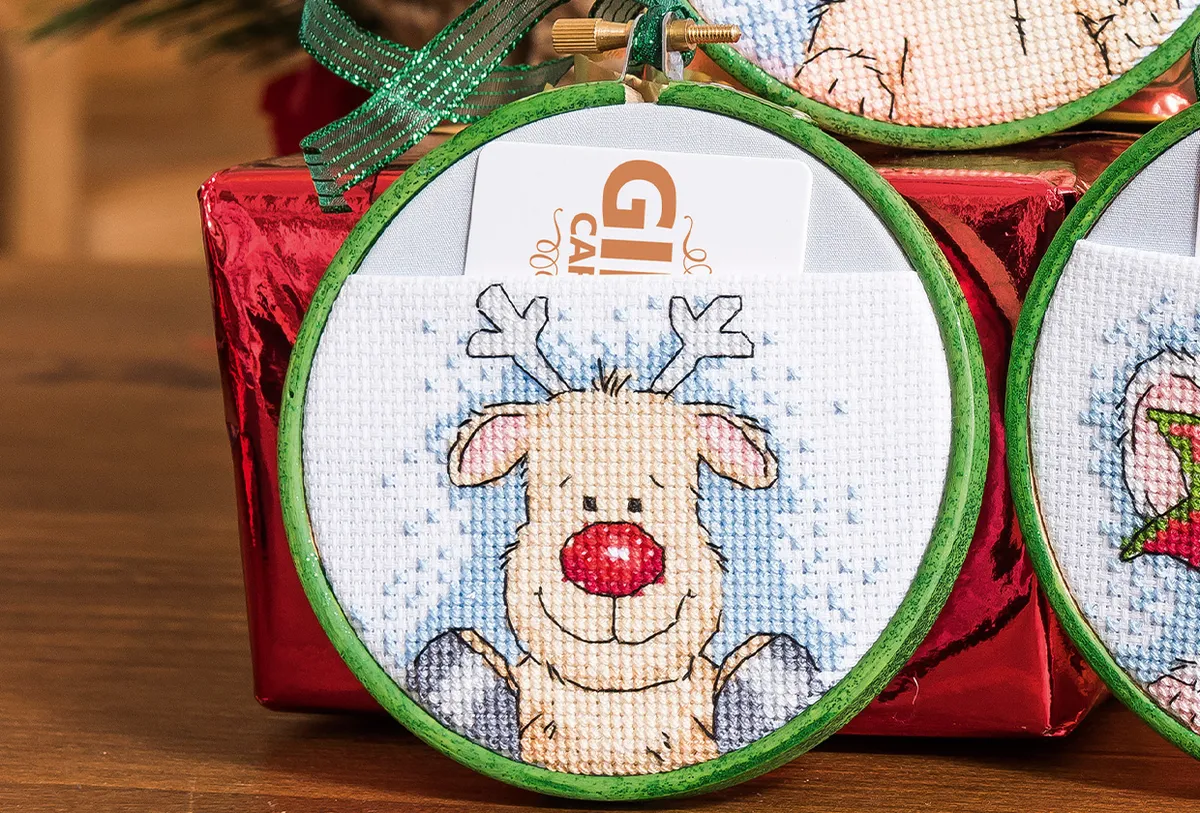
Stitch up Rudolph the red-nosed reindeer in this cute cross stitch design created by Rhona Norrie. Using vibrant red thread ensures Rudolph’s big red nose shines brightly! Perfect for guiding Santa’s sleigh and making your cross stitch stand out from the crowd.
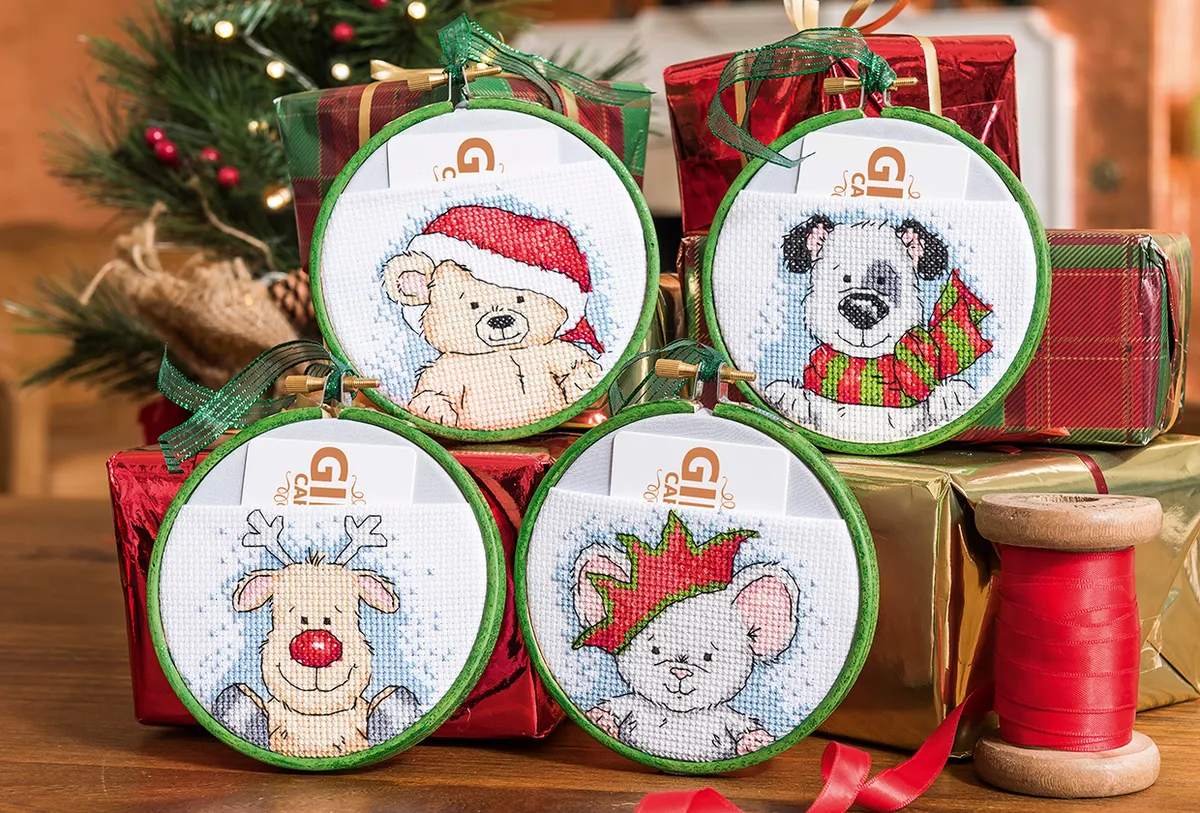
This design makes a great gift card holder. It's an ideal way to spice up your gift-giving. Choosing your own present is a lot of fun, but gift cards can seem a little bland.
Stitch up your reindeer using the free chart below, and we’ll show you step-by-step how to transform it into a gift card holder using a wooden hoop. Your gift card holder will be easy to customise too. You can choose the recipient's favourite colour for the backing fabric and the frame. If you want extra sparkle, add glitter to your frame.
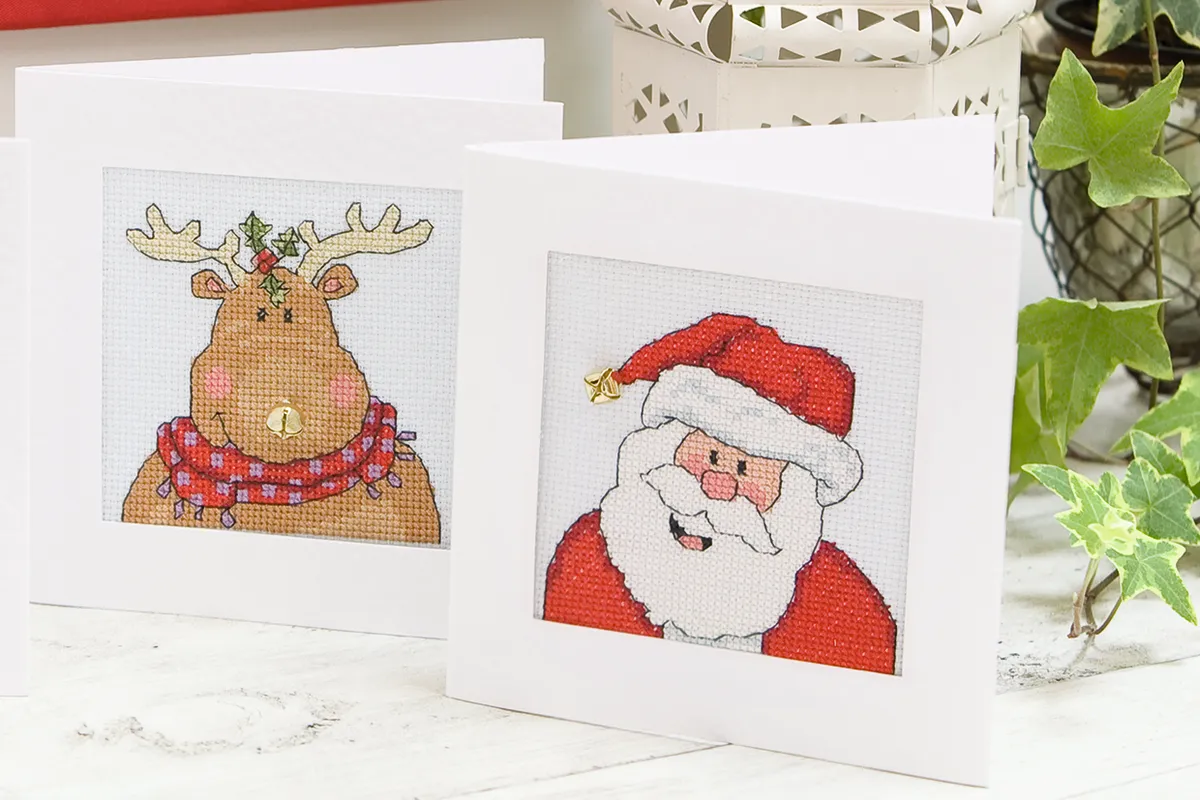
Alternatively, use your stitching to create unique Christmas cards by mounting them in round aperture cards. This red-nosed reindeer cross stitch was designed by Rhona Norrie and originally published in The World of Cross Stitching issue 287. If you want the full set of 4 you can purchase a digital edition of the magazine.

Rudolph the red-nosed reindeer cross stitch pattern
Key features of the reindeer cross stitch
- Stitch time: Approx. 8-10 hours
- Stitch Types: Cross stitch, fractionals, backstitch
- Ease of Stitching: Beginner/advanced beginner
What you’ll need to make the reindeer cross stitch
- Fabric: Zweigart* 14-count white aida measuring 18x18cm (7x7in) for each design
- Threads: Stranded cotton as listed in the key
- Needle: Size 24 tapestry needle, beading needle
- 4in wooden embroidery hoops
- Extras: Backing fabric, hemming web, white felt for backing, ribbon, paint and glitter of your choice
Download Rhona Norrie’s reindeer pattern PDF
Download the reindeer cross stitch pattern

How to make your reindeer cross stitch into a gift card holder
Using your inner hoop as a template, cut out your stitching and a panel of backing fabric approximately 4cm (1½in) larger than your hoop. Then, cut out a piece of white felt slightly smaller than your inner hoop.
- Use an iron to hem along the top edge of the stitching with the hemming web.
- Lay your stitching on top of the backing fabric and place both the fabric and your aida in the hoop as normal. You will want to make the screw really tight, keeping the stitching taut like a drum.
- Sew a row of running stitch around the outside and gather the edges to secure your aida at the back. Lay the felt over the back of the hoop and tack it in place to protect the back of the stitching.
Stitch Santa Claus!
Now you’ve stitched Rudolph, it's time to stitch up the main man himself, Santa! This charming Santa design by Jenny Barton can be mounted onto a card to create a fab Christmas card.

Making your gift card holder extra special
A gift card can feel unexciting to give to somebody. Sprucing up a gift card with our reindeer cross stitch pattern is a great way to add extra magic to the experience. The recipients can choose their own gift plus they get an extra homemade keepsake for their Christmas decor.
Add a touch of sparkle to your home with a Snowflake cross stitch
Now you’ve sorted the gifts, make something beautiful to hang in your home this festive season. Stitch up the glittery snowflake cross stitch by Jenny Van De Wiele. It’ll be a timeless addition to your home decor.
