Step 1
Apply iron-on interfacing
Place a piece of iron-on interfacing onto the back of the felt, and cover with a pressing cloth. Carefully fuse it into place with an iron.
Step 2
Transfer your designs and mount in your hoop
Using the templates, mark out the designs on your felt using your preferred method – we used white tailor’s chalk.
Make sure that you position each template with plenty of space between the circles, as this will be your guide for cutting the motifs out later.
Mount the felt into your hoop, ensuring the surface is taut.

Step 3
Embroider the stars
Begin with the stars. First, mark the outer and central lines of the large five-point stars using long Straight Stitches in yellow.
Once you have made five diamond sections as shown, fill in each block with Satin Stitch in yellow, working from the centre point out to the tip.
Repeat to make three more large five-point stars.

Step 4
Stitch the smaller stars
For the small stars, use yellow to work a long cross shape in Straight Stitch, then use smaller Straight Stitches to work another cross shape over the top.
Repeat to make three more small stars.

Step 5
Stitch the craters of the moon
For the moon, start by stitching around the craters in random Straight Stitches using light grey. Radiate each stitch, starting from the crater outline and working outwards.

Step 6
Stitch the outline of the moon
Using three strands of grey, work the outline of the moon in Backstitch.
Fill the remaining area within the moon with a series of Straight Stitches worked in random, overlapping directions for a textured effect.

Step 7
Embroider the purple planet
Next, create the purple planet. Start by working on a couple of the planet’s sections using French Knots in dark orange.
Be sure to work the French Knots close together to create a dense cluster of stitches. See the image for placement.

Step 8
Fill the purple planet
Now, using plum and dark plum, fill the remaining area of the planet with swirling rows of Backstitch.
Start by stitching the outline of each section in Backstitch and then fill with concentric rounds until no felt is left showing through.

Step 9
Stitch the ringed planet
Begin the ringed planet by working approximately 32 Straight Stitches in turquoise, starting from the centre point of the planet and continuing outwards to create a wheel effect.
Be sure to keep your stitches neat and even at this stage, using your template circle as a guide.
Change your thread to dark teal, then fill the gaps between the stitches with colour until no felt is left showing through.
Outline the planet with two rows of Backstitch in turquoise.

Step 10
Embroider the rings
To create the planet’s rings, work two rows of Chain Stitch in yellow as shown. When working the Chain Stitch over the planet, be careful not to misalign the stitches below as you pull the needle through.

Step 11
Cut out your moons and planets
To make the wall hanging, cover the embroidered motifs with a pressing cloth and iron.
With a pair of sharp scissors, neatly cut the embroidered motifs from the felt sheets following the outer cutting lines.
Use the outer lines of the templates to cut three larger felt circles and six smaller felt circles – these will become the backings of each embroidered piece.

Step 12
Putting it all together
Cut three lengths of string approximately 80cm long.
Fold each length in half and loop over the wooden dowel to secure.
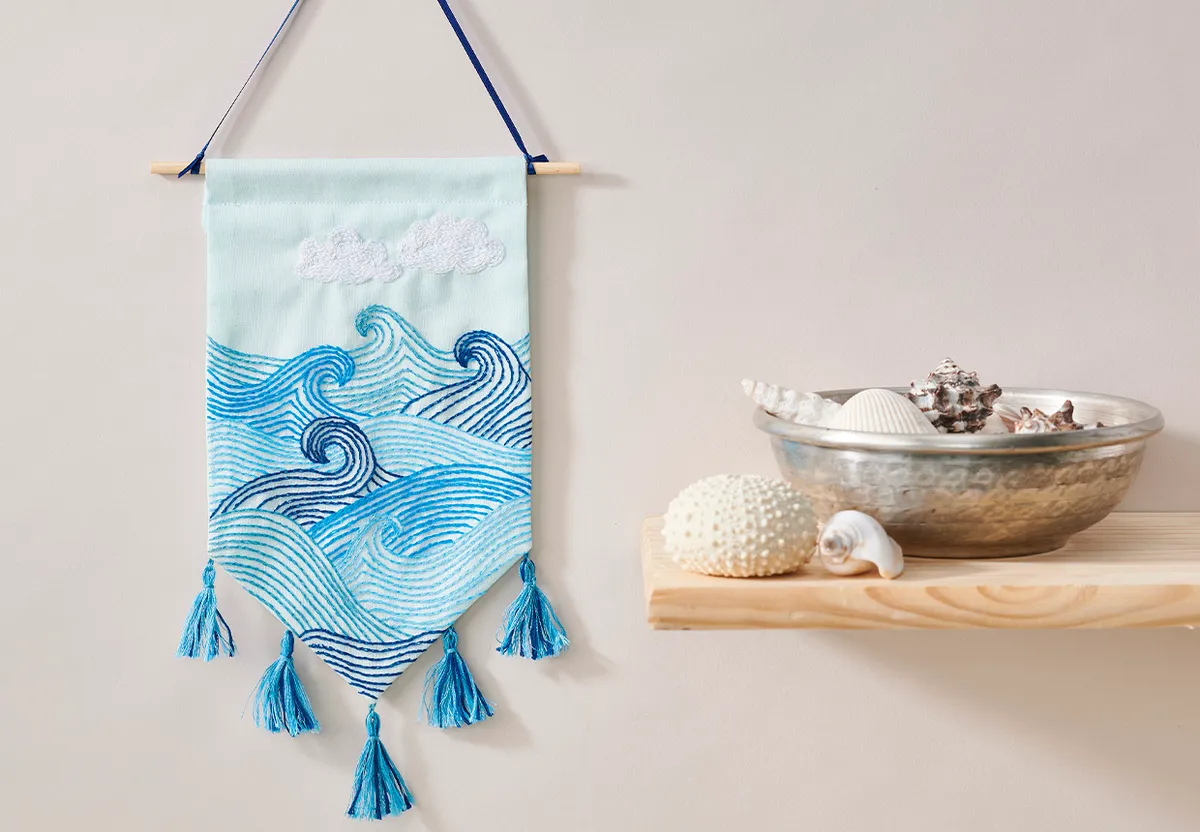
Decide where to position your embroidered motifs on the hanging strings – use the main image as a guide for placement, remembering to keep the design balanced overall.
Neatly knot a washer in the position of each motif, to ensure that everything hangs neatly without adding too much weight.
Try to keep the hanging strings lying flat at this stage, to help the finished motifs to face forward.

Step 13
Fixing it in place
Apply a thin layer of fabric glue to the blank felt and position the washer secured to the string to the centre of the felt.
Apply glue to the back of the corresponding embroidered motif and secure it in place, sandwiching the washer.
To prevent the adhesive from seeping through any of the felt, use the fabric glue sparingly and, if possible, use a spatula or similar tool to spread the glue thinly across the felt surface.
Repeat to secure the front and back of all the pieces onto a strung washer. Leave the glue to dry fully overnight before continuing.
To finish, create a small hanging loop with a length of string.
Secure the ends of the string to the ends of the wooden dowel using tight knots.