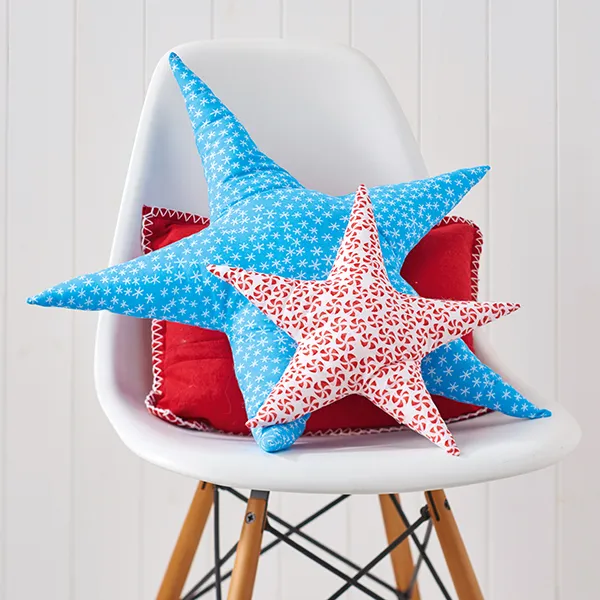
How to make a star cushion: two free sewing patterns!
Bring some sparkle into your home by making our star cushion sewing patterns. Adding a scattering of star cushions to your bed will help to make it an inviting place to relax and leave the worries of the day behind.
We have two free star cushion patterns for you to make, both created by the ever-so-clever Rebecca Reid. So if you aren't sure about the first one, then don't worry! Just keep scrolling to find a new design.
How to make a star cushion
You will need:
- Main fabric: small star 40x80cm (16x32in), large star 60x120cm (24x48in)
- Polyester fibrefill
- Matching sewing thread
- Download our star sewing patterns here.
Notes
- Once finished, the large star measures 50x50cm (20x20in) and the small star measures 30x30cm (12x12in).
- Use a 1.5cm (5⁄8in) seam allowance, unless otherwise stated and press all seams open as you go.
Cutting out the fabric
Step 1
Decide which size star cushion you want to make first, then trace around the corresponding star template from our free sewing pattern and cut it out.
Step 2
Cut the main fabric in half to make two squares, one for the front and one for the back of the cushion.
Making the star
Step 1
Place your template centrally on the wrong side (WS) of one piece of fabric and draw around it.
Step 2
Place this piece of fabric right sides (RS) together with the other piece of fabric and pin together.
Step 3
Stitch carefully along the drawn lines, starting and stopping along a straight edge so that you can leave a small turning gap. When you reach points or tight curves, leave your needle in the fabric, pivot the fabric and stitch carefully around.

Step 4
Trim all round the edges using pinking shears. At the star point, trim the fabric closer to the stitching to reduce bulk.

Filling the star
Step 1
Turn your star RS out and turn the gap edges under and press.
Step 2
Stuff the star firmly, using just small pieces of stuffing at the points to make sure they are filled right up to the ends.

Step 3
Slip stitch the gap closed to finish.
Now that you know how to make a star cushion, why not try this free star cushion sewing pattern for a slightly different result! Read on to try Rebecca Reid’s star cushion sewing pattern…
Free star cushion sewing pattern

You will need
- Main fabric: small star 40x80cm (16x32in), large star 60x120cm (24x48in)
- Matching sewing thread
- Polyester fibre
- Templates
Notes
Download the star cushion templates.
Cutting out
Step 1
Trace around the star template from the pattern sheet and cut it out.
Step 2
Cut the main fabric into half to make two squares, one for the front and one for the back of the cushion.
Making the star
Step 1
Place the two pieces of fabric wrong sides (WS) together and pin the star pattern centrally on top.
Step 2
Cut around the edge of the pattern to make two star shapes.
Step 3
Remove the pattern, then pin the two stars together, keeping them both right sides (RS) out and making sure that their edges line up exactly.

Step 4
Stitch together carefully 2cm (¾in) from the raw edges. Start stitching 2cm (¾in) from one point then stitch all the way around. When you reach each point of the star, leave your needle in the fabric, pivot the fabric and stitch carefully along the next edge.
Step 5
Continue stitching all the way around and stop stitching 2cm (¾in) from the inner point below where you started. This will leave a gap in one side of the star for filling.
Step 6
For a more decorative and finished look, work another line of machine stitching all the way around the star just 5mm (¼in) outside the first line. Again, leave a gap in the stitching in the same place as the first line.

Filling the star
Step 1
Stuff the star firmly using just small pieces of stuffing at the points to make sure they are filled right up to the top. Use the end of a chopstick or pencil to push the stuffing right to the point.


Looking for more home décor projects?
Learn how to make a duvet cover.
Step 2
Pin the star front and back together along the gap in the inner line of stitching.

Step 3
You now need to close the gap by working a line of machine stitching. Start stitching on top of the already worked stitching at one end of the gap, and finish on the top of the worked stitching at the end of the gap. You’ll need to push the stuffing out of the way whilst you do this so you don’t stitch through it.
Step 4
Repeat this to close the gap in the outer line of stitching.
Finishing off
Give your cushion a good pummel and shake to even out the stuffing again. Your finished cushion has a raw edge that will fray a little, but this is part of the effect.
You’ve finished! Use your star cushion sewing pattern to whip up a whole constellation for your home.

Give your home a handmade touch
When it comes to cushions, more is definitely more! Not only are they a simple way to brighten up a room with colour and print, but they also provide us with a comfy spot to take a well-earned rest after a day of sewing. We’ve made our quick-sew star cushions in a calming colour palette of indigo, mint and cream for sweet dreams.
When you’re designing your home, putting three objects together always has a lot of impact, so sewing a little trio of cushions will help your bed to look truly stylish.
Looking for more cushion patterns for your home?
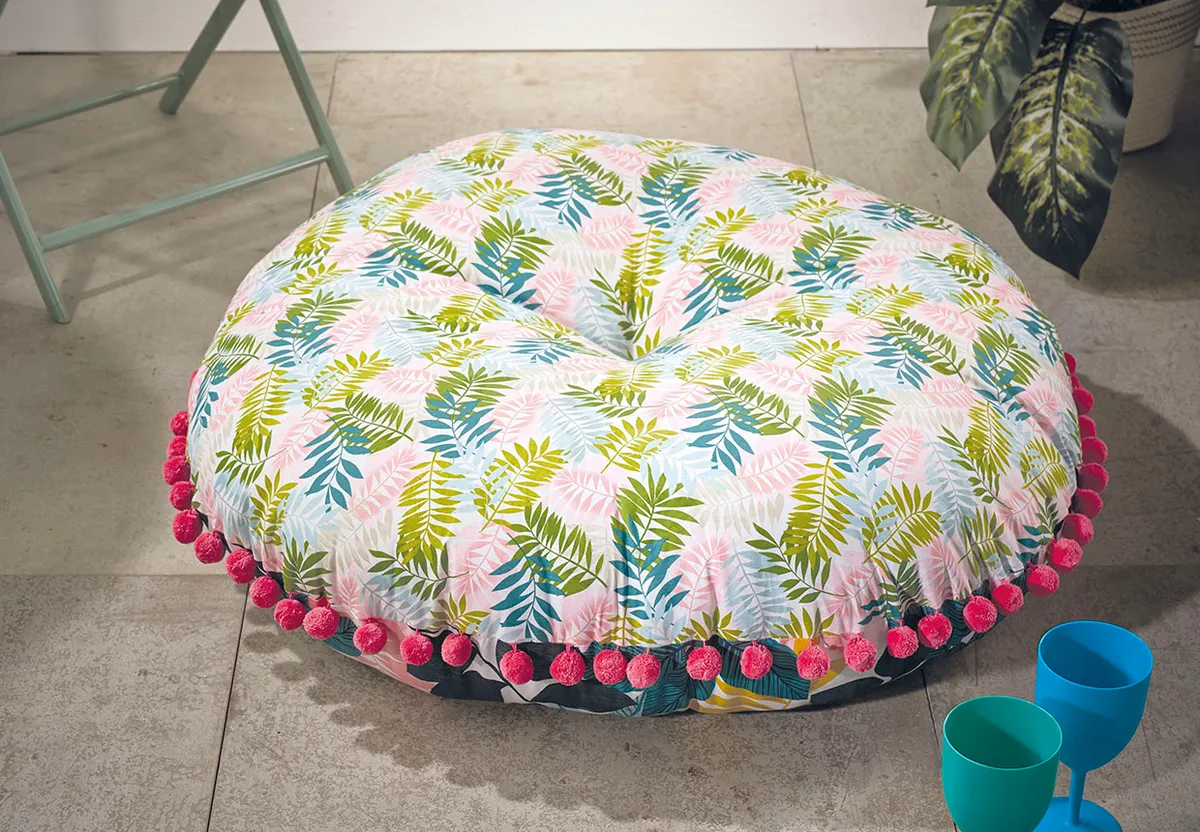
You’ve finished making your star cushions! Use them to add some sparkle to your home this Christmas. Next, give this DIY floor pillow sewing pattern a go.