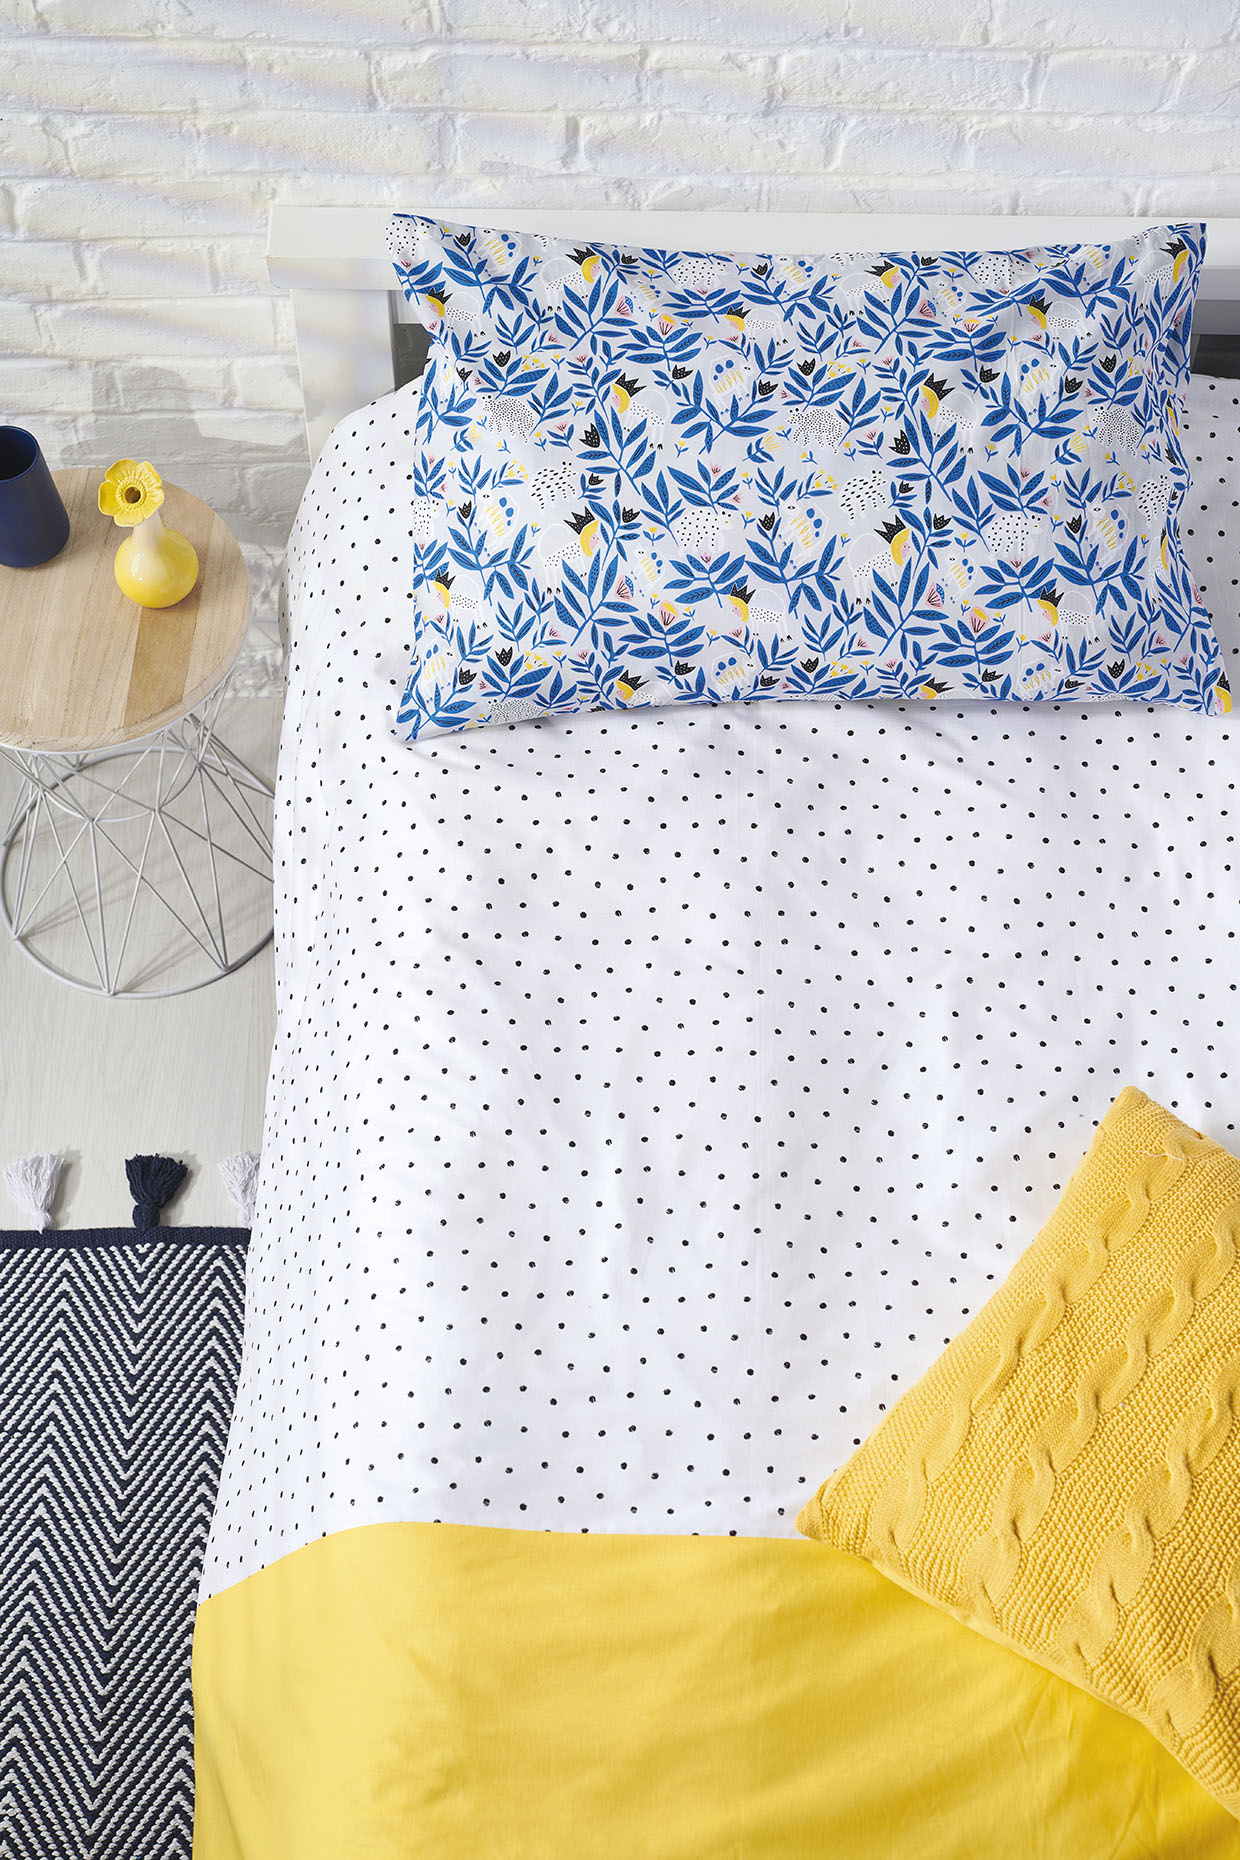
Cutting out
Step 1
Unless you are using an extra-wide fabric for the duvet cover lower panel, use the length of the fabric to cut the width of the piece.
From Fabric A cut out:
- Pillowcase front: 49x93cm (193⁄8x365⁄8in).
- Pillowcase back: 49x74cm (193⁄8x291⁄8in).
Step 2
From Fabric B cut out:
- Duvet cover front upper panel: 100x137cm (393⁄8x54in).
Step 3
From the yellow sheeting cut:
- Duvet cover front lower panel: 100x137cm (393⁄8x54in).
Step 4
From the blue sheeting cut: Duvet cover back: 205x137cm (80¾x537⁄8in).
Making the pillowcase
Step 1
Lay out the larger pillowcase fabric piece right side (RS) down in landscape position, ensuring the pattern is facing the correct way if you are using a patterned fabric. Fold over the right-hand short edge of this piece by 1cm (3⁄8in) twice and pin in place.
Step 2
Lay out the smaller piece in the same way. Fold over the left-hand edge this time in the same way as you did before, by 1cm (3⁄8in) twice, and pin in place.
Step 3
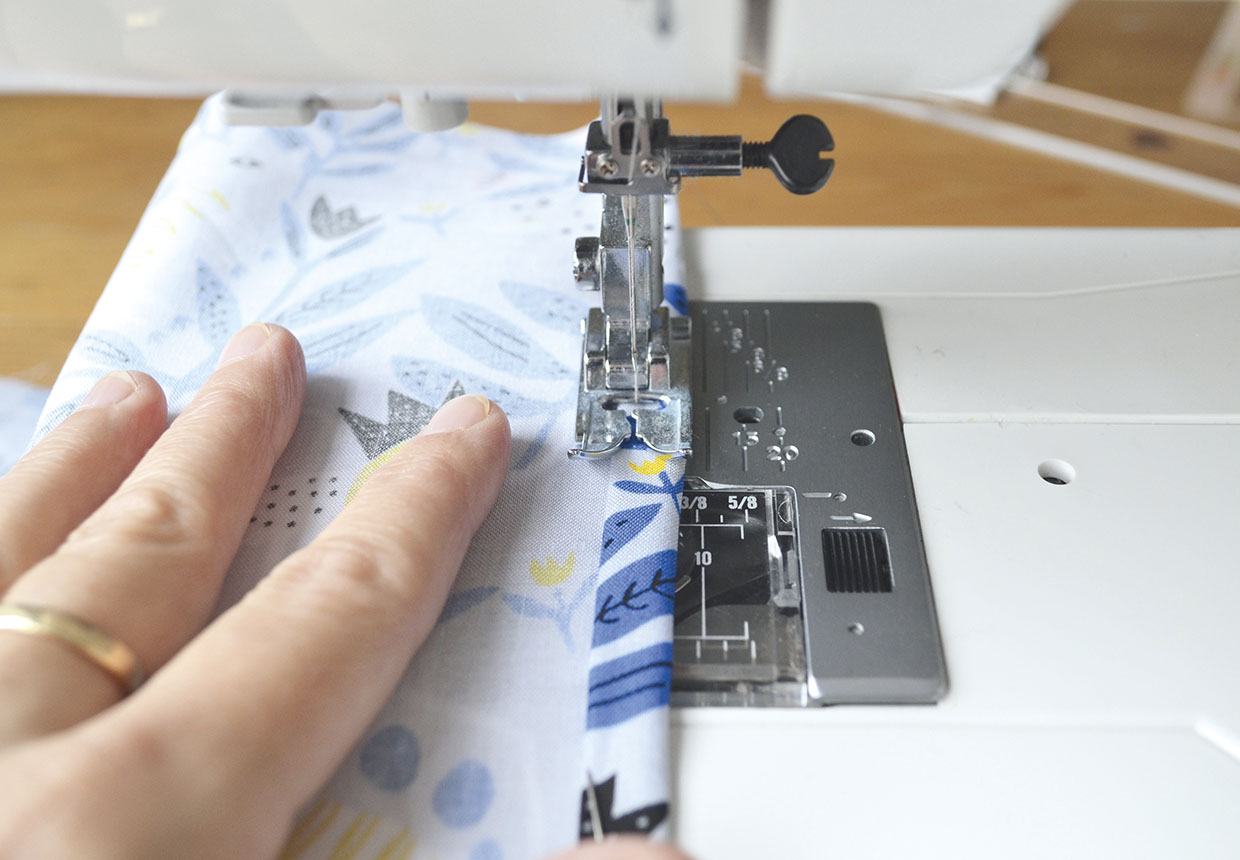
Sew along the pinned edges to secure the folded hems.
Step 4
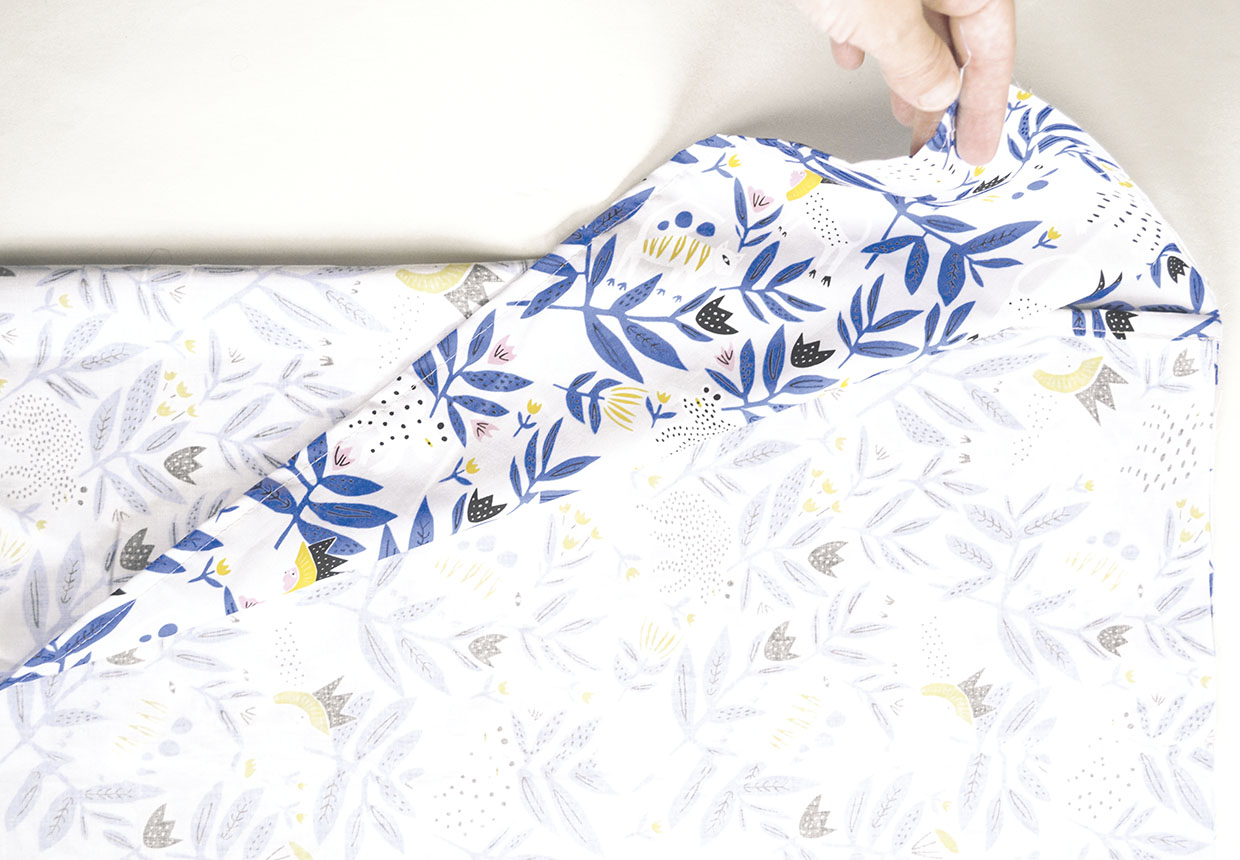
Lay out the larger rectangle again but this time RS up. Lay the smaller piece on top RS down so that the unsewn edges of both pieces match up. The hemmed edges should be on the same side, with the hemmed edge of the longer piece sticking out. Fold over the part of the longer piece that is sticking out, so that it is now on top of the smaller piece.
Step 5
Pin along the long edges and the unsewn short edge but not the folded edge.
Step 6
Sew along the three pinned sides, 1cm (3⁄8in) in, removing the pins as you sew.

Step 7
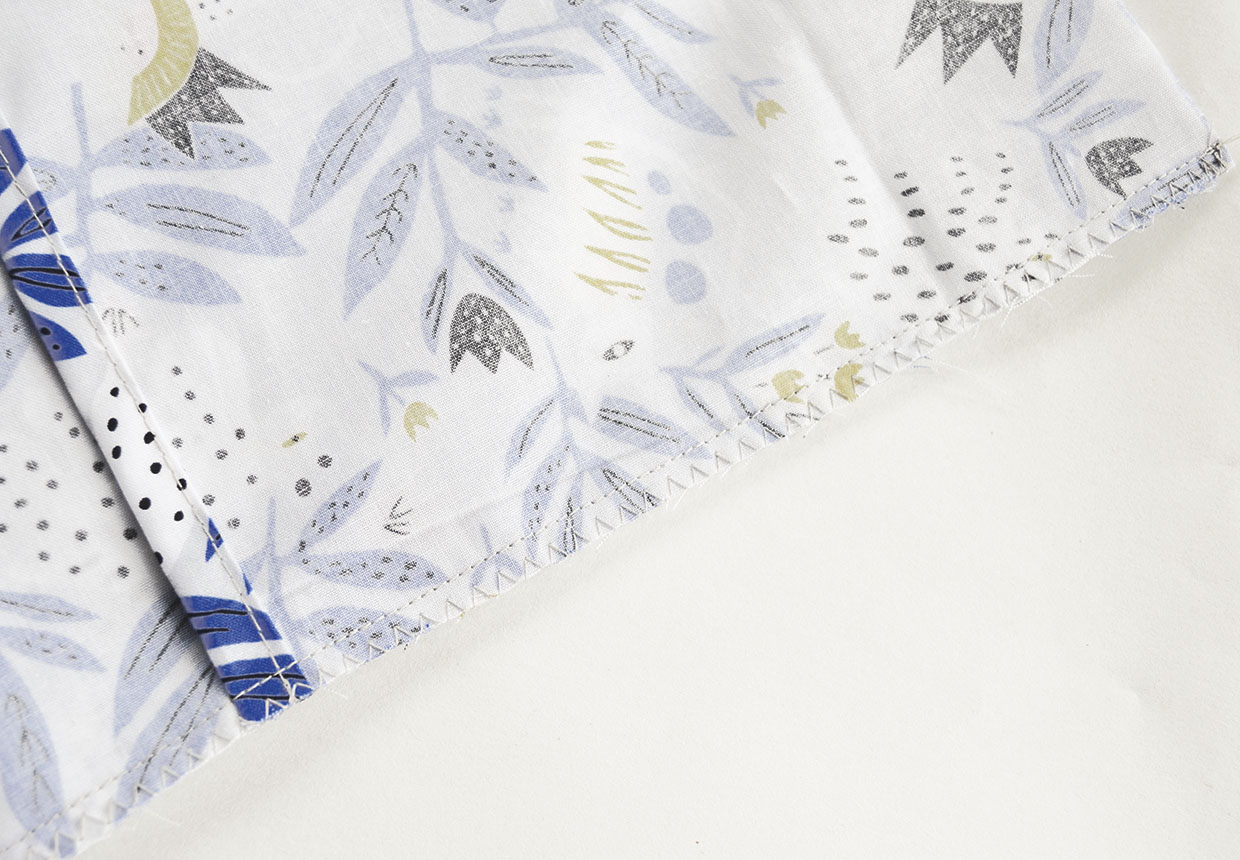
Trim the seams along the three sewn edges to 5mm (¼in) and finish the raw edges with a zigzag stitch to prevent fraying.
Making the duvet cover
Step 1
Lay out the duvet cover front upper panel RS up and in landscape position. Next, lay the duvet cover front lower panel on top so that the bottom long edges of the two fabrics match up. Pin along this edge.
Step 2
Sew 1cm (3⁄8in) along that bottom long edge, removing the pins as you sew.
Step 3
Press the seam flat.
Step 4
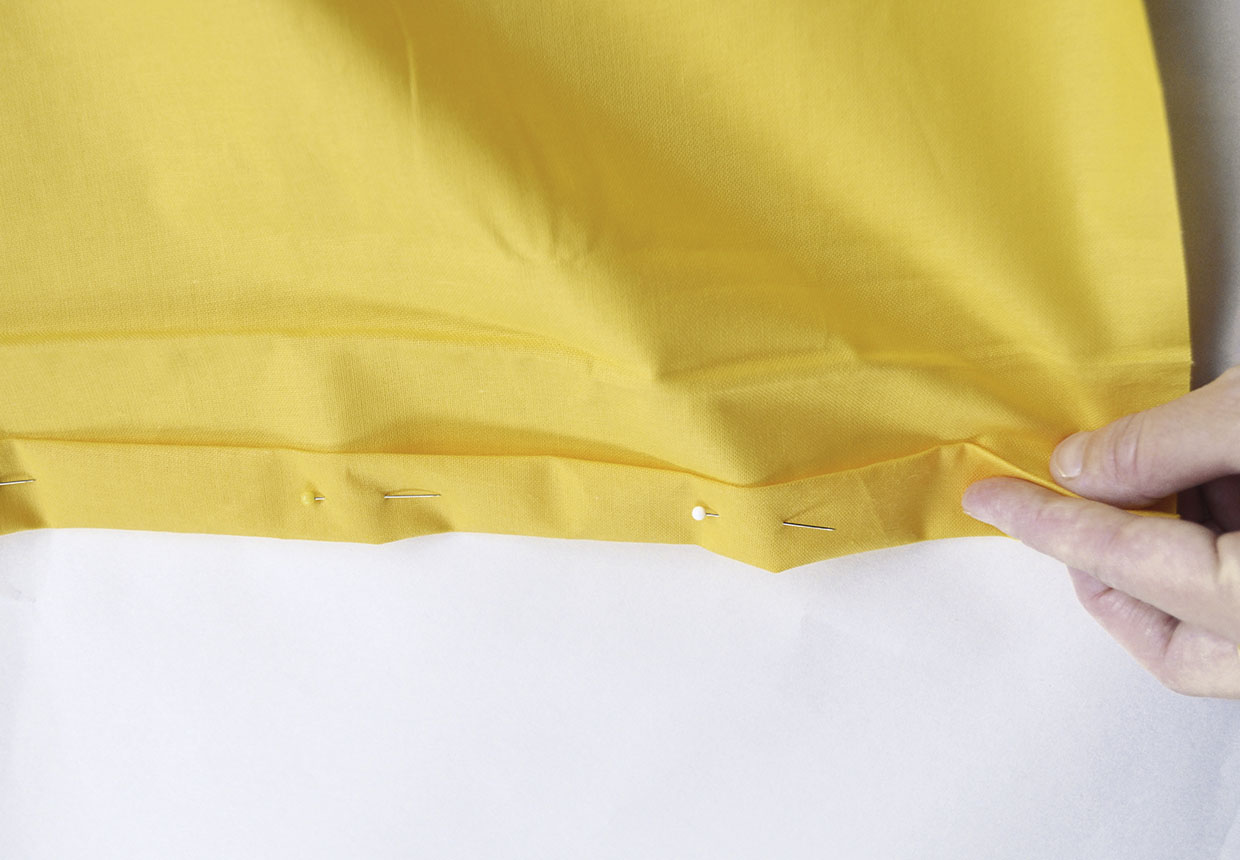
Open out the assembled duvet cover front and lay it wrong side (WS) up on your work surface in portrait position, with the larger section towards the top. Fold the bottom (sheeting fabric) edge over by 2cm (¾in) twice, and pin in place. Sew along the pinned edge 2mm (1⁄8in) from the inner edge of the fold.
Step 5
Lay out the duvet cover back piece in portrait position and fold the bottom short edges over by 2cm (¾in) twice. Pin and sew.
Step 6
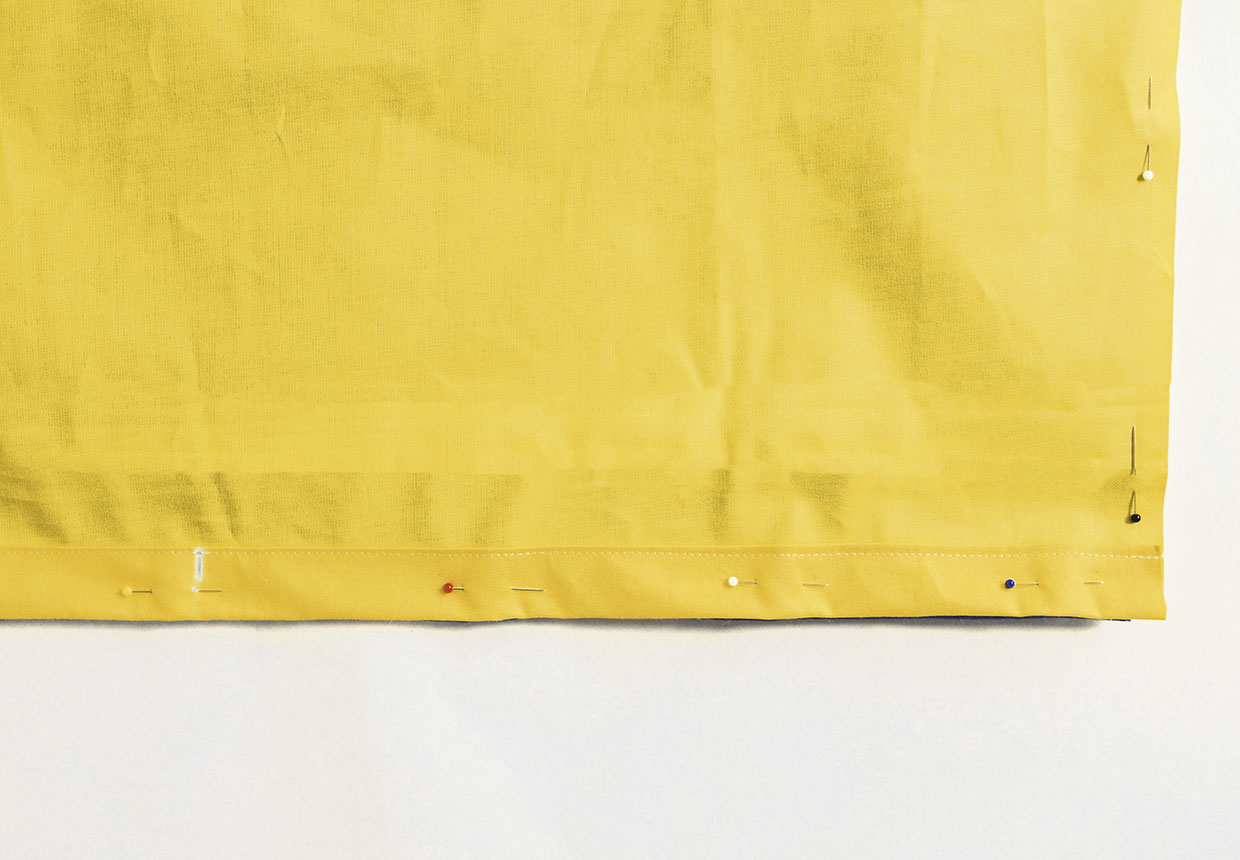
Next, lay out the backing piece RS up in portrait position with the folded edge at the bottom. Lay the assembled duvet front piece on top, RS down, making sure that the folded edge is also at the bottom and all of the raw edges align. Pin around all of the edges.
Step 7
Using tailor’s chalk, mark a point 30cm (12in) in from the right-hand side, along the bottom edge. Do the same from the left-hand side along the bottom edge.
Step 8
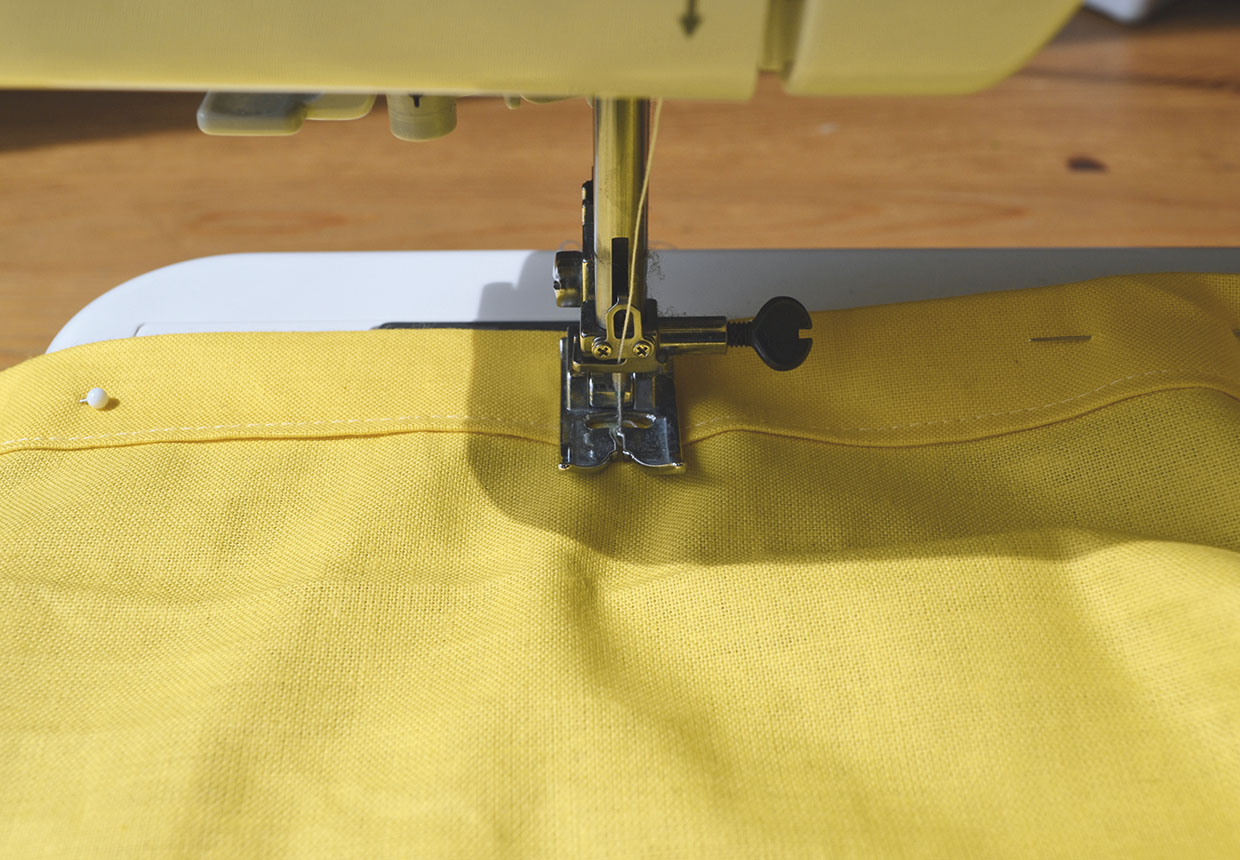
Begin sewing at the marked left-hand point, at a right angle to the bottom edge. Sew for approx 1.8cm (¾in), stopping when you reach the line of stitching made earlier. At that point, lower your needle and pivot 90 degrees.
Step 9
Continue sewing so that you are sewing along the line of previous stitching, towards the nearest corner of the duvet cover. Stop sewing 1cm (3⁄8in) from the long edge of the duvet cover. With the machine needle down, pivot 90 degrees again and continue to sew along the long side, top and other long side edge with a 1cm (3⁄8in) seam allowance. Stop sewing when you reach the stitching at the folded part of the bottom edge again, 1.8cm (¾in) from the bottom edge.
Step 10
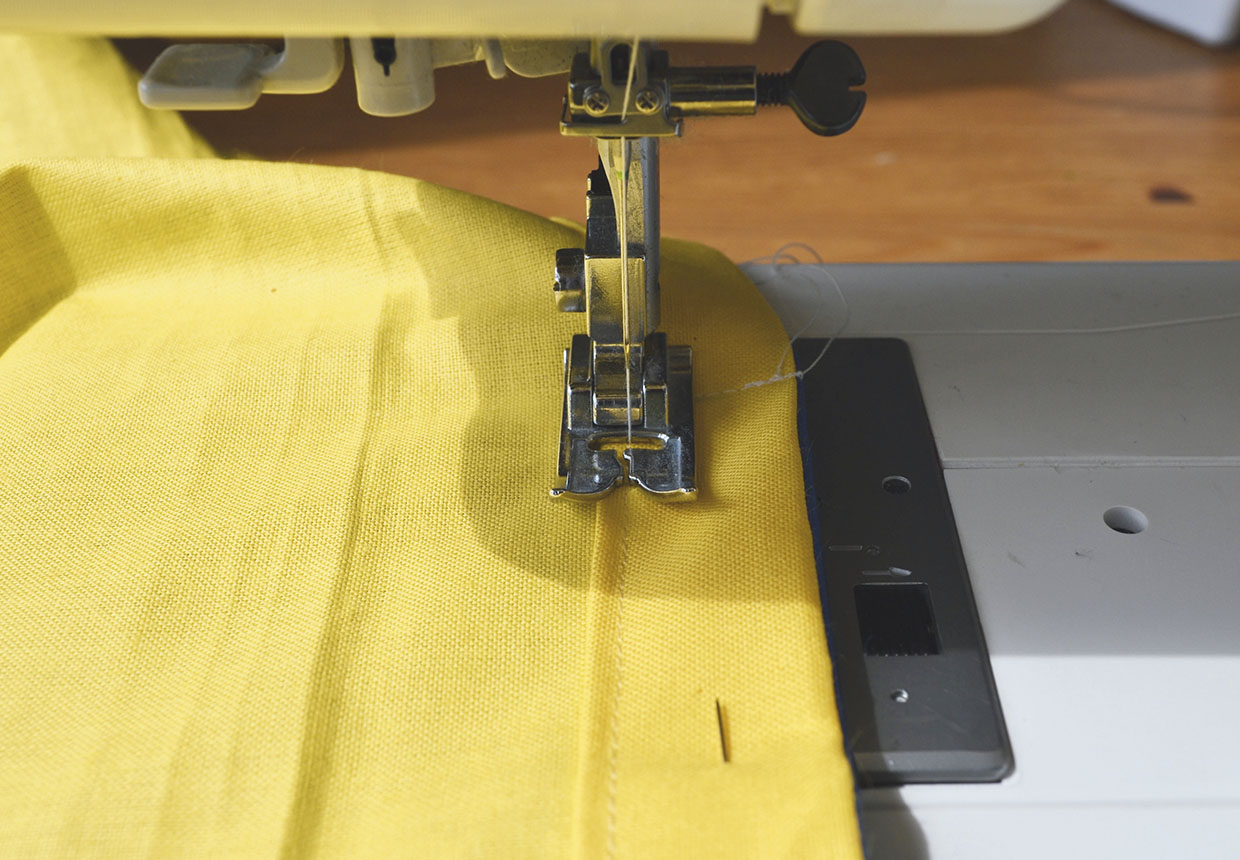
Once again, pivot 90-degrees with your machine needle down and follow the stitching of the folded edge until you reach the other 30cm (12in) mark. At this point, turn 90 degrees towards the bottom edge and sew to the edge, approx 1.8cm (¾in).
Step 11
To secure and neaten the inside seams, zigzag stitch around the side and top edges only.
Adding the poppers
Step 1
Step one Lay the duvet cover out with the open edge facing towards you. Along that bottom edge, mark a point 43.5cm (171⁄8in) in from the left-hand side. Mark a second point 55.5cm (217⁄8in) in and then a third 67.5cm (265⁄8in) in, a fourth 79.5cm (313⁄8in) in and finally one 91.5cm (36in) in. You should now have five points marked along the opening.
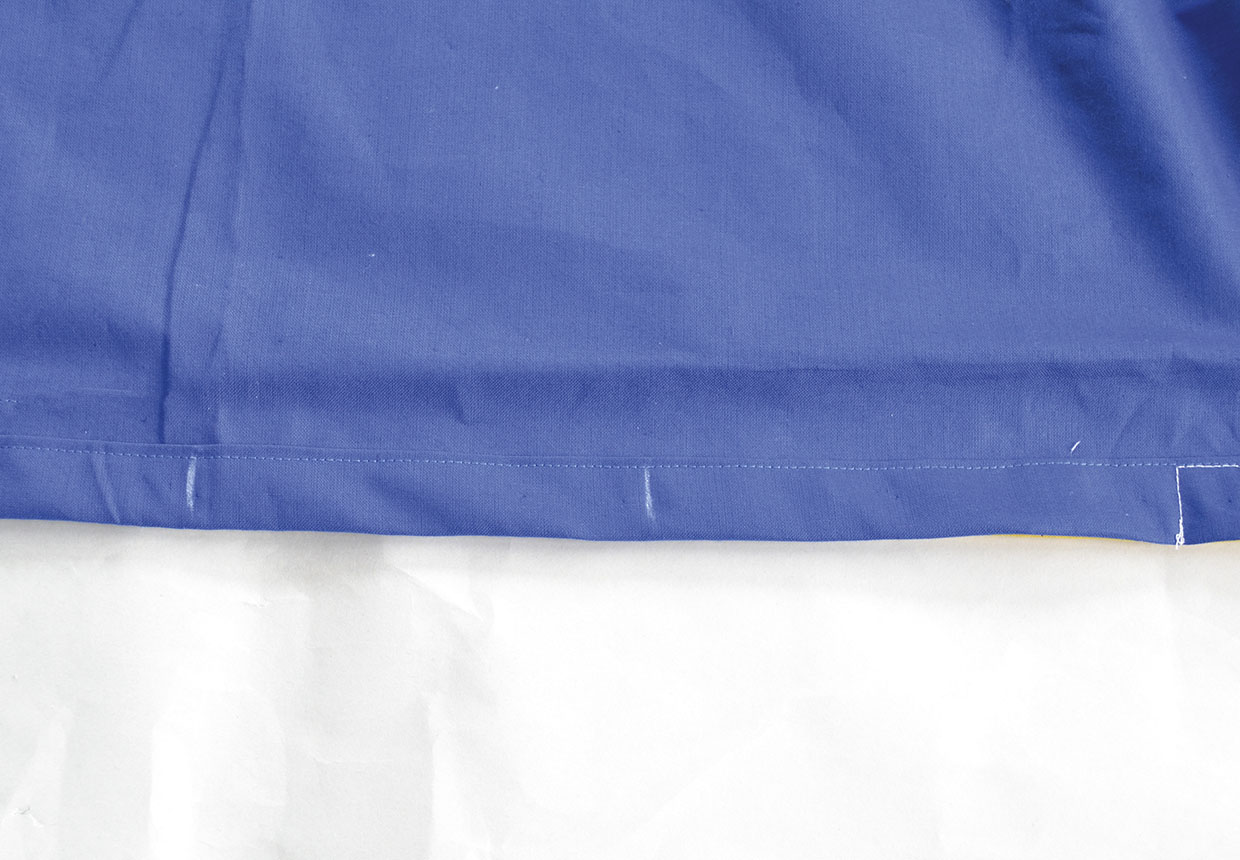
Step 2
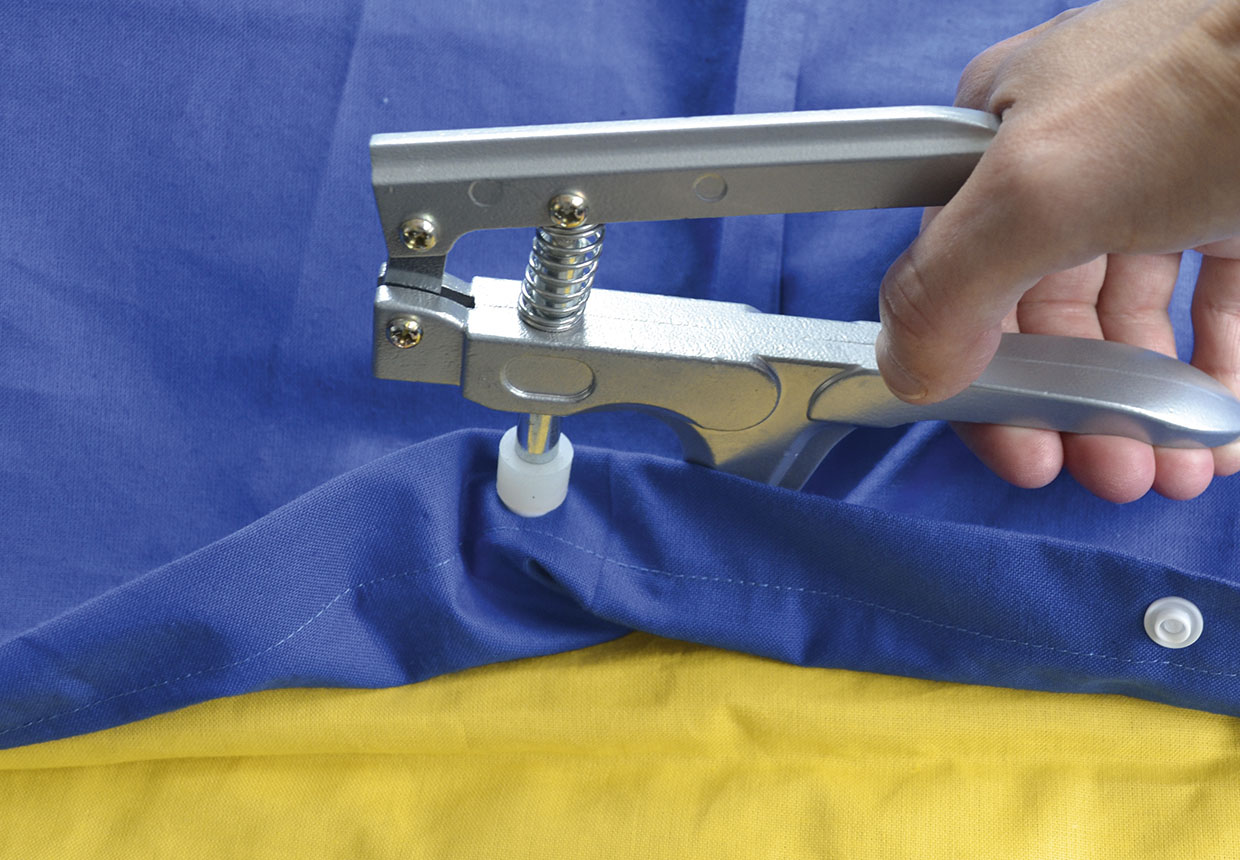
Sort the five Kam snaps pairs so that you have all the ‘positive’ sides. On the top layer of the duvet cover, use the Kam snap tool to add a ‘positive’ side of a snap 1cm (3⁄8in) in from the bottom edge at each of the points you have marked. The caps of your snaps should be on the top. This seems a little counter-intuitive as you’ll be turning your cover right way out later, but it will work!
Step 3
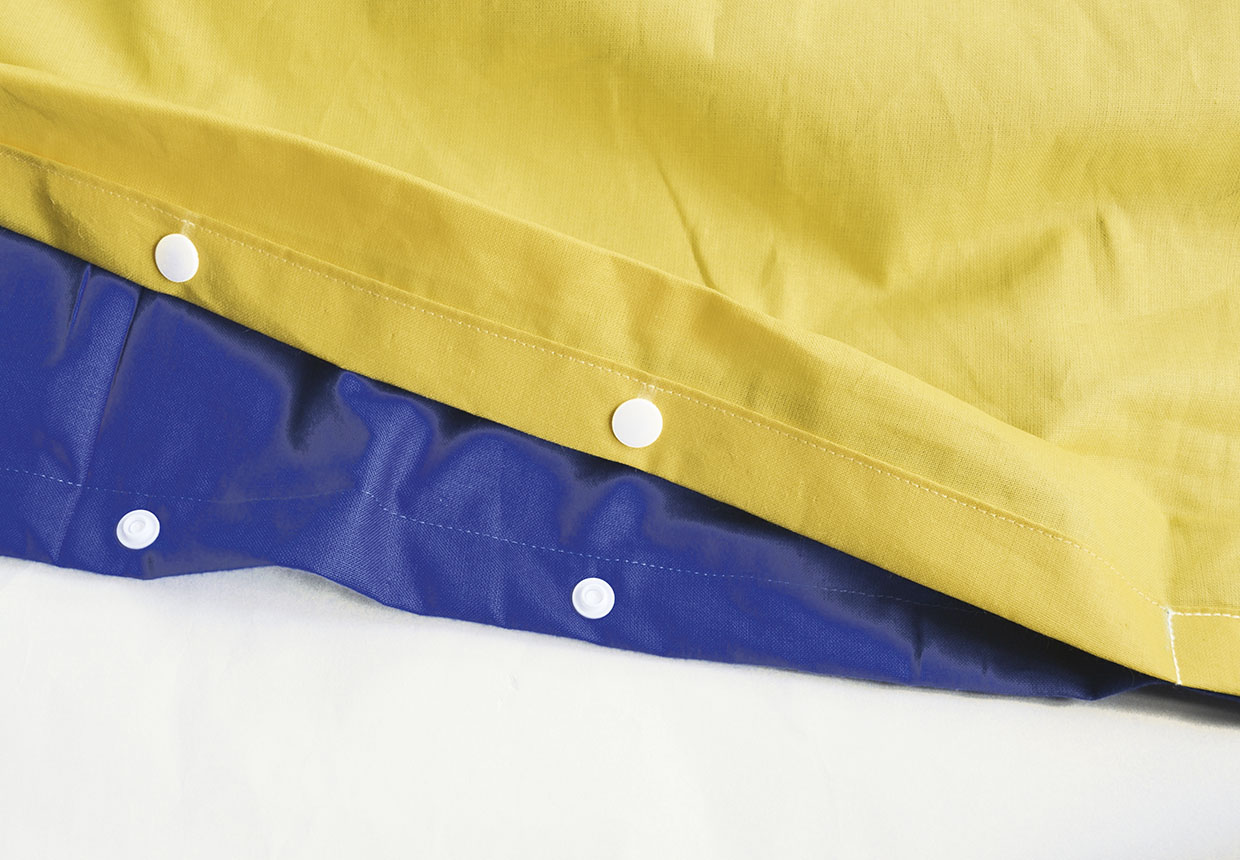
Turn the duvet cover over and repeat the above steps to add the ‘negative’ sides of the Kam snaps to the other bottom edge. The caps should be on the top again, as before.
Step 4
Turn the cover RS out and press.


