All products were chosen independently by our editorial team. This review contains affiliate links and we may receive a commission for purchases made. Please read our affiliates FAQ page to find out more.

How to make DIY floor pillows

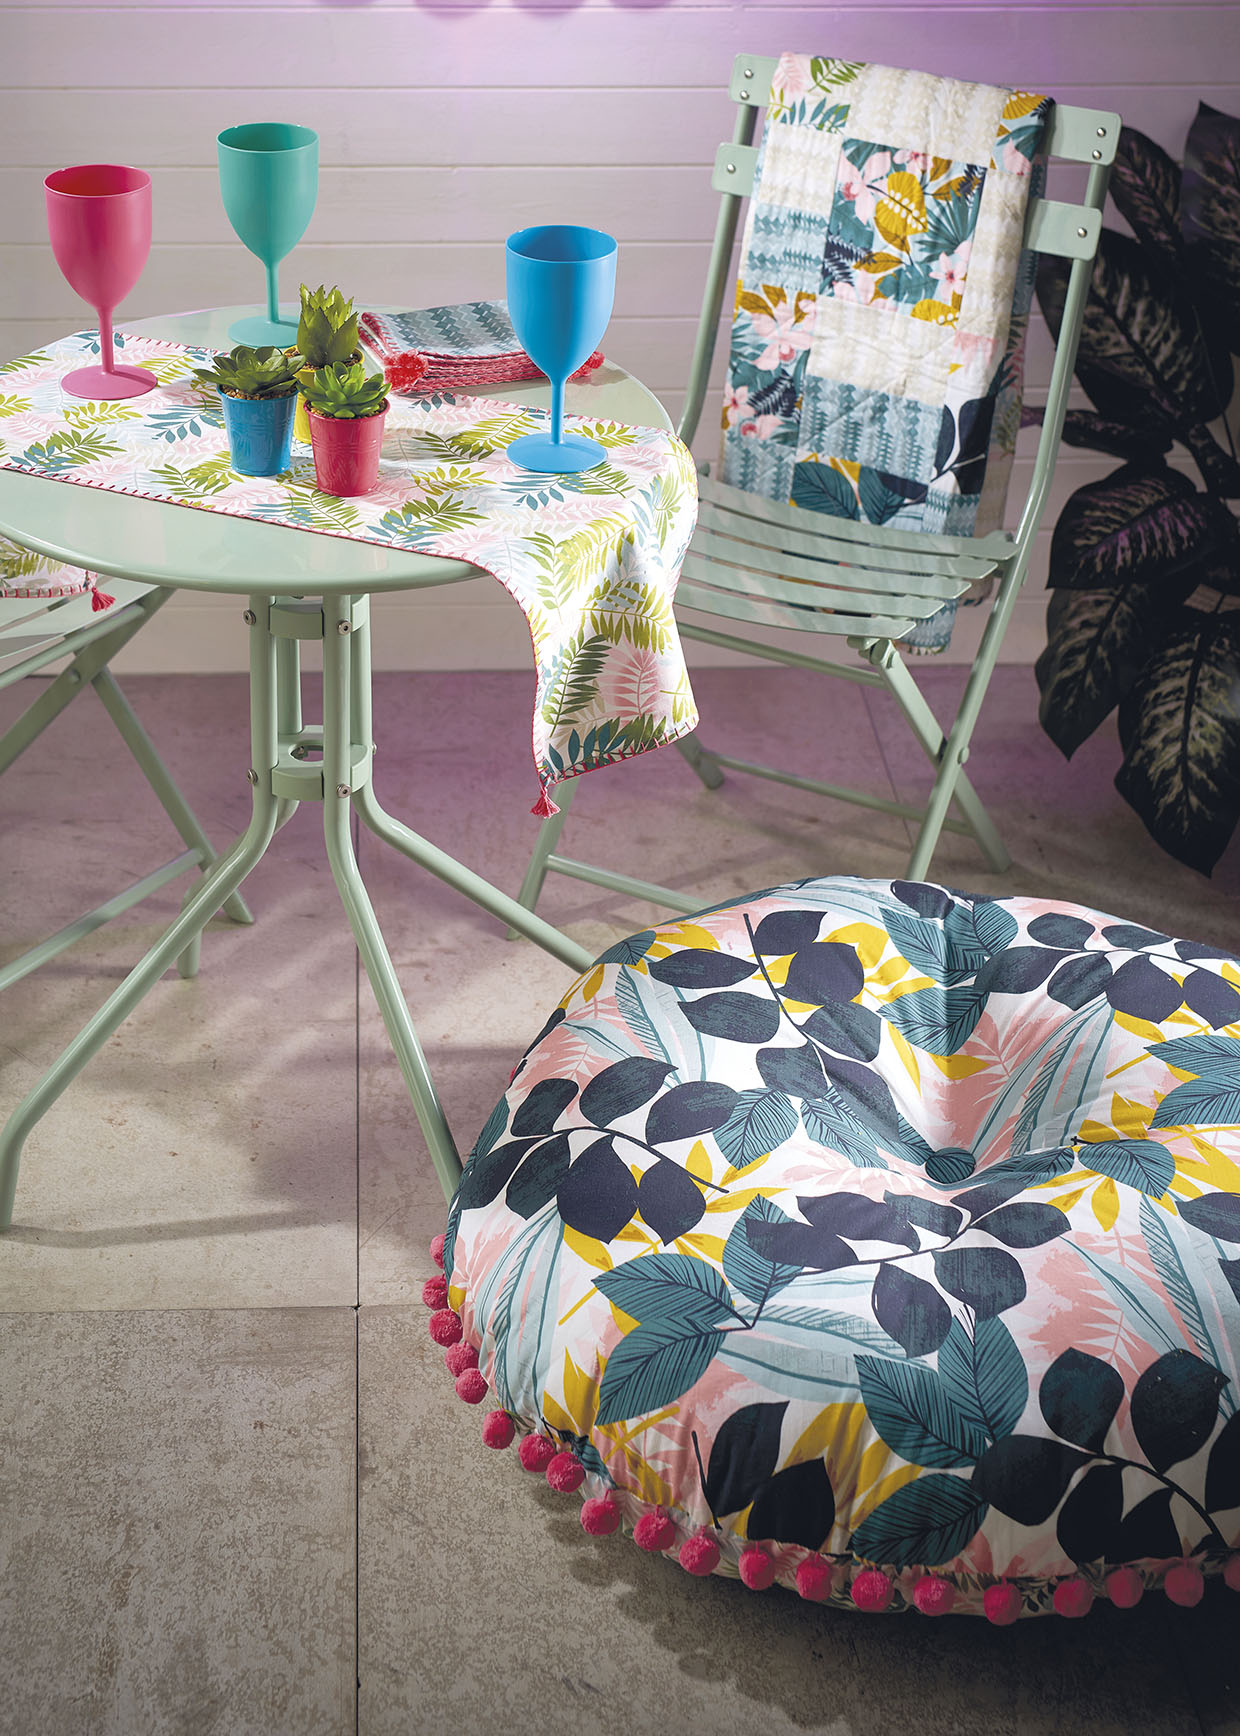
Get ready for a summer picnic or garden party with these beautiful DIY floor pillows created by Jess Entwistle!

6 issues of Simply Sewing magazine for £14.99|Save 78%!

Published: June 7, 2021 at 6:00 am

DIY floor pillows look fabulous and are incredibly versatile! You can use them to brighten up a room or take them out into your garden and enjoy the sunshine.

If you want to create a relaxing space in your home, this DIY floor cushion pattern can also be used to create comfortable meditation cushions to use when you need a quiet moment.

A DIY floor cushion can also make a lovely accessory for a child's bedroom – why not try making a whole batch of them so they can use them while playing with their friends?

Read on to learn how to make DIY floor pillows step by step…

This project was originally created for Simply Sewing Magazine. Jessica Entwistle is a fabric crafts designer who regularly contributes to Simply Sewing Magazine. She loves to create easy-to-sew, accessible designs with a fresh, modern style.

Are you new to sewing? We've put together some useful guides to help you master basic sewing skills and techniques. Explore the best sewing machines for beginners, sewing kits for beginners, sewing for beginners guides and learn how to use a sewing machine.

Notes

You will need:

  • Fabric A (100x100cm (40x40in))
  • Fabric B (100x100cm (40x40in))
  • Large pom pom trim (3.5m (4yds))
  • Self-cover button (38mm (1 5/8in))
  • Paper (50cmx50cm (20x20in))
  • Polyester fibrefill (2.5kg)
  • Matching sewing thread
  • Strong thread for the button
  • Pencil and twine
  • Erasable pen
  • Basic sewing kit

Cutting out

Step 1

Mark a quarter circle with a 25cm (10in) radius using a pencil tied to a piece of twine onto paper. Cut out the paper quarter circle.

Step 2

Fold Fabric A for the cushion front in half widthways, then press along the fold line to make a crease along the width.

Step 3

Fold it again so that the raw side edges and the folded crease align.

Step 4

Pin the fabric layers together to hold the folds in place.

Step 5

Place your paper template on top, making sure that the pivot point is the corner where all your folded fabric meets, and pin into place. This will be the centre of the circle once the fabric is cut and unfolded.

Step 6

Draw around the curved quarter circle and cut it out.

DIY floor pillows step 1

Step 7

Unfold the circle and place it right sides (RS) together on top of fabric B for the cushion back and cut around it.

Step 8

Mark the quarter points on both fabric circles as this will make it easier to join the cushion together later.

Step 9

Mark the circle centre points on both fabrics for the button placement.

Assembling the cushion

Step 1

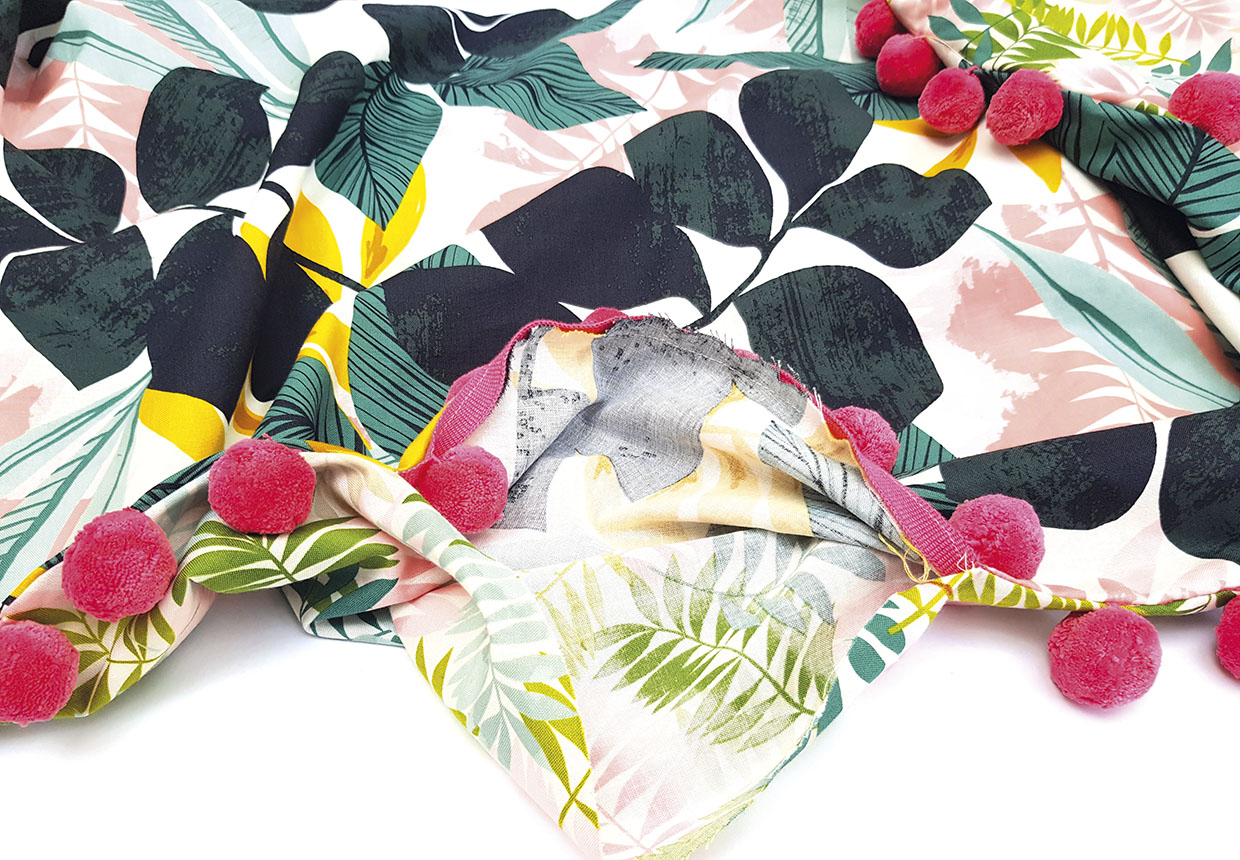
Pin and then staystitch the pom pom trim to the RS of the cushion front, so that the pom poms are facing inwards to the centre of the circle. You may find it easier to use a zip foot for this to keep your stitching straight and avoid stitching into the pom poms. Overlap the tape where the trim meets at the start and finish.

Step 2

Place the cushion front and cushion back RS together, matching the quarter points and using lots of pins.

DIY floor pillows step 2

Step 3

Stitch together all the way around, leaving a 20cm (8in) turning gap. Make sure the pom pom tape is within the seam allowance and not visible from the RS of the cushion.

Step 4

Turn RS out then fold the edges of the turning gap to the inside by 1cm (38in) and press. It's best to tack these too so they stay turnedunder while you're stuffing the cushion.

DIY floor pillows step 3

Stuffing the cushion

Step 1

Stuff the cushion firmly, making sure that it is evenly filled.

Step 2

Slip stitch the turning gap closed.

Step 3

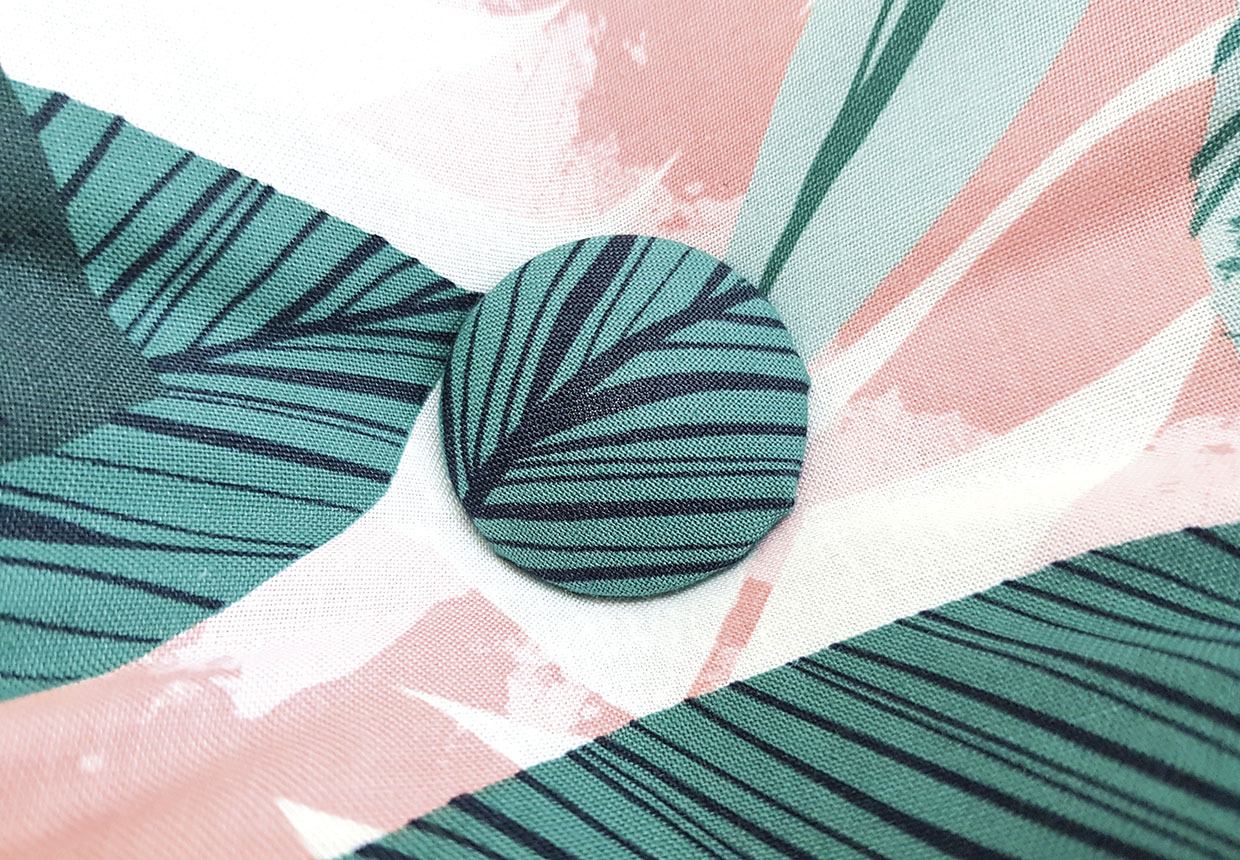
Cover the self-cover button with a scrap of leftover fabric.

Step 4

Stitch the button onto the centre of the cushion front, sewing through the cushion to the back and out again to the front a few times to pull the cushion in and create a dip in the centre.

Step 5

Tie off the thread securely to finish.

DIY floor pillows step 4

You’re finished! We hope you enjoy using your DIY floor cushion.

Looking for more cushion patterns? Learn how to make a cushion cover, how to make a rainbow cushion and how to make a dream big floor cushion sewing pattern. If you’re feeling creative, learn how to block print on fabric and make a gorgeous cushion cover!

DIY floor pillows