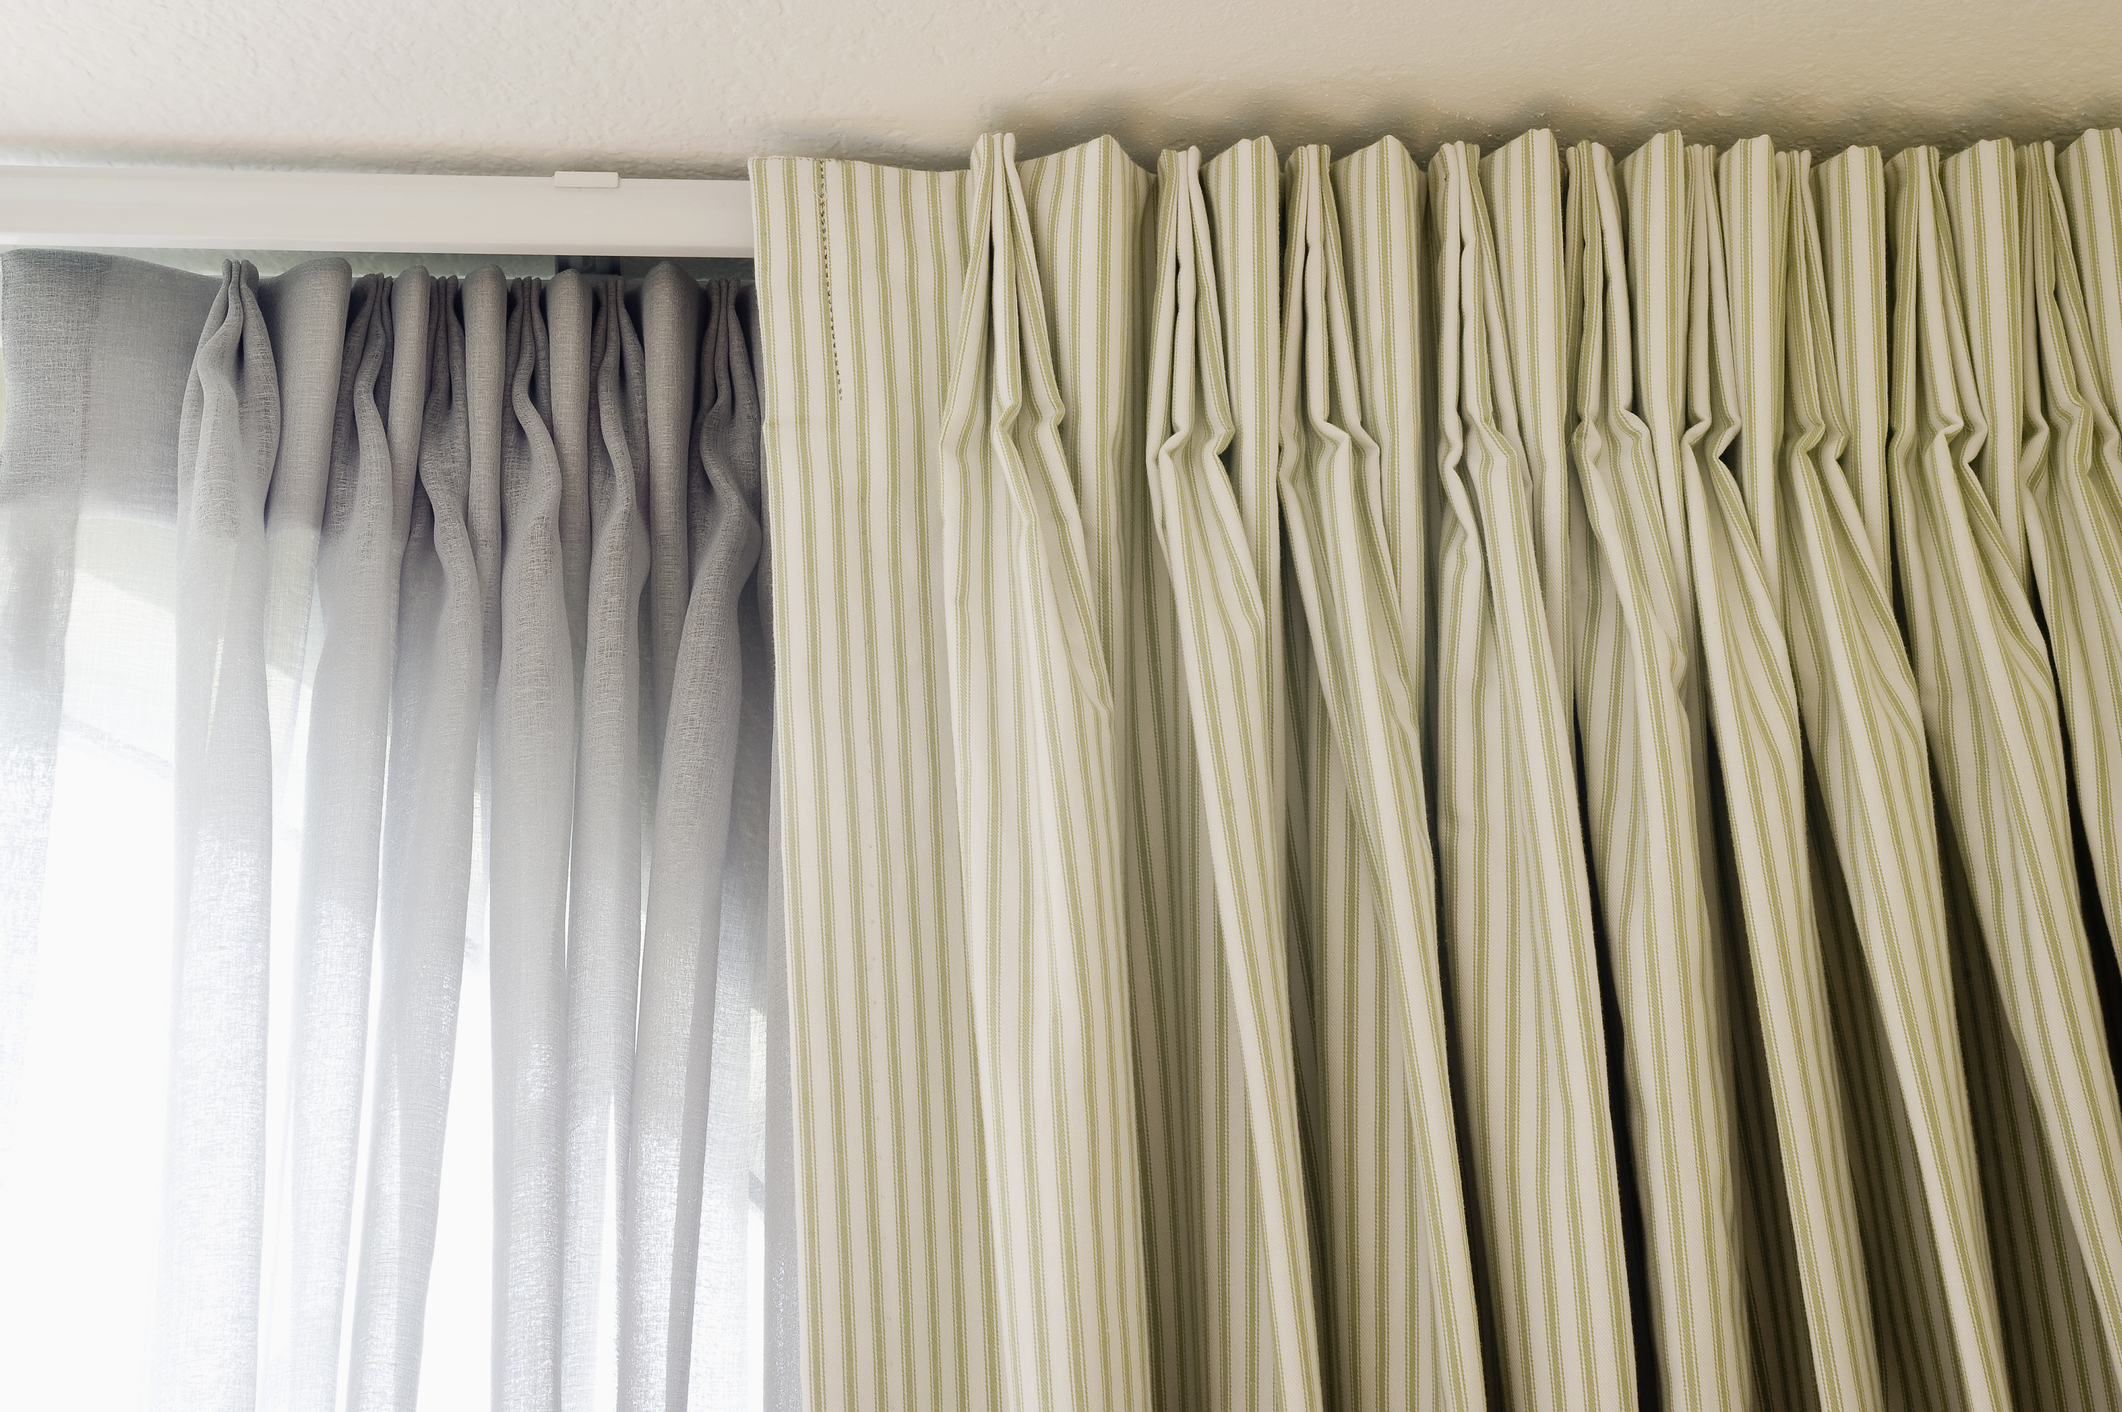
How to make curtains

Whether you want to update an existing scheme or revamp your space, curtains are the finishing touch that can instantly lift a room. Learn how to make your own pair of lined curtains with this step by step guide.

6 issues of Simply Sewing magazine for £14.99|Save 78%!

Published: June 14, 2020 at 8:00 am

Stitching curtains yourself ensures a made-to-measure fit that you just won't get buying them off the shelf. Making a pair of simple curtains is achievable for all – the key is to ensure you measure up accurately. Here we'll take you through the whole process step by step, from calculating how much fabric you need to adding a lining and stitching on heading tape. Beautifully adorned windows shall be yours!

Main image: photography by Rob Wingate via Unsplash

Measuring Up

It’s best to have your curtain pole or track in place before you measure up to make sure your curtains fit perfectly. Measure the width of the pole, then divide by two if you’re making a pair of curtains. Each curtain needs to be between two and two and a half times the space it needs to fill. Example: if your pole is 120cm (47in) each curtain will cover a space of 60cm (23½in). The width of the finished curtain should be 120cm–150cm (47in–59in).

Measure the drop from where the top of the curtain will be to the position where you want the bottom of the curtain to sit.

Calculating and buying fabric

You can use whole or half widths of fabric, so you need to calculate the closest measurement to your required width you can get by joining fabric widths. Example: if your curtain fabric is 137cm (54in) wide, and your finished curtain width needs to be 120cm–150cm (47in–59in), one width of fabric will be enough for each curtain.

To the finished drop measurement add 29cm (11½in) for the top and bottom curtain hems. When you buy your fabric, use the measurement you have calculated for the cut drop multiplied by the number of widths of fabric you need. Example: if your finished curtain length is 150cm (59in) and you are using one width of fabric for each curtain, you will need 358cm (141in) of fabric (150cm+29cm+150cm+29cm) (59in+11½in+ 59in+11½in).

You need the same number of widths of lining fabric as your curtains but only add 2cm (¾in) to the finished curtain drop. Example: for the same curtains as above, you will need 304cm (119½in) of lining (150cm+2cm+150cm+2cm) (59in+¾in + 59in+¾in).

Heading tape

There are different widths of heading tape, but for the most simple yet professional finish a 7.5cm (3in) width pencil tape will work well. Buy enough tape to fit across your fabric width plus 20cm for each curtain. Example: for a pair of curtains each having one width, you need 314cm (137+20+137+20cm).

Cutting Out

Cut the curtain fabric and lining to the dimensions you calculated earlier.

Joining fabric widths

If you use more than one fabric width, join them before you assemble your curtains. For whole widths, cut each fabric to the required drop. Trim off the selvedges as they can pucker the fabric edges, then place the fabric widths right sides (RS) facing, matching raw edges, and stitch together using a 1.5cm (58in) seam allowance.

If you are joining a half width, cut the fabric vertically down the centre. The half widths should always be on the outer edges of the hung curtain.
Making your curtains

Step 1

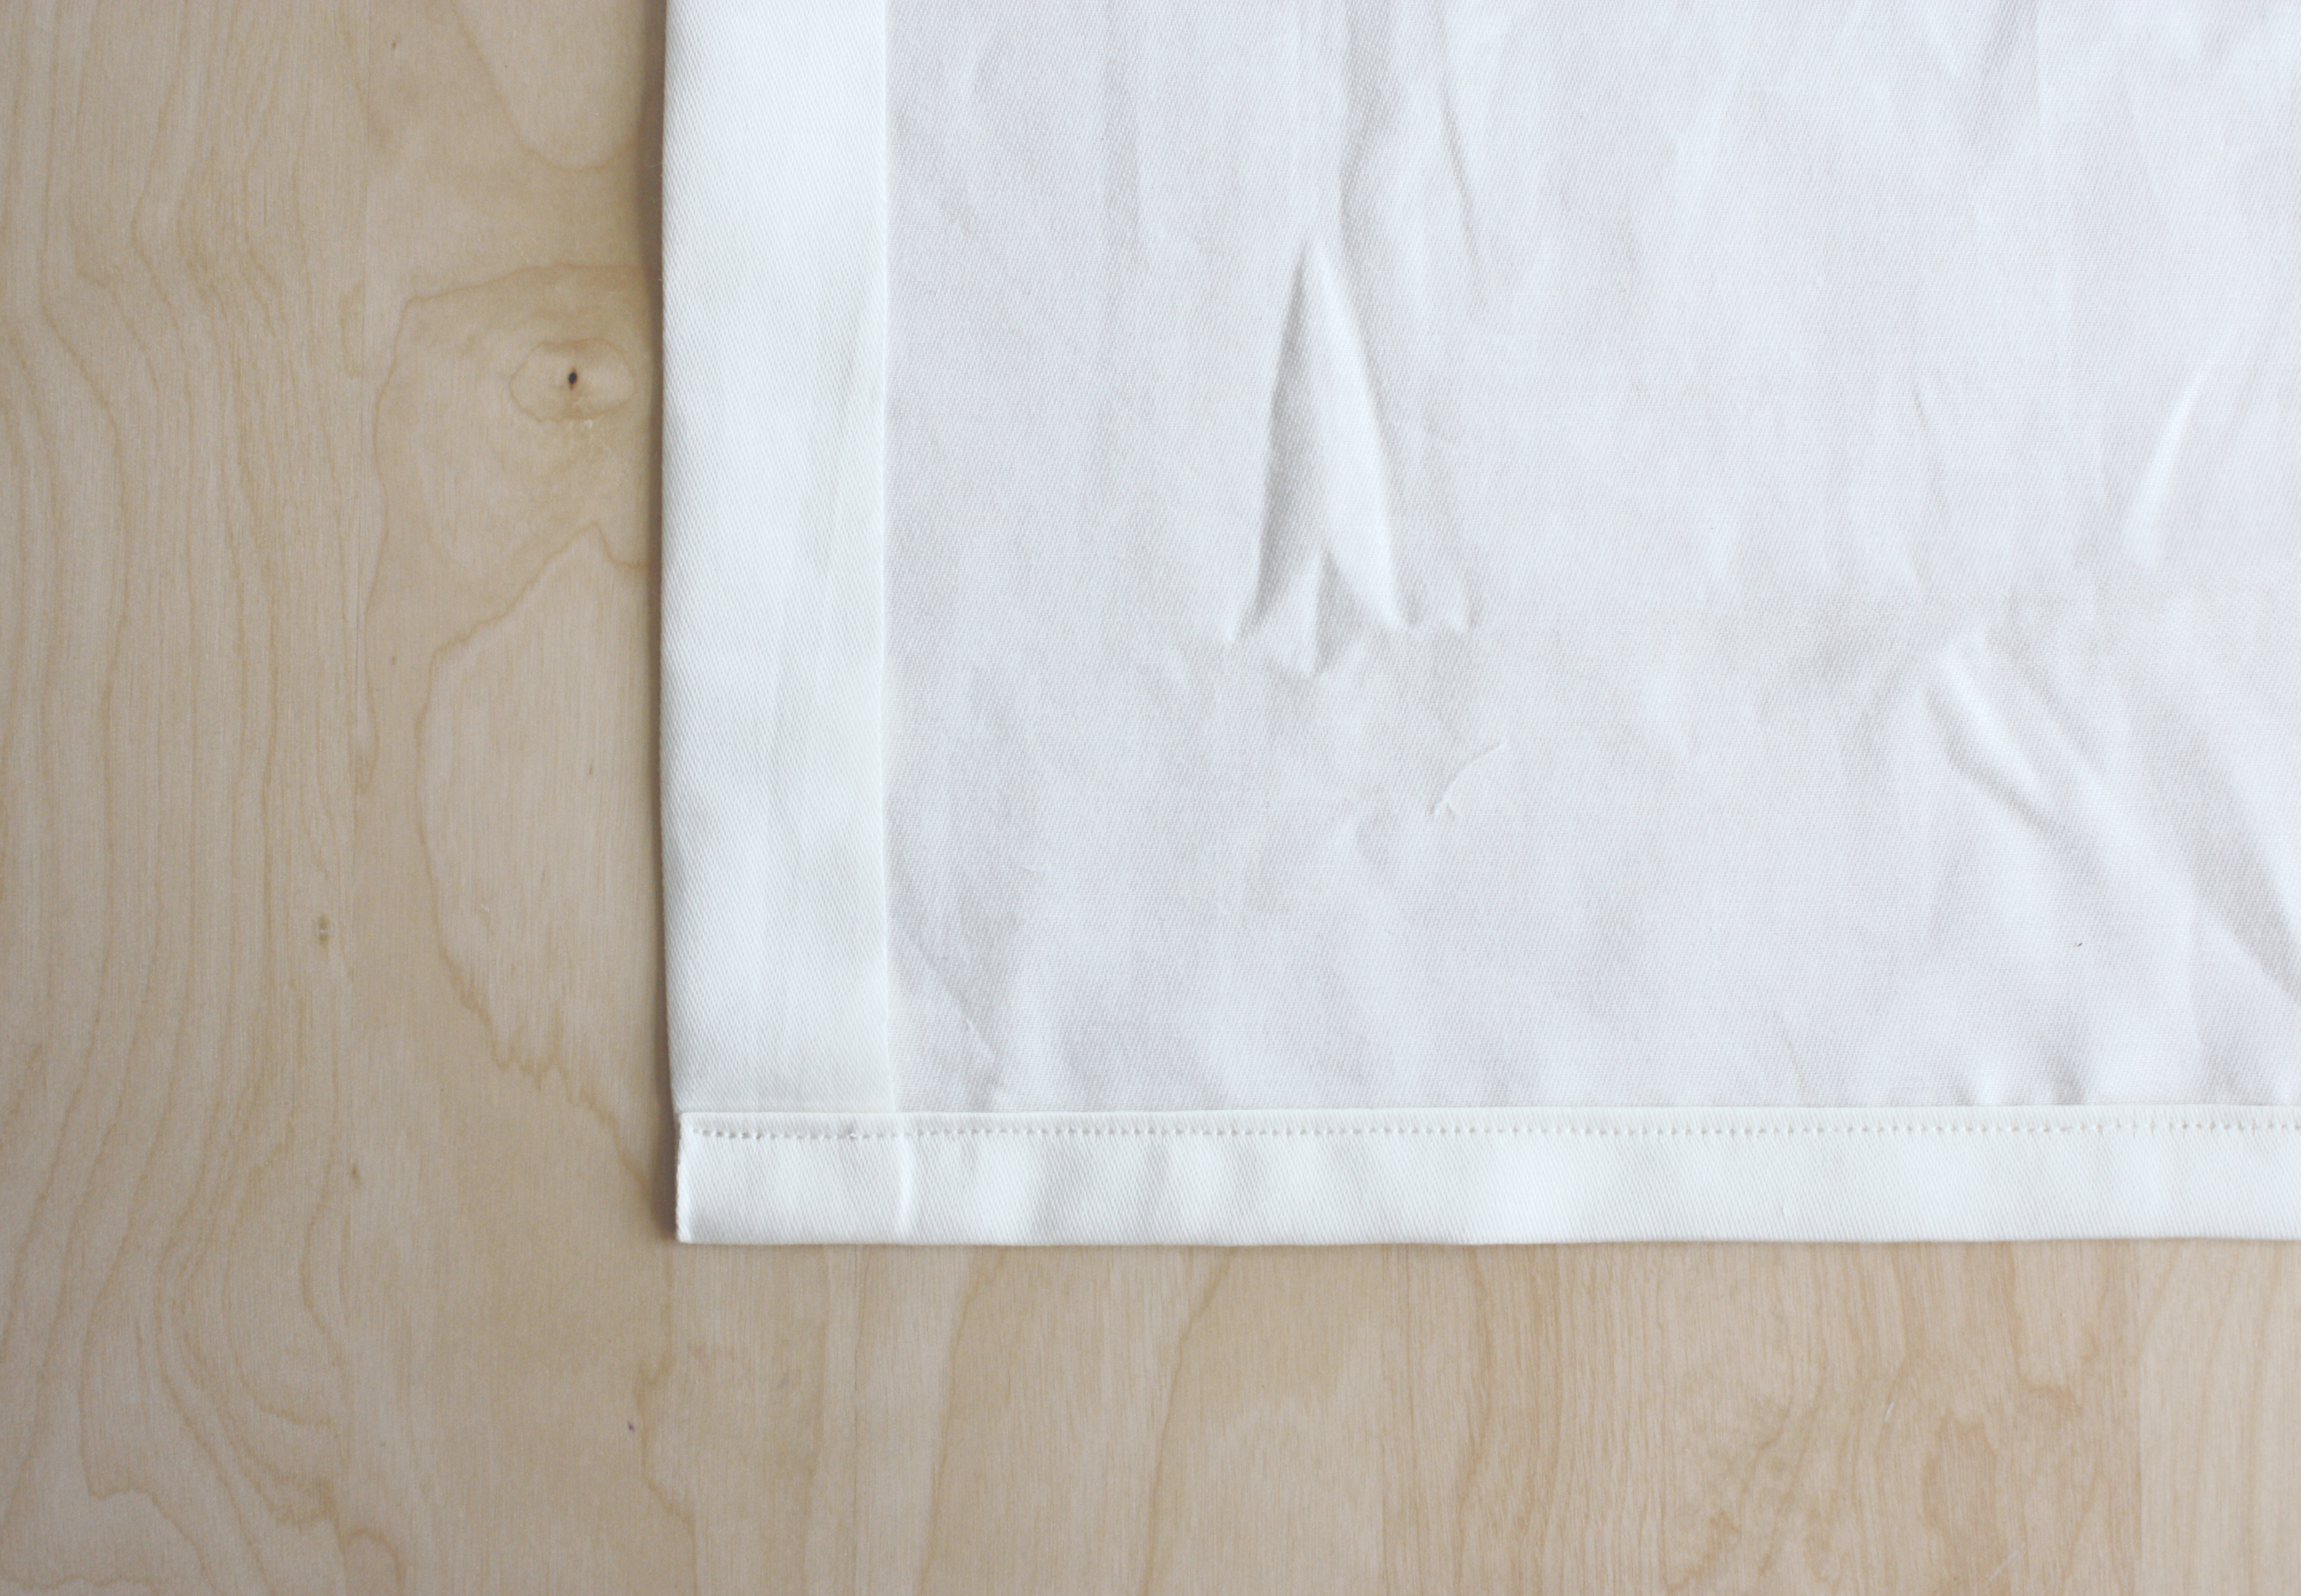
Take one cut or joined piece of curtain fabric and turn the sides over by 5cm (2in) to the wrong side (WS) and press all the way along. Turn the top edge over to the WS by 5cm (2in) and press this down. Turn the bottom edge over 12cm (4¾in) then 12cm (4¾in) again to the WS and press. Repeat on your other piece of curtain fabric if making a pair. You can mitre these hems if you prefer for a more professional finish. This is a method where you fold the corner of the second turn diagonally – you can find plenty of detailed tutorials for this online. For a simple finish, just fold a double hem as shown.

How to make lined curtains

Step 2

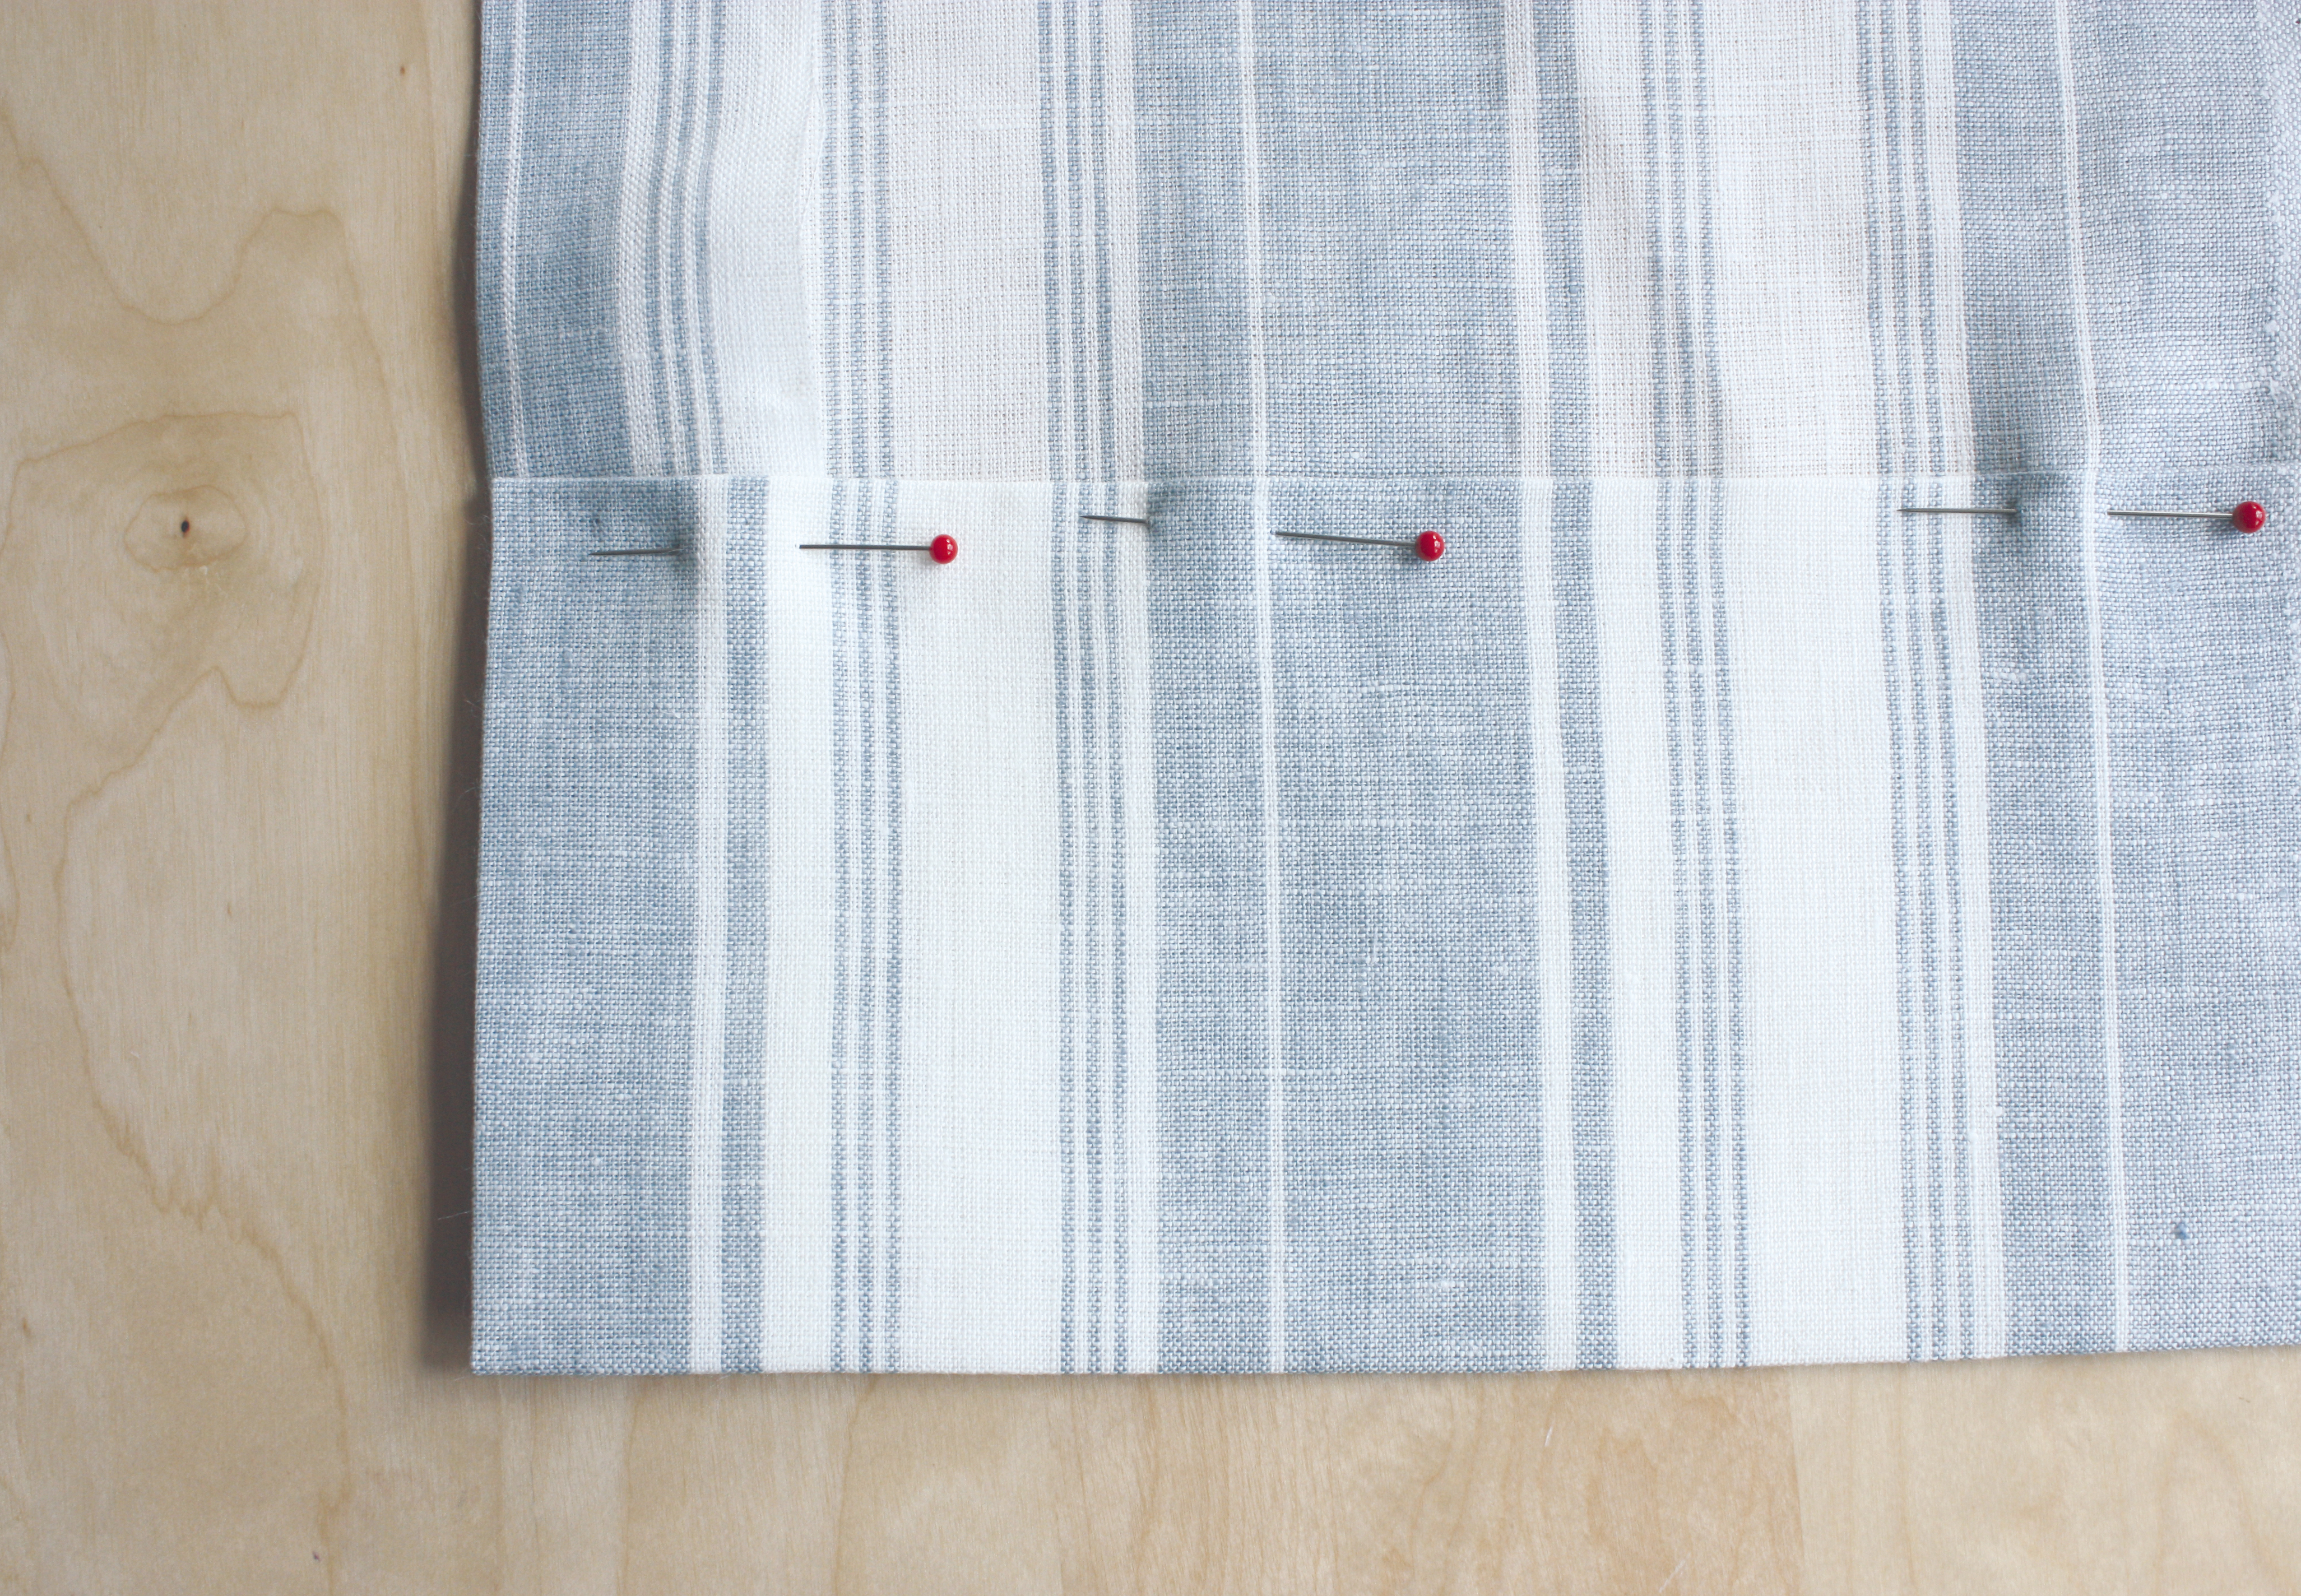
Turn the side edges of your cut or joined piece of lining fabric by 6cm (238in) to the WS. Press firmly, then pin into place. Turn then press the bottom edge over 3cm (1¼in) then 3cm (1¼in) again to the WS and pin. Machine stitch this hem into place close to the turned-over edge. Make sure you use a matching thread for working this hem as, although the line of machine stitching won’t be seen from the front, it will give a neater appearance to the back of the curtain. The top edge of your lining doesn’t need to be hemmed as this will be hidden under the curtain heading tape when you attach it later.

How to make lined curtains step 2jpg

Step 3

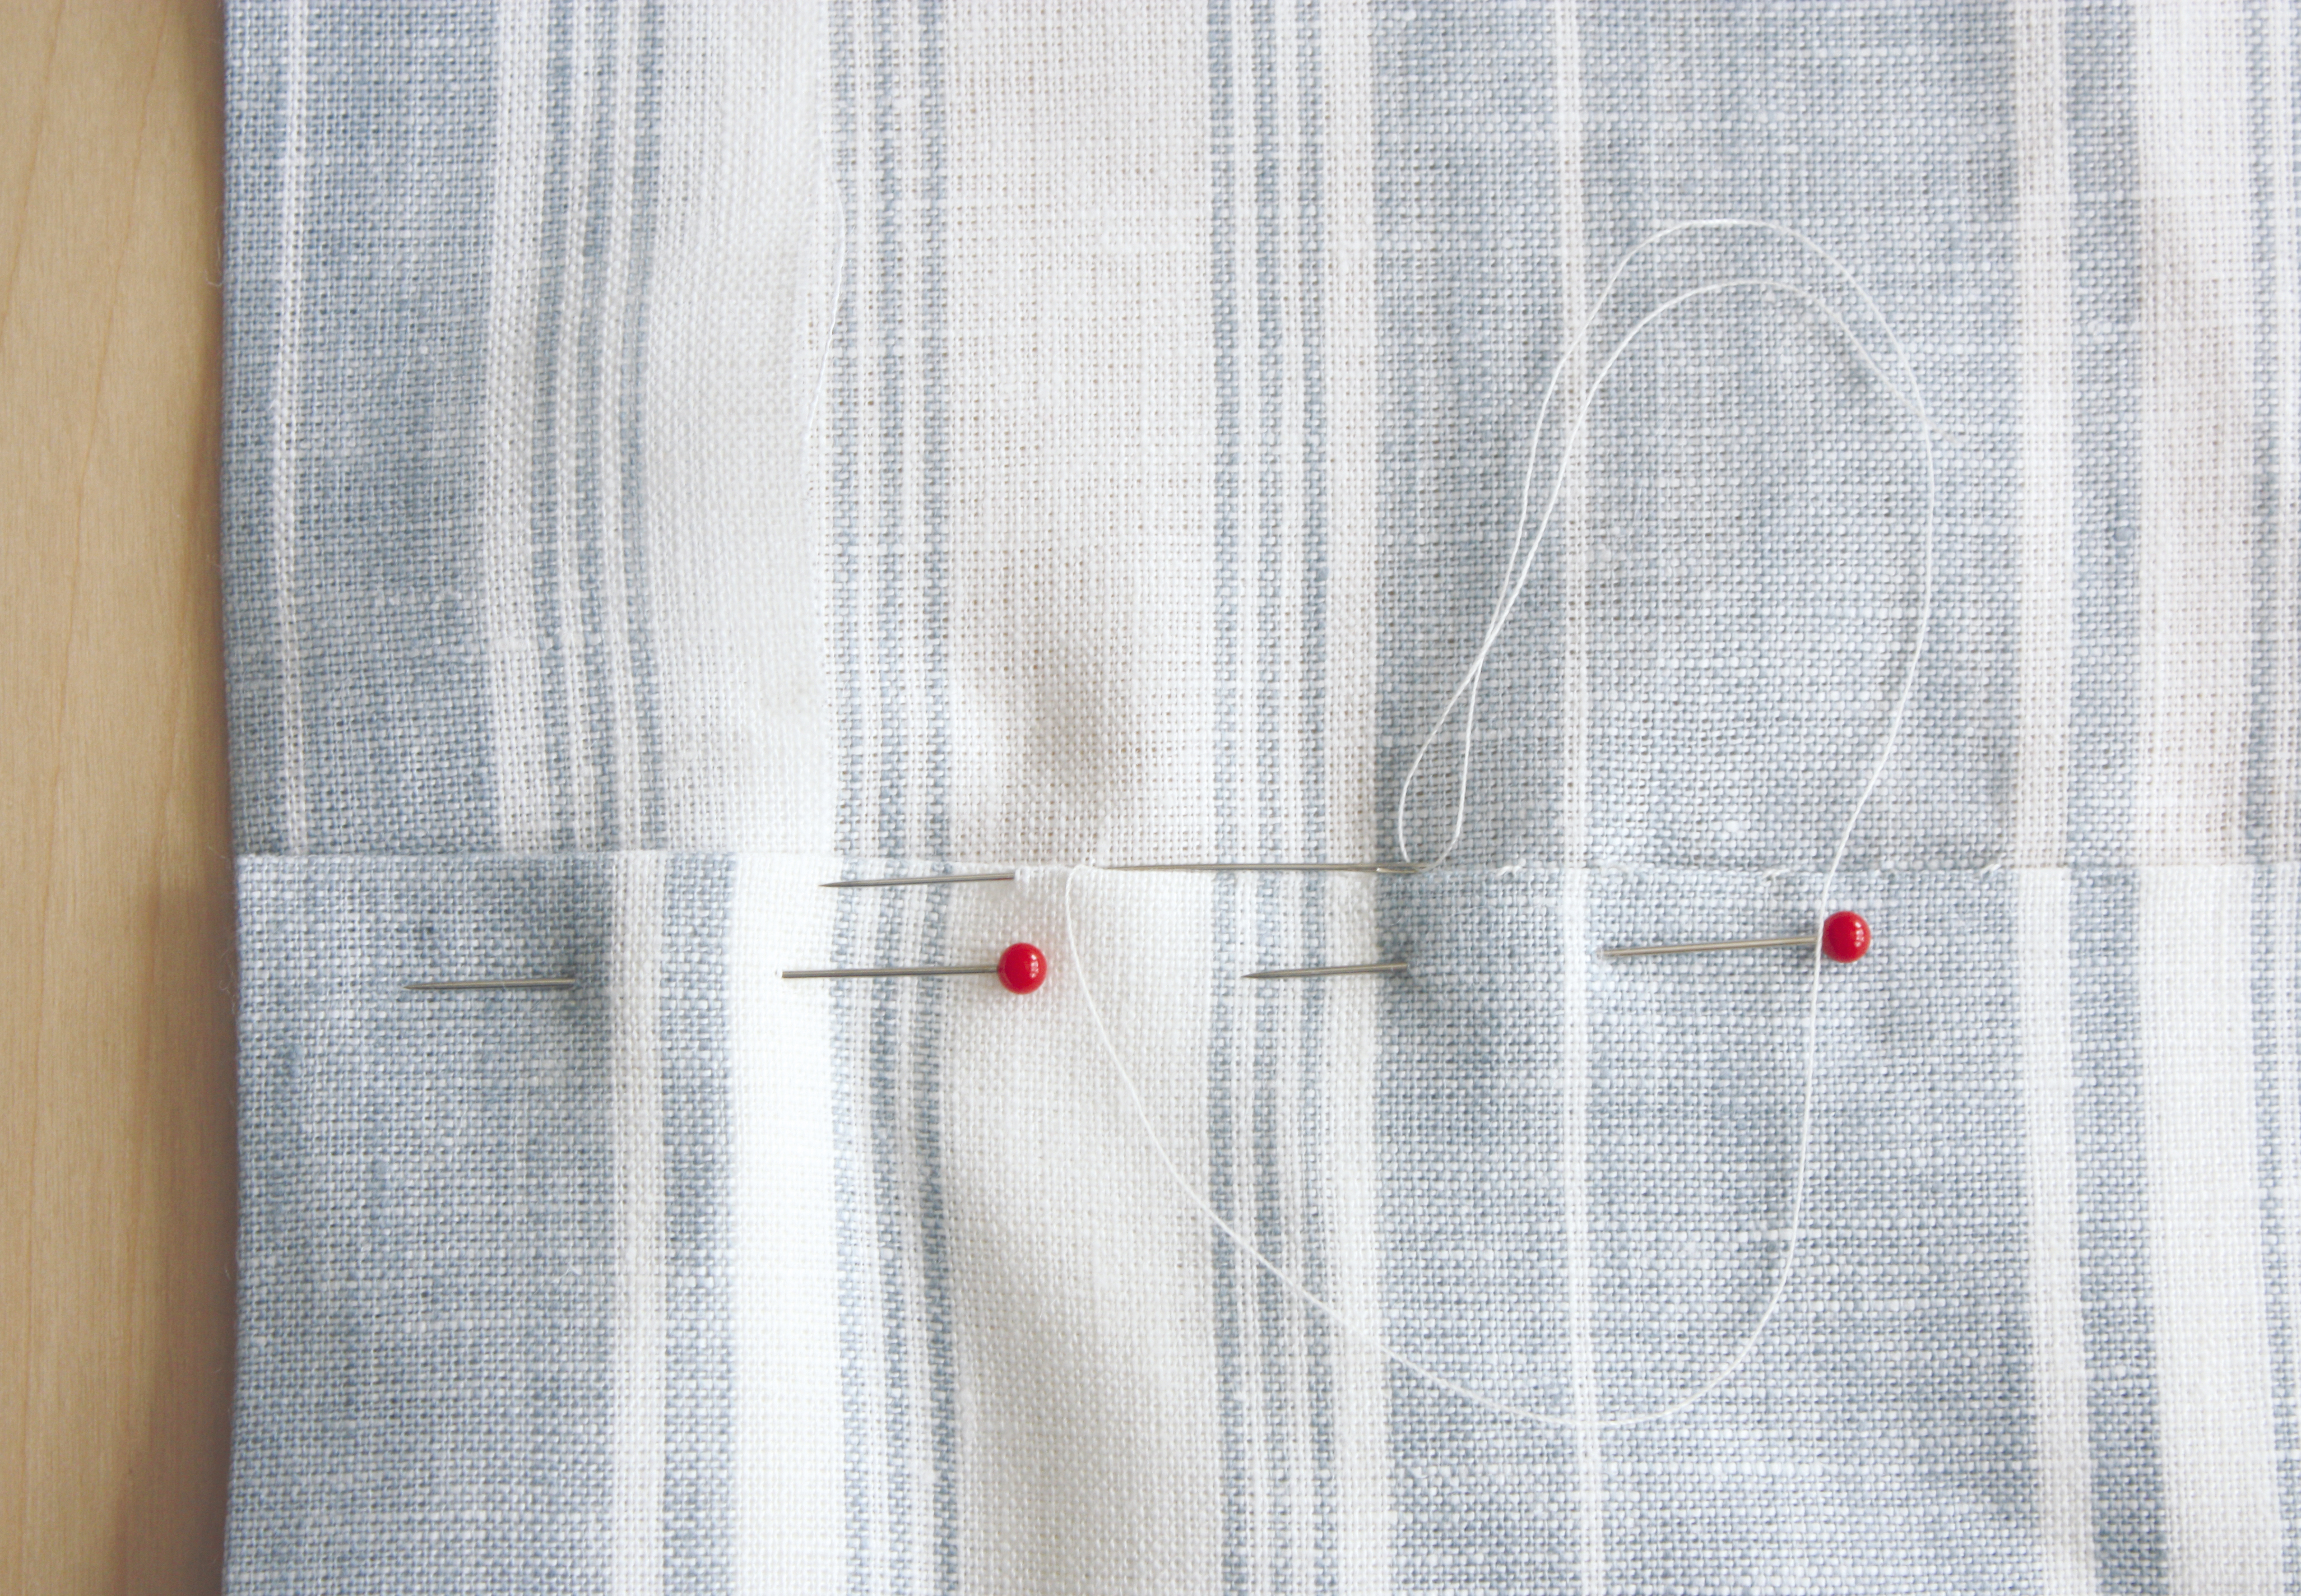
Hand-stitch the hem before you line your curtains as this will give you the neatest finish. You won’t be able to see the stitches from the front and the fabric will lie flat, making the curtains drape well. Use a small hemming stitch to do this. Secure your thread in the turned-over hem and take a 2cm (¾in) stitch through the fold of the hem. Then take a small stitch directly above this, and another back into the fold. Push your needle through the fold by 2cm (¾in) then repeat this process. Use a matching thread and these small stitches will be almost invisible on the front of the fabric.

How to make curtains

Step 4

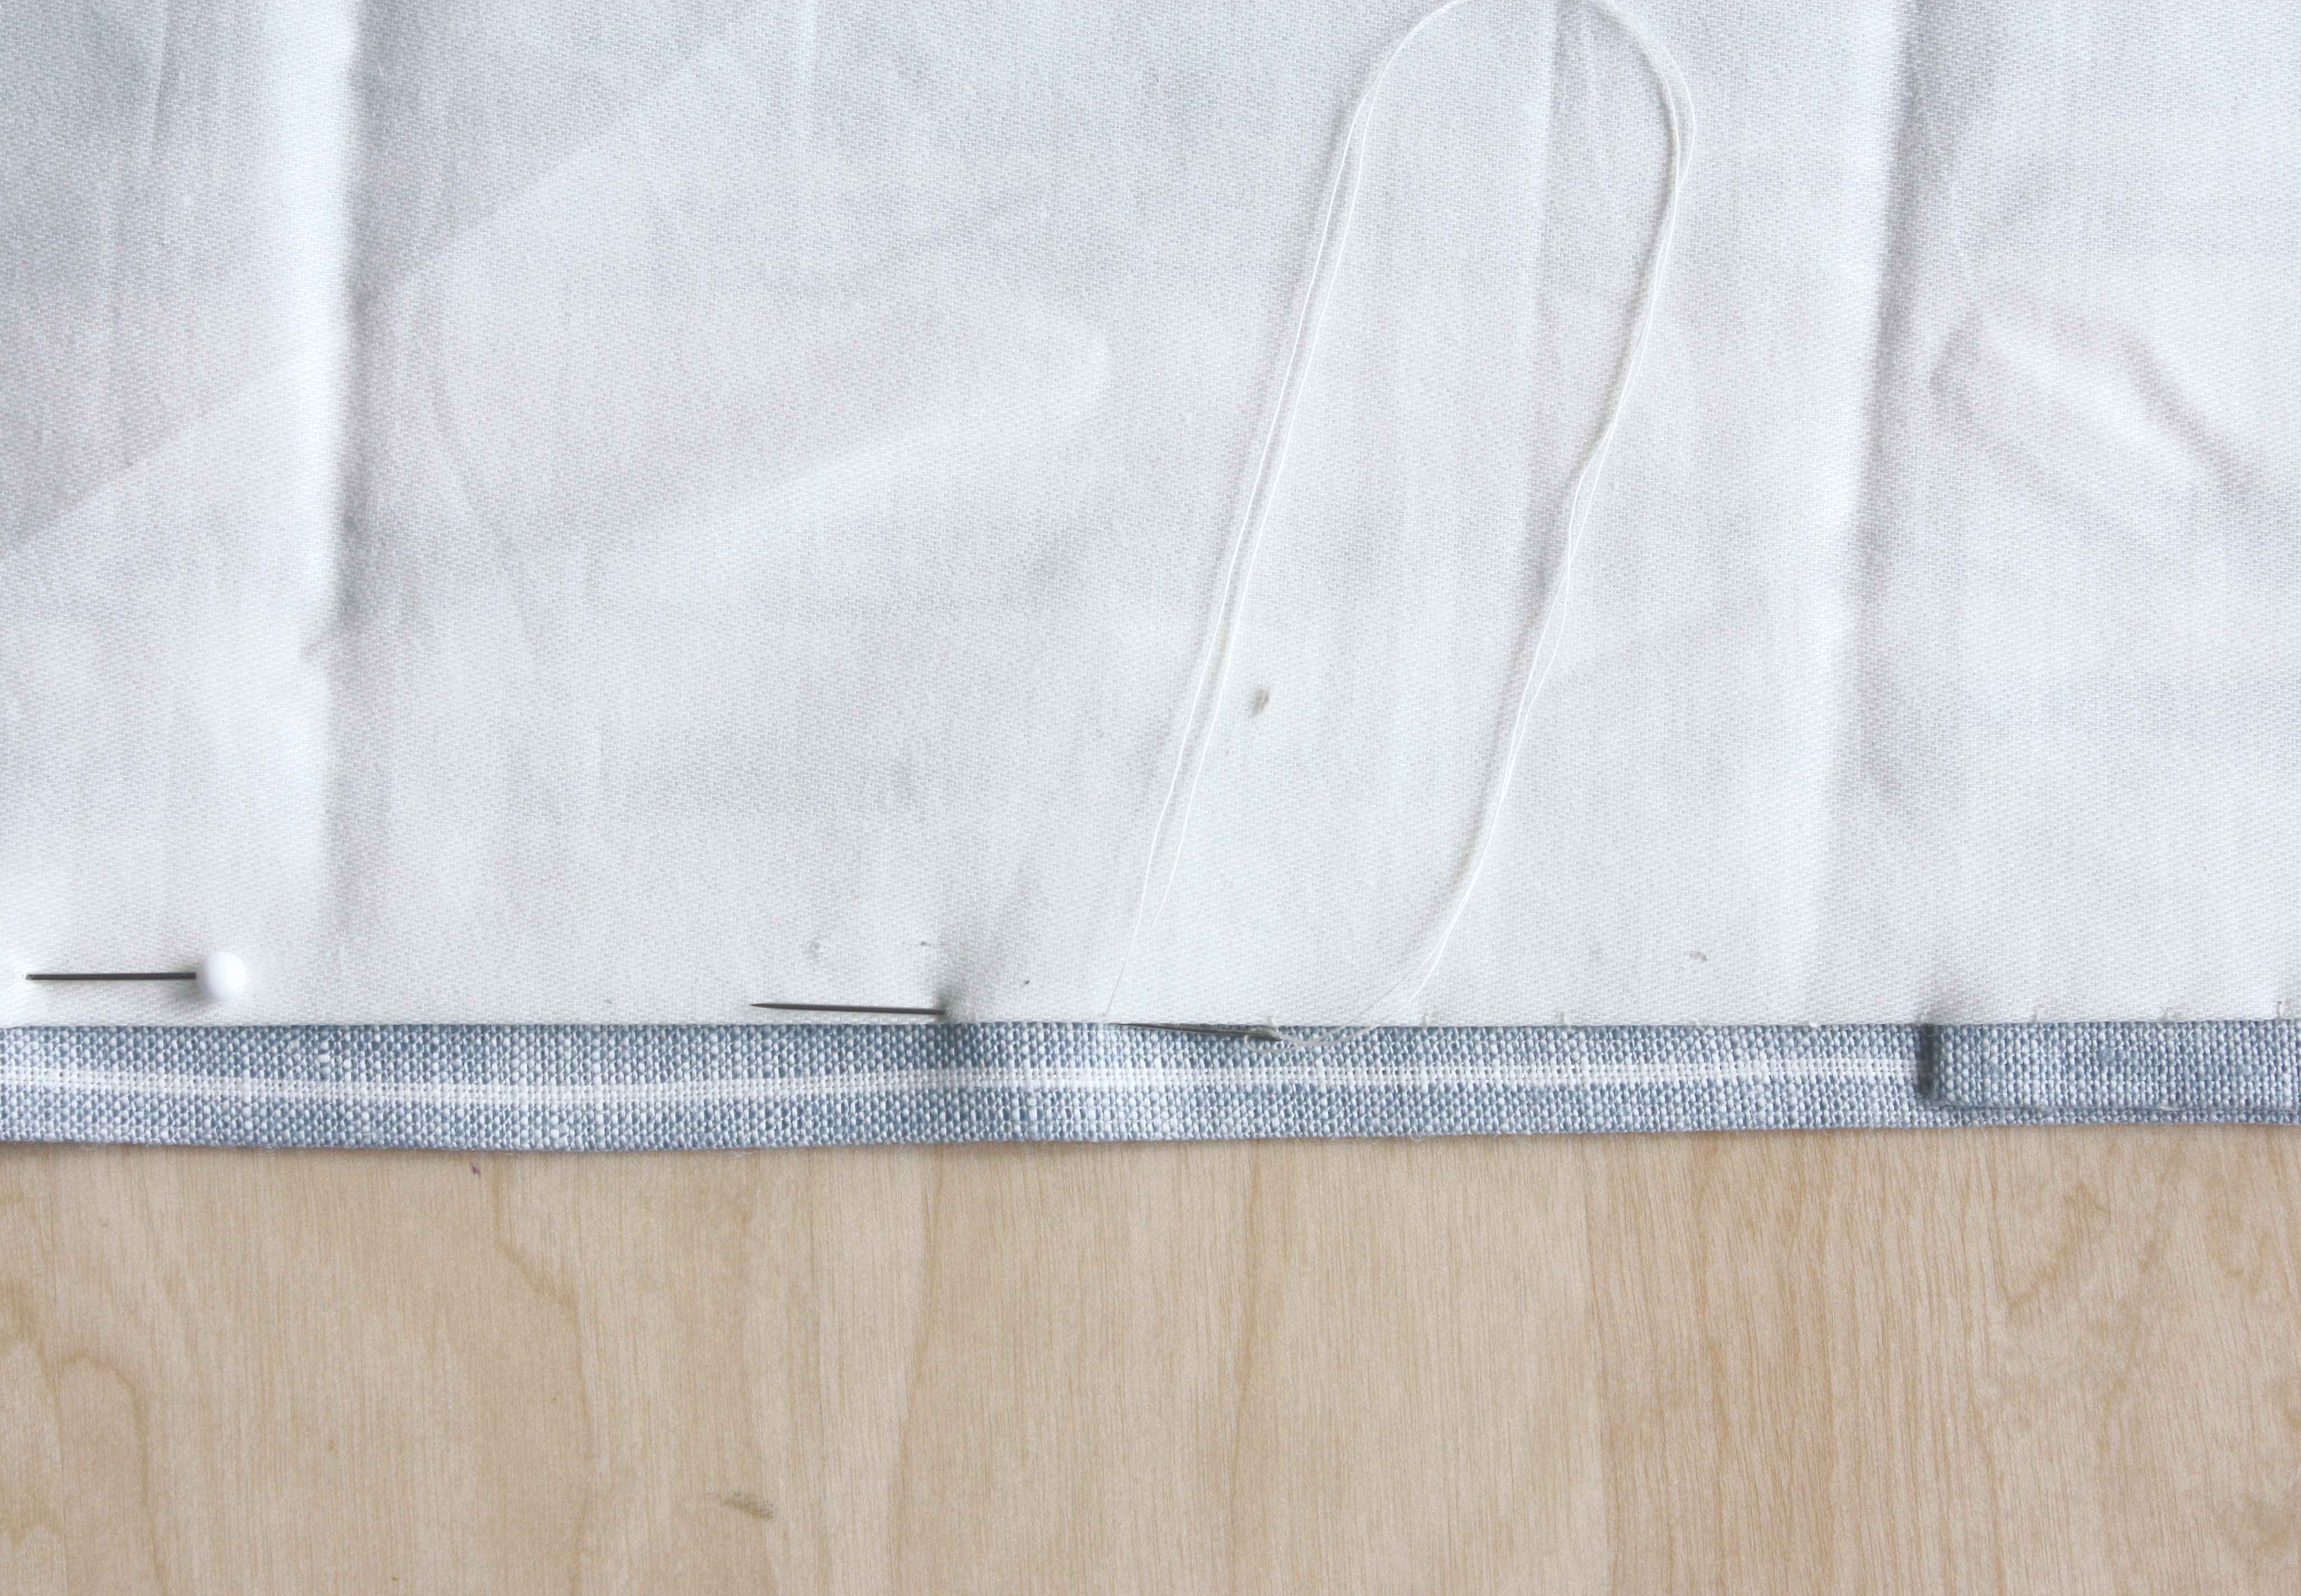
Place your hemmed and pressed curtain fabric RS down onto a flat surface and smooth it out to make it completely flat. Place the lining fabric RS up on top, matching curtain width seams if you have them. The raw cut top of the lining should come just 0.5cm (¼in) below the top of the curtain fabric. The turned under sides of the lining should be 1cm (38in) inside the turned under curtain fabric edges. Again, make sure it’s completely flat then pin in place. Slip stitch the sides of the lining to the sides of the curtain fabric. The stitches need to be about 2cm (¾in) long – make sure you don’t stitch through to the RS.

How to make lined curtains

Step 5

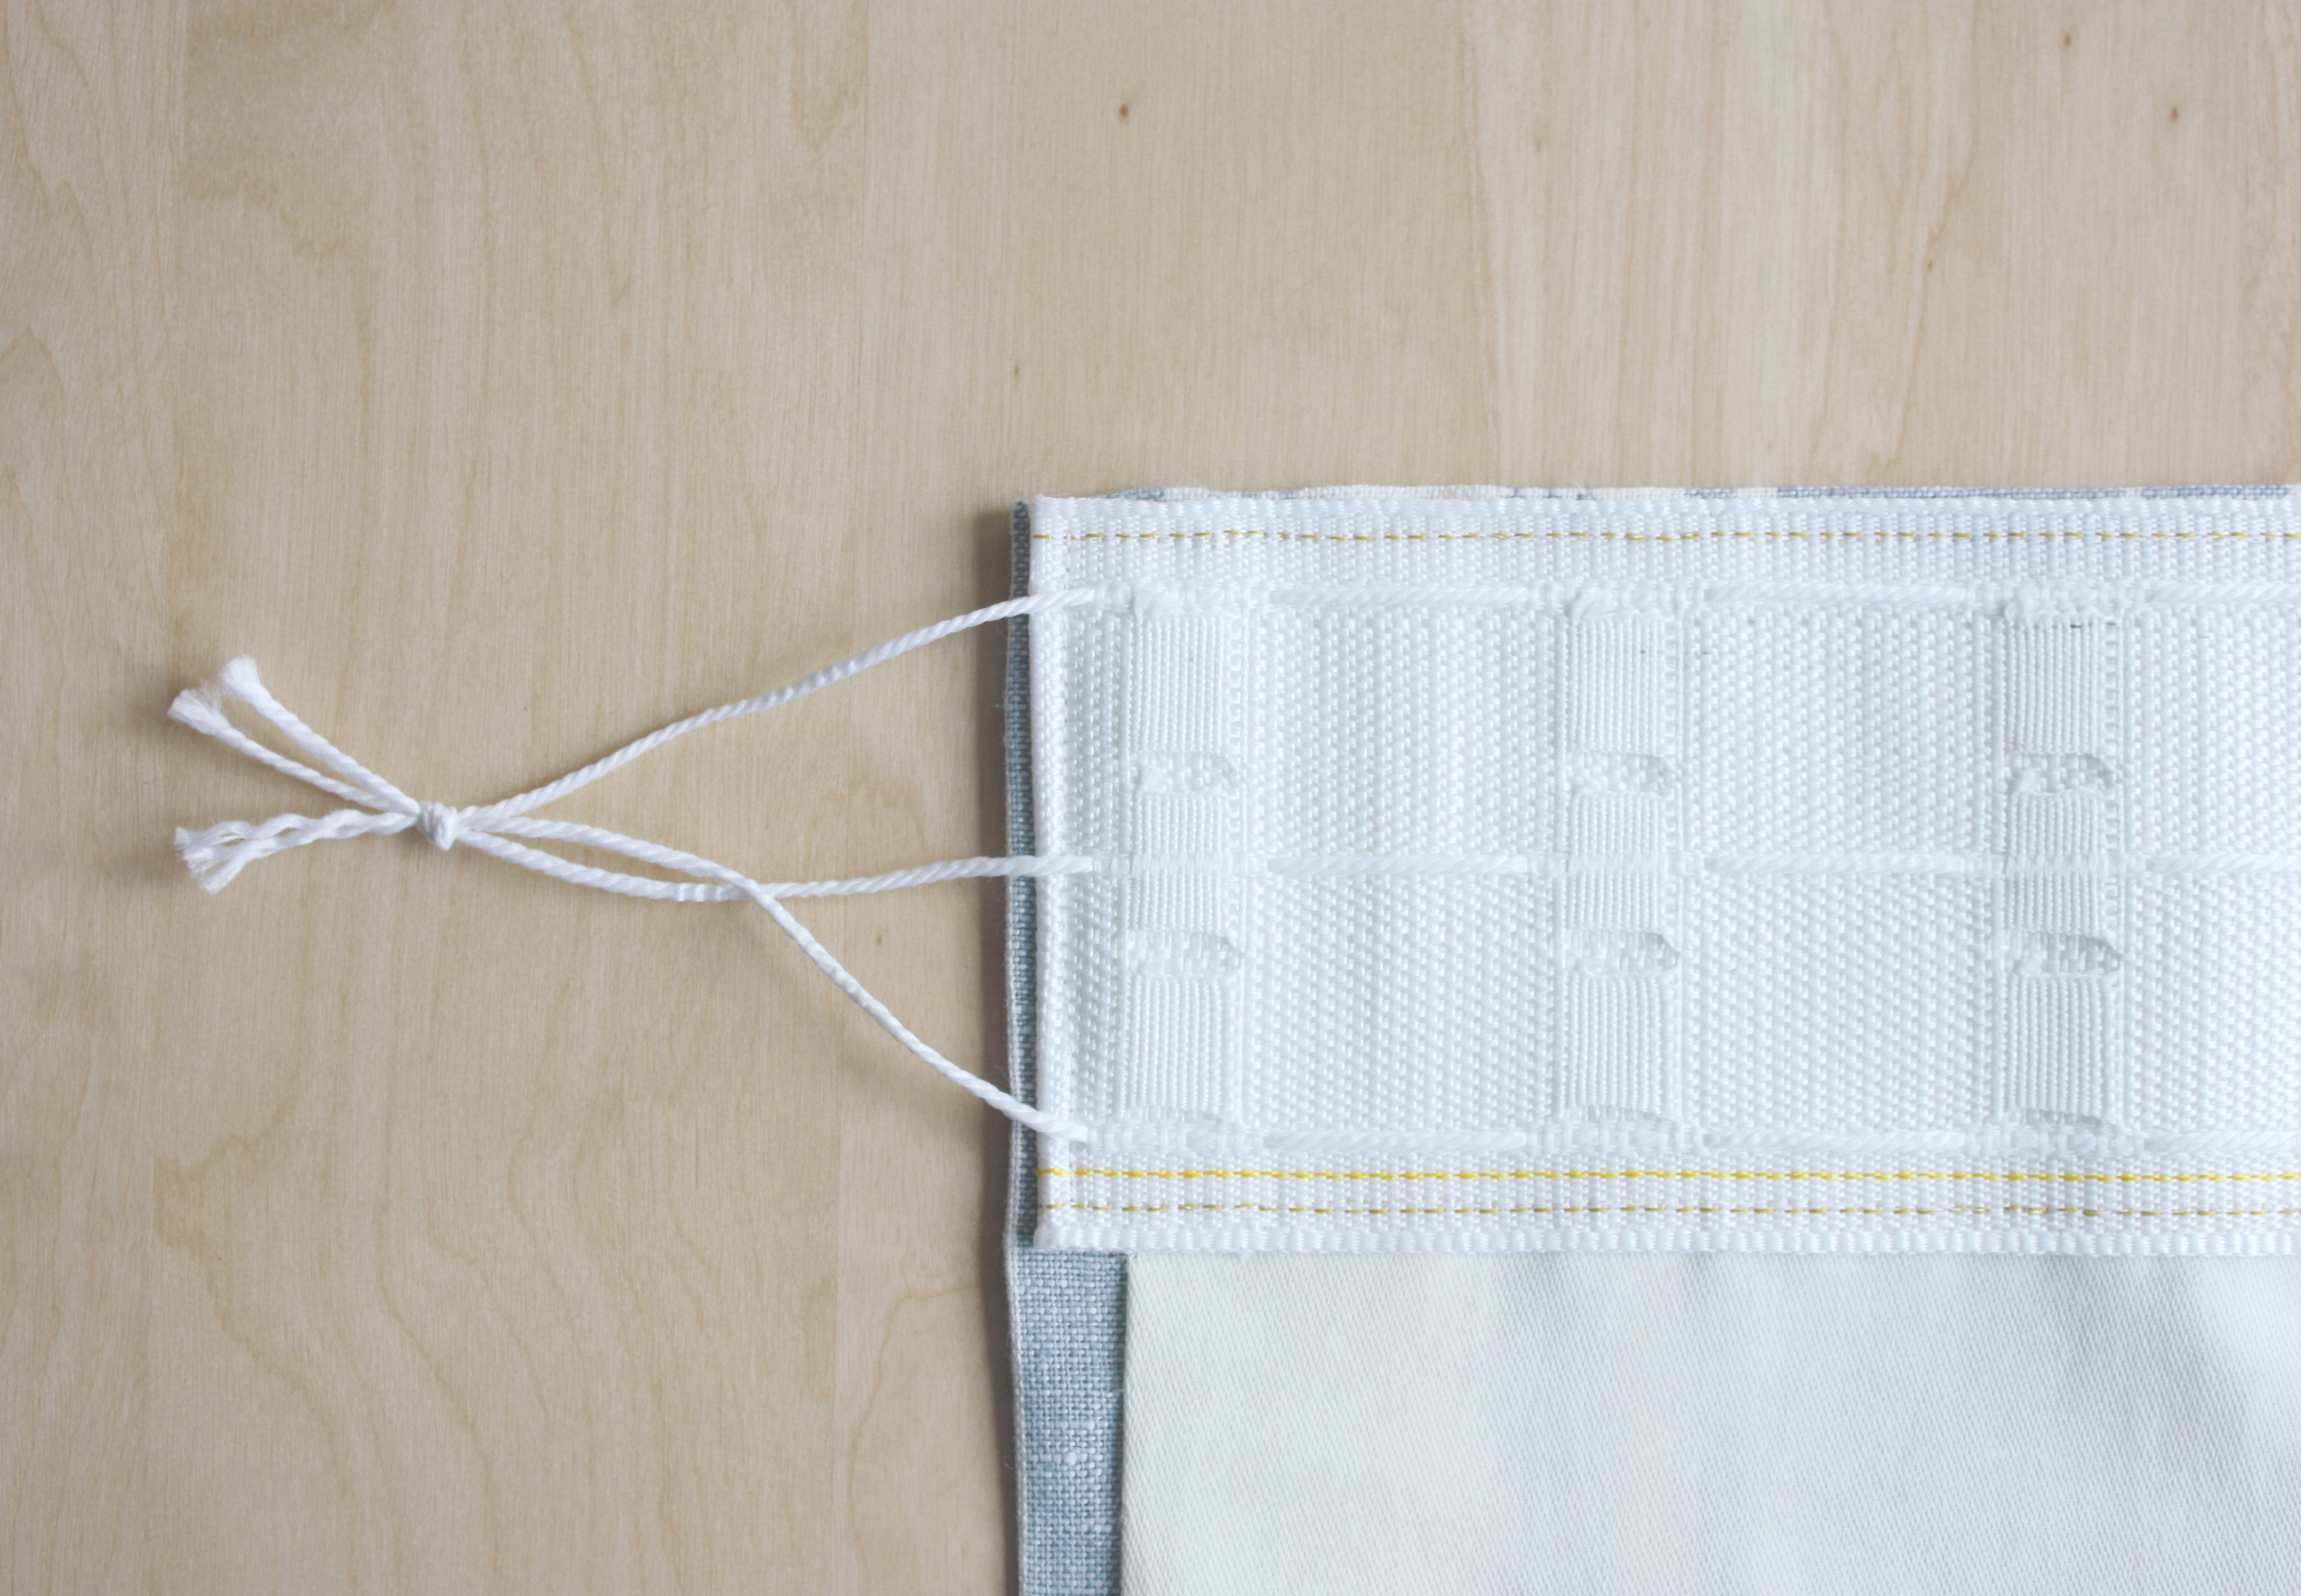
Pull out 10cm (4in) of the draw cords from one end of the tape and knot together. Trim 7cm (2¾in) off the end of the tape then turn under by 3cm (1¼in). Starting at this edge, pin your heading tape over the top of the lining so that it is just below the turned over top of the curtain fabric and 0.5cm (¼in) from the side edge. When you reach the other side edge, trim and turn the tape under then knot the cords in the same way as for the other side. Machine stitch the tape into place through the lining and curtain fabric along the top and bottom and down the sides, making sure you don’t stitch through the knotted cords.

How to make lined curtains

Step 6

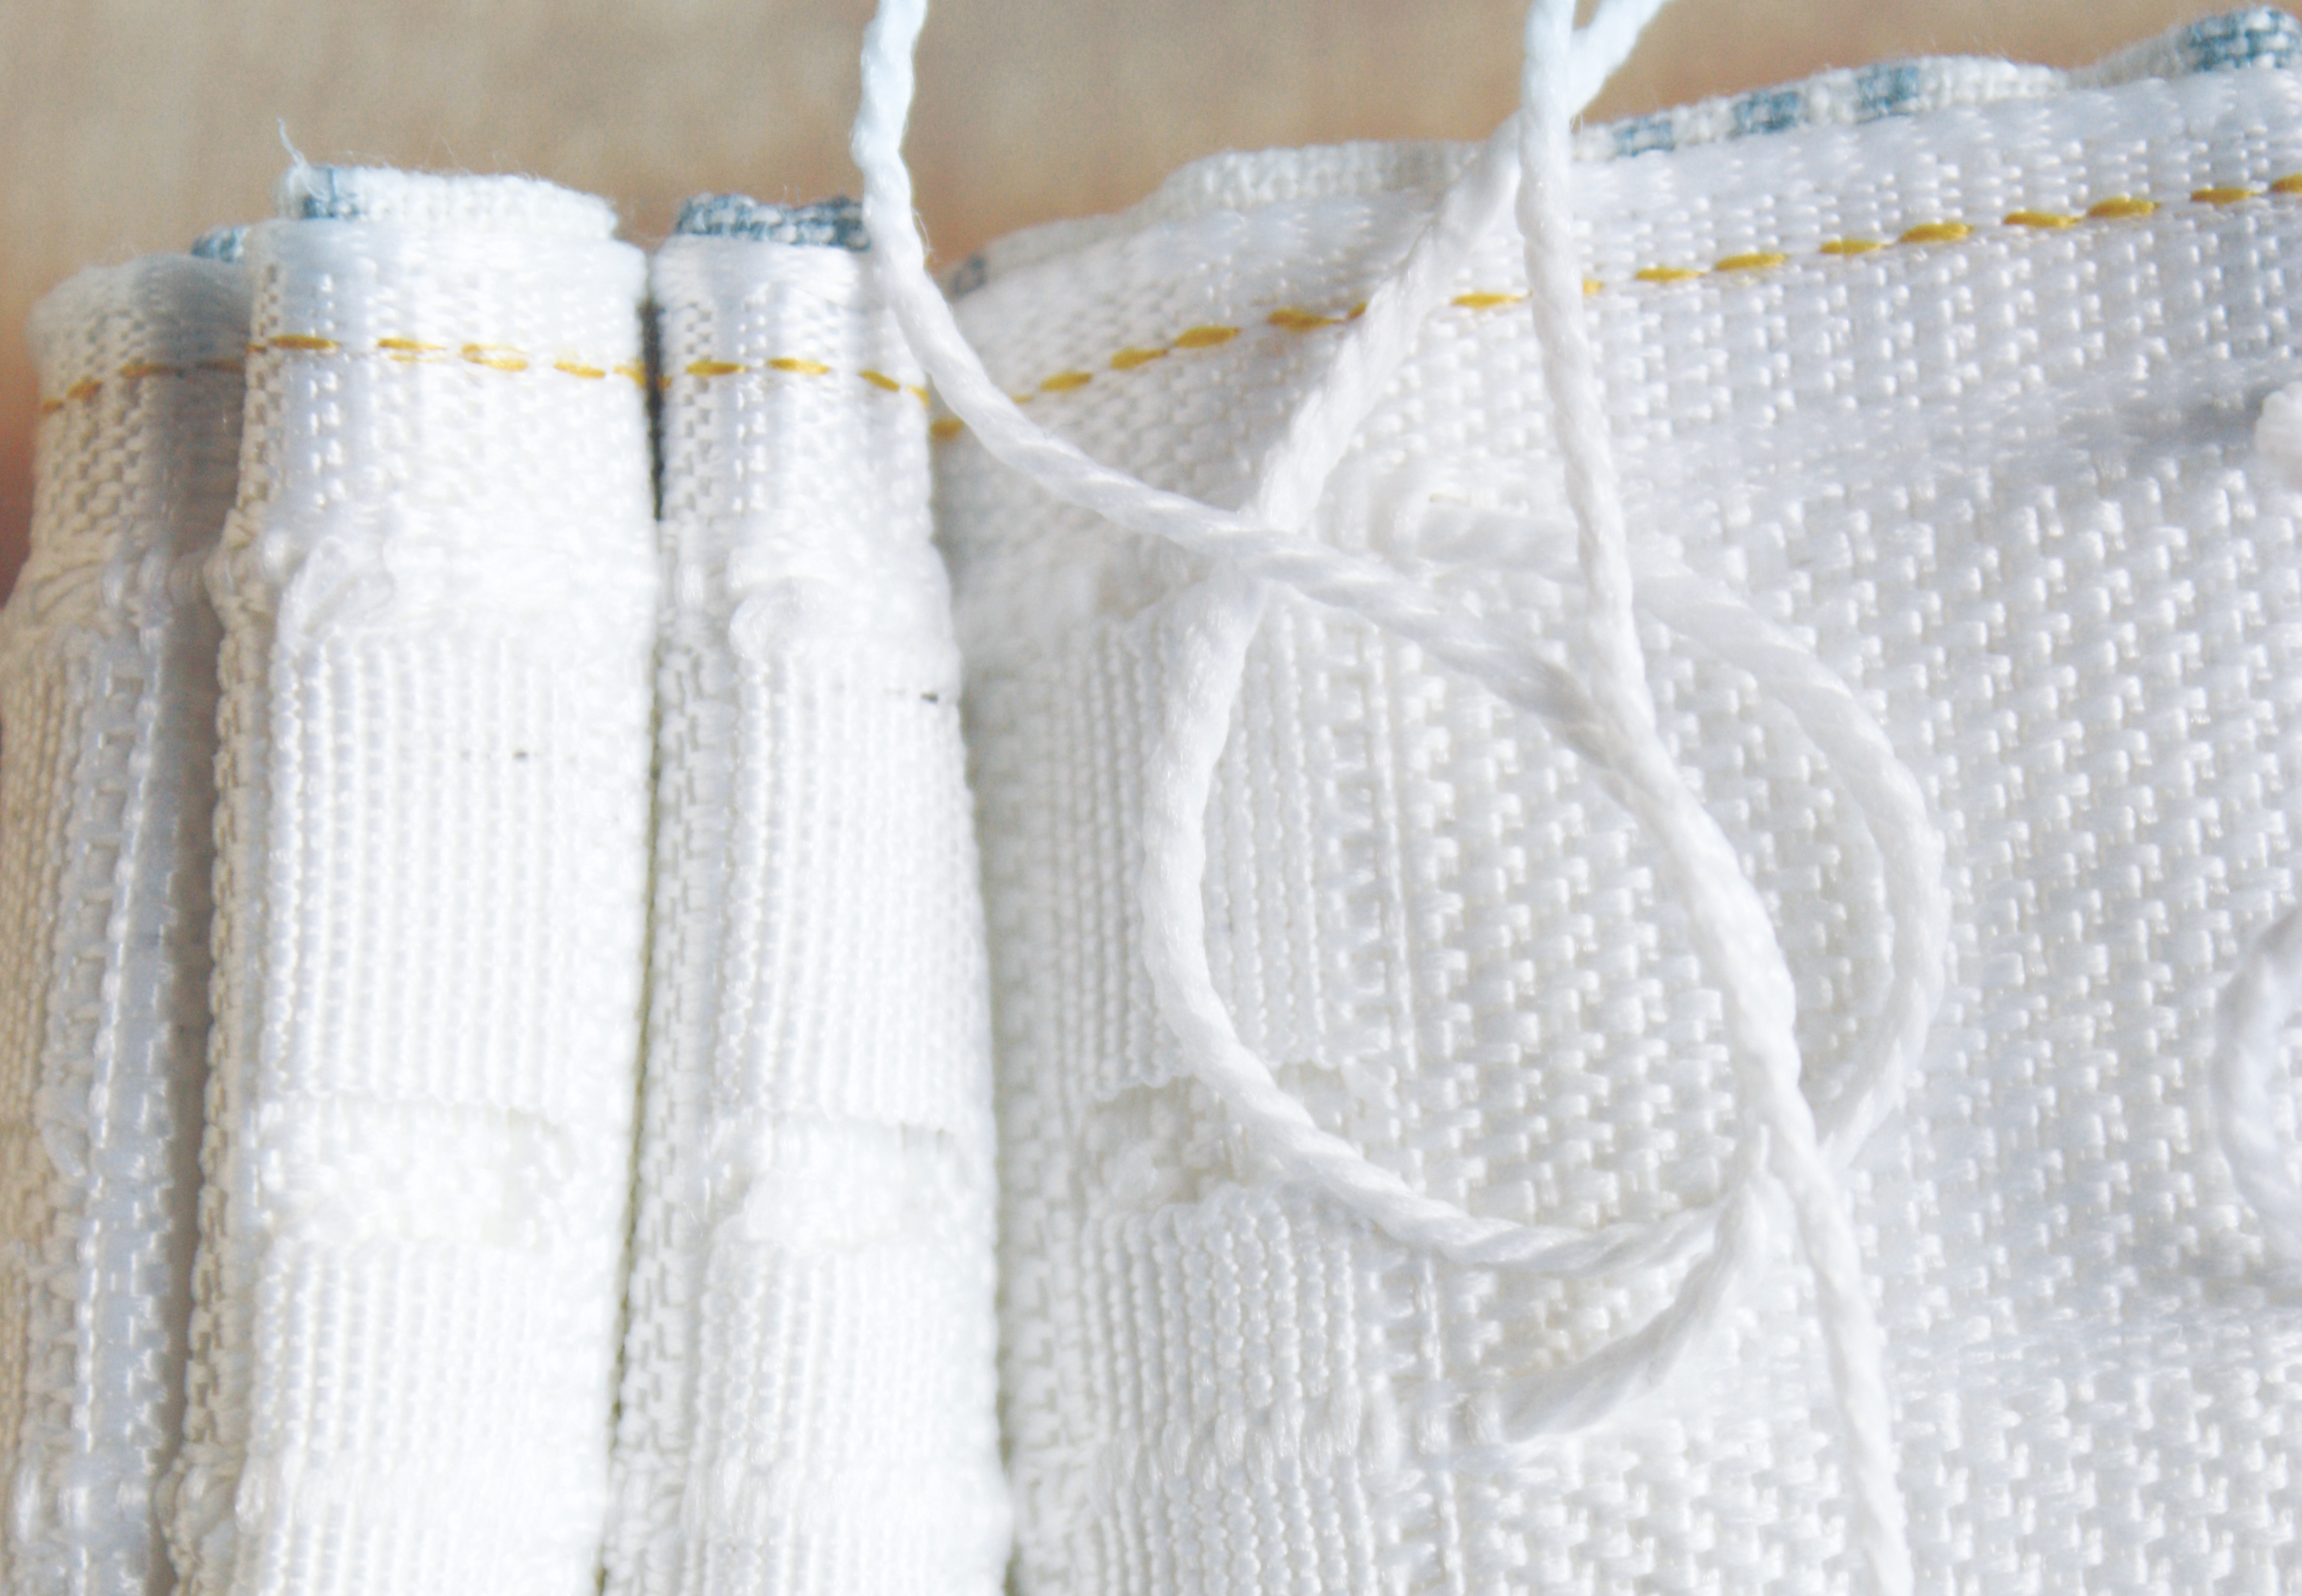
Your curtains are now complete – you just need to pleat the top. From the centre of the curtain, pull up the draw cords until the curtain measures the finished width you want it to be. Adjust the gathers on the front so they are evenly spaced across the curtain. Tie the cords to the centre into a loose knot and a bow so they don’t hang down too low. Count the number of hook pockets you have in your heading tape then divide this by the number of hooks which you have on your curtain pole or track. Loop the hooks through the pockets and your curtains will be ready to hang.

How to make curtains

This website is owned and published by Our Media Ltd. www.ourmedia.co.uk
© Our Media 2023