How to make a quilted bag – pixel perfect patchwork bag pattern
Our team independently selects products featured in our editorial content. Some articles may contain affiliate links and we may earn a small commission through them. For more information, please see our Affiliates FAQ
How to make a quilted bag – pixel perfect patchwork bag pattern
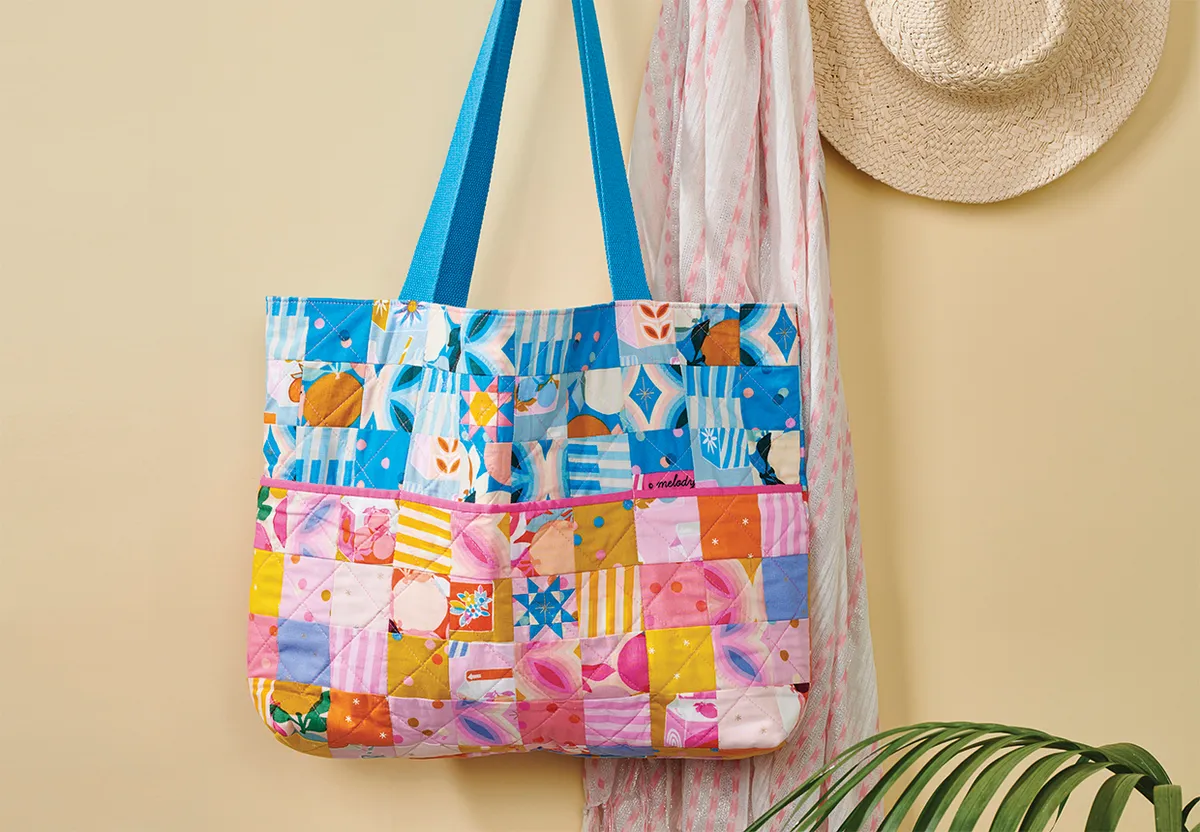
Sew together small squares of fabric to capture the latest trend for quilted accessories with our step by step tutorial for how to make a quilted shopper bag
From coats to totes, patchwork clothes and accessories are hot stuff right now, so we're here to show you how to DIY the look and sew your own quilted bag with this fun patchwork shopper project! We'll talk you through how to embrace pattern mixing and mini piecing to make a quilted bag, step by step. This patchwork shopper is sure to become your new wardrobe staple that'll join you everywhere – from beach days to shopping trips.
Head to our guide to quilting trends for more modern patchwork projects to try. This is an intermediate sewing project – which means you'll probably find it easiest if you've done some patchwork and quilting before. That's not to put you off if you're a confident beginner who's happy diving in and learning as you go.
If you're reading this though and you're all brand new to quilting, you might want to head over to our guide to quilting for beginners to learn the ropes, or treat yourself to one of our favourite quilt kits for beginners to practise your skills.
Mix some star blocks in with your print squares for sweet details with our quilted bag pattern.
How to make a quilted bag: patchwork shopper tutorial
Fabric requirements
Blue prints: five (5) fat quarters
Pink and yellow prints: fifteen (15) fat eighths total
Solid fabric is a Bella Solid by Moda in Fuchsia – provided by Wool Warehouse
Notes
Seam allowances are ¼in, unless otherwise noted.
Press seams open throughout, unless otherwise instructed.
RST = right sides together.
WST = wrong sides together.
Jess used a Jelly Roll to make her bag. If you've got a jelly roll to play with, you might also like our free jelly roll quilt pattern.
Finished size
14in x 20in
You will need:
Fabric (For the outer bag and lining)
Canvas strapping
Wadding
Sewing machine
Basic quilting kit
Cutting out
Step 1
From the lining fabric cut:
Two (2) 16½in x 20½in. Cut away a 2in square from each bottom corner along the 20½in width (Fig 1).
Step 2
From the accent fabric cut:
One (1) 8½in x 20½in. Cut away a 2in square from each bottom corner along the 20½in width.
One (1) 10½in x 20½in. Cut away a 2in square from each bottom corner along the 20½in width
One (1) 1in x 20½in.
Step 3
From one blue print cut:
Four (4) 1in squares.
Four (4) 1in x 1½in.
Thirteen (13) 2½in squares.
Step 4
From another blue print cut:
Eight (8) 1in squares.
One (1) 1½in square (fussy cut for the star centre).
Fourteen (14) 2½in squares.
Step 5
From each of the remaining three blue prints cut:
Fourteen (14) 2½in squares.
Step 6
From one pink print cut:
Eight (8) 1in squares.
Seven (7) 2½in squares.
Step 7
From another pink print cut:
Four (4) 1in squares.
Four (4) 1in x 1½in.
Seven (7) 2½in squares.
Step 8
From one yellow print cut:
One (1) 1½in square (fussy cut for the star centre).
Seven (7) 2½in squares.
Step 9
From each of two more pink/yellow prints cut:
Seven (7) 2½in squares.
Step 10
From each of the remaining pink/yellow prints cut:
Seven (7) 2½in squares.
Step 11
From the batting cut:
Two (2) 16½in x 20½in.
One (1) 10½in x 20½in.
On each piece, cut away a 2in square from the bottom corners along the 20½in width.
Making the star quilt blocks
Step 1
Take two pink 1in squares and draw a diagonal line on the wrong side of each. Place one square at one end of a blue 1in x 1½in piece, RST. Sew along the marked line, trim leaving a ¼in seam allowance and press open. Repeat with the other square at the other end to make one Flying Geese unit (Fig A).
Figure A
Step 2
Repeat step 12 to make four Flying Geese units. Arrange the Flying Geese units with the yellow fussy cut 1½in square and four blue 1in squares. Sew together in columns, then sew the column together to complete the star block (Fig B). The block should measure 2½in square.
Figure B
Step 3
Repeat steps 12–13 using the blue 1in squares and pink 1in x 1½in rectangles to make Flying Geese units. Sew together with the blue fussy cut 1½in centre and pink 1in squares to make a second star block.
Prepare the pieced panels
Step 1
Take forty seven of the pink/yellow 2½in squares, and one of your pieced star blocks. Arrange in four rows of ten and one row of eight, as shown in Fig 2. Sew the squares together into rows, then sew the rows together, carefully matching seams. This completes the pocket panel.
Figure 2
Step 2
Take thirty nine blue 2½in squares and one pieced star block. Arrange in four rows of ten. Sew together in rows, then sew the rows together to complete the front panel.
Step 3
Take thirty blue 2½in squares, and arrange in three rows of ten. Take forty eight pink/yellow squares. Arrange in four rows of ten and one row of eight, beneath the blue squares. Sew together in rows, then sew the rows together to complete the back panel (Fig 3).
Figure 3
Making the bag front
Step 1
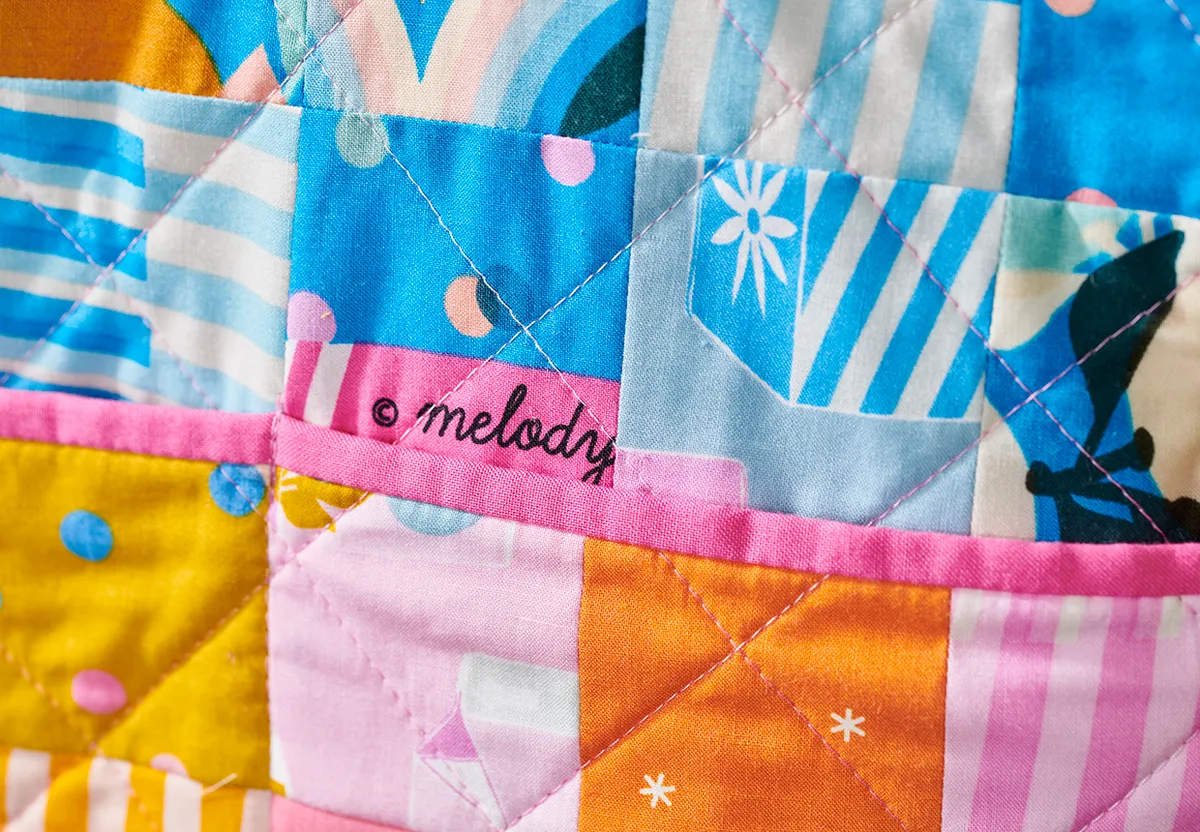
Sew the 8½in x 20½in accent fabric piece to the bottom of the blue front panel, along the long edges. Place on top of one 16½in x 20½in batting piece, right side up. Baste in place then quilt as desired. Jess quilted a 2in cross hatch pattern.
Step 2
Stay stitch around the outer edge of the bag front, 1⁄8in from the edge, and trim any excess batting even with the sides of the pieced panel (Fig C).
Figure C
Step 3
Take one accent 10½in x 20½in piece and place right side down. Place the matching batting piece on top, then the pocket panel piece on top, right side up. Baste, quilt, and stay stitch in place, as in steps 18–19.
Step 4
Place your accent 1in x 20½in strip RST along the top edge of the pocket panel, on the pieced side. Sew along the top edge. Press the strip over to the back of the pocket panel. Fold and press the long raw edge under, then slipstitch in place.
Step 5
Place the pocket panel on top of the front panel, aligning raw edges at the bottom and sides (Fig D). Baste in place along the sides and bottom.
Figure D
Step 6
Create a pocket division by sewing along the seam line three squares in from the side, backstitching at each end to secure. Repeat this stitching on the other side of the pocket.
Making the bag pack
Step 1
Repeat the process in steps 18–19 with the bag back panel and remaining batting piece.
Making the bag outer
Step 1
Cut the canvas strapping into two equal lengths. Take one length and align each short edge with the top raw edge of the bag back, aligning the edges with the third square from each side. Baste in place (Fig E). Repeat to place the other strap on the bag front.
Figure E
Step 2
Place the front and back RST and pin or clip along the sides and bottom edge (Fig F). Sew along the two sides and bottom, backstitching at each end. Leave the trimmed bottom corners unsewn. Trim the batting layers to 1⁄8in at each seam allowance. Finger press the seams open.
Figure F
Step 3
Bring the side and bottom seams RST at one corner, so the trimmed edges line up. Pin or clip, then sew across the corner, backstitching at each end (Fig G). Repeat for the other corner.
Figure G
Finishing the bag
Step 1
Repeat steps 26–27 with the two lining pieces, leaving a gap for turning along the bottom edge.
Step 2
Turn the bag outer right sides out, and place down inside your lining, so the pieces are RST. Align seams at the sides, tuck the handles down between the layers and pin or clip around the top edge.
Step 3
Sew around the top edge, backstitching over the end of each handle to reinforce. Turn right side out through the gap in the lining. Slipstitch the lining closed.
Step 4
Push the lining down inside the bag. Press around the top edge, rolling so the lining is on the inside of the bag. Topstitch around the top edge to finish.
Jess is a fabric crafts designer who’s work is regularly published in Simply Sewing and Love Patchwork & Quilting magazines. She shares her work on her website www.jellybgood.com. She inherited her love of fabric, colour and sewing from her mother and specializes in creating easy-to-sew, accessible designs with a fresh modern style, making her projects popular with magazine readers and crafters online alike. She’s got a thing for neon threads and a serious love of fabric. She runs her own craft business creating everything from hair slides and brooches to bunting and quilts. She has previously appeared as a guest designer on Sewing Quarter TV and shares her work on Instagram @jessjelllybgood
This website is owned and published by Our Media Ltd. www.ourmedia.co.uk