Free Jelly Roll Quilt Pattern – How to turn fabric strips into a log cabin quilt

We're channelling the vintage crocheted granny blanket look with this easy quilt-as-you-go project by Jo Avery. Read on to find out how to make a log cabin quilt from a jelly roll! It's a great new year stash buster too

Try 6 issues of Love Patchwork & Quilting magazine for £9.99| SAVE 76%

Published: December 28, 2020 at 8:40 am

Jelly roll quilts are some of the quickest and most satisfying quilts in life to make. They have earned themselves thousands of devotees around the world and it's easy to see why. If you've not come across them before, Jelly Rolls are a pack of pre-cut strips of fabric which are all the same width, making them easy to cut quickly into a batch of shapes which you can them mix together in all sorts of clever ways to make a speedy quilt. As all the measuring has been done for you, you get to dive straight into the sewing! There are dozens of Pinterest boards and blogs dedicated to Jelly roll quilt patterns so we knew we had to feature one here on Gathered for you!

This log cabin quilt using a jelly roll was designed by Jo Avery and was first featured in Love Patchwork and Quilting magazine.

You could also use offcuts of fabric from past projects if you wanted to make this quilt as a new year stash buster. If you are brand new to quilt making, our guide to quilting for beginners will show you the ropes, or if this has got you in the mood for some granny square action of the crochet hook variety, dive into our free granny square patterns.
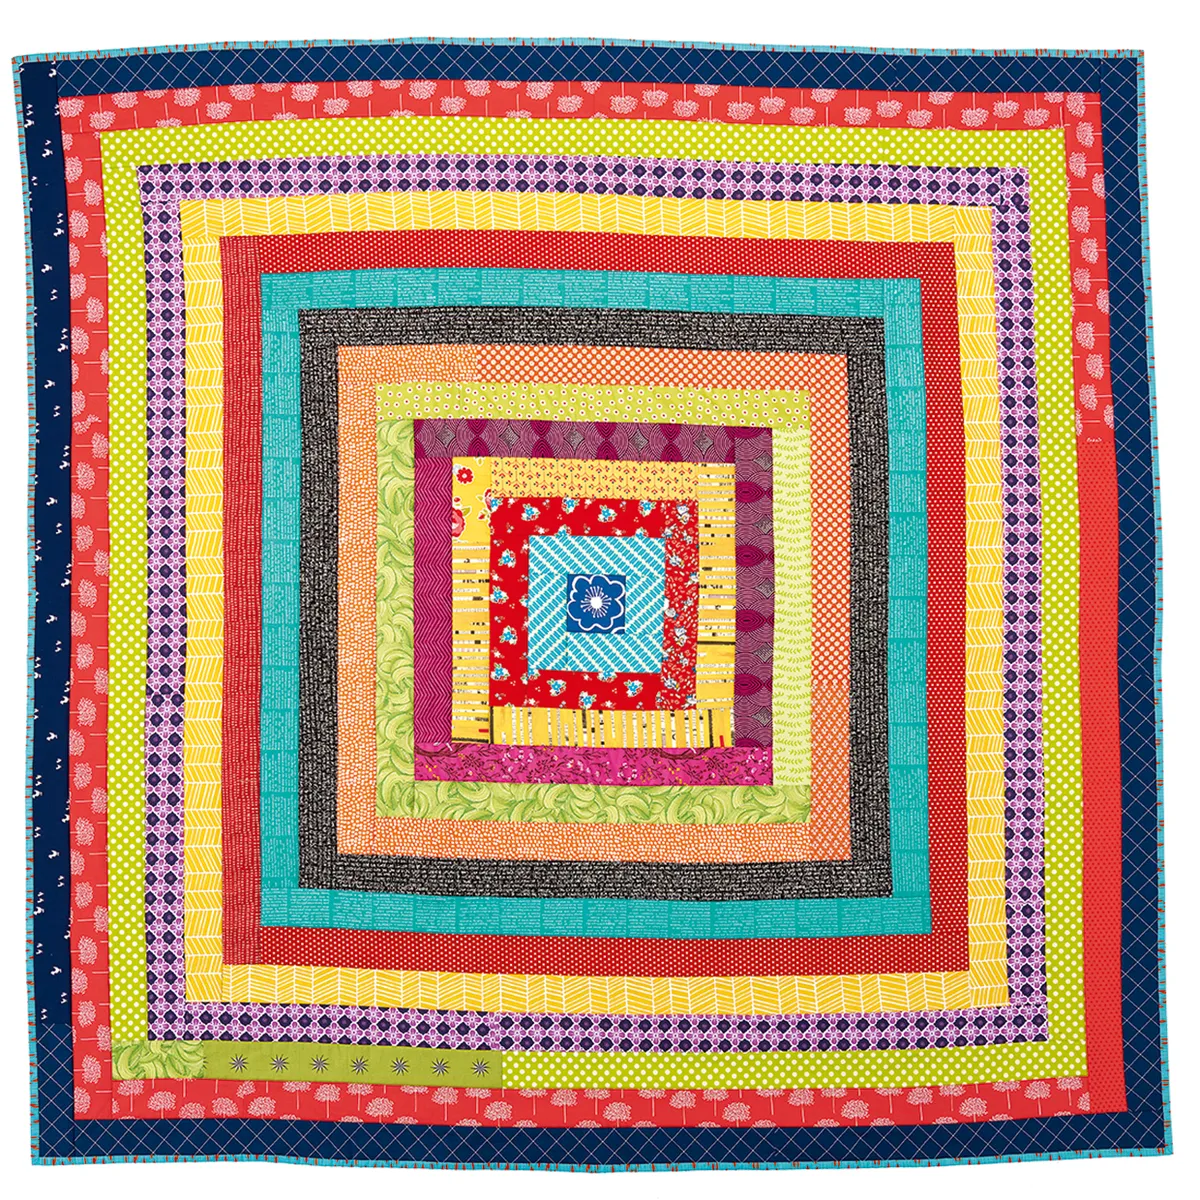
How to make a jelly roll quilt
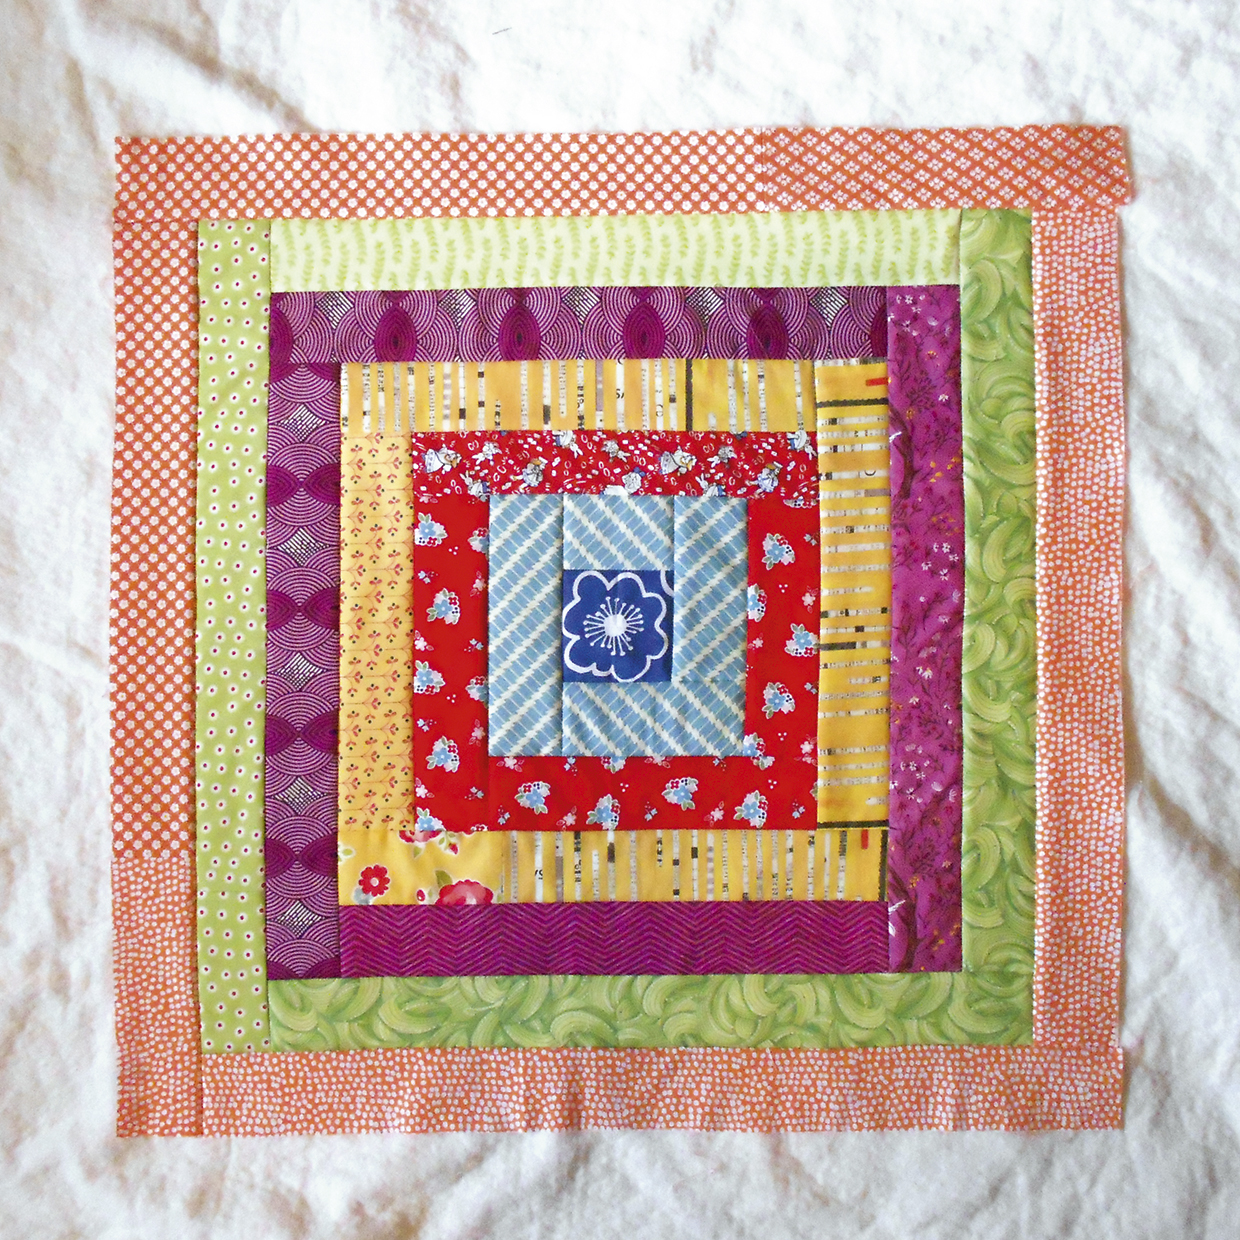
The geometric squares of this jelly roll quilt pattern are utterly mesmerising.

Try using Strips in gradually lighter shades of the same Colour for a modern ombre colour scheme.

Free jelly roll quilt pattern

Fabric requirements

  • Central fabric 3½in square
  • Print fabric 2½in strips, 3yds in total
  • Backing fabric 3½yds
  • Binding fabric ½yd

Finished size

59in square approx
You will need:

  • Fabric (For the quilt top, backing and binding)
  • Batting (63in square)
  • Basting spray (Optional)
  • Sewing machine
  • Thread
  • Basic quilting kit

Cutting out

Step 1

From the binding fabric cut six (6) 2½in x WOF strips.

Piecing the quilt

Step 1

Prepare the backing fabric by cutting the yardage into two equal lengths. Remove the selvedges and sew together along the length with a ½in seam allowance. Press well and trim to 63in square.

Step 2

Lay the batting onto a flat surface and place your backing, right side up, on top. Peel back half of the backing and spray layers with basting spray. Carefully lay the backing fabric back over the batting, smoothing out any wrinkles. Repeat with the other side. Alternately, you can secure your batting with safety pins but these will need to sit on the batting side so you can easily remove them as you work.

Step 3

Fold your backing/batting in half, towards the backing, then fold in half again so that you can see a centre cross on your batting side. Mark this with a pencil or removable pen.

Step 4

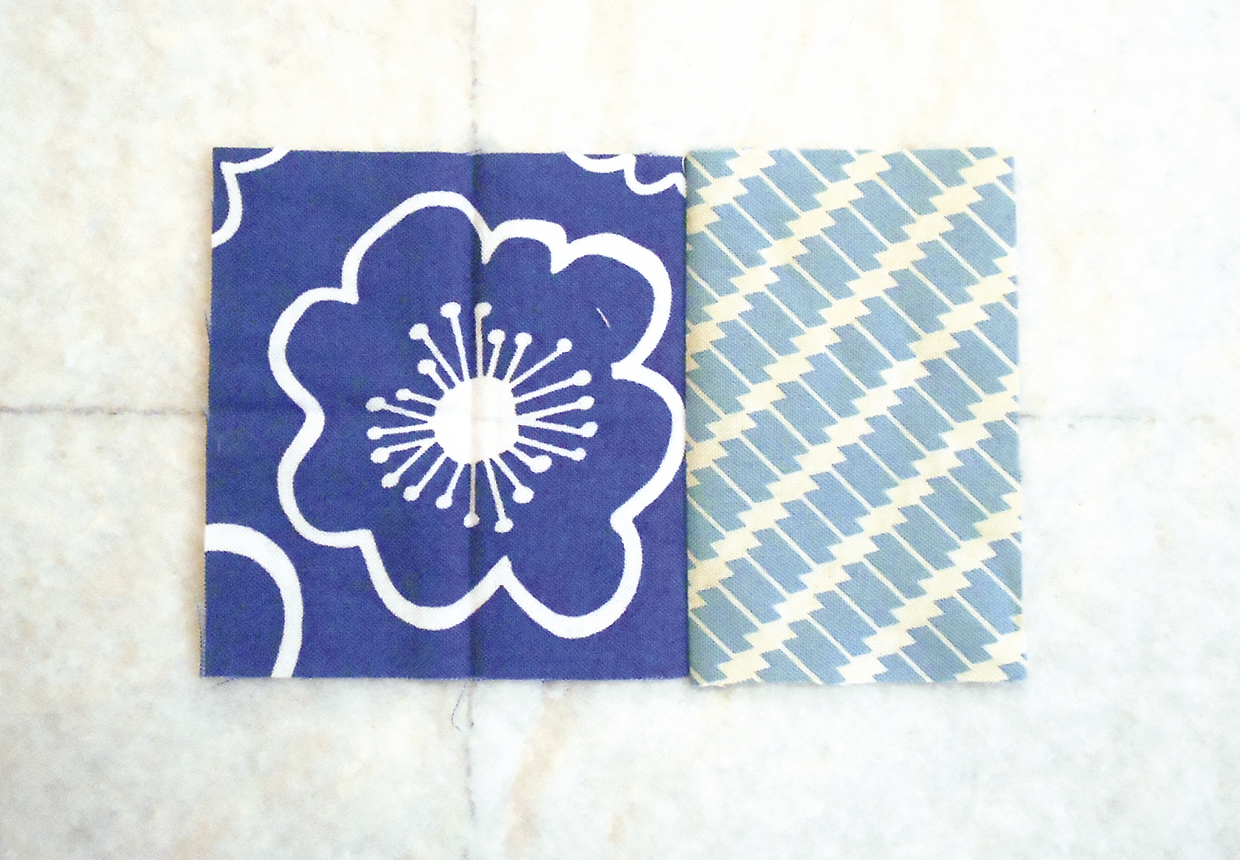
Fold your 3½in square in half and in half again, right sides together, and line this up with the centre cross on your batting. Pin the square in place, right side up.

Step 5

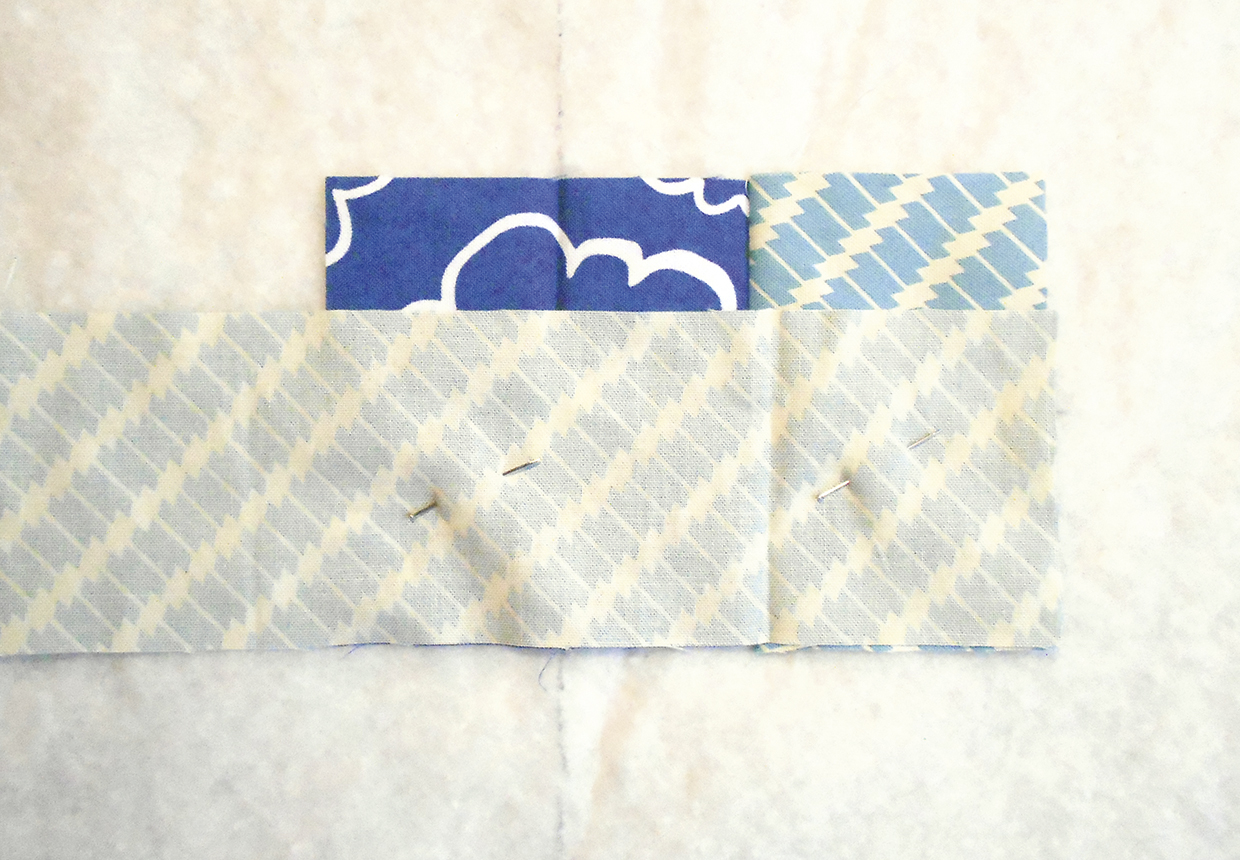
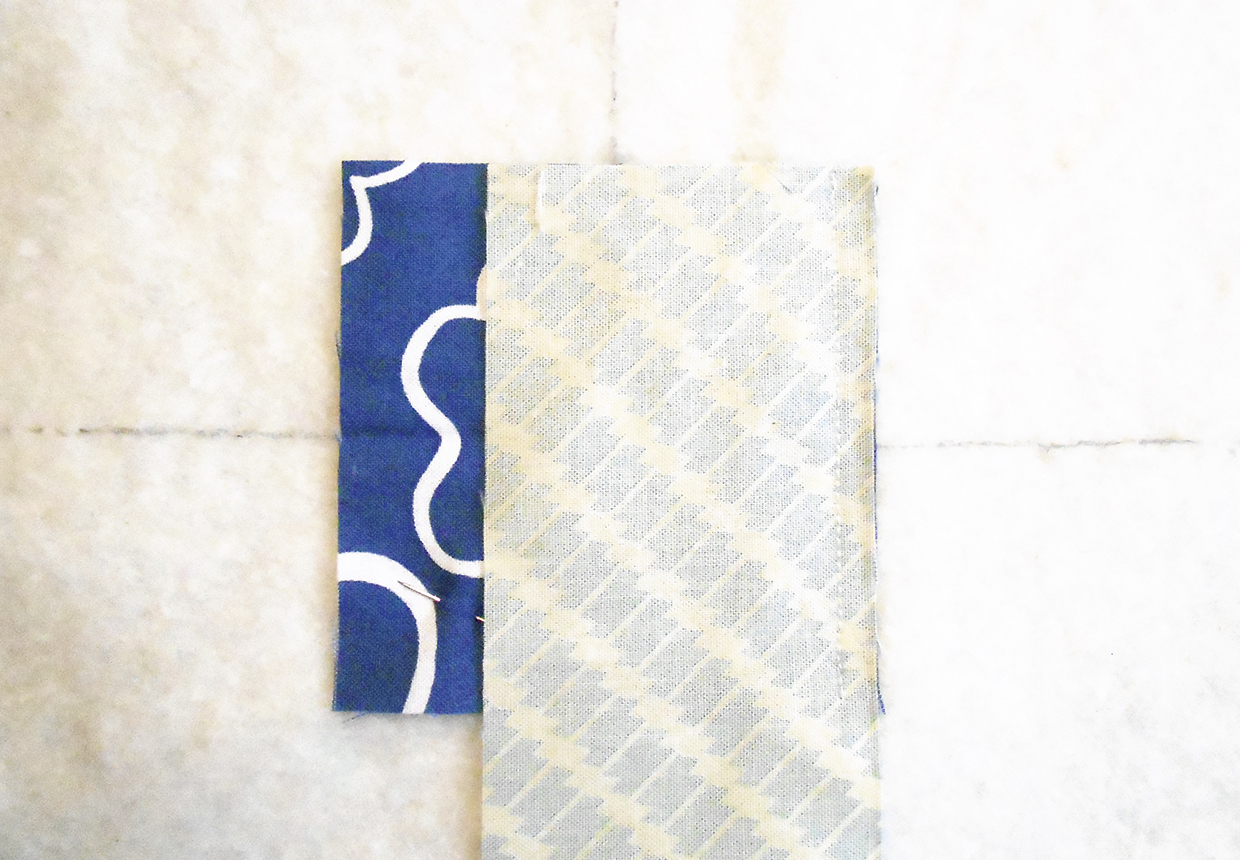
Take your first 2½in strip and place right sides together with one side of the square, lining up the edges exactly. Pin then sew in place (fig a).

How to make a Jelly Roll Quilt step 1
Figure A

Trim the strip in line with the centre square and finger press the seam open (fig b).

How to make a Jelly Roll Quilt step 3
Figure B

Tips for strip piecing

  • After sewing a fabric strip, trim it as accurately as you can.
  • Use the middle of the block to line up your next strip, not the end of the strip you have just attached because this will not have been as accurately cut as your strip sides.
    Make sure you really open out your seams when you finger
  • press them. Give your work a proper press after every few rounds.

Step 6

Lay your next strip along the next edge of your square, moving clockwise and including the edge of the last strip (fig c).

How to make a Jelly Roll Quilt step 4
Figure C

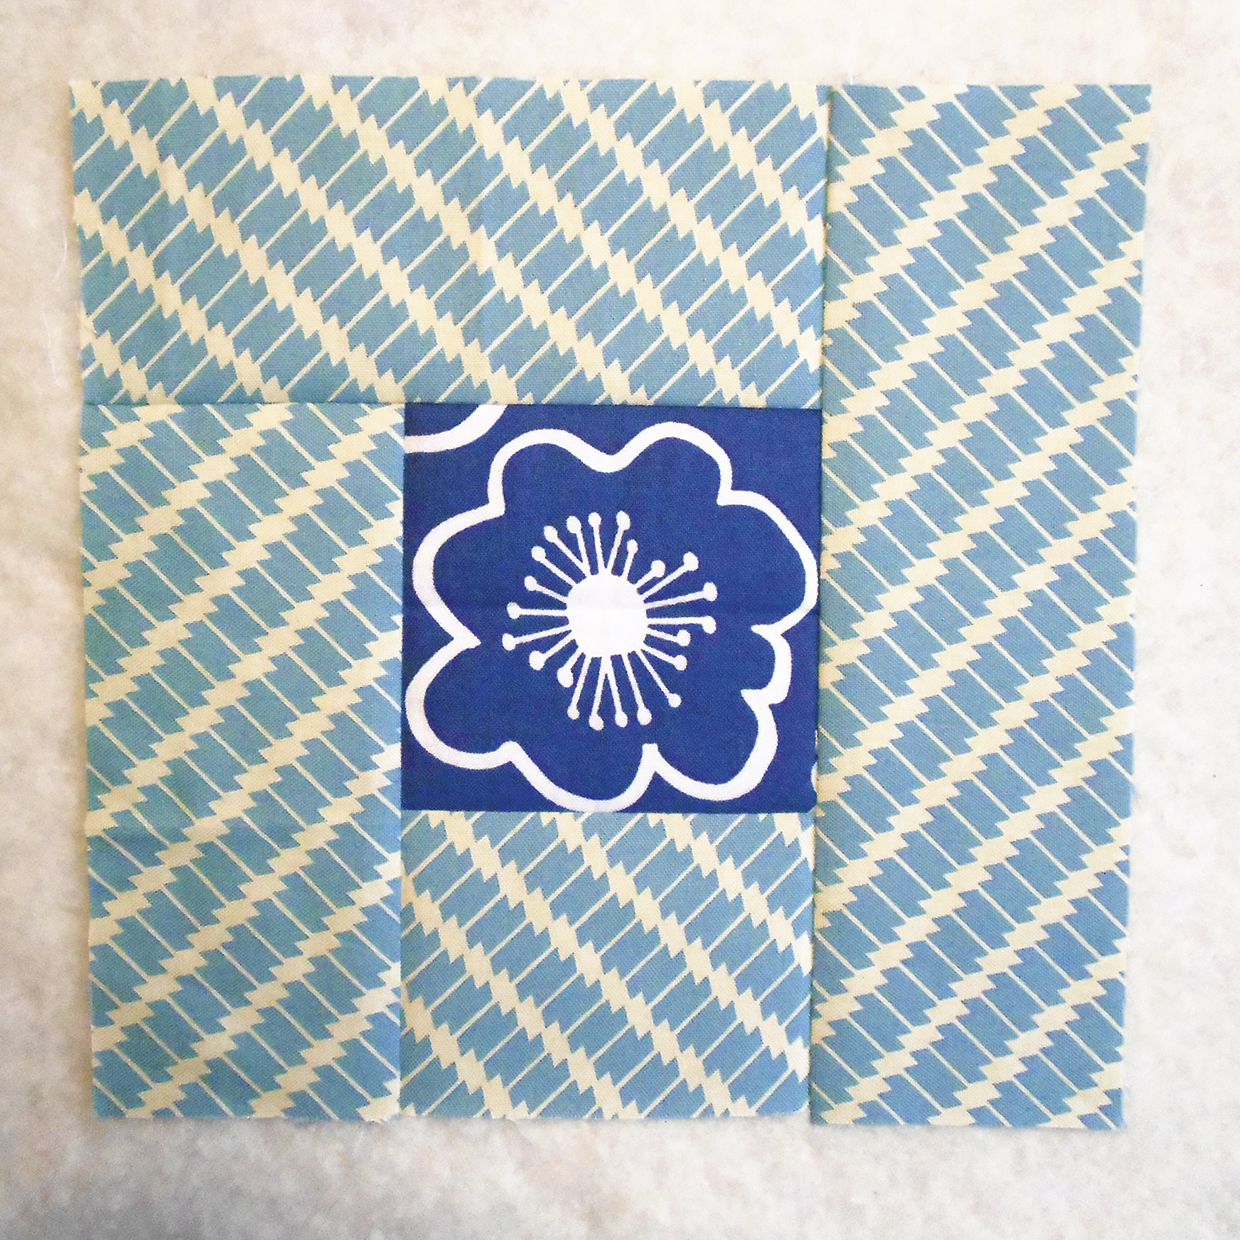
Pin, sew and trim to line up. Continue placing strips around your square in this fashion until the centre square is surrounded (fig d).

How to make a Jelly Roll Quilt step 5
Figure D

Step 7

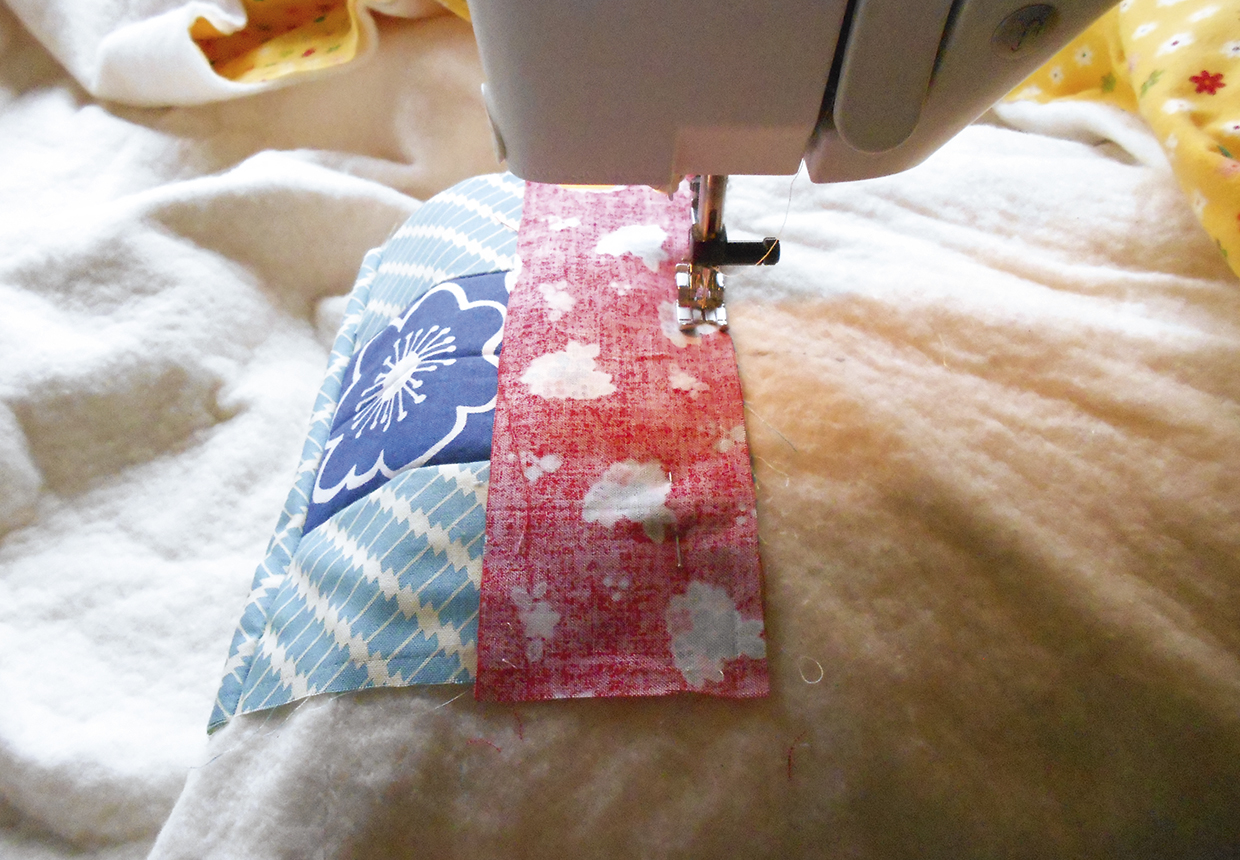
Begin your next ’round’ using a different coloured strip and start at a different corner of the square (this well help prevent distortion as your quilt grows). Pin and sew strips, trimming to size as you go. Roll the excess batting/backing so that it fits in your machine throat (fig e).

How to make a Jelly Roll Quilt step 6
Figure E

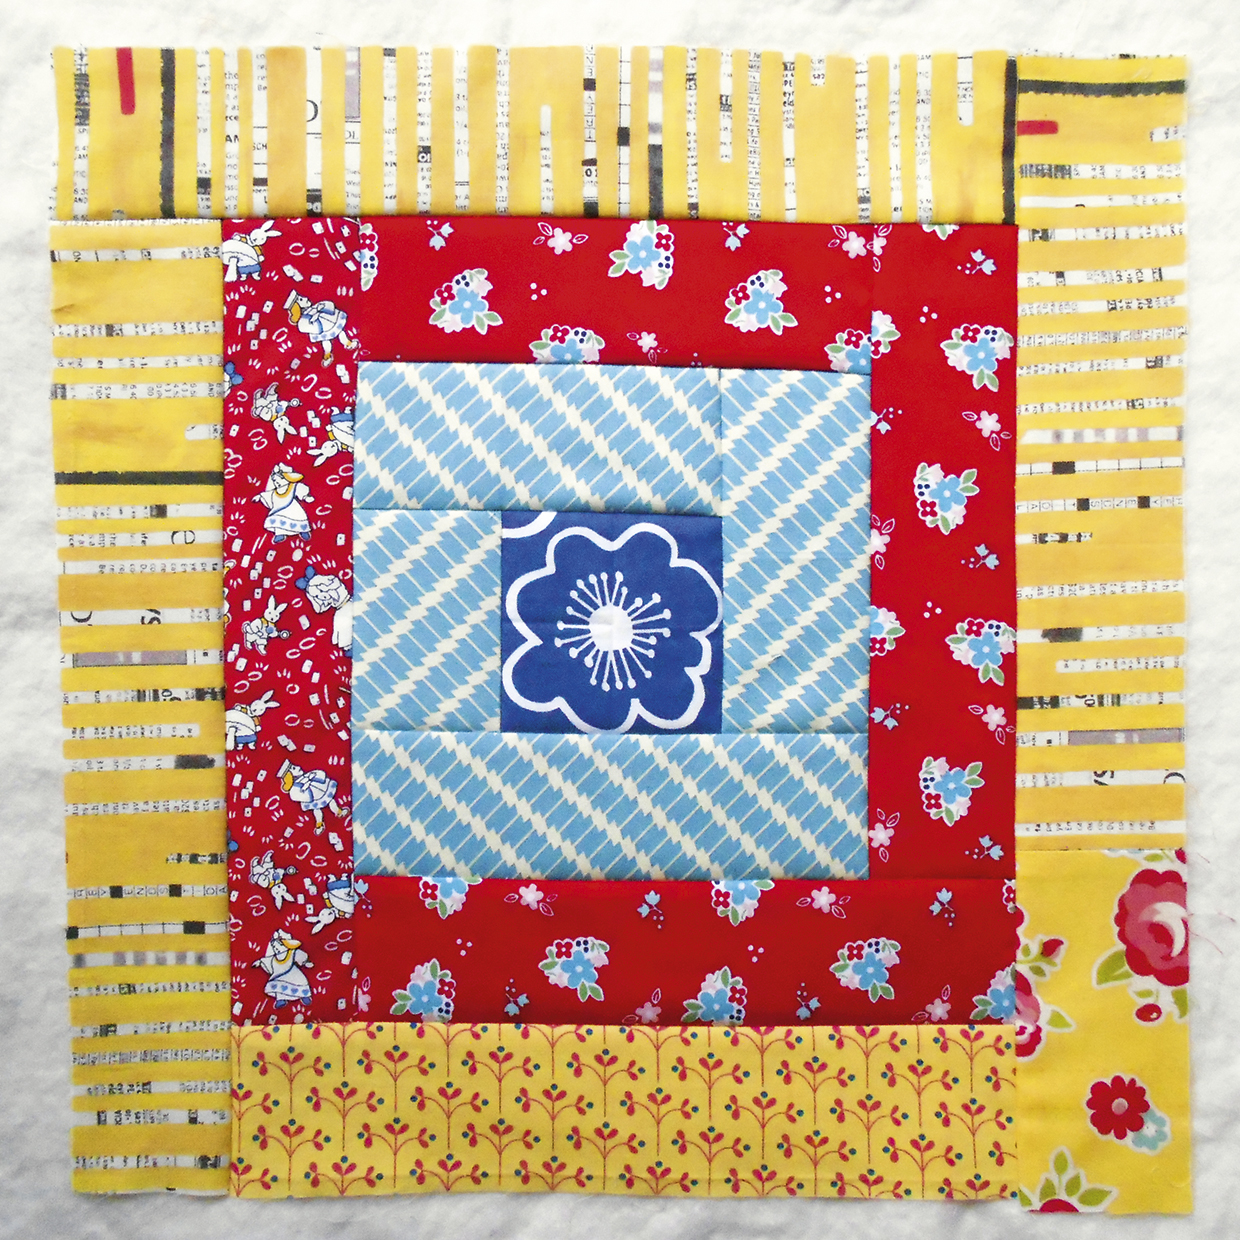
We made each round a different colour, sewing together smaller strips where longer pieces were needed and mixing prints of the same colour within a round (figs f & g).

How to make a Jelly Roll Quilt step 7
Figure F

How to make a Jelly Roll Quilt step 8
Figure G

Step 8

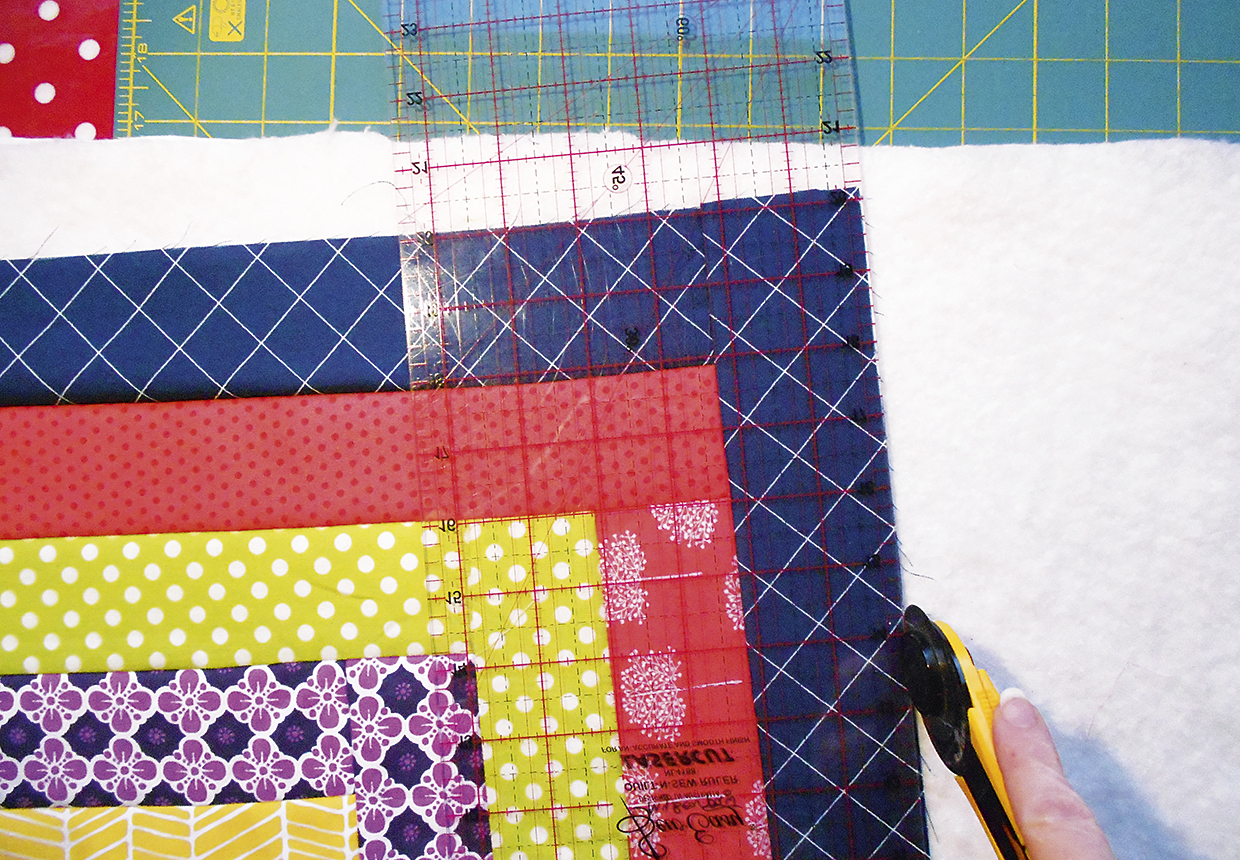
Keep going until you have completed fourteen rounds. Trim your batting and backing to square up (fig h).

How to make a Jelly Roll Quilt step 9
Figure H

Step 9

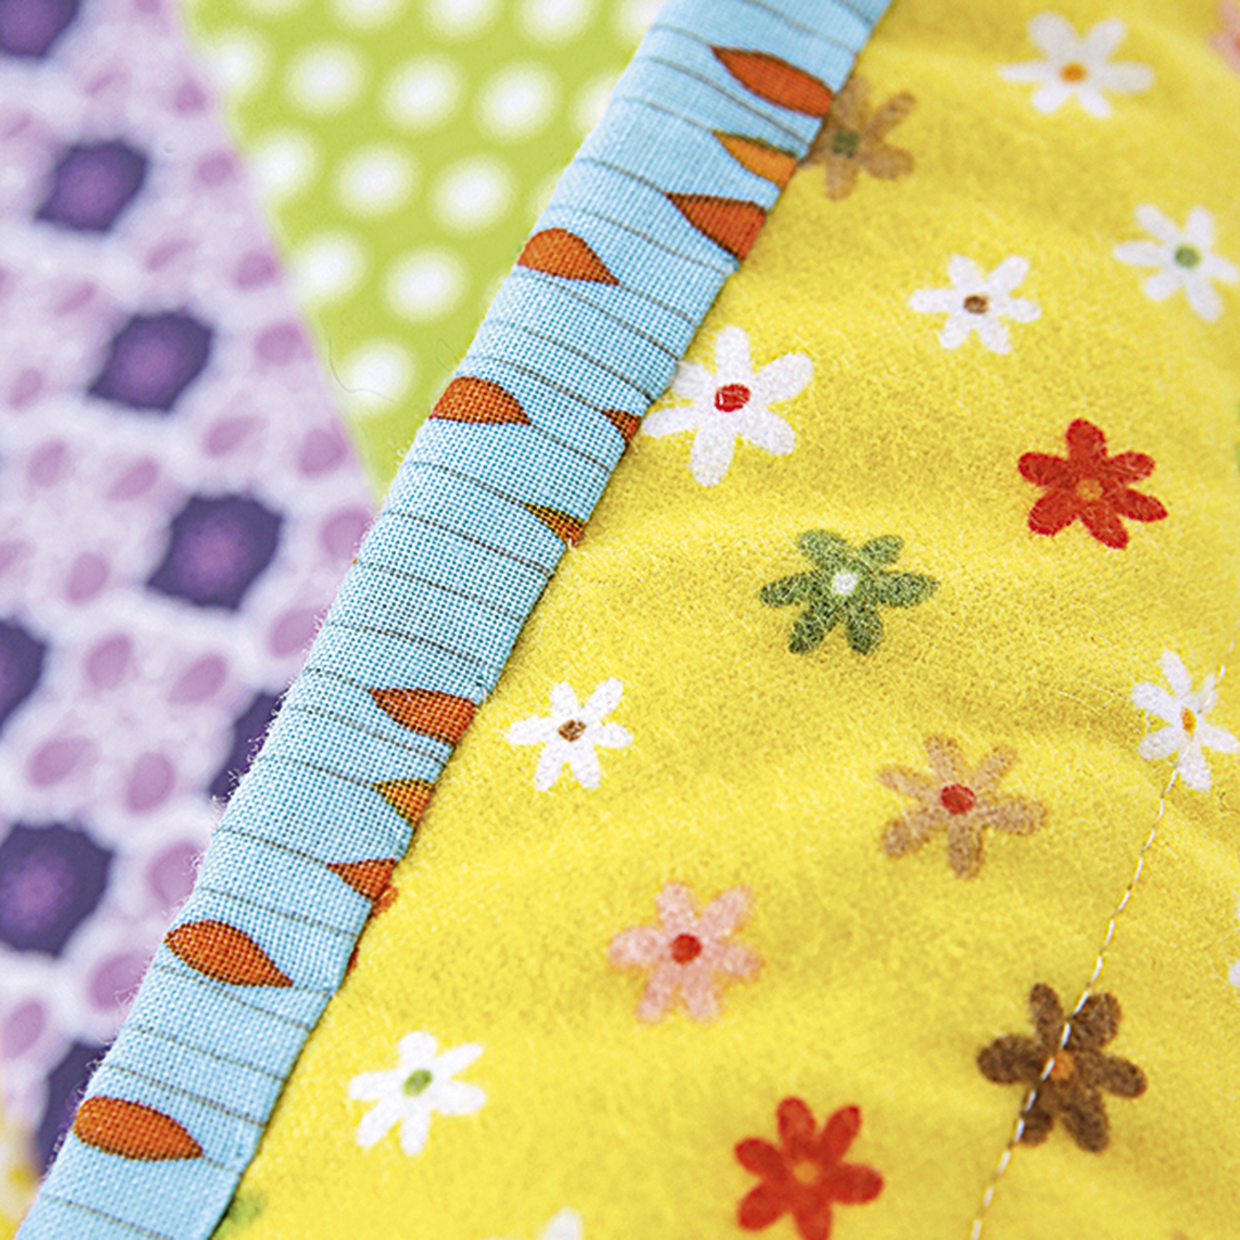
Prepare the binding by sewing the six strips end to end to form one long length. Fold along the full length, wrong sides together and press. Use this to bind the quilt.If you're new to quilting, never fear! Check out our guide to How to bind a quilt.

Free Jelly Roll Quilt Pattern binding