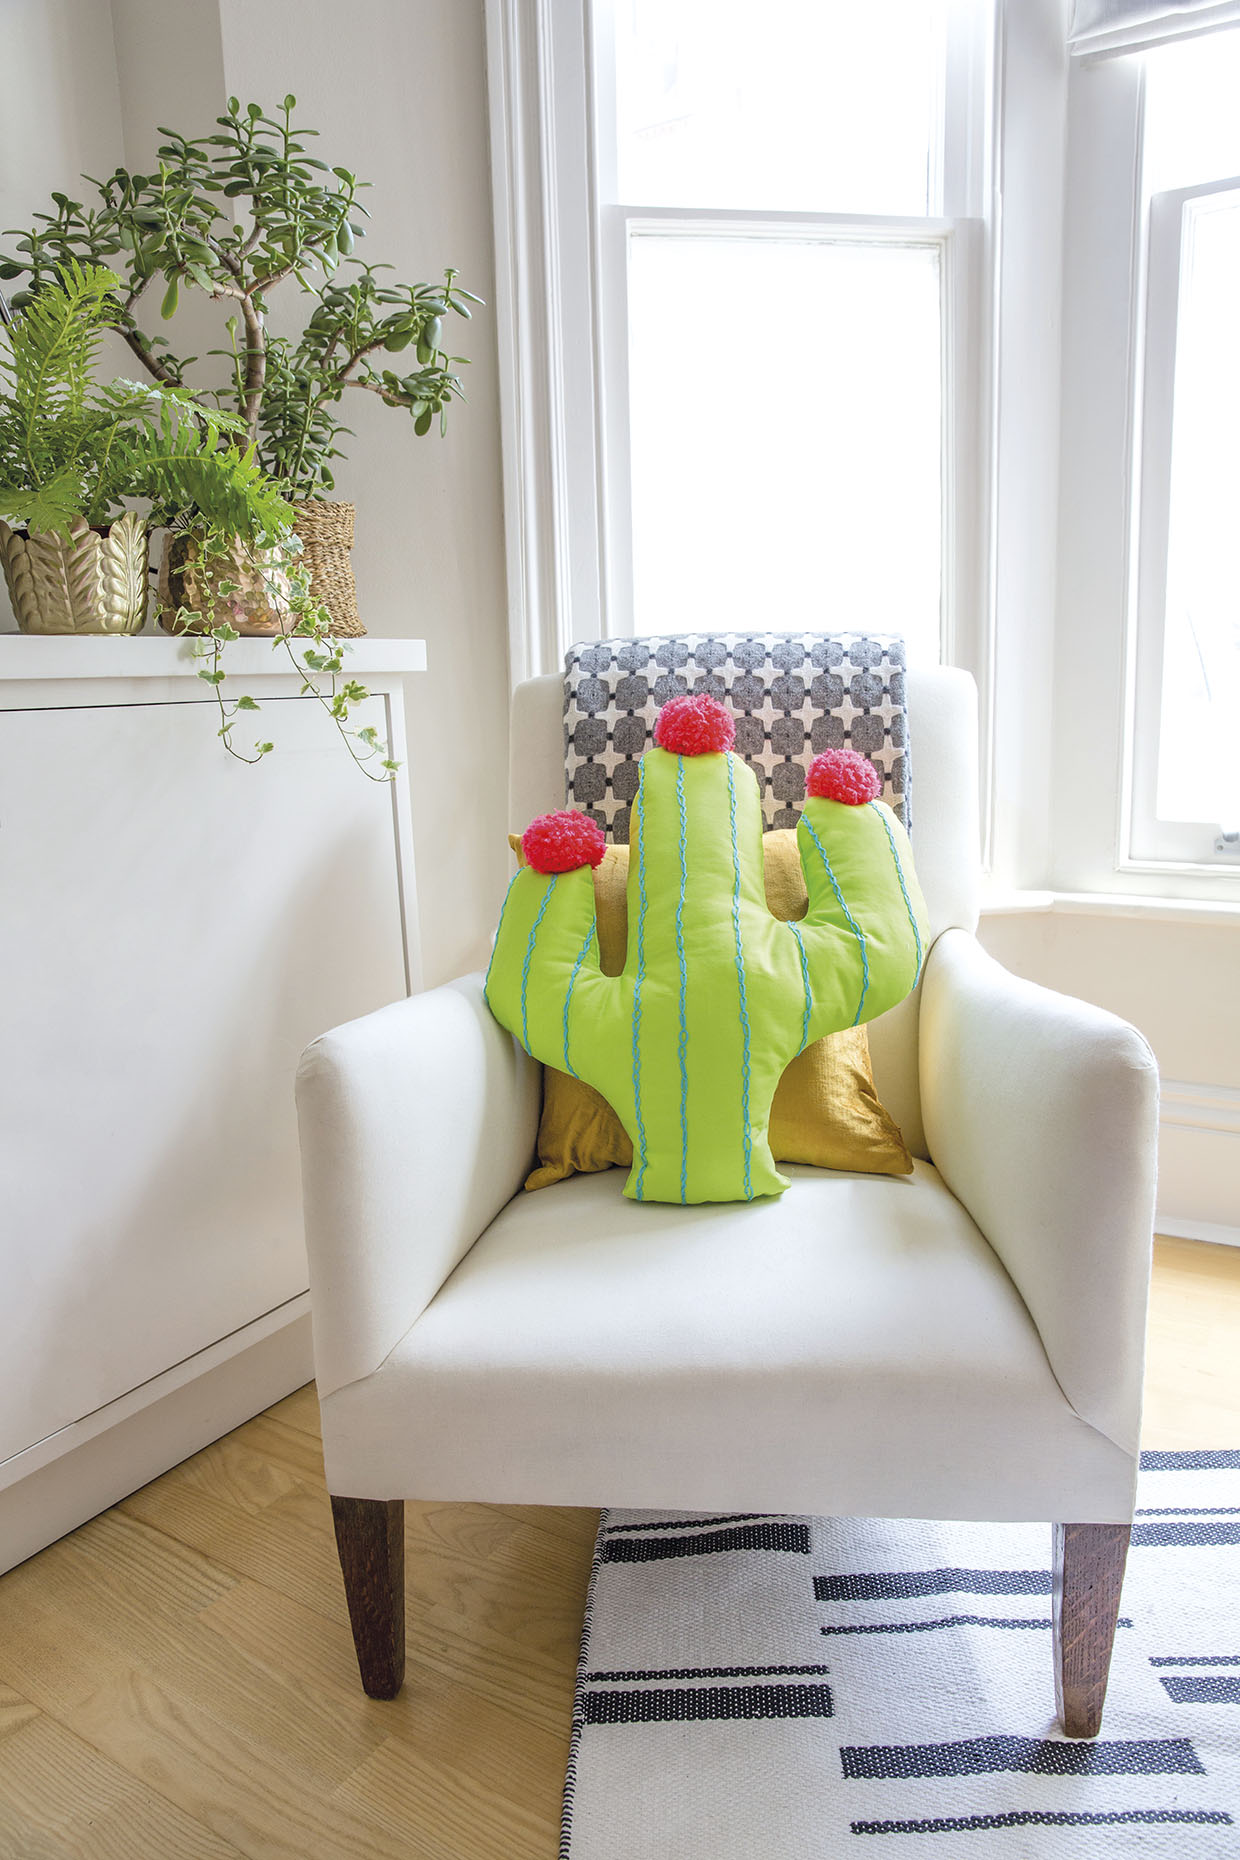
How to make a cactus cushion

Bring DIY desert vibes into your home with Amanda Russell’s cuddly pom pom cactus. No need to handle with care – this cactus is made for comfort!

6 issues of Simply Sewing magazine for £14.99|Save 78%!

Published: April 10, 2021 at 10:55 am

Nothing cheers up a chair quite like a novelty cushion and this colourful cactus cushion is sure to add interest to your home! This is a great project for an intermediate sewer as a beginner may find it tricky to sew in the padding.

To make this vibrant cactus cushion, you'll need to be able to sew in wadding, embroider the stripes and make your own pompoms. Before you start, you might find it useful to look at our beginner's sewing guide and our how to make a pompom tutorial.

Read on to learn how to make your own stunning cactus cushion!

This article was first published in Simply Sewing magazine – the UK best-selling magazine filled with projects for everyone who sews or wants to start. Looking for more cushion patterns to try? Learn how to make a cushion cover, how to make a heart cushion, how to make DIY floor pillows or how to make a star cushion.

If you're looking for more home décor inspiration, you can learn how to make a duvet cover, how to make roman blinds for your home, how to make a lampshade, how to make curtains, how to make a round circle pillow or how to make a doorstop.

Notes

You will need:

  • Green cotton fabric (60x110cm (24x43in))
  • Iron-on wadding (60x110cm (24x43in))
  • Green stranded cotton
  • Pink chunky yarn
  • Polyester fibrefill
  • Pompom maker (85mm (3 3/8in) diameter)
  • Water erasable pen
  • Basic sewing kit

Cutting out

Step 1

First download the cactus template and then cut it out to make your cactus pattern.

Step 2

Fold the fabric in half widthways with right sides (RS) together.

Step 3

Pin the pattern centrally on top and draw around it.

Step 4

Take the pattern off then cut the fabric through both layers 1cm (38in) outside the drawn line all the way around for the seam allowance.

Step 5

Fold the iron-on wadding in half then pin the cactus pattern on top.

Step 6

Cut around it through both layers as you don’t need a seam allowance for the wadding.

Embroidering the stripes

Step 1

Take one piece of the cut out cactus fabric to use for the cushion front and place it RS up on a flat surface.

Step 2

Draw the vertical lines on this piece using a water erasable pen following the lines on the template.

Step 3

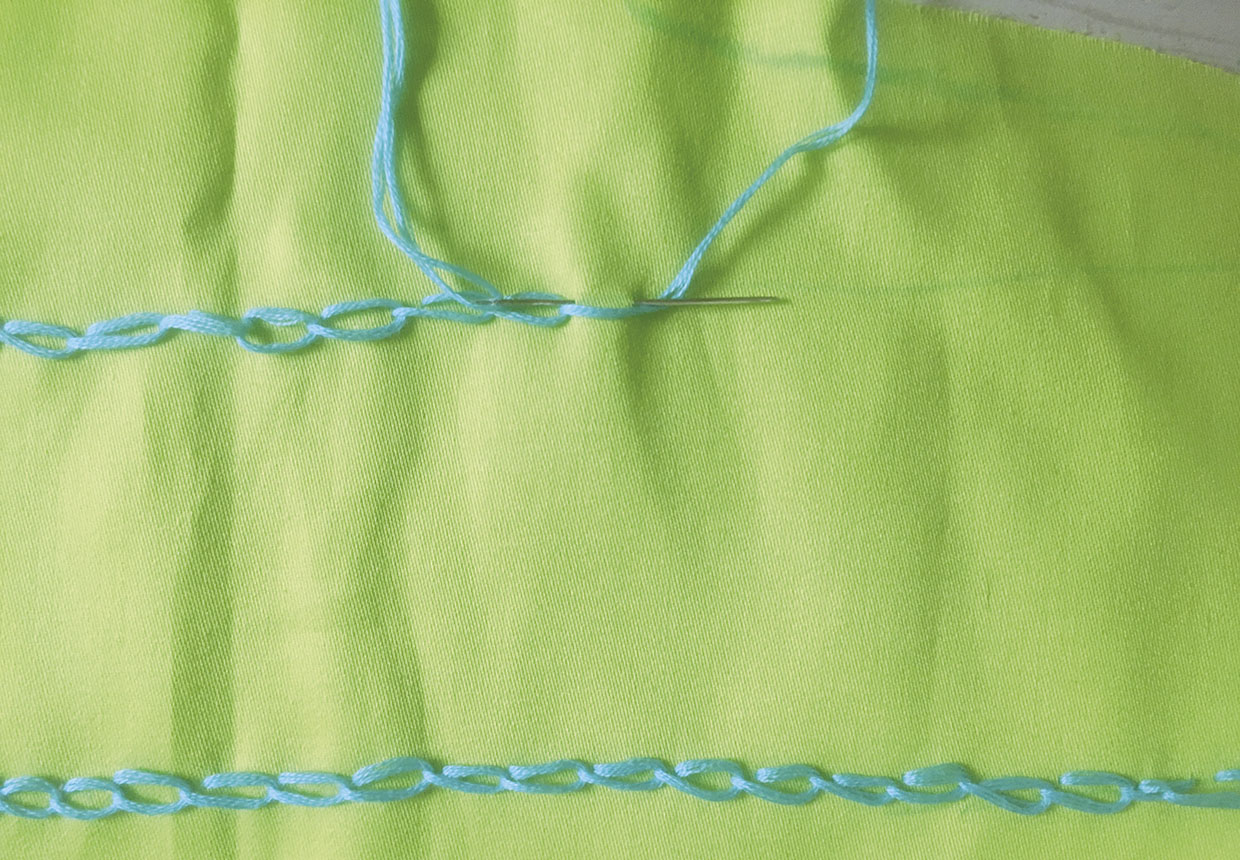
Stitch along these lines in chain stitch using all six strands of the stranded cotton in contrasting green to make the cactus stripes. Not sure how to do chain stitch? Follow our helpful how to do chain stitch guide.

Cactus cushion step one

Assembling the cactus

Step 1

Press the iron-on wadding pieces to the wrong side (WS) of each fabric piece, placing them centrally.

Step 2

Place the cactus front and back RS facing and stitch together down the side seams.

Step 3

Leave the straight bottom edge open for turning RS out and stuffing through.

Step 4

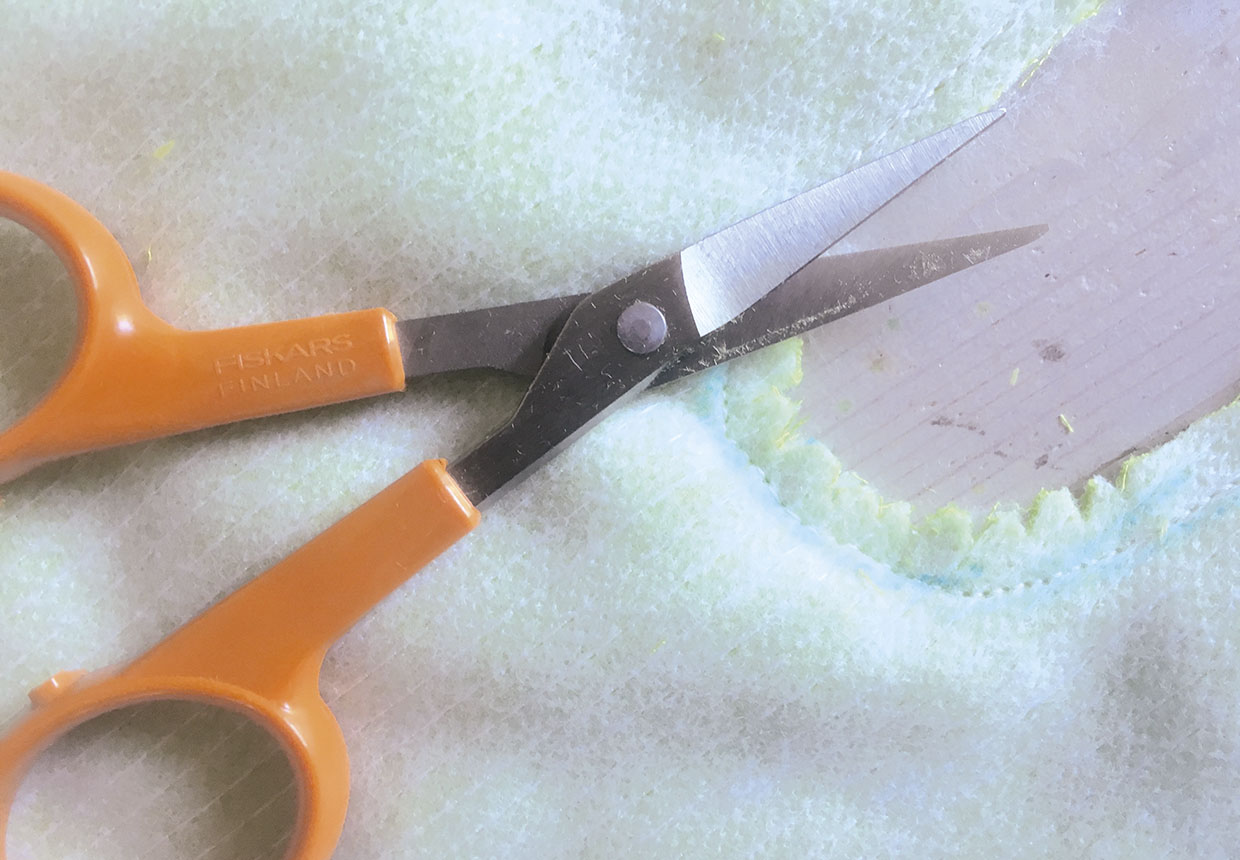
Trim the seams and cut notches in the curves.

Cactus cushion step two

Step 5

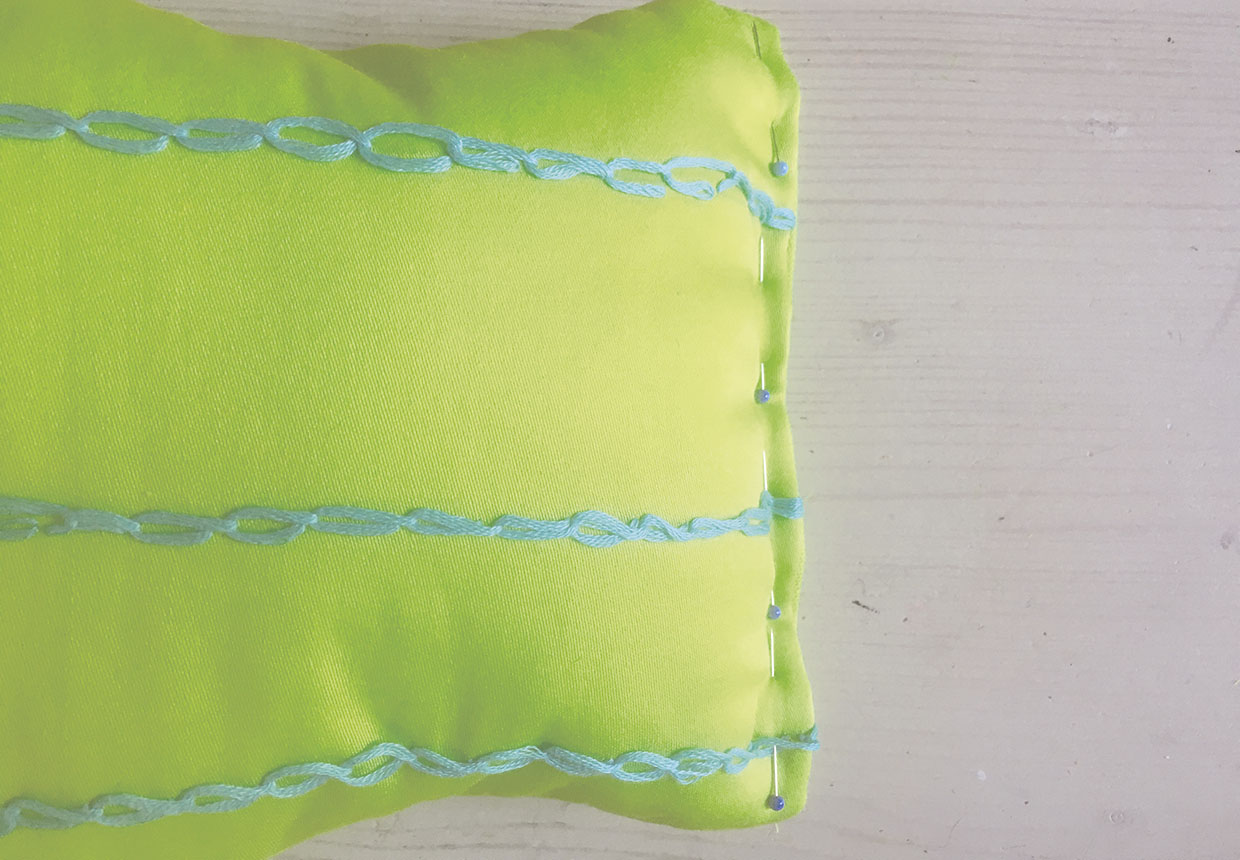
Turn the cactus RS out through the opening and press.

Cactus cushion step three

Step 6

Stuff your cactus firmly with polyester fibrefill then slip stitch the opening closed.

Making the pompoms

Step 1

Make three pom poms with the chunky pink yarn following the manufacturer’s instructions with the pom pom maker. We have used the largest size pom pom maker to make ours. If you don’t have a pom pom maker, then simply cut two circles of cardboard with an 85mm (338in) diameter, cut circles out of the centres, and make your pom pom by winding the yarn around them in the traditional way.

Finishing off

Step 1

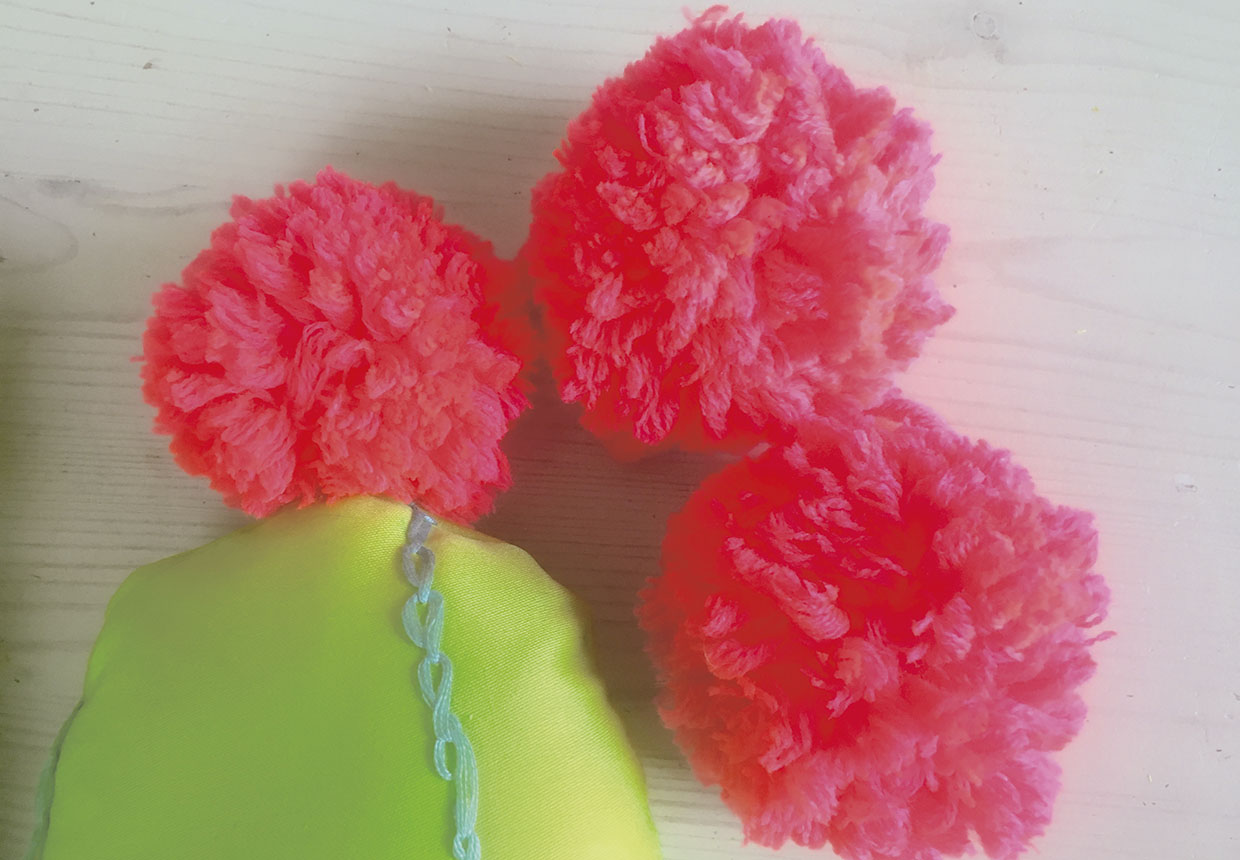
Sew a pom pom onto the top of each arm of the cactus.

Cactus cushion step four

Step 2

Now pop on your favourite chair and your spike-free cactus cushion is ready to use.

You’ve finished! Use your beautiful cactus cushion to brighten a comfy armchair.

Cactus cushion