How to build a birdhouse in 10 easy steps

Use up wooden offcuts to make a sweet little birdhouse for garden visitors. Follow the step-by-step tutorial and get the know-how with Gathered

Published: February 22, 2024 at 10:54 am

Wanting to encourage more wildlife into your garden? One of the quickest ways is to install a birdhouse or bird box. You can buy them easily online or from your local hardware store. But if you have the time and fancy giving it a go, learning how to build a birdhouse is super satisfying and adds to the sense of pride you'll feel when the first bird makes its home inside.

Making a bird house is also a great way to use up any small pieces of wood that would otherwise end up in the bin. Here we've used a discarded wooden pallet – see other wood pallet ideas here – but you could also use offcuts from shelves or perhaps a wooden kitchen worktop.

Things to think about when you make and install a birdhouse

Our bird boxes are all intended for small garden birds like robins, blue tits and wrens. These little feathered friends will be able to fit through the hole and stay warm and cosy inside.

It's important to treat the wood for a bird box with a wildlife-friendly wax, or you can paint it pastel with a non-toxic paint like we've done here with our three bird houses. Place them at least 1.25 metres off the ground to prevent cats from jumping up to the nests.

When hanging the boxes, tilt them forward to avoid rain pouring into the holes – the chicks will appreciate the dry setting! Be sure to thoroughly sand the holes into the bird houses for a smooth finish as well. This will protect garden birds and shouldn’t ruffle any feathers.

This article first appeared in YourHomeStyle and HomeStyle magazine.
You will need:

  • Pallet or reclaimed wood
  • Hammer
  • Crowbar
  • 120 grit sand paper
  • Measuring Tape
  • A pencil
  • Handsaw
  • Electric drill
  • Hole cutter drill bits (3cm and 3.5cm-diameter)
  • Nails (4cm)
  • Elmer's non-toxic wood glue
  • Paints
  • Paint brushes

Step 1

Using a hammer and crowbar, carefully dismantle the wooden pallet. Remove any nails by hammering their pointed ends. Sand the wood with a sander or sandpaper.


Step 2

Cut the wooden pallet into lengths

Cut four 7.5 x 15cm lengths of pallet wood for the horizontal front and the back walls. Drill a 3.5cm hole in the middle of one of the lengths. Sand the drilled hole with sandpaper.


Step 3

Cut two 7.5 x 15cm pieces of wood to form the side walls. Using a hammer and nails, attach the front and back walls to the side lengths. Cut two 7.5 x 11cm lengths of wood and nail them to form the bottom of the box.


Step 4

Paint the bird box blue with white stripes

Cut two 7.5 x 15cm pieces of wood and nail them to the top of the box, creating a 4cm overlap over the front of the box. Paint the bird box with blue wood paint. Once dry, use a narrow paintbrush to add white stripes.


Step 5

Cut six 7.5 x 25cm lengths of wood. Four of these will form the sides and the other two the front and back of the bird box. Cut two 7.5 x 11cm pieces of wood for the base of the birdhouse. Cut two 7.5 x 19cm pieces of wood for the top, which will have a 6cm overhang once constructed. Using wood glue, attach the two bottom pieces together along their longer side. Leave to fully dry.


Step 6

Cut a hole and sand it for the birds to enter

Cut a hole in the top half of one of the side lengths of wood. Drill a 3cm hole for smaller birds, such as blue tits or even tree sparrows. Sand the edges of the drilled hole to make it smooth. Stand each of the six 25cm lengths on end in a rectangle and secure the bottom section to them with a hammer and nails.


Step 7

How to build the birdhouse

With the panel with the entrance hole facing you, align the two roof pieces to the left-hand side of the top of the box and attach with a hammer and nails to leave a 6cm asymmetrical overhang on the right-hand side. Paint the box with pink paint. Once dry, use a paintbrush to add spots with white paint.

Step 8

Follow steps 2 and 3 of the blue bird house to form the front, back, sides and base of the bird box. Secure the walls and base together with a hammer and nails.


Step 9

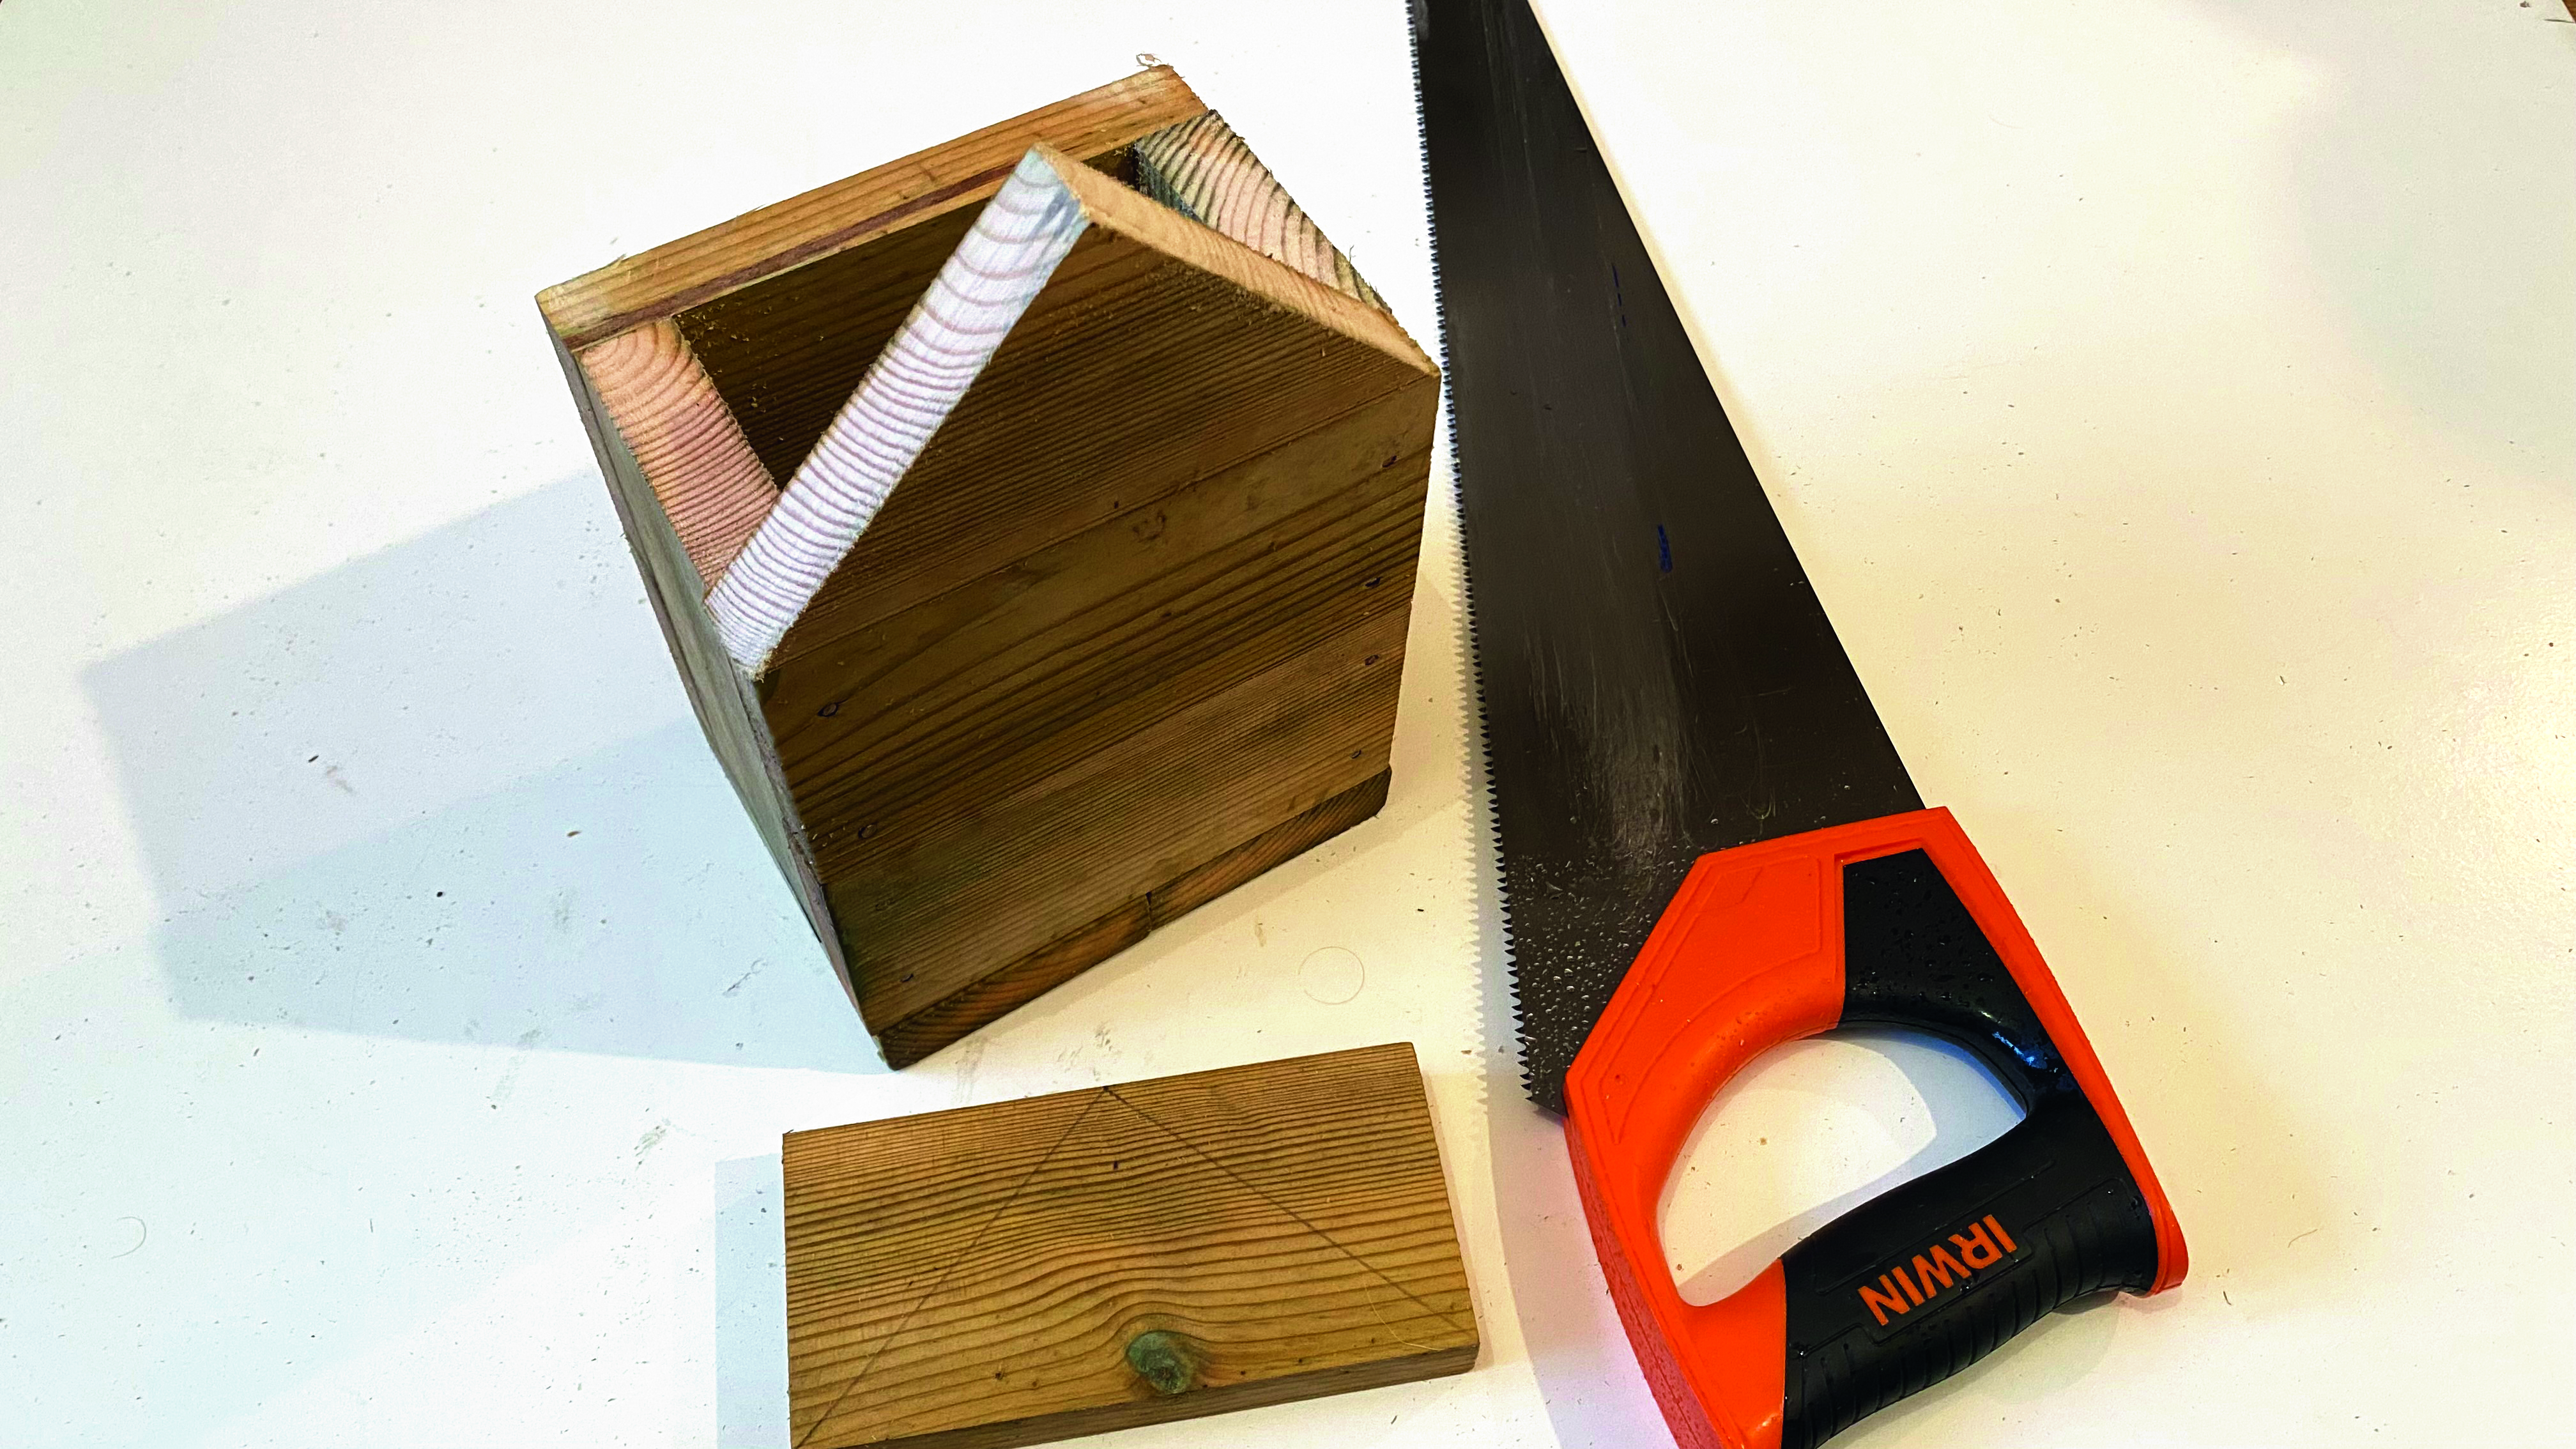
Cut two 7.5 x 15cm lengths to form the front and back gable ends. Find the centre point of each length and pencil on a straight line to the opposite corners to form a triangle. Cut this out with a saw. Repeat on the other length. Nail these to the front and back of the house to form the gable ends.

step 9


Step 10

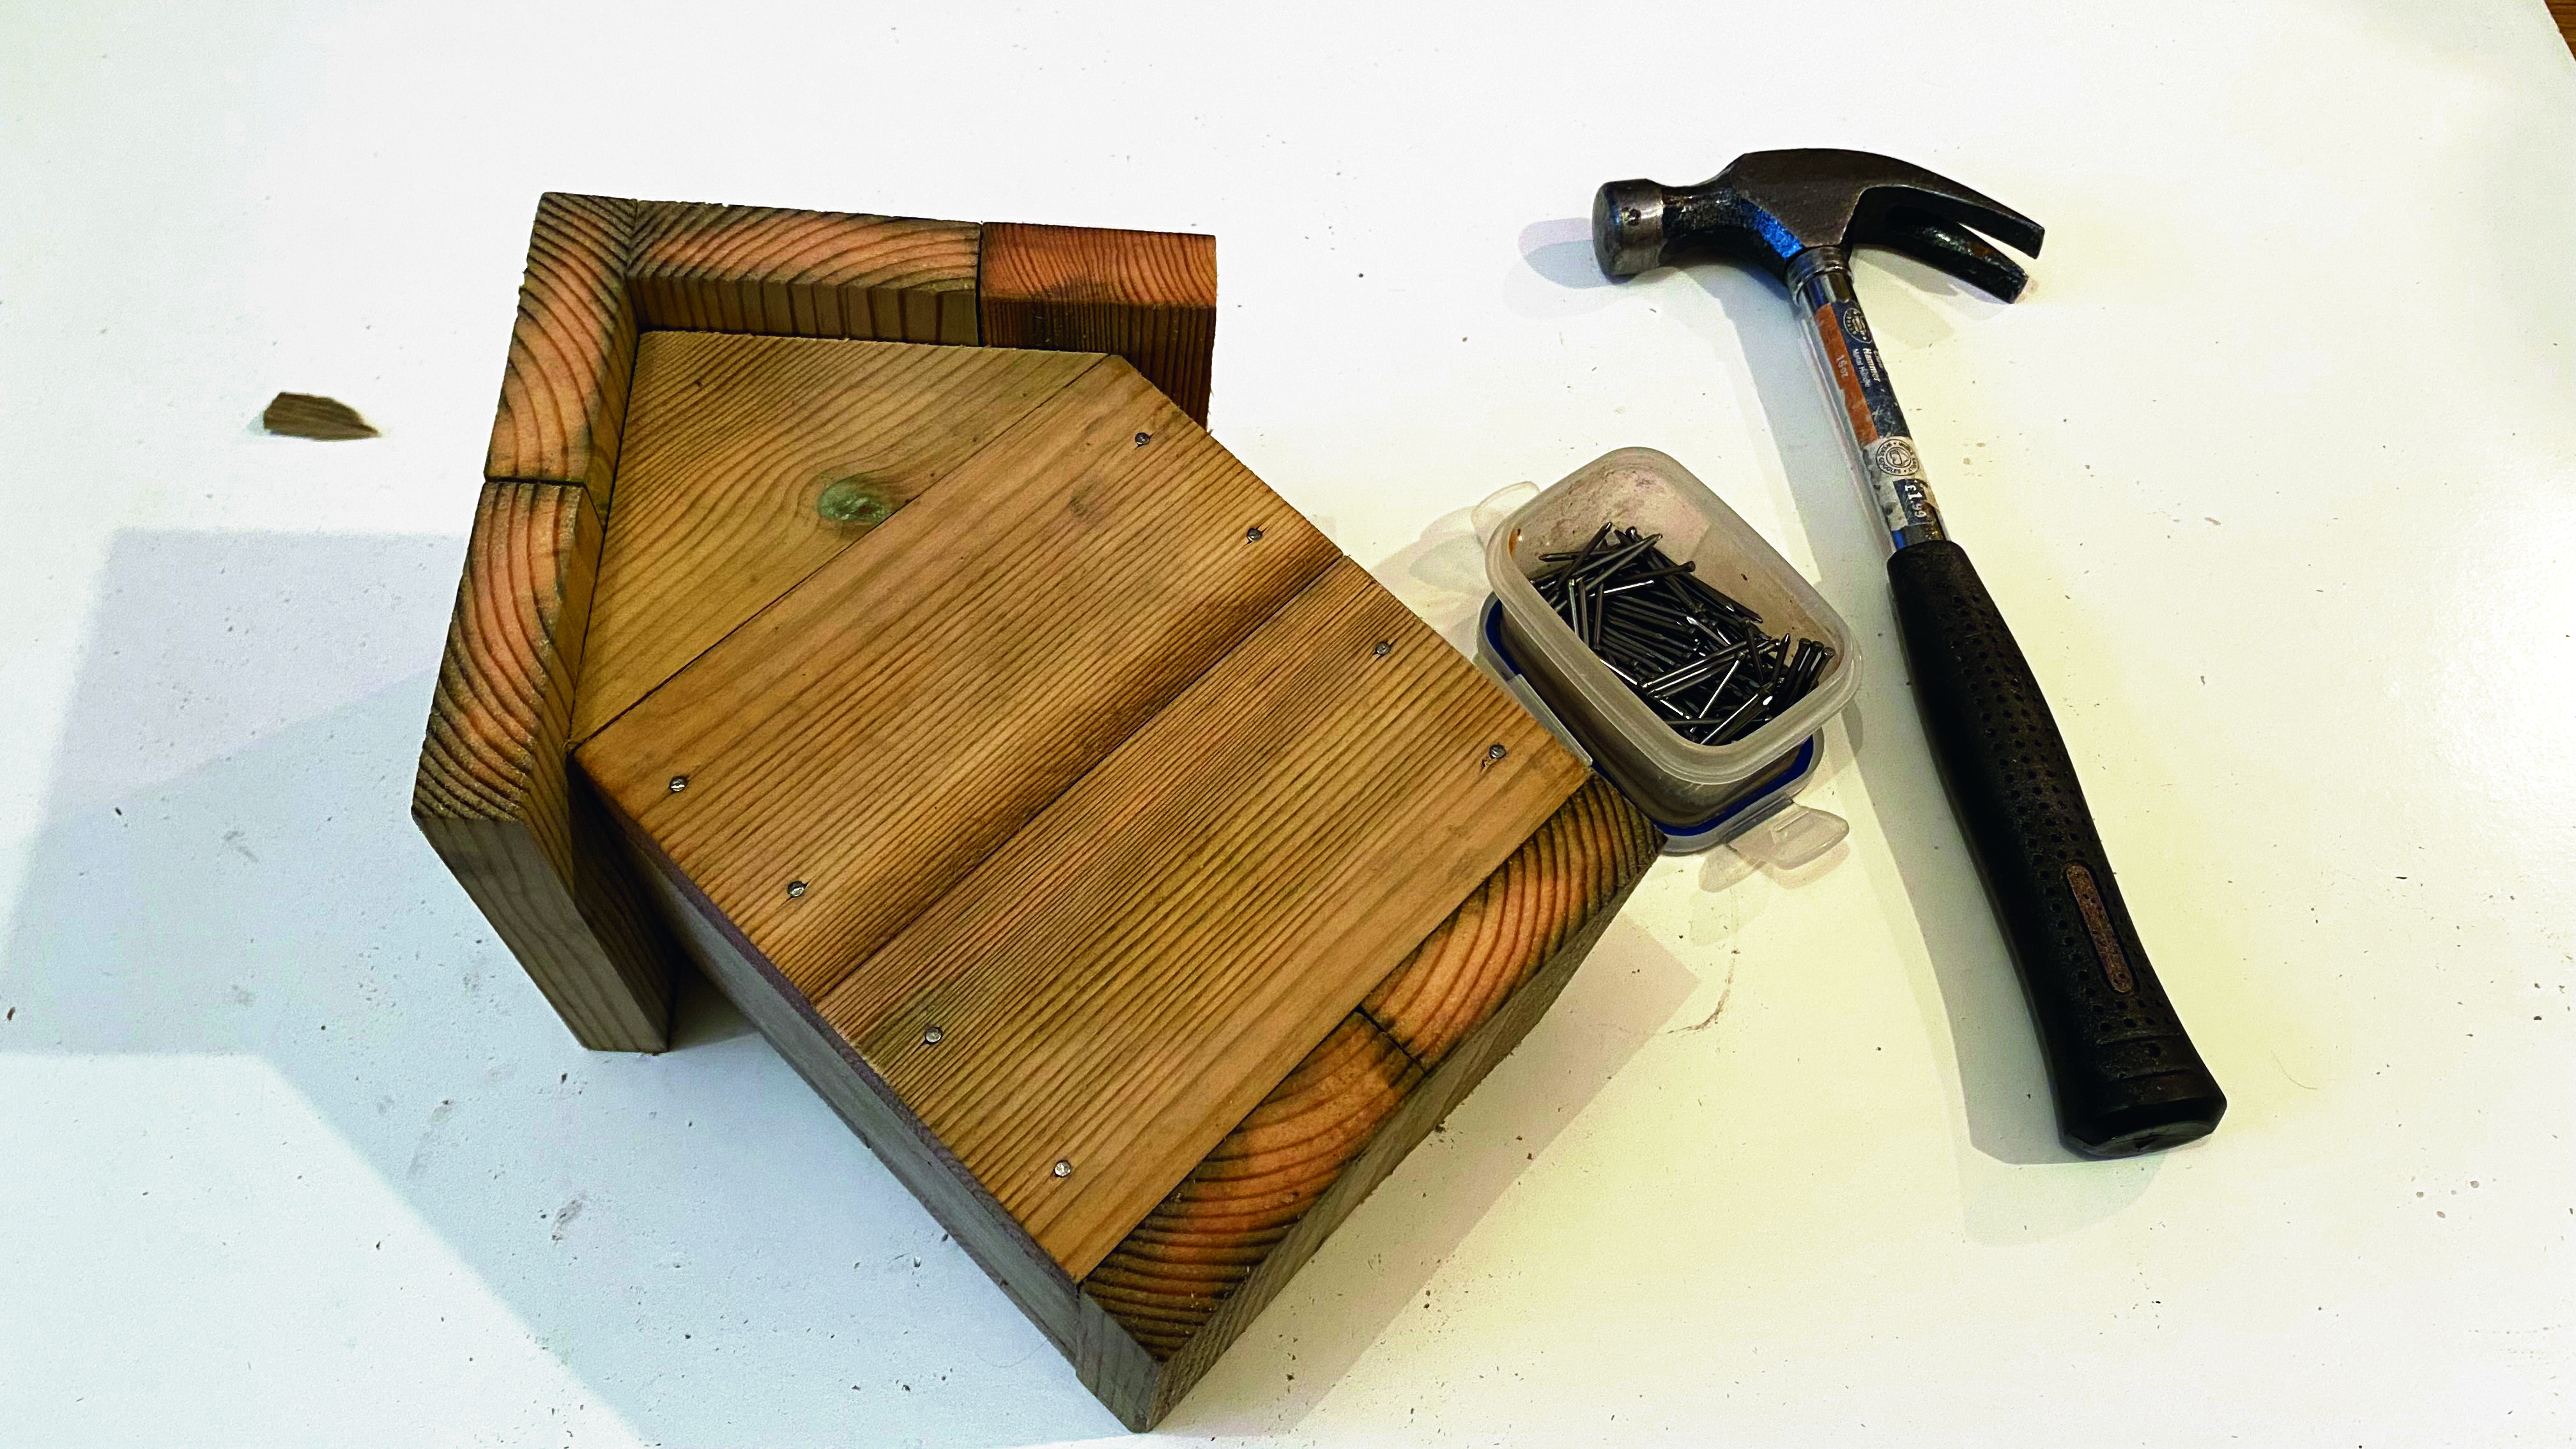
To form the roof, cut out three 7.5 x 15cm lengths and one 5 x 15cm length of wood. Secure these to the gable ends with a hammer and nails. The roof should overhang slightly. Paint with light green wood paint and leave to completely dry.

step 10


Project and step photos Luke Green

Main image Dave Caudery

Styling Tricia Ball and Beth Charlton Lucas


Making your own birdhouse is satisfying and straightforward

Constructing your own nesting box for feathered visitors to your garden is one of the most pleasurable things you can do. If you're using up scrap pieces of wood too, such as a leftover wooden pallet, then that's also great for the environment. Position the box safely and securely and hopefully before too long you'll be enjoying watching little garden birds flitting to and fro and making a warm and safe nest for themselves and any chicks they may have.

Ready to enjoy more upcycling projects?

If you've enjoyed this step-by-step tutorial and are feeling excited about your next challenge, we have all the inspiration right here at Gathered. Working with wood that would usually be destined for landfill is a brilliant way to add character to your home. Take a look at 10 best DIY cable spool ideas and start planning a bookshelf, coffee table or even a clock! The possibilities are immense!

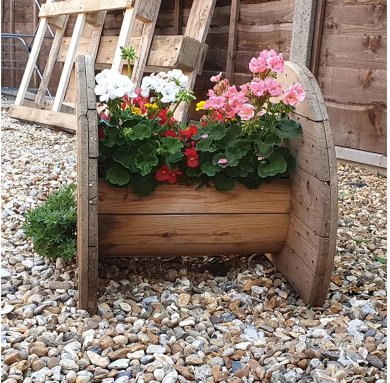
Wooden cable spool upcycled into a garden planter bursting with blooms