How to put up a shelf

Learn how to install and fit wall shelves in unused alcoves like a pro! You'll add instant character to your home as well as creating useful places to display books, photos, decorative items and houseplants

Try our magazines – get 6 issues from just £9.99!

Published: April 15, 2024 at 4:52 pm

Knowing how to put up a shelf is one of the skills that you'll use time and time again in your home. It really is key to creating a home full of interest and character, not to mention the fact shelves are invaluable for storage and display.

In this article, we'll talk you through how to put up shelves with our straightforward step-by-step instructions. We've chosen to show you how to hang shelves in an alcove, as many people have them in their houses, but often aren't sure quite how to make the best use of them.

They're the perfect spaces for displaying novels, photographs, decorative objects, vases of flowers and houseplants.

Whether you just want to put up a single shelf or fit several shelves from floor-to-ceiling, follow our simple guide to make sure yours look the part.
You will need:

  • Wooden battens
  • 50mm screws
  • Sandpaper
  • Power drill
  • Mitre saw
  • Spirit level
  • A pencil
  • Wall plugs
  • Screwdriver
  • Sliding bevel

Step 1

Firstly, you’ll need to cut and fit wooden strips, or battens, to the side walls of the alcove in order to support each end of the shelf. We recommend that you use timber battens that are 38mm x 10mm and use 50mm screws to secure them to the walls.

Step 2

Cut the side battens to be 50mm shorter than the depth of the shelf and mitre the front edge if you want to hide the battens from view. In essence, if you mitre the wood you’re cutting the edge at half the angle of the corner – on the diagonal. Use sandpaper to get rid of any rough edges.

Step 3

Drill two holes through each batten, about 25mm from each end.

Step 4

Position the batten on the wall, using a spirit level to check it’s horizontal, and mark the screw holes with a pencil. Drill the holes and insert wall plugs if needed.

Step 5

Screw the batten securely to the wall.

Step 6

Measure each shelf separately using guide rods – two pieces of batten held together with rubber bands – to find the width of the back wall. This is much more accurate than using a retractable tape measure.

Step 7

It’s unlikely that the walls in your alcove will be exact right angles to each other too, so use a sliding bevel to find the correct angle of each corner.

Step 8

Transfer the measurements to each shelf and cut them to size.

If you plan to paint the shelves, do it now and let them dry completely before fitting them on top of the battens.

Top tip

To make the shelf even stronger you could also fit a batten along the back wall for the shelf to rest on.

If you need to secure the shelf to the batten too, mark and drill the holes before fixing the batten to the wall.


Find these instructions plus lots more handy guides, in 300 Tips, Techniques & Trade Secrets for Painting and Decorating by Alison Jenkins, published by Apple Press.

This article first appeared in YourHomeStyle and HomeStyle magazine.


Learn how to put up a shelf and gain a valuable life skill

You'll never have to pay a handy man or woman again once you know how to put up shelves. All you need to succeed is these instructions and a selection of trusty tools.

If you have alcoves in your home, hanging a couple of shelves is a good way to use this space. Shelves provide useful storage as well as being good for displaying photos, artwork, books, plants and other collectable objets d'art.

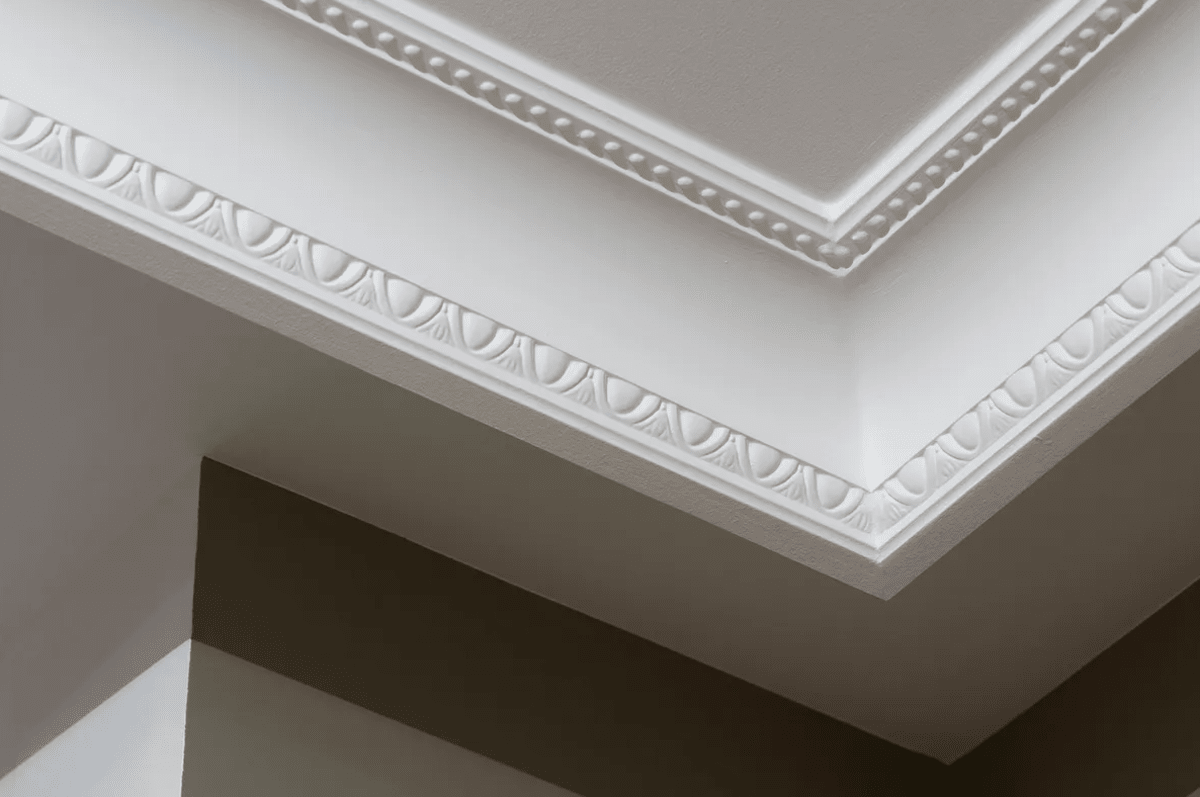
Increase the character and beauty of your home with coving

If you live in a period property where the decorative plasterwork has been removed, or in a more modern house and feel the ceilings could do with some interest, then coving is a great solution.

Follow our guide to how to install coving and inject personality and interest into your space. You'll be amazed by the transformation!

How to install coving