How to upcycle keys into a necklace

Unlock the lost profit hidden in unwanted, vintage keys with this quick-and-easy upcycled necklace idea.

Try our magazines – get 6 issues from just £9.99!

Published: September 12, 2021 at 5:34 am

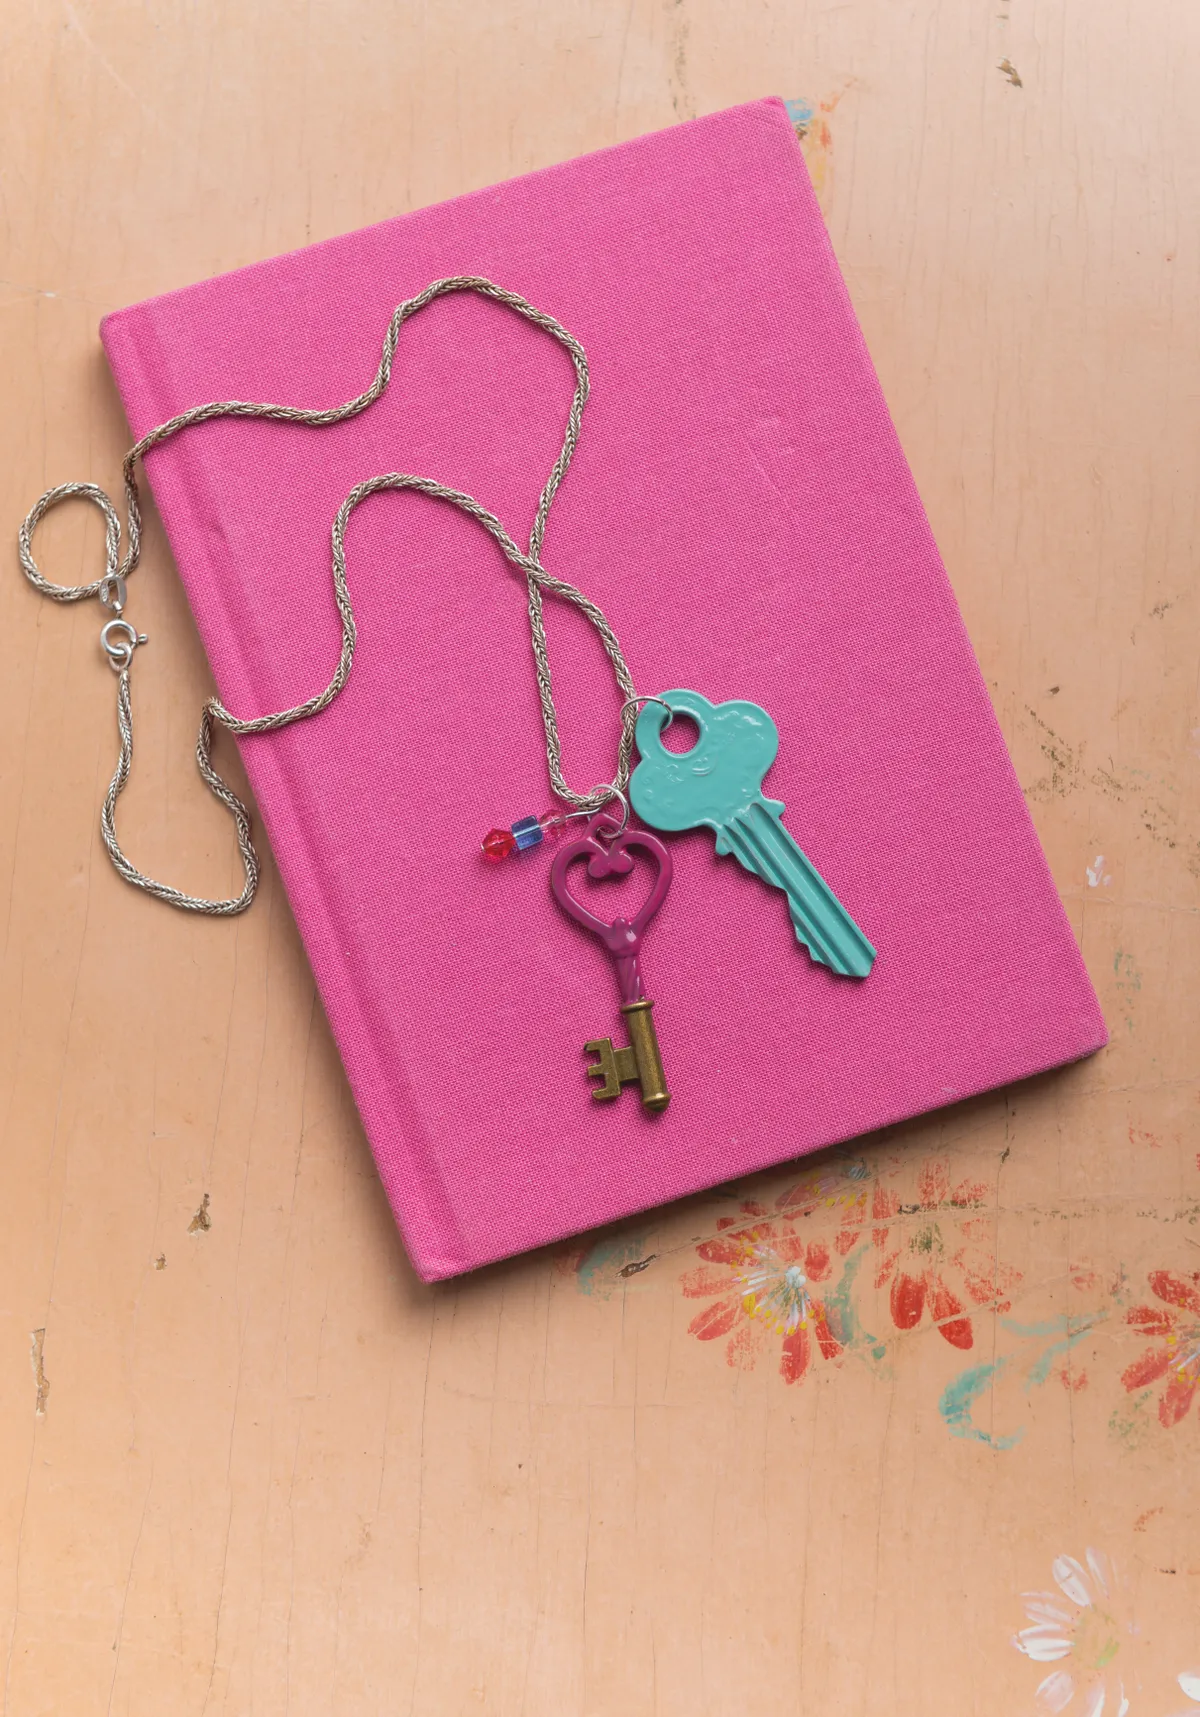
Most of us have drawers full of interesting keys we no longer need and it always seems a great shame to forget them, or throw them away. Using keys to create unique gifts is the ultimate upcycling experience – old keys make great jewellery and using up old bottles of nail varnish is a double upcycle too! Look out for keys in quirky shapes, styles and with unusual features. We've added beads to this necklace to give it a steam-punk feel, but equally the keys look great when left plain, or covered in a funky, contemporary pattern. Here's a top tip when upcycling keys: a little goes a long way – don’t overload your varnish brushes or you’ll end up with unsightly drips.

For in-depth tutorials on how to make jewellery, plus a range of great jewellery making inspiration, check out our ever-expanding selection of DIY jewellery projects. Read up on all the best jewellery making supplies, and best DIY jewellery kits – or how about trying your hand at these beautiful seed bead earrings. We love seeing when you’ve found something you like on our site, so don’t forget to comment below or share your jewellery projects with us on Instagram, Facebook or Twitter, too!

How to upcycle keys

You will need:

  • Old keys
  • Nail varnish in turquoise and pink
  • Blu-Tack
  • 3 small beads
  • 75mm headpin
  • 2 x 5mm jump rings
  • Jewellery pliers
  • Rust-Oleum Gloss spray paint in Crystal Clear
  • White spirit

How to upcycle keys into a necklace

Step 1

To make your vintage necklace, start by cleaning the key with a little dab of white spirit to make sure it’s clean of any grease. Then, decide which parts of the key you’re going to paint and which bits you’re going to leave bare.

Step 2

Push the bottom of the key into a blob of Blu-Tack and stick it to a flat surface, this helps keep the key upright while you’re painting and drying.

Step 3

Using your chosen varnish colour, brush  the enamel onto the top part of the key. Be careful not to overload the key with too much varnish as it will drip, ruining your design. Once dry turn the key upside down and paint the bottom. You may want to give the keys a couple of coats of varnish for a rich, glossy coverage.

Step 4

Once the enamel is fully dry, give the keys a spray coat of Crystal Clear paint to protect them from chipping. Alternatively, you could use clear varnish top coat to add shine and protection.

Step 5

Thread three small beads in complementary colours onto a jewellery headpin and, using the pliers, bend over the top of the pin to create a loop and to hold them in place.

Step 6

Using a jump ring, attach the beads to the smaller key, this is also used to thread the smaller key and the beads onto the chain. Use a second jump ring on the larger key to attach it to the chain. Thread the larger key and smaller key/beads onto a silver chain and you’re done!

How to upcycle keys 2


We hope you’ve enjoyed our vintage necklace tutorial. If you’re on the hunt for more jewellery projects, head to our jewellery making page for your next creative project.