To make the rabbit’s ears
Step 1
* Using 3 3/4mm (US size 5) needles and yarn MC, cast on 4sts onto one needle then use simple sock toe cast on as follows:
1. Hold needle with cast on stitches in left hand.
2. Hold 2 empty dpns parallel in right hand.
3. Slip 1st cast on st purl wise onto the dpn closest to you and off the needle in the left hand, then slip the next cast on st onto the dpn furthest away and off the RH needle.
Repeat step 3 until all 4 stitches are divided onto the 2 parallel dpns, 2 sts on the front dpn and 2 sts on the back. Slide sts to the other ends of the dpns, working yarn at back.
RS facing, cont working in the rnd, beginning by knitting the sts on the back dpn – work stitches over two dpns, using a 3rd dpn to knit with:
Rnd 1 K4.
Rnd 2 K4.
Rnd 3 (inc) K1, m1, k1, k1, m1, k1. 6sts (3 sts on each needle)
Rnd 4 K6. Place marker.
Rep last rnd 3 times more.
Rnd 8 (inc) K1, kfb, k1, k1, kfb, k1. 8sts
Rnd 9 K8.
Rep last rnd 5 times more.
Rnd 15 (dec) K1, skpo, k1, k1, skpo, k1. 6sts **
Cut yarn, slide sts off needles onto two lengths spare yarn or two spare needles (or two safety pins).
Make another ear as before from * to **.
Joining the ears
Step 1
Rnd 16 K3, onto the empty needle in your left hand slide the first 3 of the6 sts from the first ear held on spare yarn/ spare needles etc, cont to knit across these 3sts (pull tension fairly tight) – there should now be 6 sts on right hand needle. Slide the remaining 3 sts held on the spare yarn/ spare needles onto the 2nd needle which is holding the 3 sts from 2nd ear. K across all 6 sts from this side. 12sts (6 sts on each of two needles)
Rnd 17 (inc) Kfb, k4, kfb, kfb, k4, kfb. 16sts (8 sts on each needle)
Rnd 18 K16.
Shaping the rabbit’s face
Step 1
Rnd 19 (inc) K4, m1, k4, k8. 17sts
Rnd 20 (inc) K4, kfb, k4, k8. 18sts
Rnd 21 K18.
Rnd 22 (inc) K5, m1, k5, k8. 19sts
Rnd 23 K19.
Rnd 24 (inc) K5, kfb, k5, k8. 20sts
Rnd 25 K20.
Rnd 26 (dec) K5, k2 tog, k5, k8. 19sts
Rnd 27 K19.
Rnd 28 (dec) K5, skpo, k4, k8. 18sts
Rnd 29 K18.
Rabbit’s neck
Step 1
Rnd 30 (dec) Skpo, k6, k2 tog, skpo, k4, k2 tog. 14sts
Rnd 31 K14.
Rnd 32 (dec) Skpo, k4, k2 tog, k6. 12sts
Rnd 33 K12.
Rep last rnd twice.
Stuff the bunny with toy filling or spare yarn.
Shaping the base
Step 1
Rnd 36 (dec) K2, k2 tog, k2, k2 tog, k2, k2 tog. 9sts
Rnd 37 (dec) [K1, k2 tog], 3 times. 6sts
Cut yarn.
Thread yarn through all 6sts, pull up tight to close hole. Weave end back into body.
Join gap, if necessary, between ears. Weave ends back into the ears.
If you want to embroider a heart motif onto your rabbit, now is the time to do it, before you felt the rabbit.
Felting the bunny
Step 1
Soak the bunny with hottish water then rub in a little hand soap.
Wash out the soap then squeeze out the water. Rub the bunny in between your hands (as if your rolling a lump of Plastercine/ modeling clay into a snake shape) as you do this the yarn matts together to give you the felty look you’re after – if the bunny is still very damp do this in between a tea towel. Keep checking the bunny for shape and re-moulding if necessary – the bottom should be pushed up to form a flat base. Continue with the rubbing/ agitating and moulding until the bunny is quite dry and quite felted and re-shape for a final shaping before placing on a radiator to dry completely.
To finish
Step 1
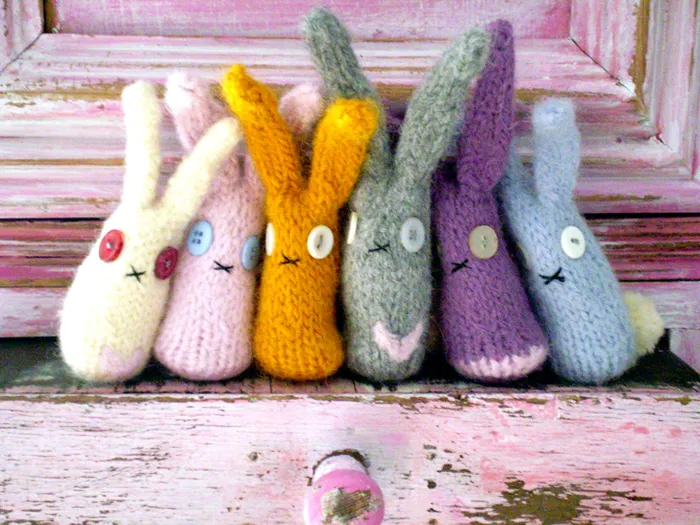
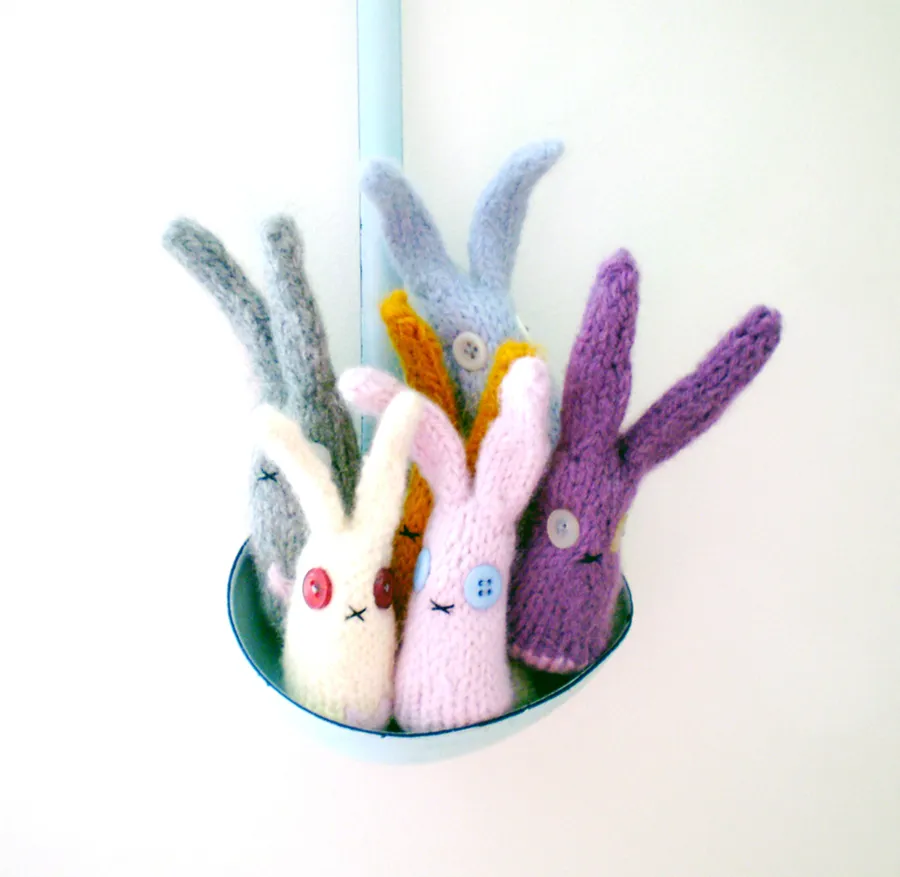
Sew on button eyes and a ‘x’ in black thread or embroidery silk for a nose.
Make a simple pompom, for the tail, by wrapping yarn around and around a fork until the desired thickness of pompom. Tightly tie a length of yarn in-between the middle tine, over the yarn to bunch it up, then cut through the wraps at the sides of the fork. Slip the yarn of the tines then snip the pompom to neaten, leave the length you tied the pompom together with uncut, use it to sew onto the back of the bunny.