Step 1
Method 1: Adding width to the body, along with a tapered gusset at the armhole.
Step 2
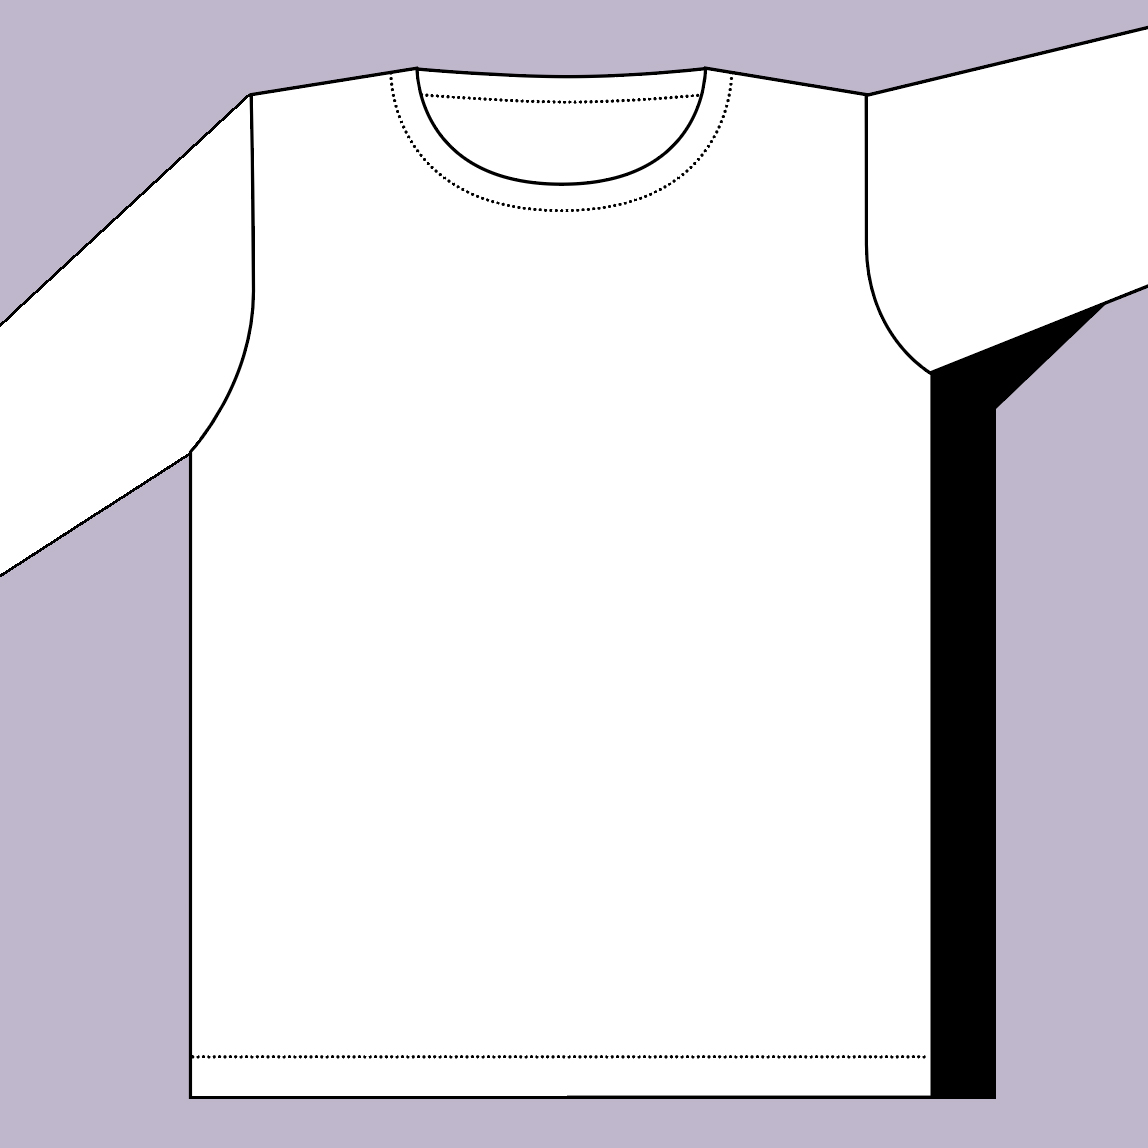
Method 2: Adding a straight strip to both the body and sleeve.
Step 3
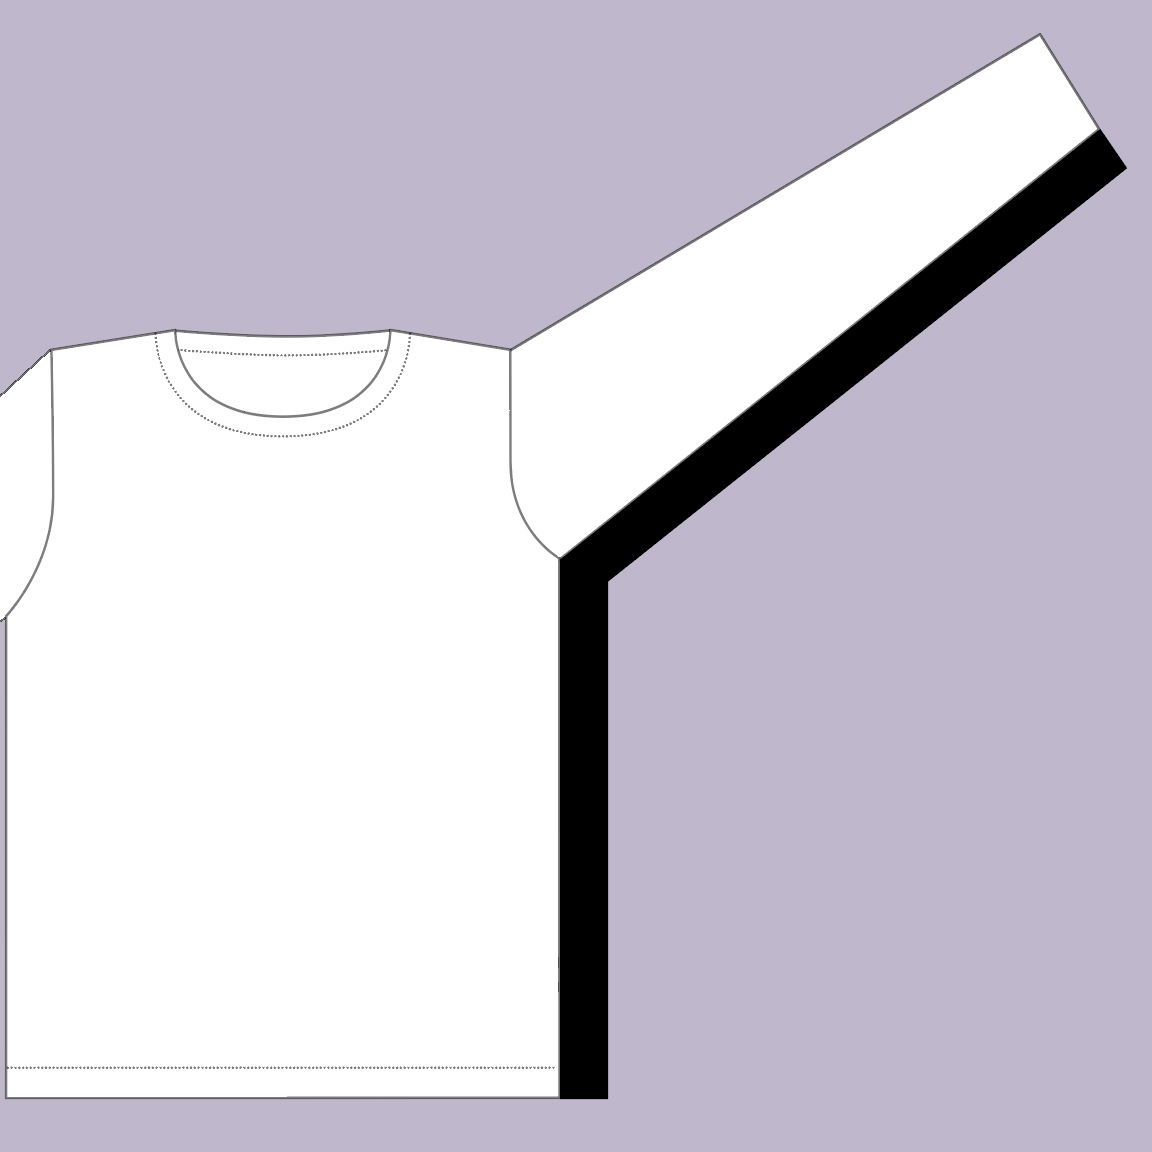
Method 3: Enlarging the armhole and sleeve with a gusset.

Knitting at right angles to the work
Step 1
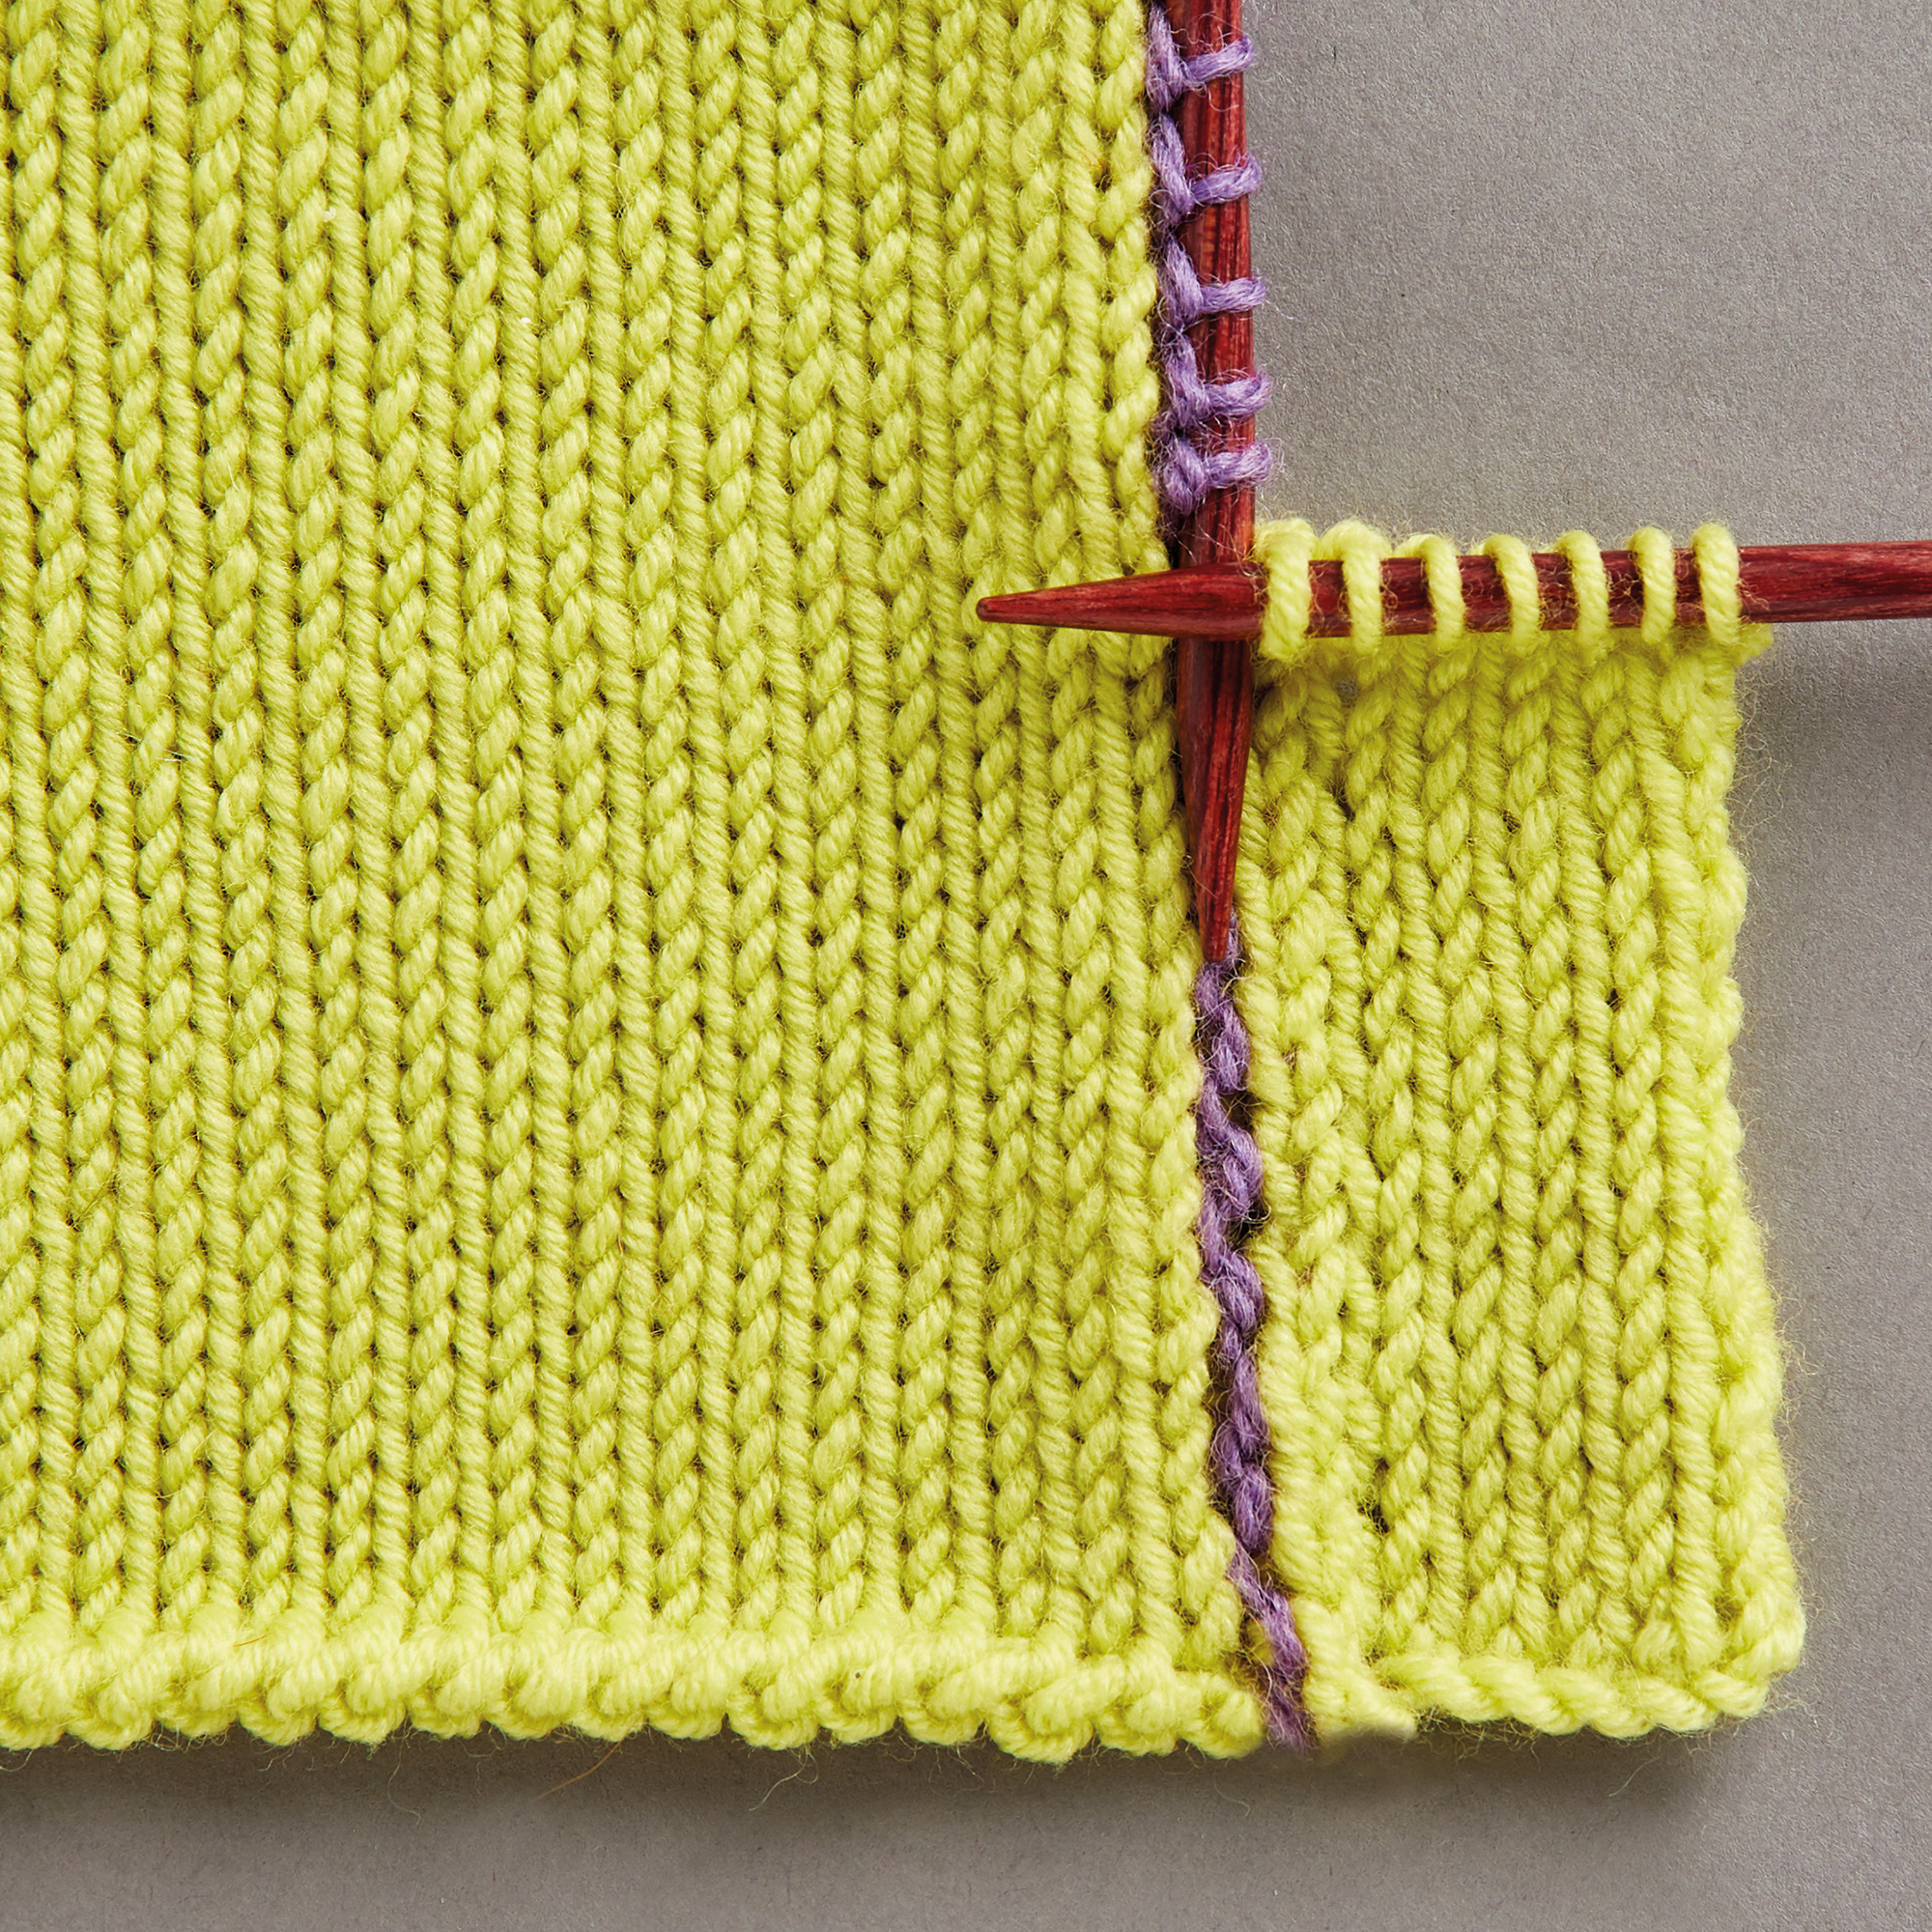
By picking up stitches down the side of the garment, you can add a panel worked perpendicular to the original knitting.
With RS facing, pick up two stitches for every three rows along the side seam and work in stocking stitch in rows until the desired extra width is complete. Work the same for both front and back, and then Kitchener stitch or sew the two sides together.
Note if you are using this method for the sleeves, you’ll need to use short rows to create a tapered gusset, so you might prefer to try one of the following methods instead if that isn’t for you.

Knitting on a parallel section
Step 1
This technique involves casting on the number of stitches required to produce the extra width. The stitches are then knitted back and forth and joined to the original piece every other row as you go along.
To work a strip on to the right-hand side of the original knitting, work as follows:
Cast on one stitch more than the number of stitches needed for the desired width, using the cable cast-on method.
Knit across the new stitches until one stitch remains, slip this stitch knitwise. Insert the needle tip into the first stitch of the original knitting, pick up a stitch and pass the slipped stitch over it. Turn the work and knit to the end of the cast-off stitches.
Step 2
Keep repeating step 5 until the new strip measures the same length as the original piece of knitting, then cast off. Make sure that on every joining row you are working in to every second row on the original knitting, not every row, to maintain the right tension.
If you are working a strip on to the left-hand side of the original piece, cast on the same number of stitches as for the right side and work two rows. *With the WS facing, pick up and purl one stitch in the last stitch of the original piece, turn the work so the RS is facing, K2tog, work to end of row. Repeat from * until the new strip measures the same length as the original piece of knitting, then cast off.
To work a tapered sleeve gusset, work in the same way along the desired length of the sleeve seam, decreasing every few rows (depending on the length of gusset required) until only two or three stitches remain. Fasten off.

Picking up the stitches first
Step 1
Your work might be neater if you pick up and knit all the stitches along the side seam before you begin knitting a new strip. This way, you can ensure every stitch is picked up along the same column of stitches, resulting in a more consistent finish.
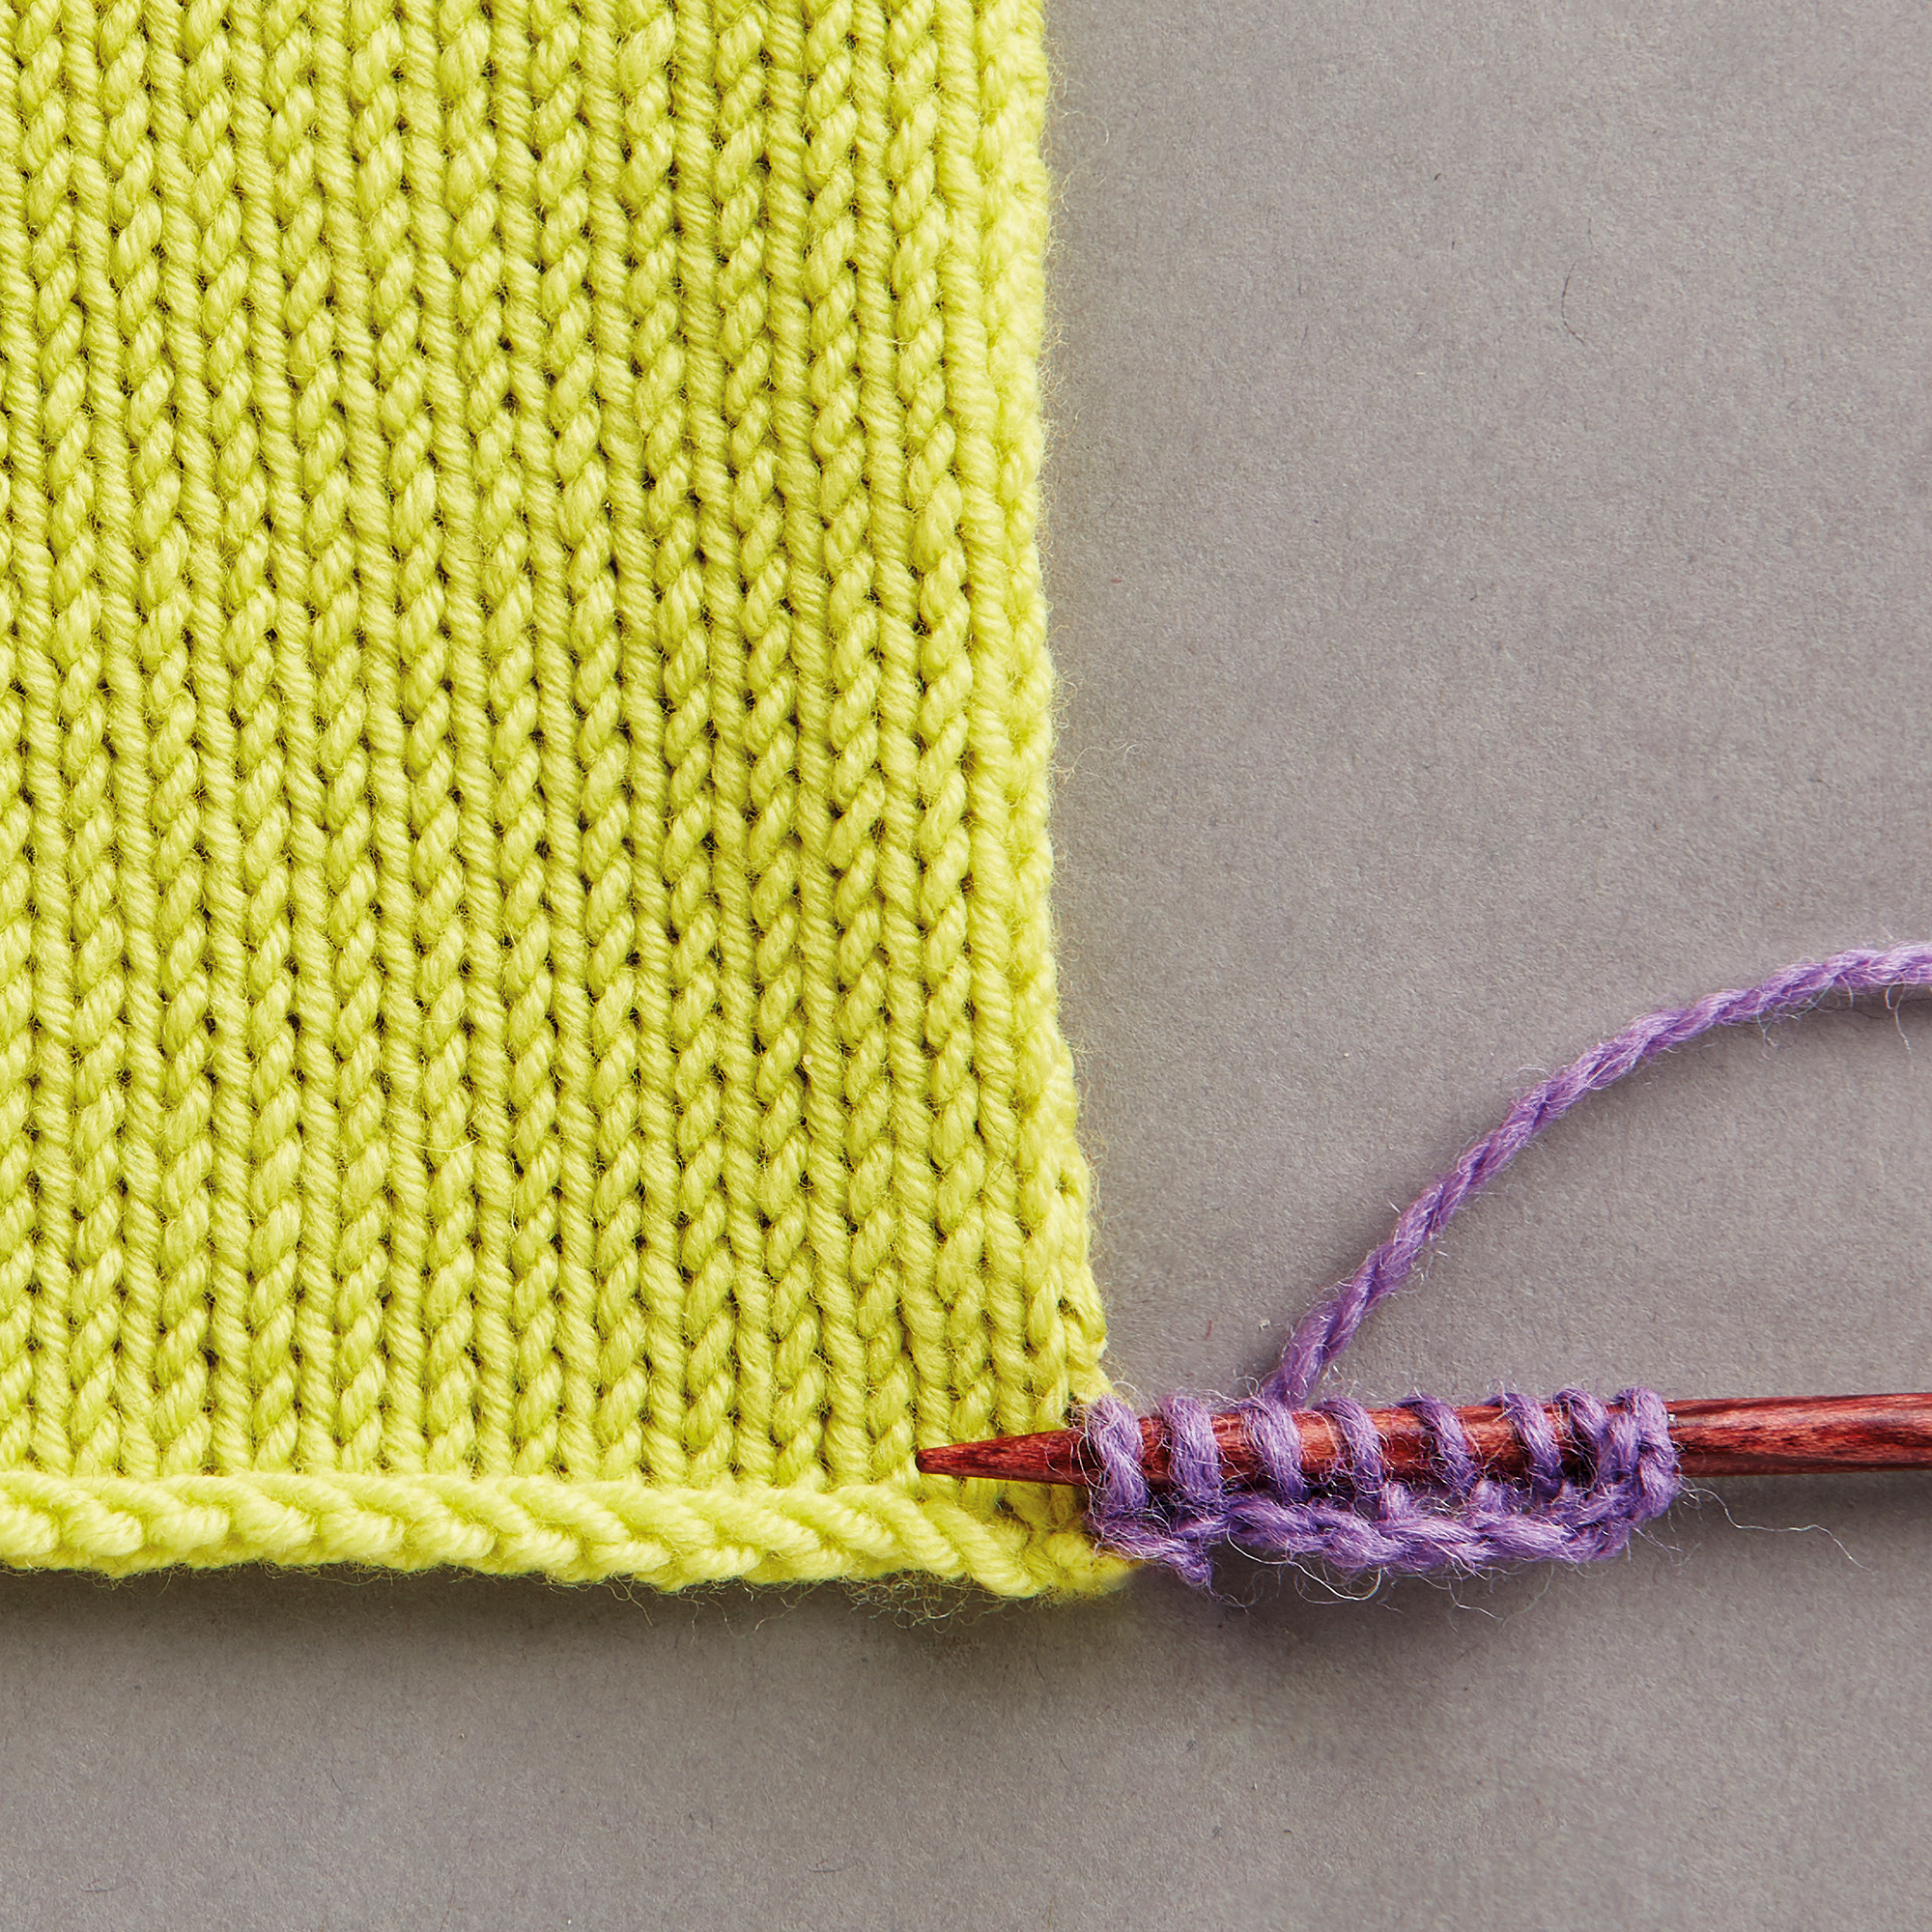
With RS facing, pick up one stitch in every other row along the side seam edge and knit across the WS row. Here we are using a contrast yarn for clarity.

Step 2
Cast on one stitch more than the number of stitches needed for the desired width on to the needle holding the picked-up sts, using the cable cast-on method.

Step 3
Work across the new stitches until one stitch remains, slip one knitwise, pass slipped stitch over. 
Step 4
Turn the work and work to the end of the row.
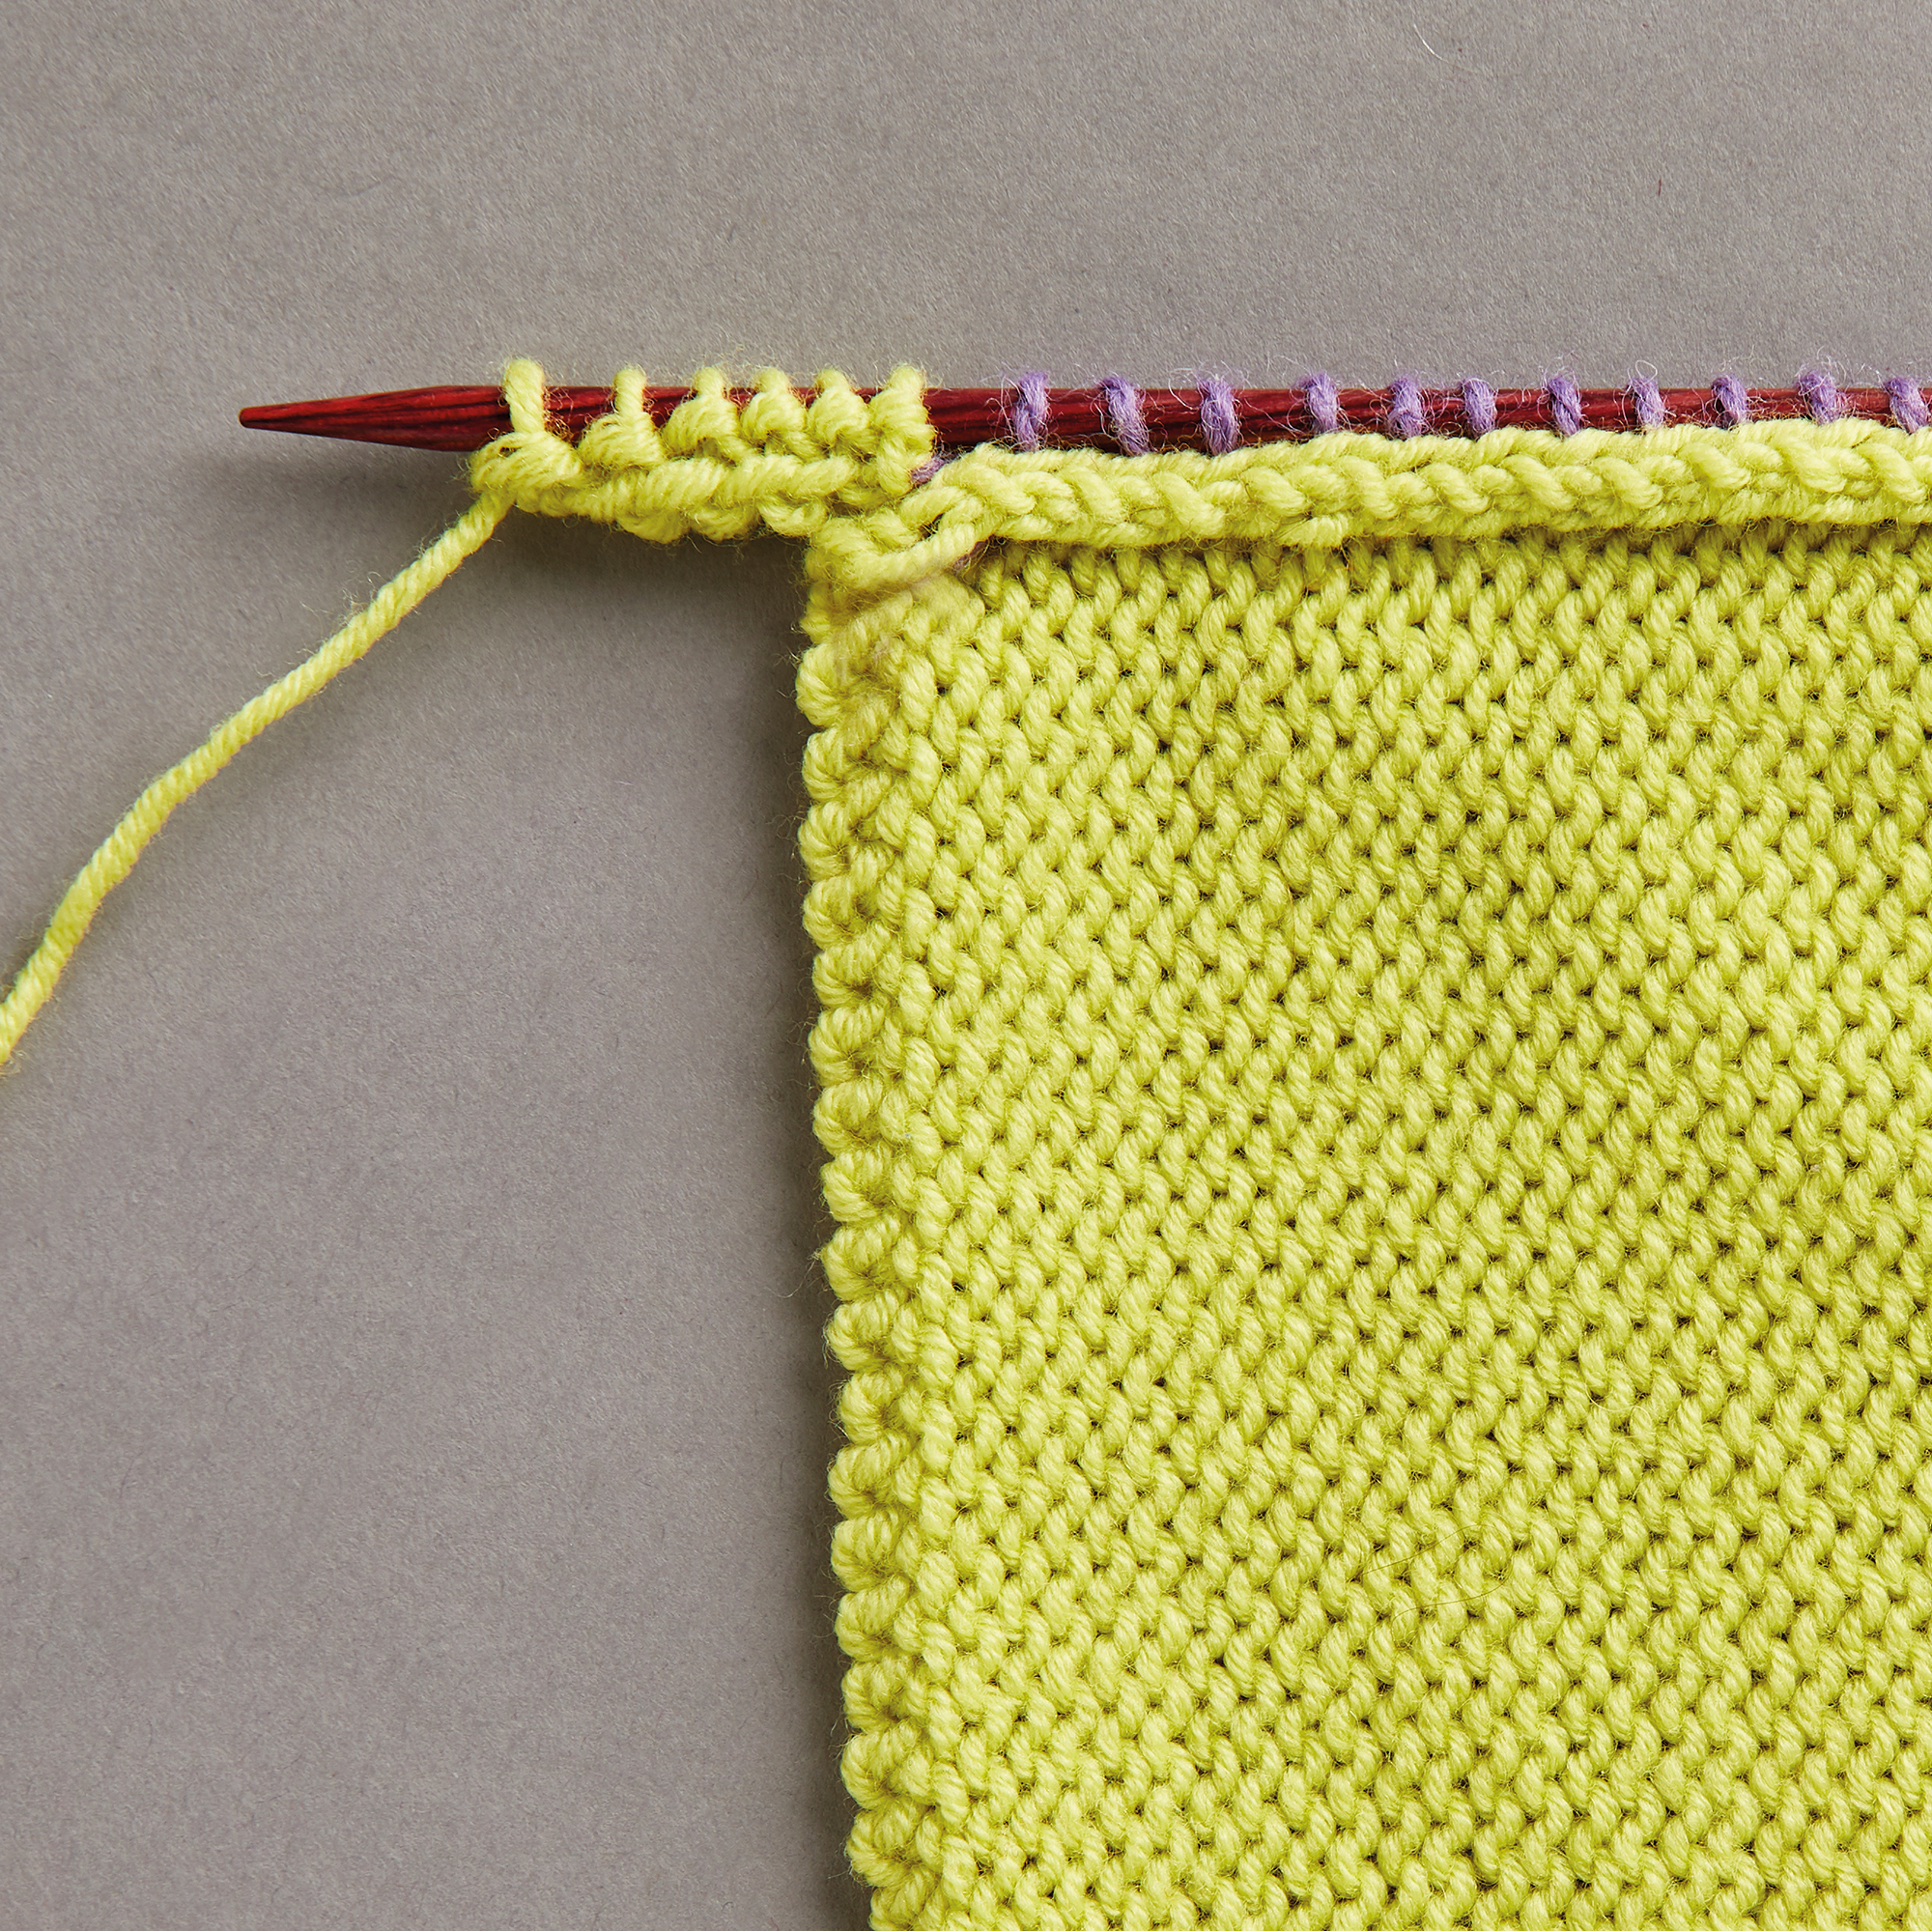
Step 5
Keep repeating steps 9 and 10 until the new strip measures the same as the original piece, then cast off.
