As artistic mediums go, oil pastel is one of the youngest out there. It was developed in the early twentieth century, although the claim that it was invented by Picasso isn’t strictly true - it was actually first developed as a medium for children in Japan. (The Spanish master did, however, work with the French manufacturer Sennelier in the 1940s to develop its line of artist-grade oil pastels, which are now used across the world.)
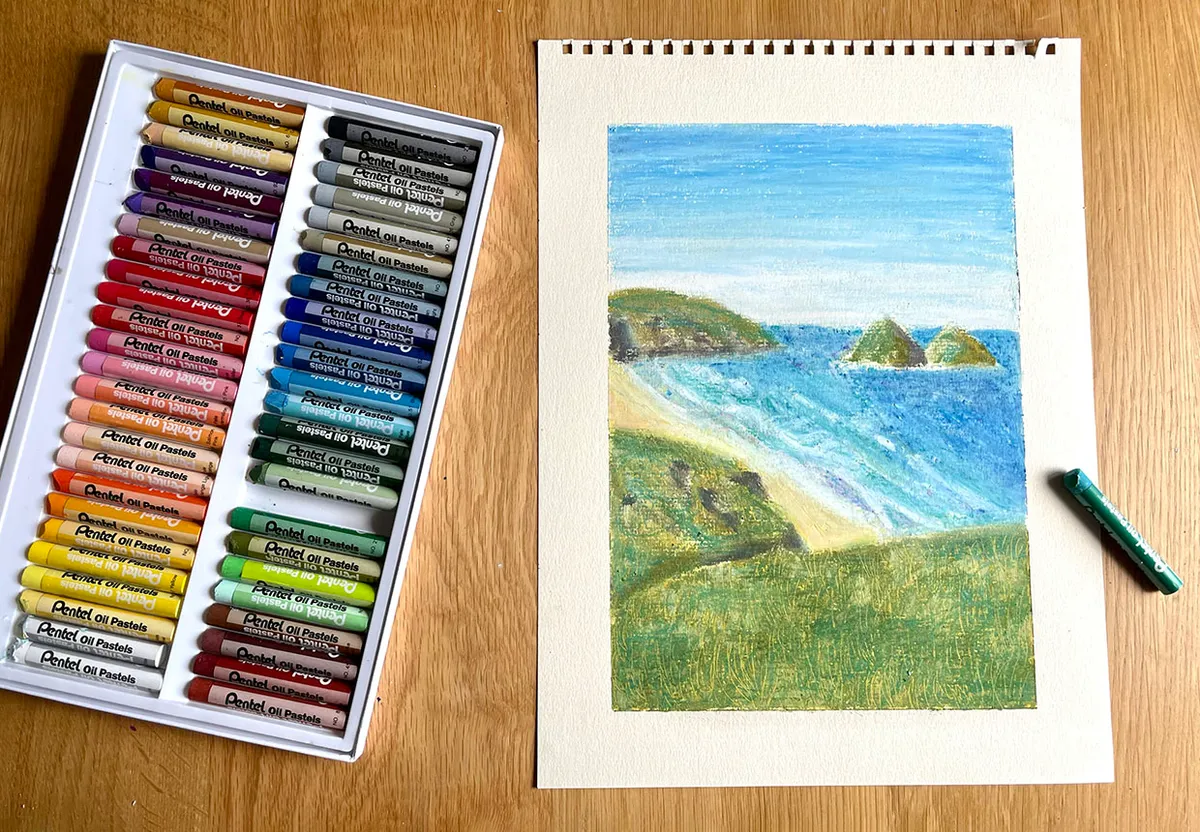
Oil pastels are popular among artists today for the boldness and immediacy they offer. Some artists use them as the foundations of their oil paintings - but they can also create beautiful drawings in their own right. They’re highly portable, so are a great tool to pack in your bag if you like sketching outdoors.
But oil pastels can be challenging to work with, especially for those who are more used to painting. While there are plenty of crossovers between oil paint and oil pastels, they each work to their own rules.
With pastels, you have a finite amount of colours to choose from, so you need to be selective, and to understand how pastels can be layered and manipulated.
In our guide to drawing with oil pastels, we’ll talk you through everything you need to get going with this fun, spontaneous medium, including how to blend and draw. This is followed up by our pick of the best oil pastels to buy.
You may also want to take a look at our oil painting for beginners guide and our chalk ideas article.
undefined
What are oil pastels?
Oil pastels are sticks of pigment that are bound with a mixture of wax and a non-drying oil such as linseed oil. It’s the addition of oil (unlike in wax crayons) that give oil pastels their own unique character: they can be quite flaky when directly applied, but can also be manipulated through a number of methods, and built up in multiple layers of colour.
One thing to note about oil pastels is that they can become messy. Colours have a habit of picking up across pastels, and, like oil painting, it’s easy for them to spread. Make sure you work in old clothes, and have some paper roll to hand.
How to blend oil pastels
Oil pastels can be blended easily. Blending your drawing, or parts of your drawing, can achieve a variety of effects, especially when done in contrast to roughly scumbled marks over the top. There’s a number of ways you can blend oil pastels together.
- Pastel on pastel. Oil pastels can be layered on top of each other, and rubbed together so they blend in colour. However, this needs to be done with restraint: you’ll find your surface has a threshold point where it simply doesn’t take any more colour.
- Your fingers. This is something you’ll need to do carefully, as you can easily wipe natural greases from your fingers into your pastels. A better choice would be a blending stump.
- Pipe insulation foam. It’s not something you’ll pick up at your local art store, but it’s a surprisingly popular item among oil pastel artists: it does a superb job of smoothing out colours.
- Any thinner for oil paint. Turpentine or another mineral spirit, applied with a stiff brush, makes a fantastic way of smudging oil paint into veiled stains across the paper. It dries very quickly, but is a toxic material so should be treated with care.
Check out our how to blend oil pastels guide for more top tips!
How to draw with oil pastels
The best way to learn to draw with oil pastels is to create a number of quick studies, and to experiment with mark-making and different layering techniques. You’ll quickly get a feel for how oil pastels behave, and what you can achieve with them.
Here are a few tips to get you started:
- Work from light to dark. Dark oil pastels can be layered over lighter ones, but not vice versa. When drawing your subject, consider its light and mid-tones before finally moving on to the darkest darks.
- Scratch back. A palette knife or the end of a paintbrush are both great ways to scratch detail into your drawing - the technical name for this is ‘sgraffito’. You can reveal colours from previous layers.
- Choose your colours carefully. You have a finite number of colours to work with, so you should apply them strategically. Complimentary colours - blue and orange; red and green; yellow and purple - can be used together to produce eye-catching effects.
- Keep your hands clean while you work. Oil pastels come off easily in your hands, so wash them with soap and water while you’re working. If you need to rest your hand on your artwork in order to draw, place a piece of scrap paper beneath it.
- Avoid applying dirty colour. The more you layer your pastels, the more they’ll end up with muddy, cross-contaminated tips. Keep another sheet of scrap paper to hand while you work - you can use this to draw off your pastels’ muddied tips, before you apply a clean stroke of uncontaminated colour to your artwork.
- Keep large sets of oil pastels in chromatic order. Trust us, you’ll be grateful in the long run.
Oil pastels are a great opportunity to showcase bold colours. For our oil pastel demo below, we worked from a reference photo of a Cotwolds wood in the autumn.
We began the drawing with a loose lay-in of lines and colours, contrasting the warm tones of the leaves with the cool shadows on the footpath. Next, we blended this with an oil paint dilutant, which created a smoothed out underdrawing.
After the dilutant had completely evaporated, we added further textures and details over the underdrawing, before repeating the blending process a couple more times. In this way, we were able to build successive layers of pastels in a variety of marks.
In the final stage of the drawing, we used a palette knife to scratch out details like branches, bushes and the skyline between the trees.
Best oil pastels to buy
Oil pastels are definitely an item where spending a little more goes a long way. Budget sets of oil pastels are generally heavy on wax and low on pigment. You’ll find them less rich in colour, and less layerable: they’re not worth the effort.
For our demo, we used a basic 24-colour set from Faber-Castell, which is an excellent and inexpensive option for beginners. The most widely respected brand for oil pastels, however, is Sennelier, who do a very tempting-looking 48-colour range. This set of artist-grade pastels would make a pretty spectacular gift to any oil pastel artists that you know.
- Buy the Faber-Castell Creative Studio 24-Colour Oil Pastel set from Amazon (£10.99)
- Buy the Sennelier Box of 48 Assorted Colours from Amazon (£86.28)
Invest in a bottle of spray fixative. It will prevent your drawing from smudging or fading while in storage. You’ll also find that by fixing the drawing’s surface, you can apply further colours more easily.
For a mineral spirit to use for blending, we recommend Zest It, a citrus-based thinner that’s non-flammable and non-toxic. It’s a much safer alternative to use around the home than turpentine or white spirit, and has a far more pleasant smell.
Oil pastels can be applied to a variety of grades of paper. We suggest you try out a variety of textures and colours. Oil pastels work particularly well on toned paper that’s a grey or neutral colour: you’ll find that light colours stand out more. One of our favourite paper brands, Strathmore, does a range of papers that are well suited for pastel drawing.
- Buy the Strathmore Pastel Paper from Amazon (£15.57)
- Buy the Strathmore Mixed Media Toned Grey Paper from Amazon (£12.75)
- Buy the Strathmore Mixed Media Toned Tan Paper from Amazon (£7.62)
How to use oil pastels the easy way
Oil pastels are a wonderfully versatile medium! They can be used to create interesting textures or blended to produce smooth painterly effects.
Once you've mastered the basic techniques and got to grips with the medium, you'll be able to draw and blend like a pro!
Boost your skills with the best oil pastel techniques
Want to hone your oil pastel skills? Take a look at Gathered's oil pastel techniques tutorial for more tips and tricks.