How do you like your eggs in the morning? Well, we like them needle felted and colourful, please. Stephanie Carswell’s easy needle felting tutorial will keep your morning eggs all warm. It's the perfect needle felting for beginners project and will look so cute sitting in your kitchen for spring.
We've got a whole bunch of Easter crafts here on Gathered so you can celebrate spring in style. But for now, let's follow Stephanie's easy needle felting step by step tutorial and make some egg cosies!
This easy needle felt tutorial was created by Stephanie for Mollie Makes magazine – for more easy-make craft projects and creative inspiration, subscribe to Mollie or click here to find out more.
Materials
- Foam working surface
- 38 gauge star felting needle
- Matching sewing thread
- 6cm (23/8") polystyrene egg
- Wool tops:
 Tease off a piece of blue wool roughly 20cm (77/8") long. Wrap it around the polystyrene egg mould from just over halfway down to the top. Working with the foam surface underneath, stab the felting needle into the wool, going all around the circumference. The needle should just touch the polystyrene, but not go into it too deeply.


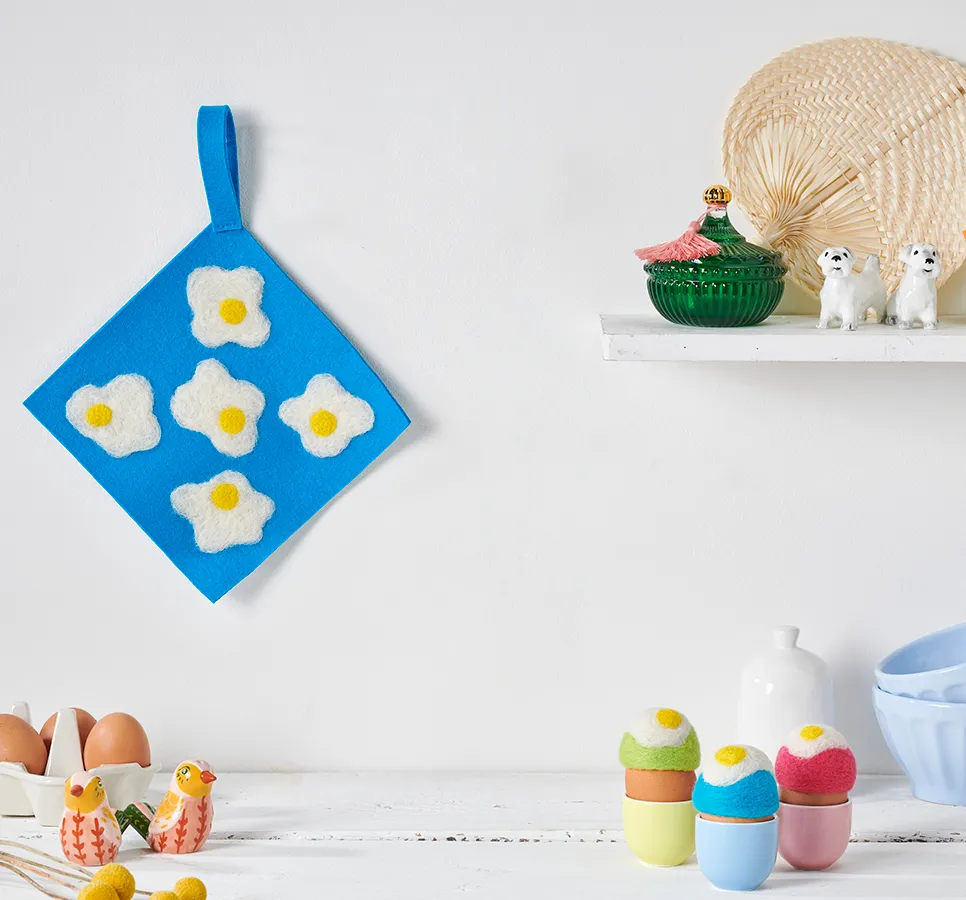
 Repeat Steps 8-13 using the pink felt at Step 8, then again using the green felt at Step 8 to create the three different egg cosies. Your easy needle felting tutorial is complete.