Check out these fabulous makes using the cover gifts from Cardmaking & Papercraft magazine! Each card can be made using the specific cover gift from the issue, plus items from your own craft stash. You can easily swap the papers, toppers or stamped characters on each of the makes with the other components that come in the gift, to create you own unique card designs.
Cardmaking & Papercraft issue 208 – Sending Sunshine shadowbox cardmaking kit
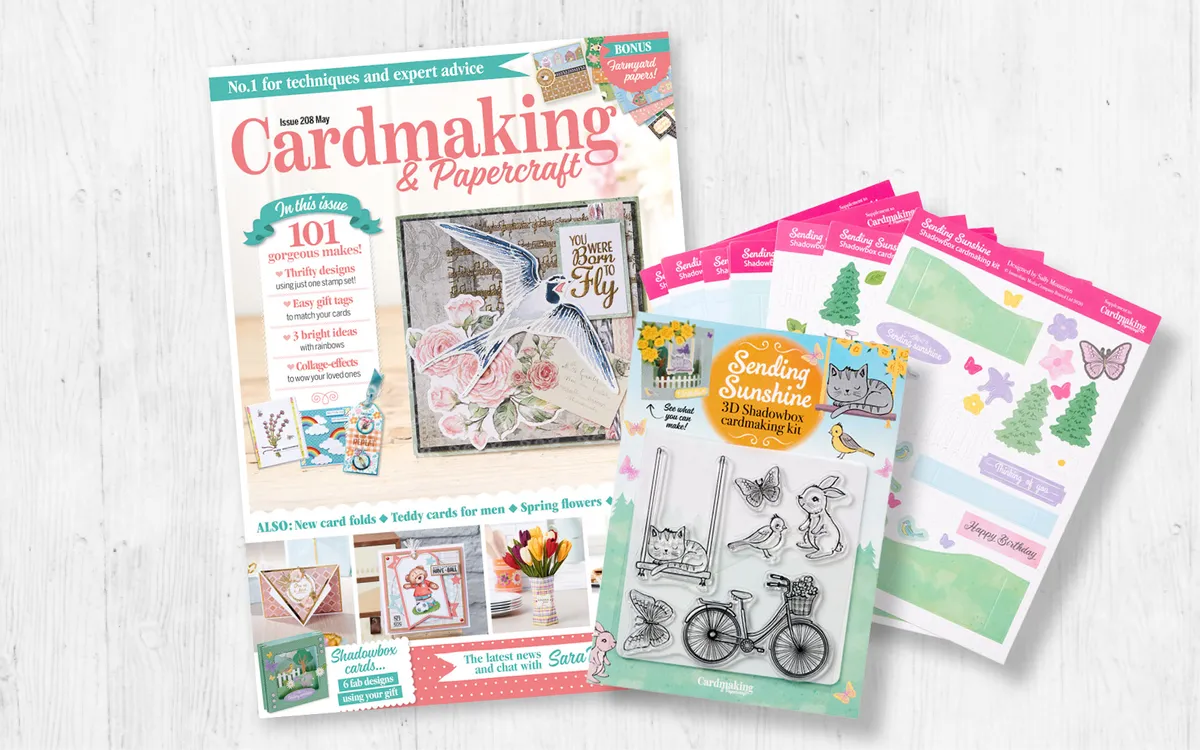
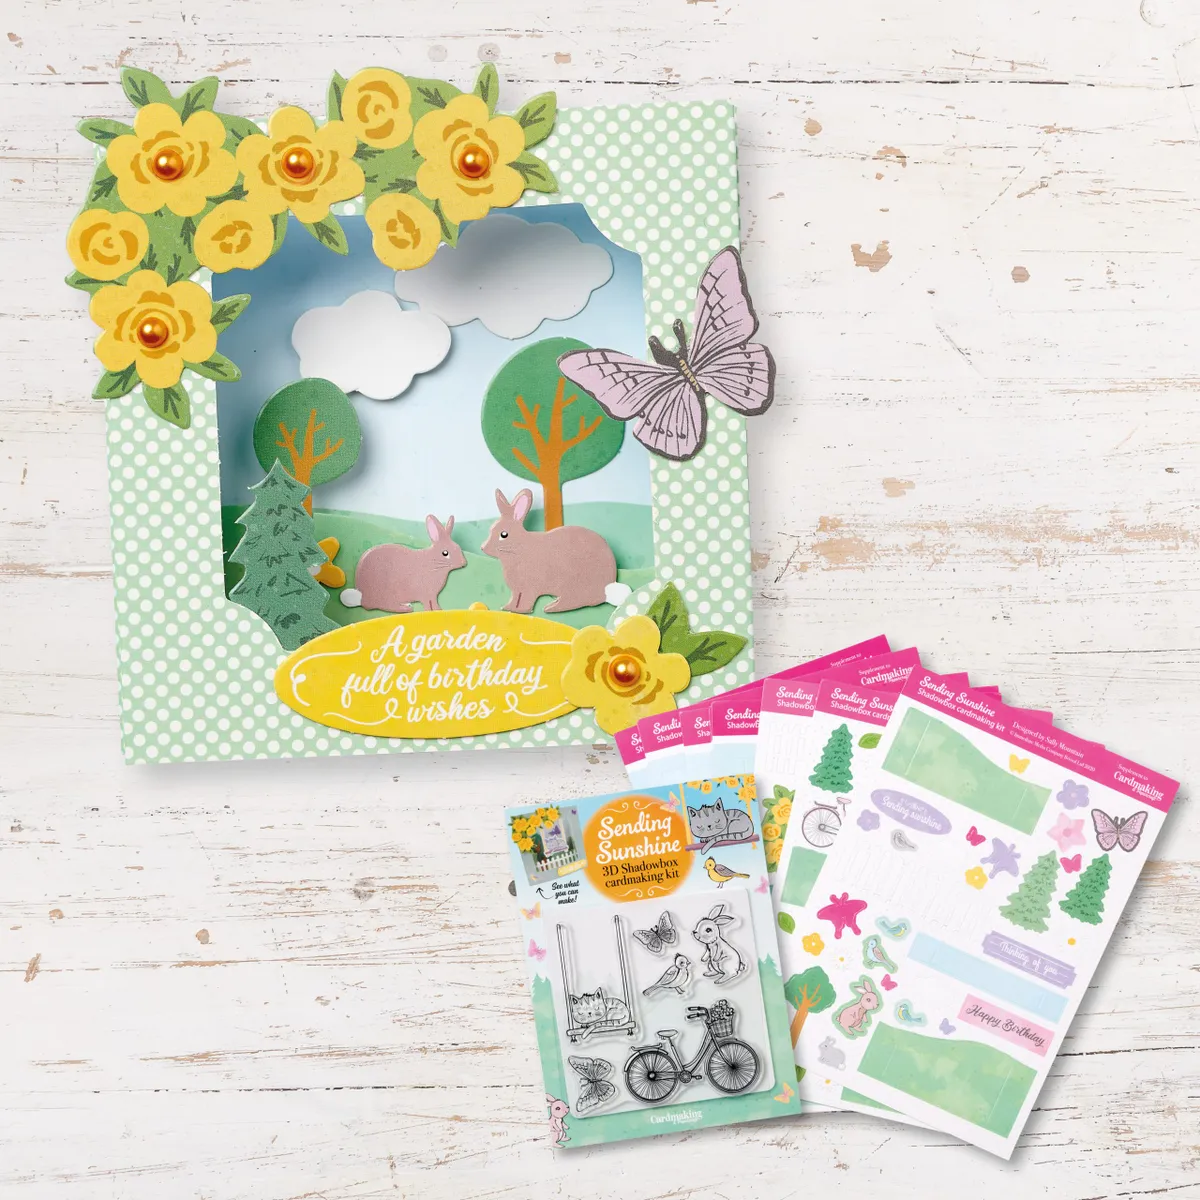
This issue, we've got lots of fab ideas to make using your Sending Sunshine shadowbox cardmaking kit! Craft this fabulous make using your cover gift:
Shopping List:
- Sending Sunshine shadowbox cardmaking kit
- Adhesive pearls
- Foam pads
Step 1
Remove a hill-patterned panel from the sheet. Valley and mountain fold the scored lines on either side of the panel to create a concertina on both sides. Use a bone folder or metal ruler to thoroughly burnish the folds.
Step 2
Remove the middle from a shadowbox front panel. Fold the scored lines and burnish well. Position the ‘Glue these tabs together’ panels and glue the tab on the front panel behind the tab on the back, as shown.
Step 3
Cut a strip of blue card to cover the wording inside the shadow box. Attach a hill strip inside the shadowbox to the front of the left-hand concertina fold. Fold the card into shape to check the position, but don't secure.
Step 4
Add clouds and a tree to the background panel and the bunnies, tree and flowers to the hill strip. Fold the base into shape to make sure you have positioned them correctly, then secure the front panel to create the shadowbox base.
Step 5
Once the base is secure, add the floral topper to the top-left corner of the base with foam pads. Add a butterfly, sentiment and flower toppers to the base. Add adhesive gems to the centres of each of the flowers, to finish.
Cardmaking & Papercraft issue 207 – Day at the Seaside 44-piece stamp and die set

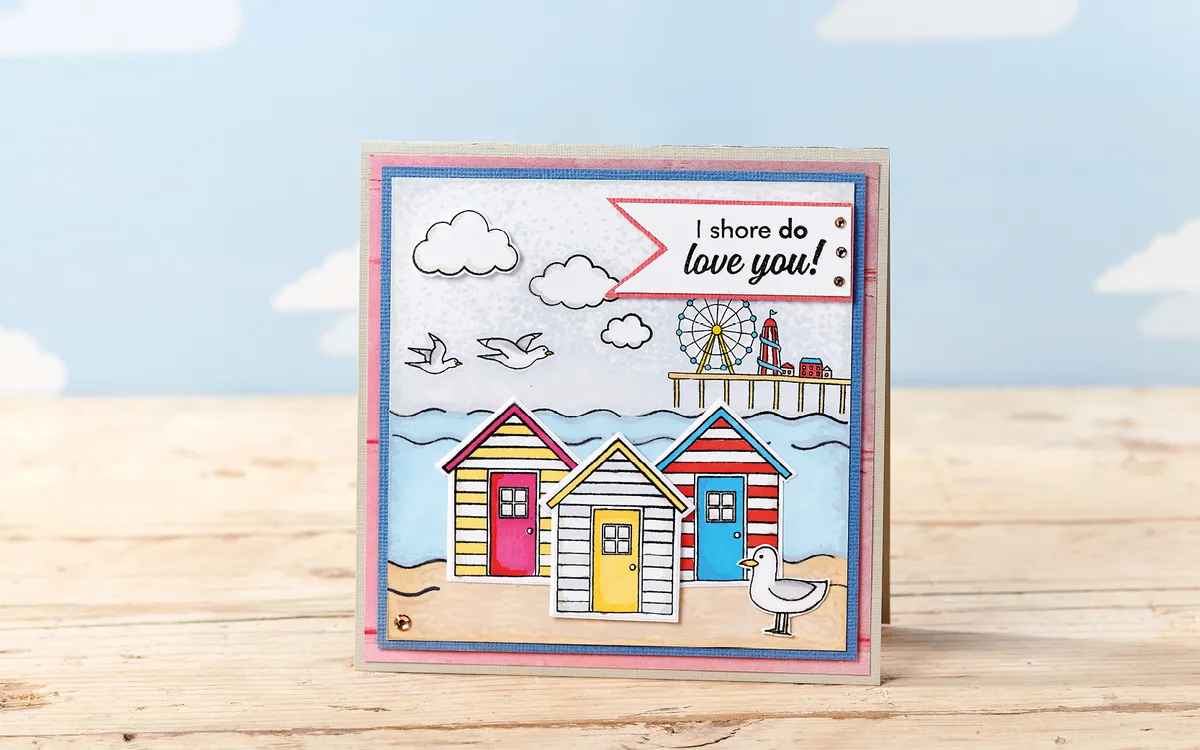
This issue, we've got lots of fab ideas to make using your Day at the Seaside stamp and die set! Craft this fabulous make using your cover gift, which our editor, Hayley Hawes, created:
Shopping List:
- Your Day at the Seaside stamp and die set
- Die-cutting machine
- Buff card
- Patterned papers
- ProMarkers
- Gems
- Foam pads
Step 1
Make a 14.5cm square tent-fold base card from beige card. Trim a 14cm square piece of pink wood-effect paper and layer on top.
Step 2
Trim a 12.7cm square piece of white card. Using the wave stamp, add the edge of a beach to the bottom corners of the card, then add the sea about halfway up the panel. Use beige and blue alcohol markers to colour the sea and sand, as shown.
Step 3
Stamp the pier onto the right-hand side of the sea, adding two clouds and two gulls to the left of this. Colour in with alcohol markers. Use a pale blue alcohol marker to colour the sky, creating a dappled finish towards the top of the card.
Step 4
Stamp the largest cloud, a large gull and three beach huts onto a piece of white card. Colour in with alcohol markers. Use the beach hut die to cut out the huts, then fussy cut the cloud and gull.
Step 5
Attach two beach huts directly to the card, then add the central hut with foam pads. Attach the cloud with foam pads, then attach the gull to the right-hand corner.
Step 6
Stamp the sentiment onto white card. Trim into a pennant, then layer onto pink card. Trim again, leaving a narrow border. Attach to the top-right corner of the card with foam pads. Layer the scene onto a 13.3cm square piece of blue card, then attach to the base with foam pads.
Step 7
Add three gold gems to the edge of the sentiment, and one large gem to the bottom left corner of the card, to finish.
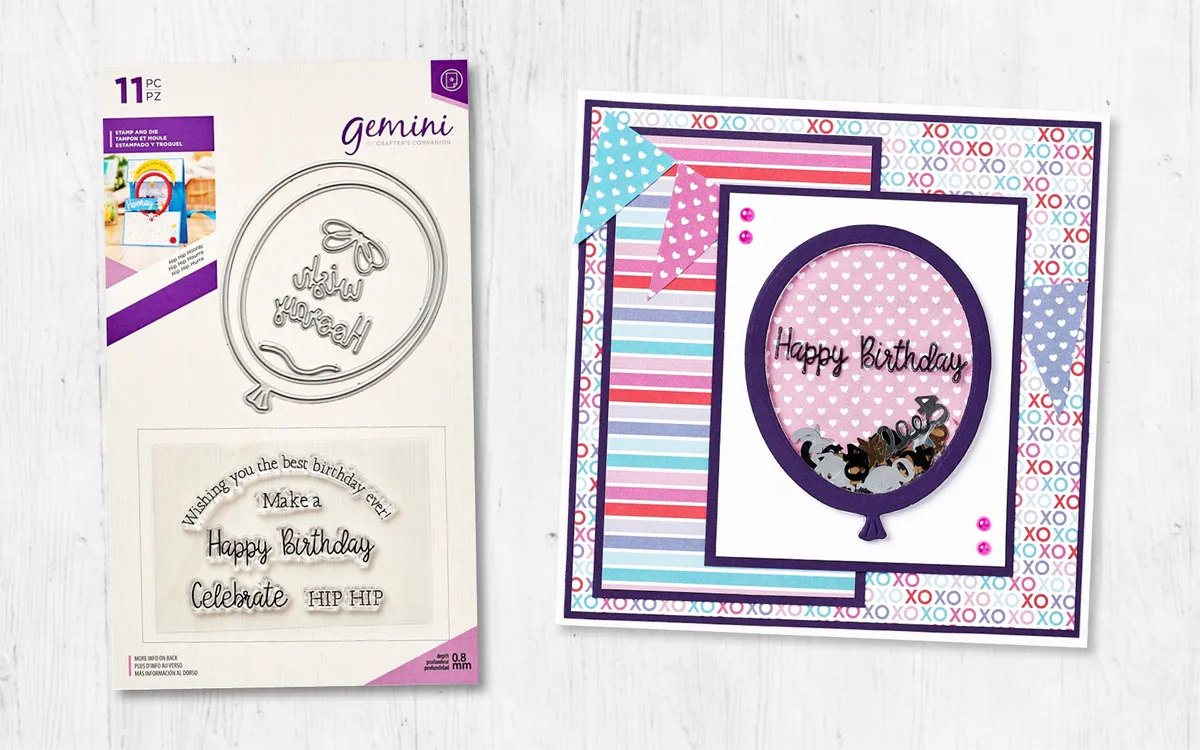
Cardmaking & Papercraft issue 206 – Gemini Hip Hip Hooray shaker card kit
Shopping List:
- Your Gemini Hip Hip Hooray shaker card kit
- Die-cutting machine
- White and coloured card
- Patterned papers
- Vellum
- Acetate
- Sequins
- Adhesive pearls
- Twine
Step 1
Layer a 14cm square of patterned paper onto purple card then onto a 15cm square base. Layer a 7x12.5cm piece of striped paper onto purple card and add to the base. Trim bunting from patterned papers and add to the base.
Step 2
Layer an 8x10cm piece of card onto purple card. Add to the base. Die cut a balloon from acetate. Stamp a sentiment onto the acetate using black StazOn ink. Leave to dry.
Step 3
Using the two balloon dies in the set, die cut six balloon frames from white card and one from purple mirror card. Layer together to create an eclipse effect, placing the acetate balloon between the top two layers.
Step 4
Place sequins onto the acetate and back with heart paper to create the shaker. Add the balloon shaker to the white panel on the base, as shown. Add pink adhesive pearls to the base, to finish.
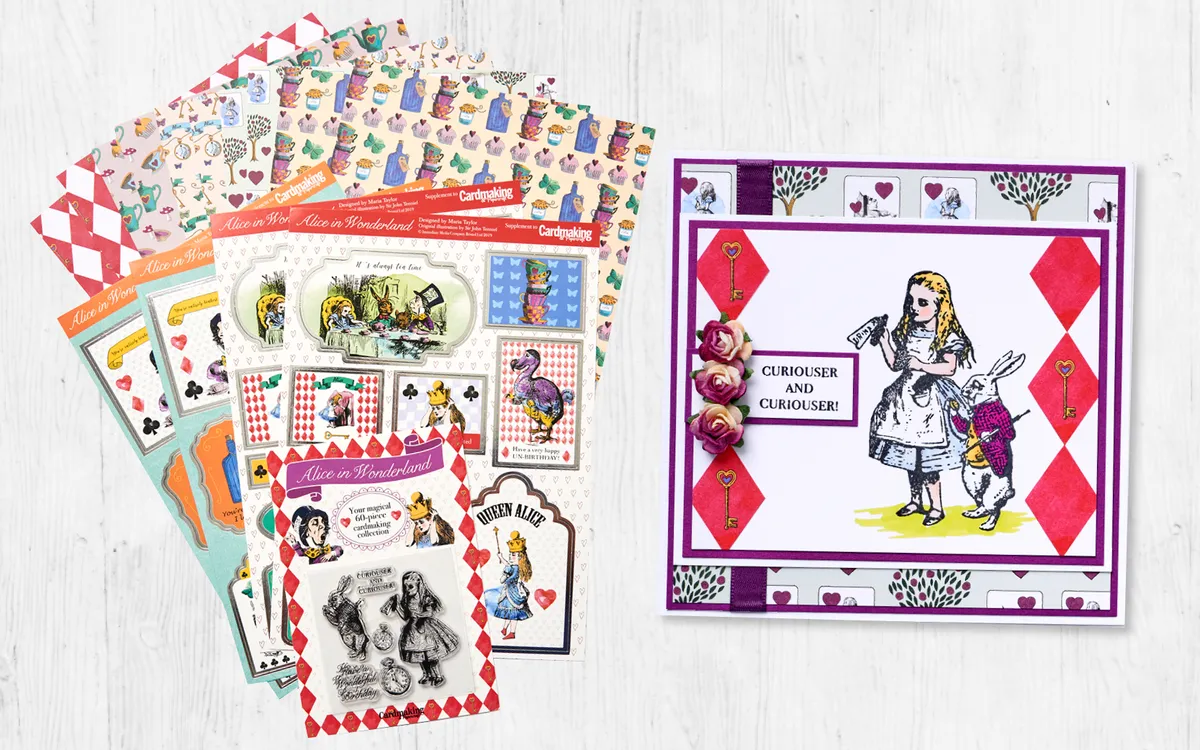
Cardmaking & Papercraft issue 205 – Alice in Wonderland 60-piece cardmaking kit
Shopping List:
- Your Alice in Wonderland cardmaking kit
- Die-cutting machine
- Circle die set
- Black ink pad
- ProMarkers
- Glossy Accents
- White and purple card
- Black fineliner pen
- Foam pads
- Ribbon
- Pearls
Step 1
Layer a 13cm square of paper onto purple card, leaving a border. Wrap with ribbon and add the panel to a 14cm square base.
Step 2
Trim a 12x9cm piece of white card and add strips of red diamond paper, cutting around the diamonds. Use Tuxedo Black Memento ink to stamp the white rabbit onto the panel and onto a Post-it note. Trim the rabbit from the Post-it note and use it to mask the rabbit onto the base. Stamp Alice, remove the mask and colour with ProMarkers.
Step 3
Layer onto a 12.5x10cm piece of purple card and then a 13x10.5m piece of white card. Add to the base.
Step 4
Stamp a sentiment, layer onto purple card. Trim to leave a border and add to the base. Add three roses, to finish.
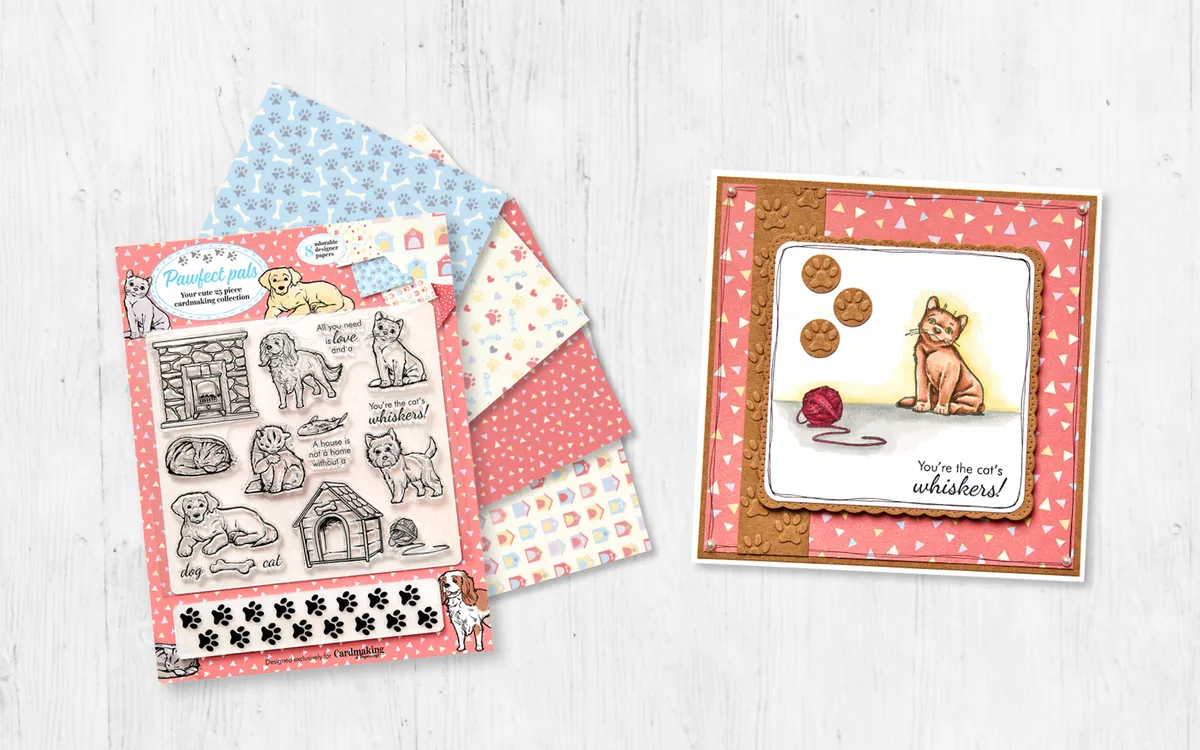
Cardmaking & Papercraft issue 204 – Pawfect Pals papers, stamps and embossing folder set
Shopping List:
- Your Pawfect Pals cover gift
- Die-cutting machine
- Scalloped square die
- White and kraft card
- Black ink pad
- Alcohol markers
- Watercolour inks
- Foam pads
Step 1
Cut a 13.5cm square of triangle-patterned paper, layer onto kraft card and attach to a 14.5cm square white base.
Step 2
Emboss two 13.5cm strips of kraft card with the paw prints embossing folder and attach one to the left-hand side of the base.
Step 3
Round the corners of a 9.5cm square of white card. Stamp the cat, ball of yarn and the sentiment with black ink. Colour the cat and yarn. Leave to dry.
Step 4
Add shadows around the cat and yarn with watercolour inks. Layer the panel onto a scalloped square of kraft card. Attach to the base with foam pads.
Step 5
Punch paw prints from the second embossed panel. Add to the base, as shown.