How to fix rot in wood to keep window frames pristine
Wooden window frames bring elegance, warmth and kerb appeal to your home. They’re fantastic insulators and sound-proofers and can easily be updated with a new stain or paint.
However, if left untreated, they’re vulnerable to rot, a fungus that eats away at the wood and compromises the structure of the frame. Refinishing the wood every year or two will keep moisture out and prevent rot but, if it does appear, ignoring it can lead to a costly replacement frame – so it’s important to thoroughly remove it as soon as possible. Follow these steps for good-as-new frames in a weekend.
What you need
Essential
awl
sandpaper
safety goggles
safety gloves
dust mask ltwo-part epoxy filler
filling knife lint-free cloth
sugar soap
painter’s tape
dust sheets
exterior wood paint
Useful
router tool
orbital sander
small sanding tool
utility knife
white spirit
How to treat and fix window rot
Step 1
Cut the deadwood
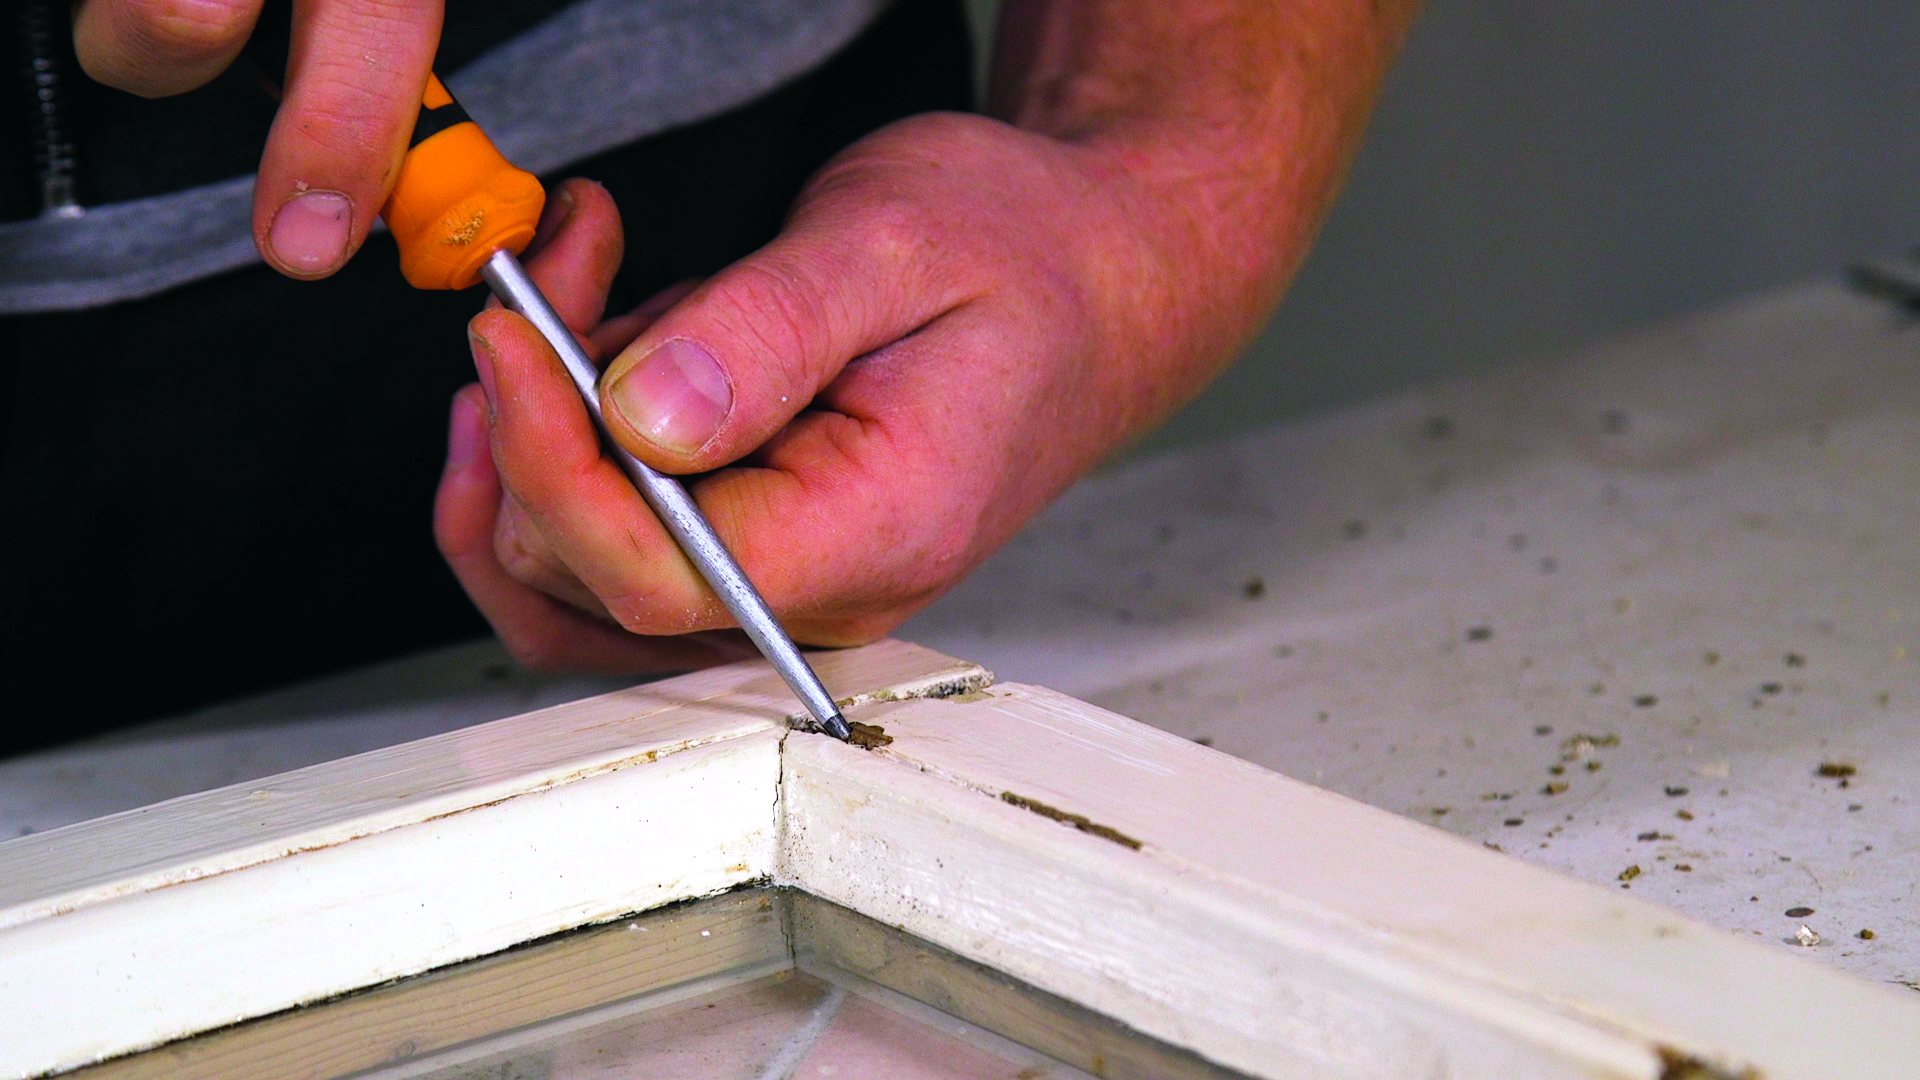
Begin by scraping away any old, flaking paint from the window frame. To check for rot, use an awl to gently scrape along the wood, paying close attention to any crevices. Any soft spots, where the awl easily pierces the surface of the wood, indicate rot.
Step 2
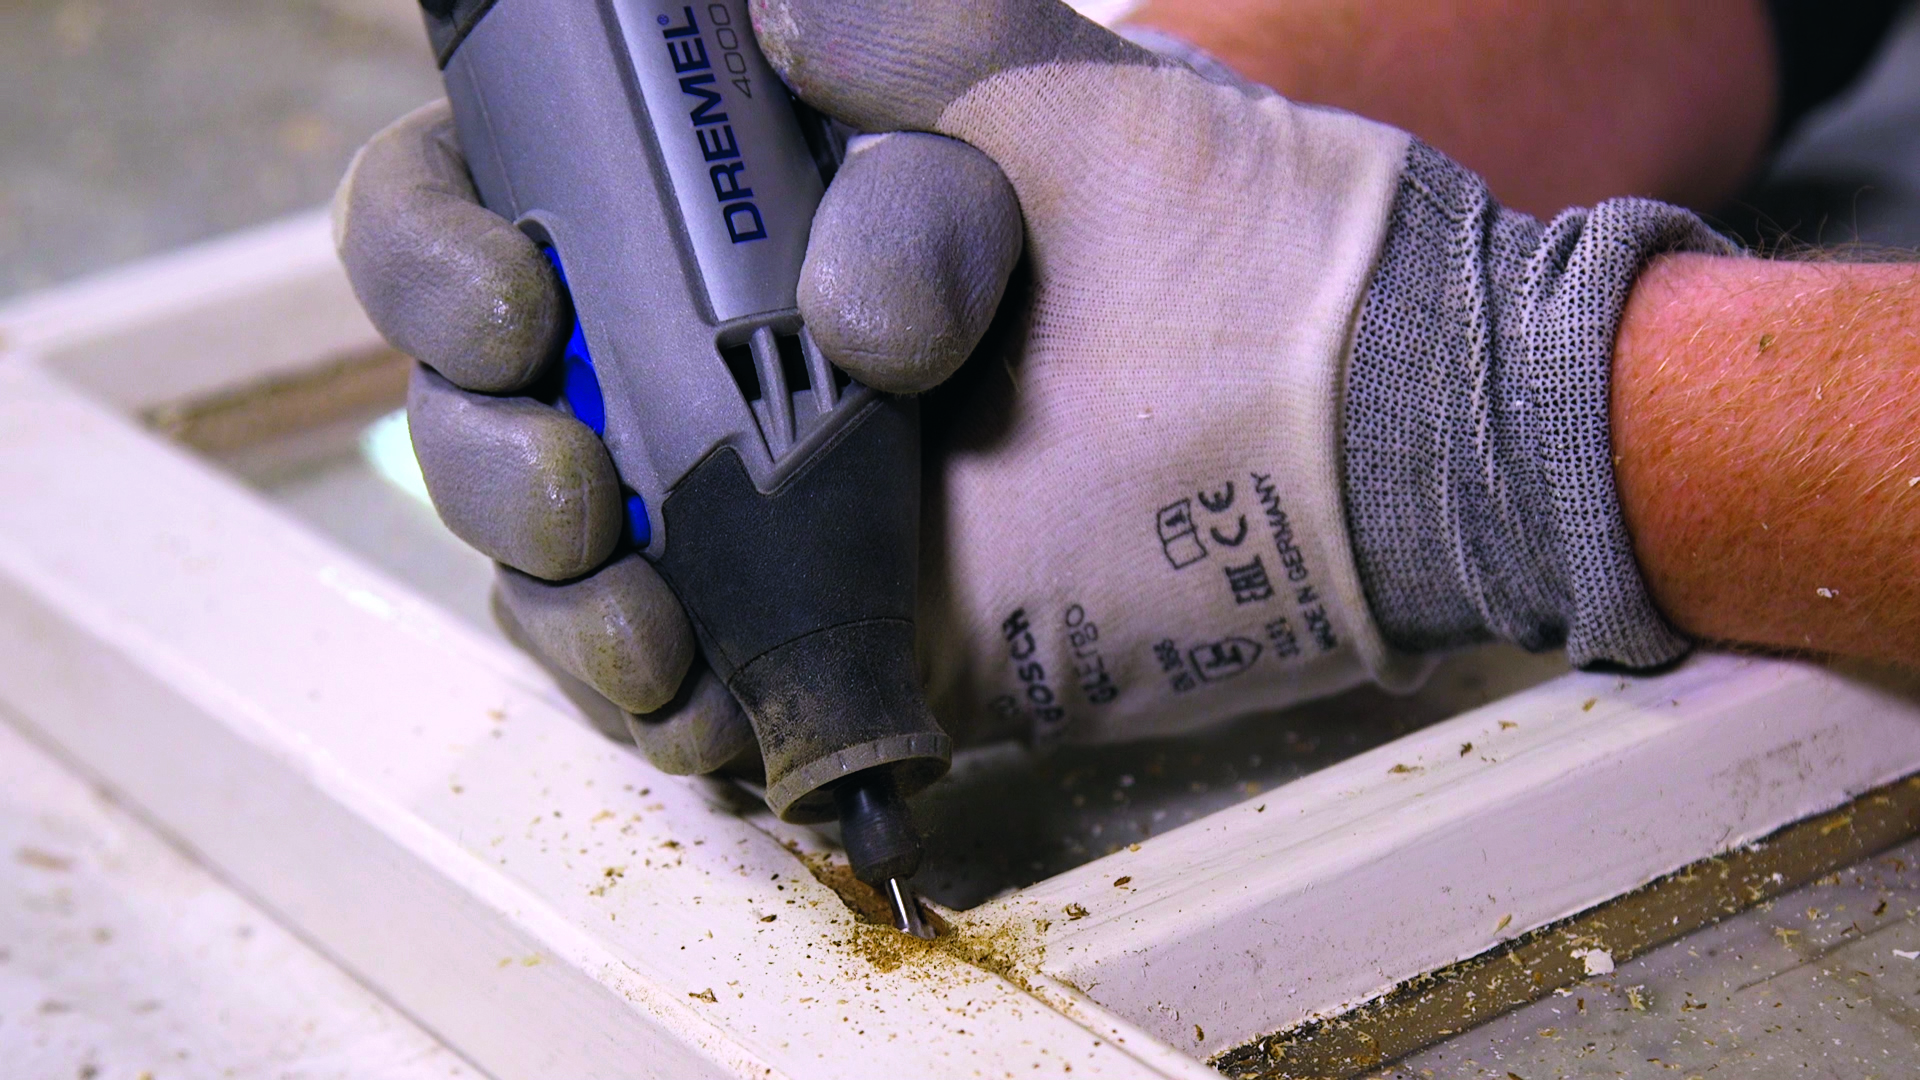
Use the awl to scrape out all of the rotted wood. It’s better to remove a bit of healthy wood than leave any of the infected material behind. You can use a router tool to make quick work of this; keep it on a fairly low speed, don’t apply pressure and move slowly.
Step 3
Next up, sand around the edges of the holes created by the removal of the wood rot. This is to create a smooth area that can be filled more easily. You can do this by hand but a small power tool (on a low to medium speed) will make quicker work of it.
You really don’t want to expose yourself to the harmful particles of wood rot fungus, so be sure to use safety goggles, gloves and a dust mask.
Step 4
Use filler
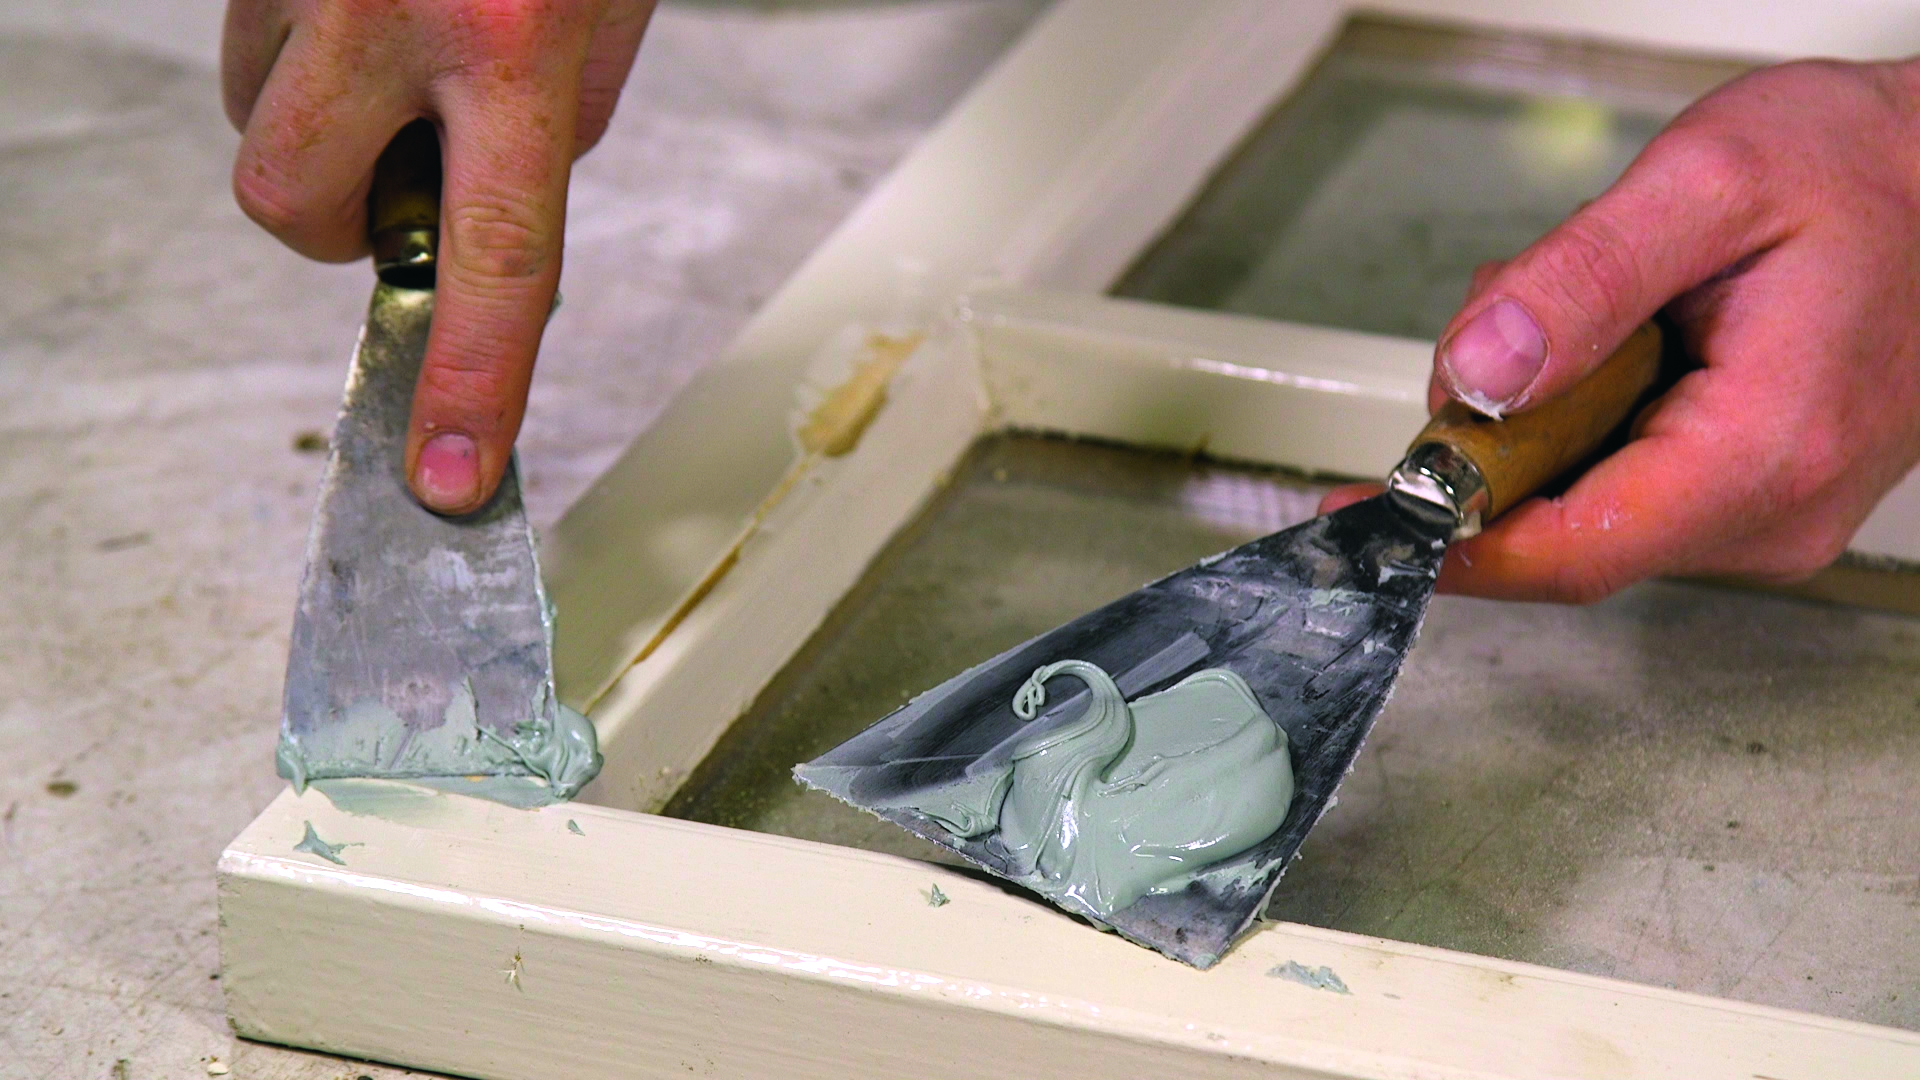
It might seem fine to use any wood filler for this project, but many aren’t suitable for outdoor use. We’d recommend using exterior-suitable products even on the inside of your window frame. Two-part epoxy wood filler comes with the main filler and a separate hardener that you mix in before applying; it’s also water resistant which will help prevent future rotting.
Step 5
Prepare your filler according to packet instructions then use a filling knife to pack it into all of the holes and gaps. Remove any excess with the filling knife; try to get it as level with the surface of the wood as you can. Let the filler dry completely according to the instructions.
Step 6
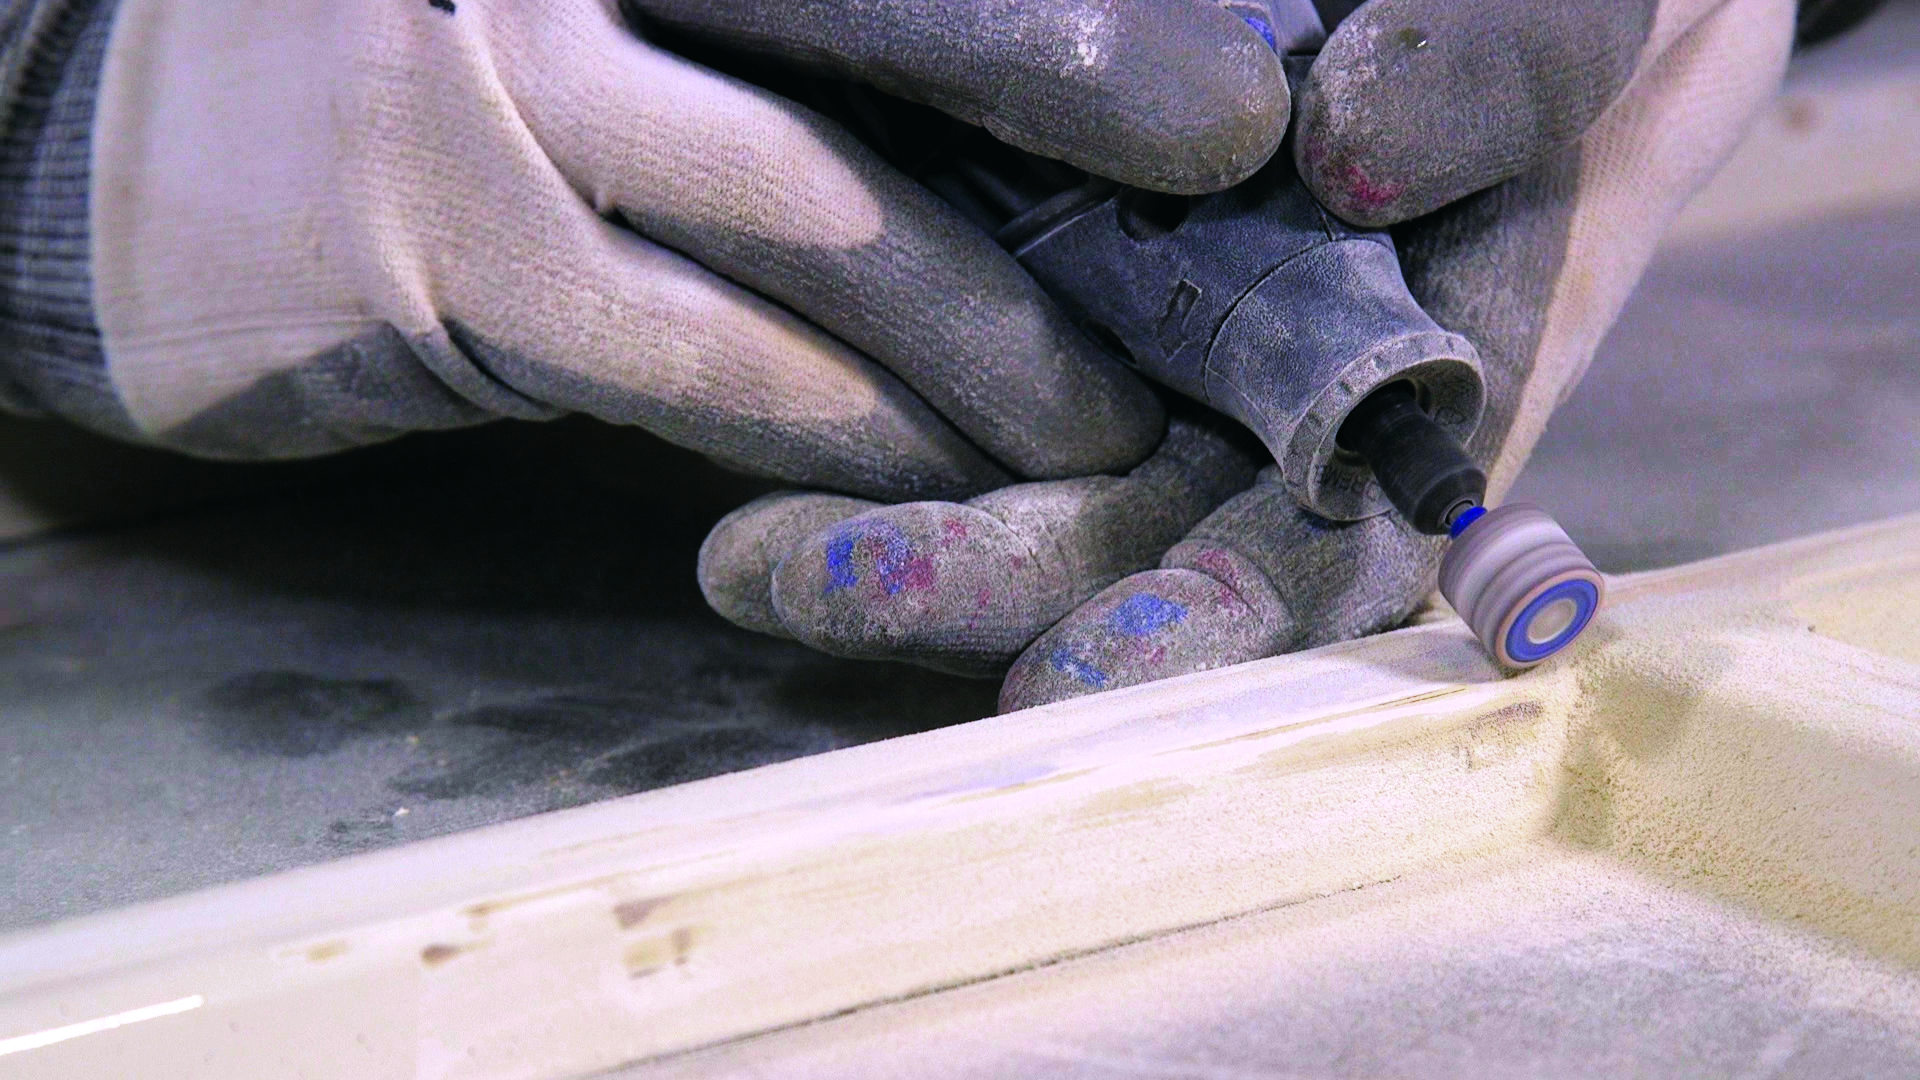
Sand down the surface to prepare it for painting, ensuring a smooth transition between filler and wood. You can use an orbital sanding tool for flat surfaces and a sheet of sandpaper or a small tool to get hard-to-reach bevelled grooves .
Step 7
Clear away any dust from the surface with a dry brush, paying attention to crevices – a vacuum cleaner would do a quick and thorough job. Rub down the frame with a damp lint-free cloth to remove the last of the dust. Remove any residual grease with sugar soap, rinse again and then – very importantly– leave it to dry completely.
Don’t forget to do both the inside and outside of your windows. If you can’t safely access the outside of upper windows, call in professional help.
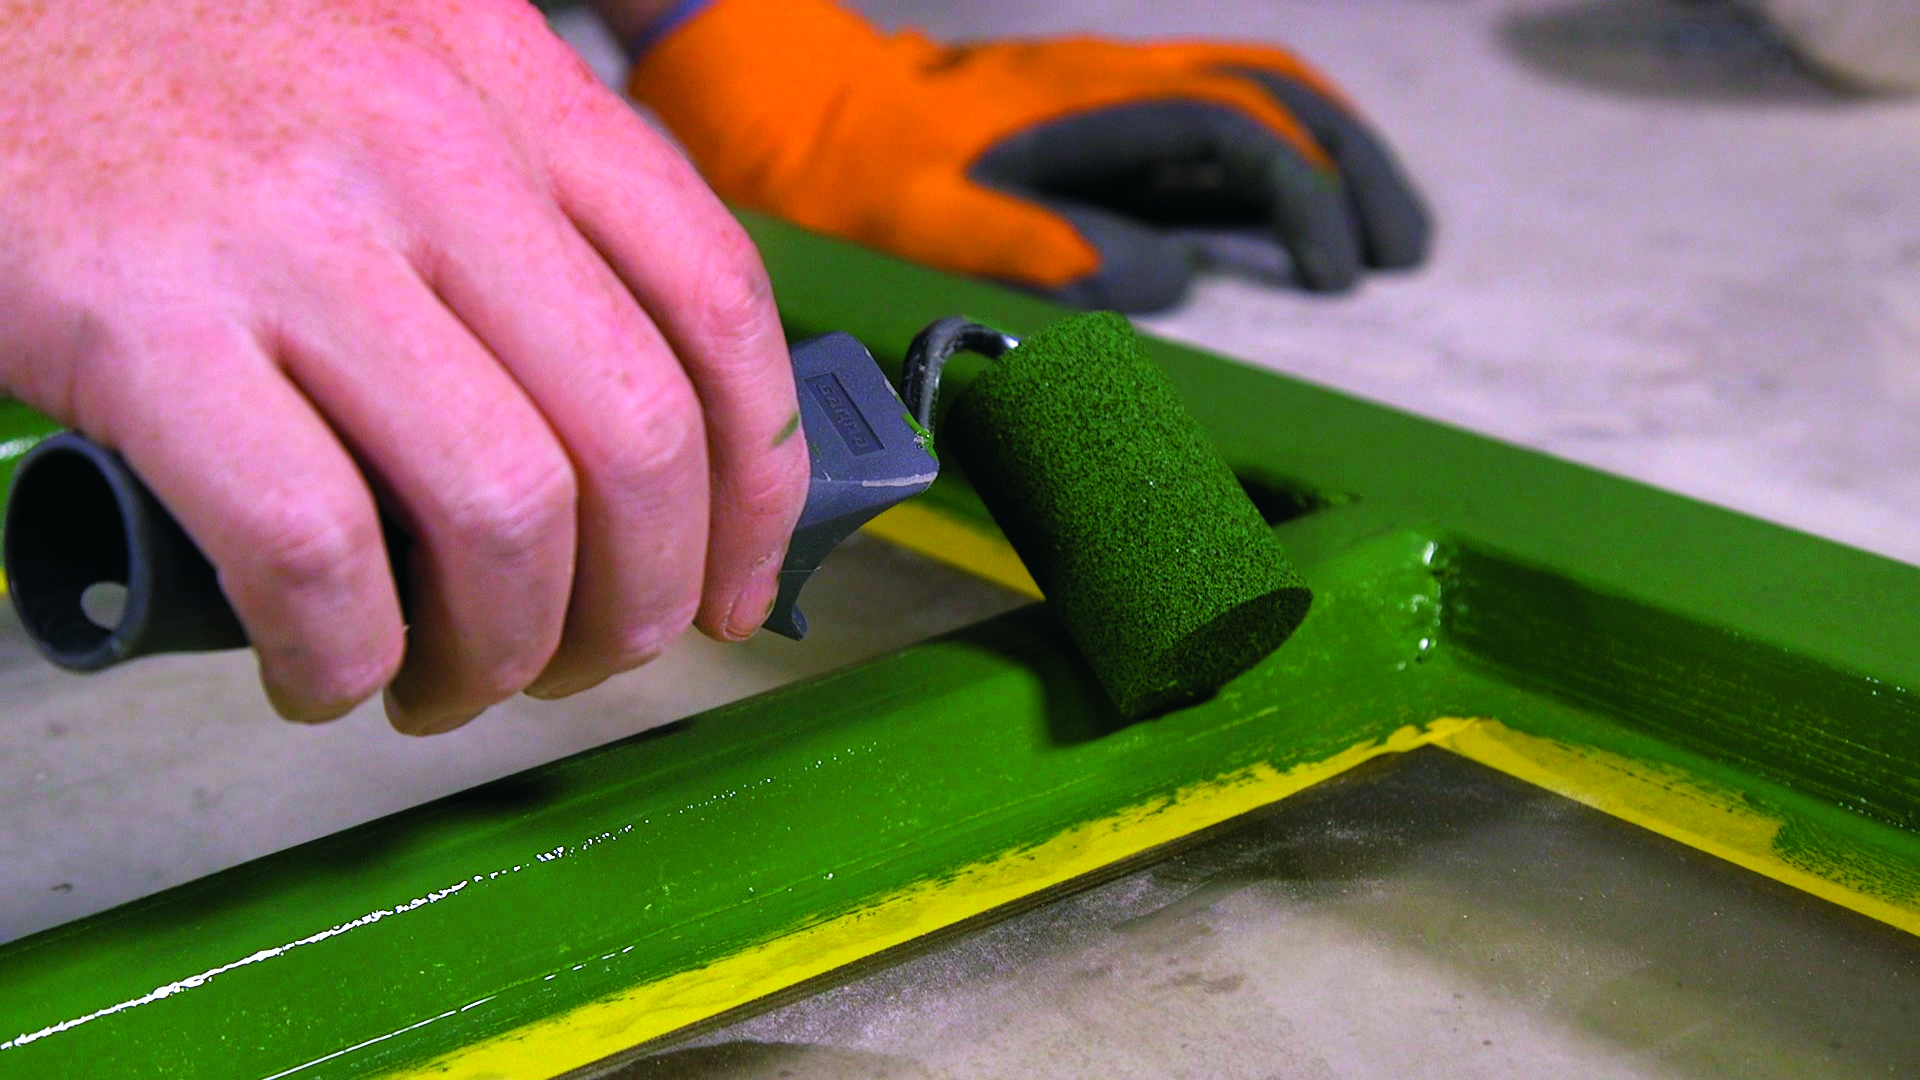
Step 8
Paint the window frame
Cover around the edges of the glass with masking or painter’s tape and protect your window sills and walls with dust sheets. Apply a weatherproofing exterior wood paint in thin coats, allowing the full drying time between each one.
When you’re happy with the coverage, remove the masking tape – lightly score the edge with a utility knife if any dried paint is sticking it in place.
Once a year, check back on your window frames as catching wood rot early will prevent it spreading. When you’re sure the wood is sound, lightly sand any flaking paint and keep it waterproof by adding a new coat of exterior wood paint.
If you get some paint on the window pane, don’t panic. Gently scrape large drops off with a plastic tool, then wipe the glass with white spirit.
Matt Spiers is a crochet artist and designer who has been overseeing Gathered's crochet section for 2 years. He previously worked as Digital Assistant for Simply Crochet magazine and is our in house video editing pro. What started as a hobby a decade ago led to Matt developing a passion (and then a career) with crochet. As well as still regularly writing and designing for Simply Crochet magazine, Matt is a crochet artist in his own right, having displayed and created crochet installations at festivals and fibre events across the UK. You can keep up to date with Matt at @onemancrochet on Instagram.
This website is owned and published by Our Media Ltd. www.ourmedia.co.uk