DIY BookBinding – make your own stationery

Write or doodle to your heart’s content in Suzie Attaway’s bookbinding tutorial!

Try 6 issues of your choice of craft magazine from just £9.99

Published: June 6, 2021 at 7:22 am

Bookbinding is such a tactile and meditative craft. It's been around since the 6th century with Monks binding religious texts and has continued to be popular in the 21st century. Bookbinding allows you to create your own handmade, special notebook from your favourite papers. They'd also make the sweetest gift for your colleagues or friends! If you haven’t tried it before, this on-trend jotter is the perfect place to begin; covering the basic skills and culminating in a noteworthy book for your desk. You could also turn your new book into a bullet journal! Learn more about bullet journalling by checking out our how to bullet journal tutorial.

This project was created by Suzie for Mollie Makes magazine – for more easy-make craft projects and creative inspiration, subscribe to Mollie or click here to find out more.
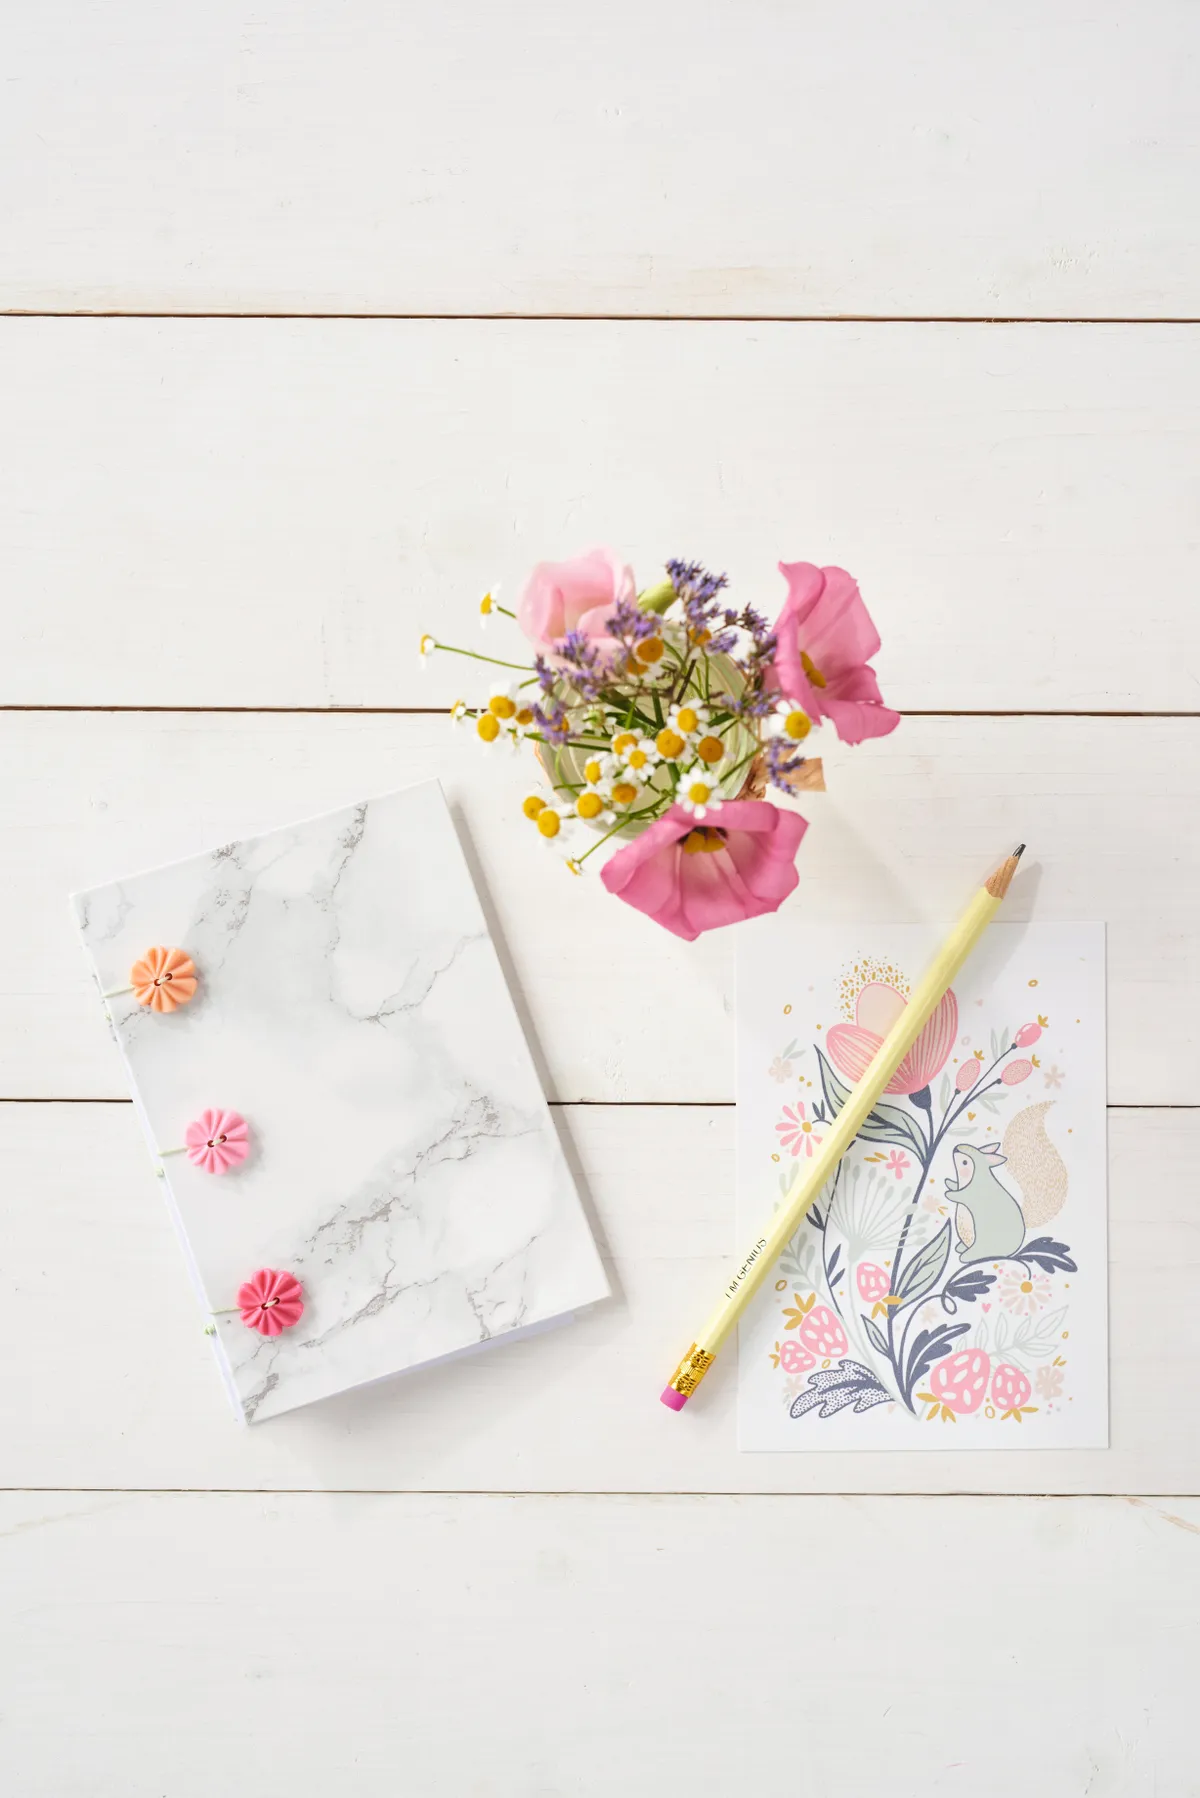
You will need:

  • Thin white card
  • Thick scrap card
  • Marble effect sticky-back plastic (this is just for decoration, if marble isnt your thing why not use one of our free patterned papers?)
  • Awl
  • Bookbinding needles
  • Waxed linen thread, 3m

How to do bookbinding

You will need:

  • Card
  • Marble effect sticky-back plastic
  • Awl
  • Bookbinding needles
  • Waxed linen thread

Step 1

Cut fifteen pages measuring 10 x 15cm (4 x 6") from the white card. Cut two 11 x 16cm (43/8 x 63/8") rectangles for the covers of the notebook from the thick card.

Step 2

bookbinding_step2

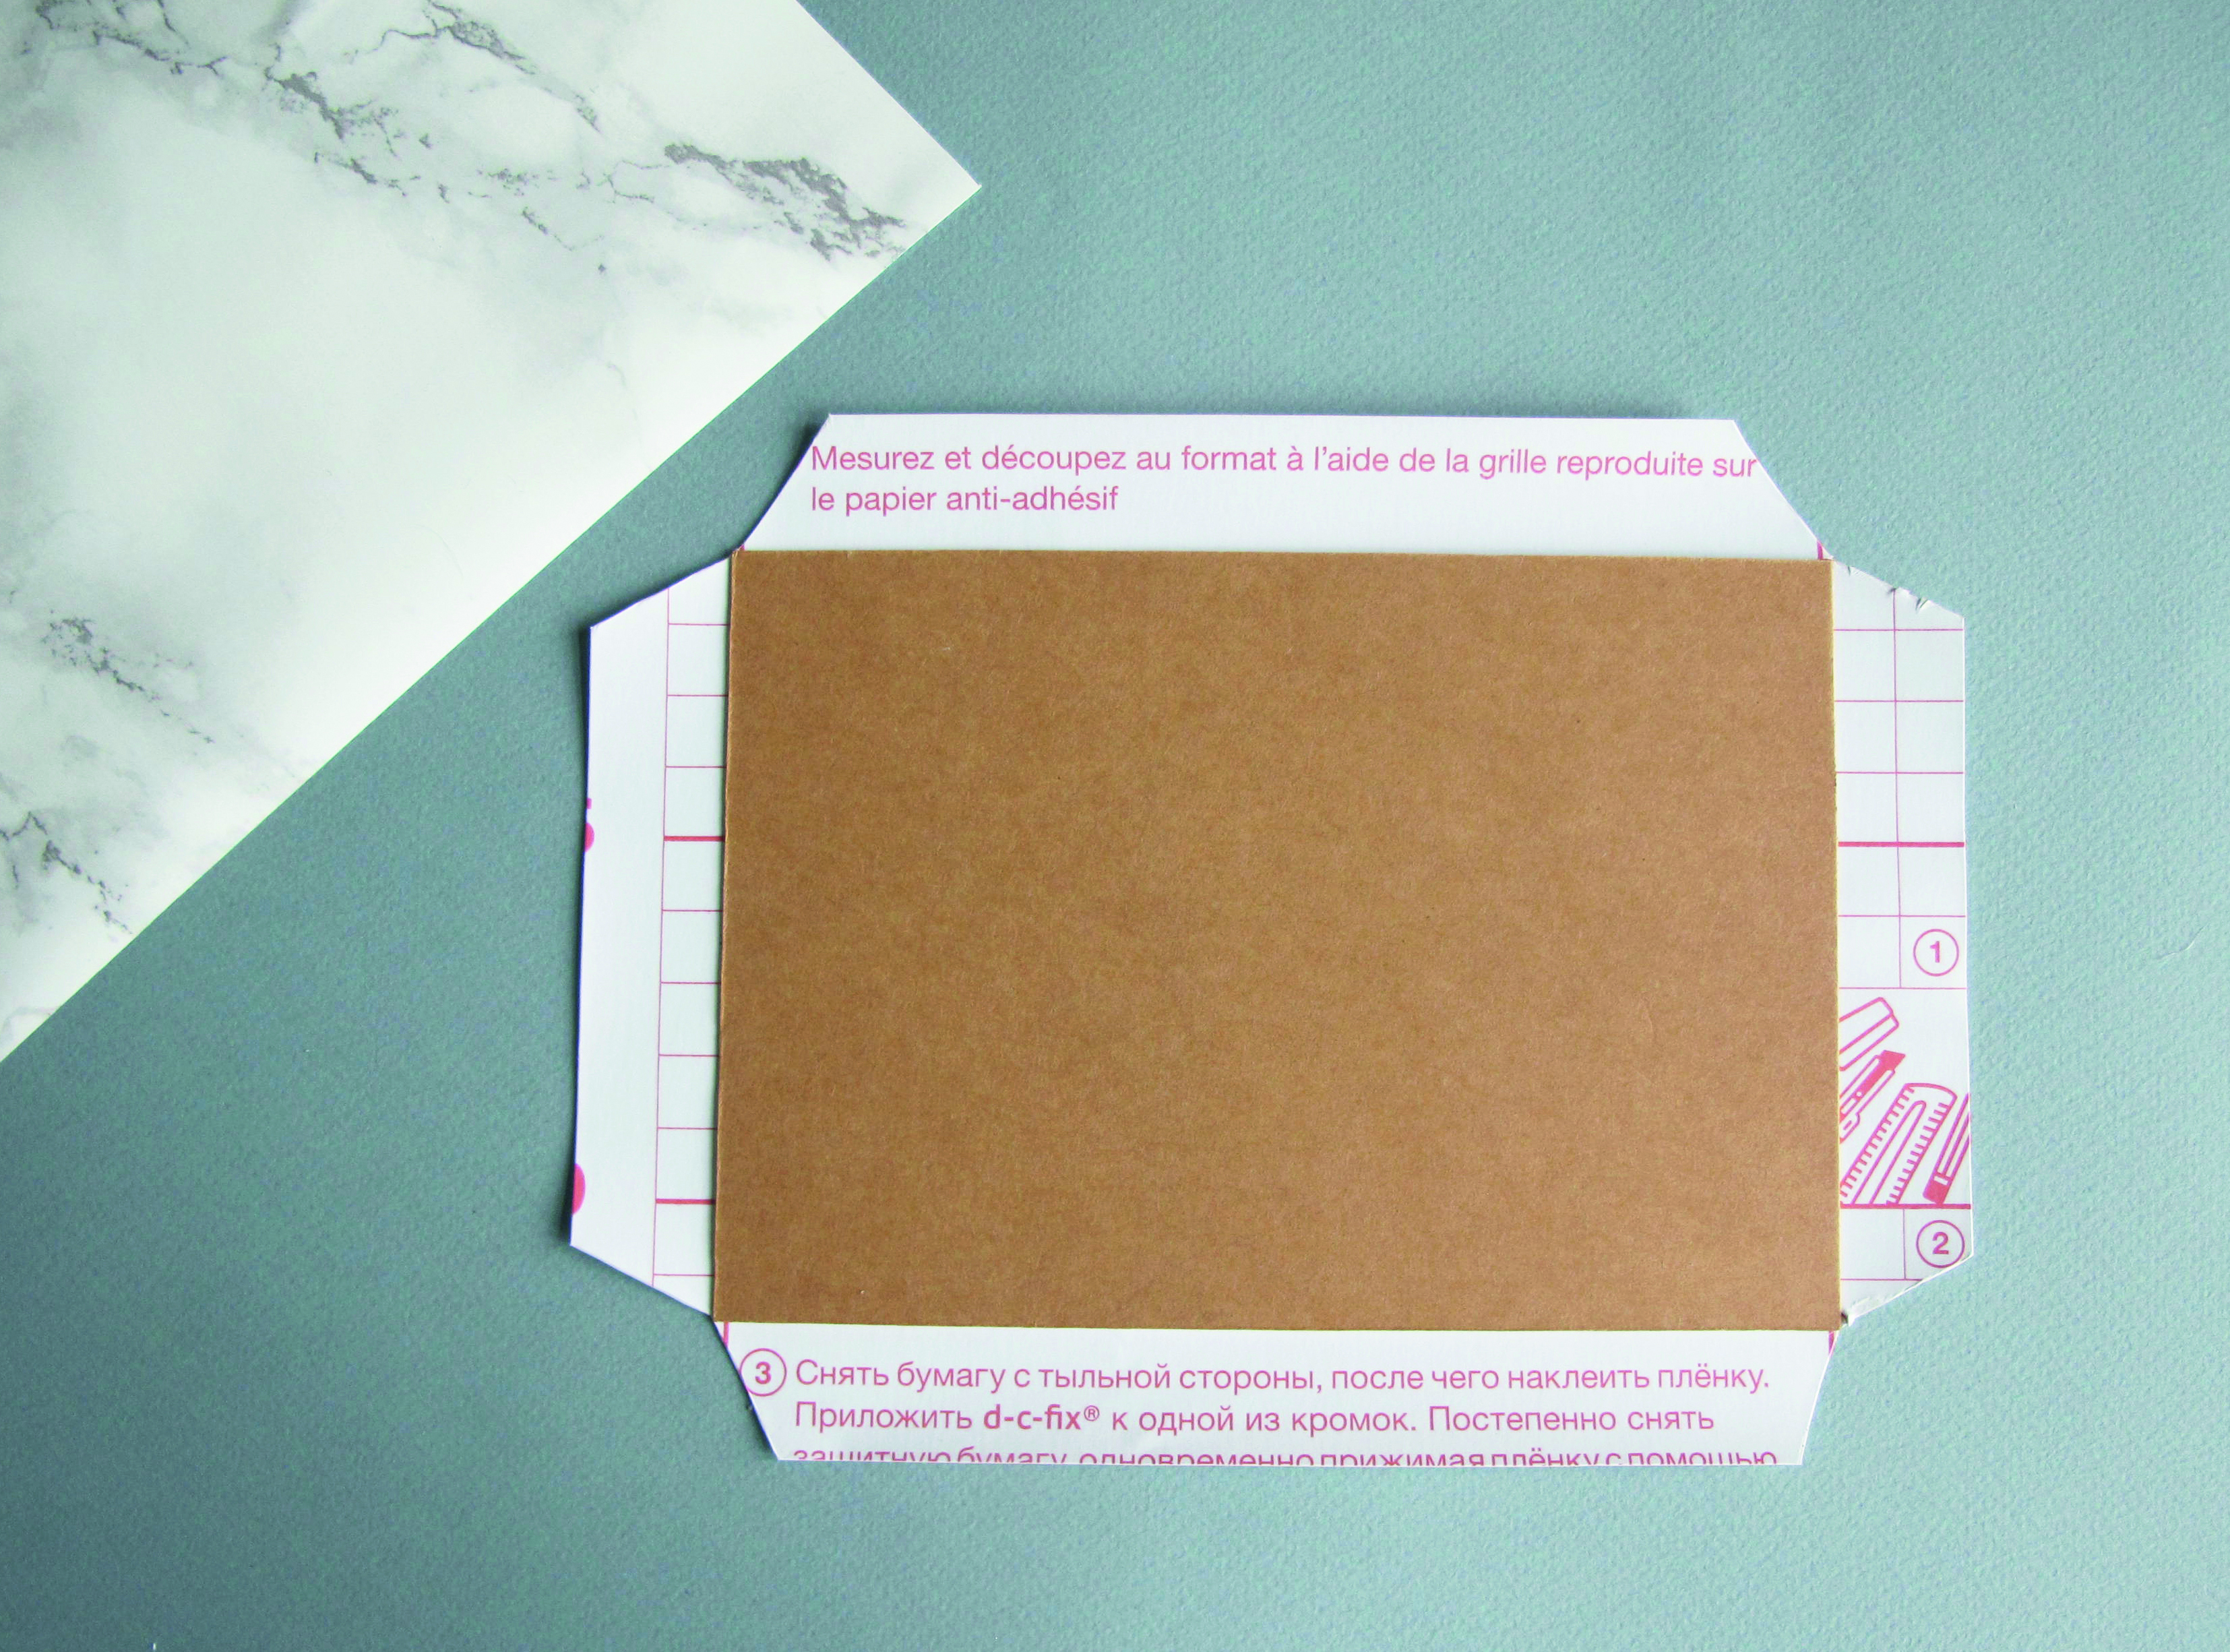
Cover the thick card with the sticky-back plastic, folding over the edges to the wrong side (WS) and smoothing out any air bubbles.

Step 3

bookbinding_step3

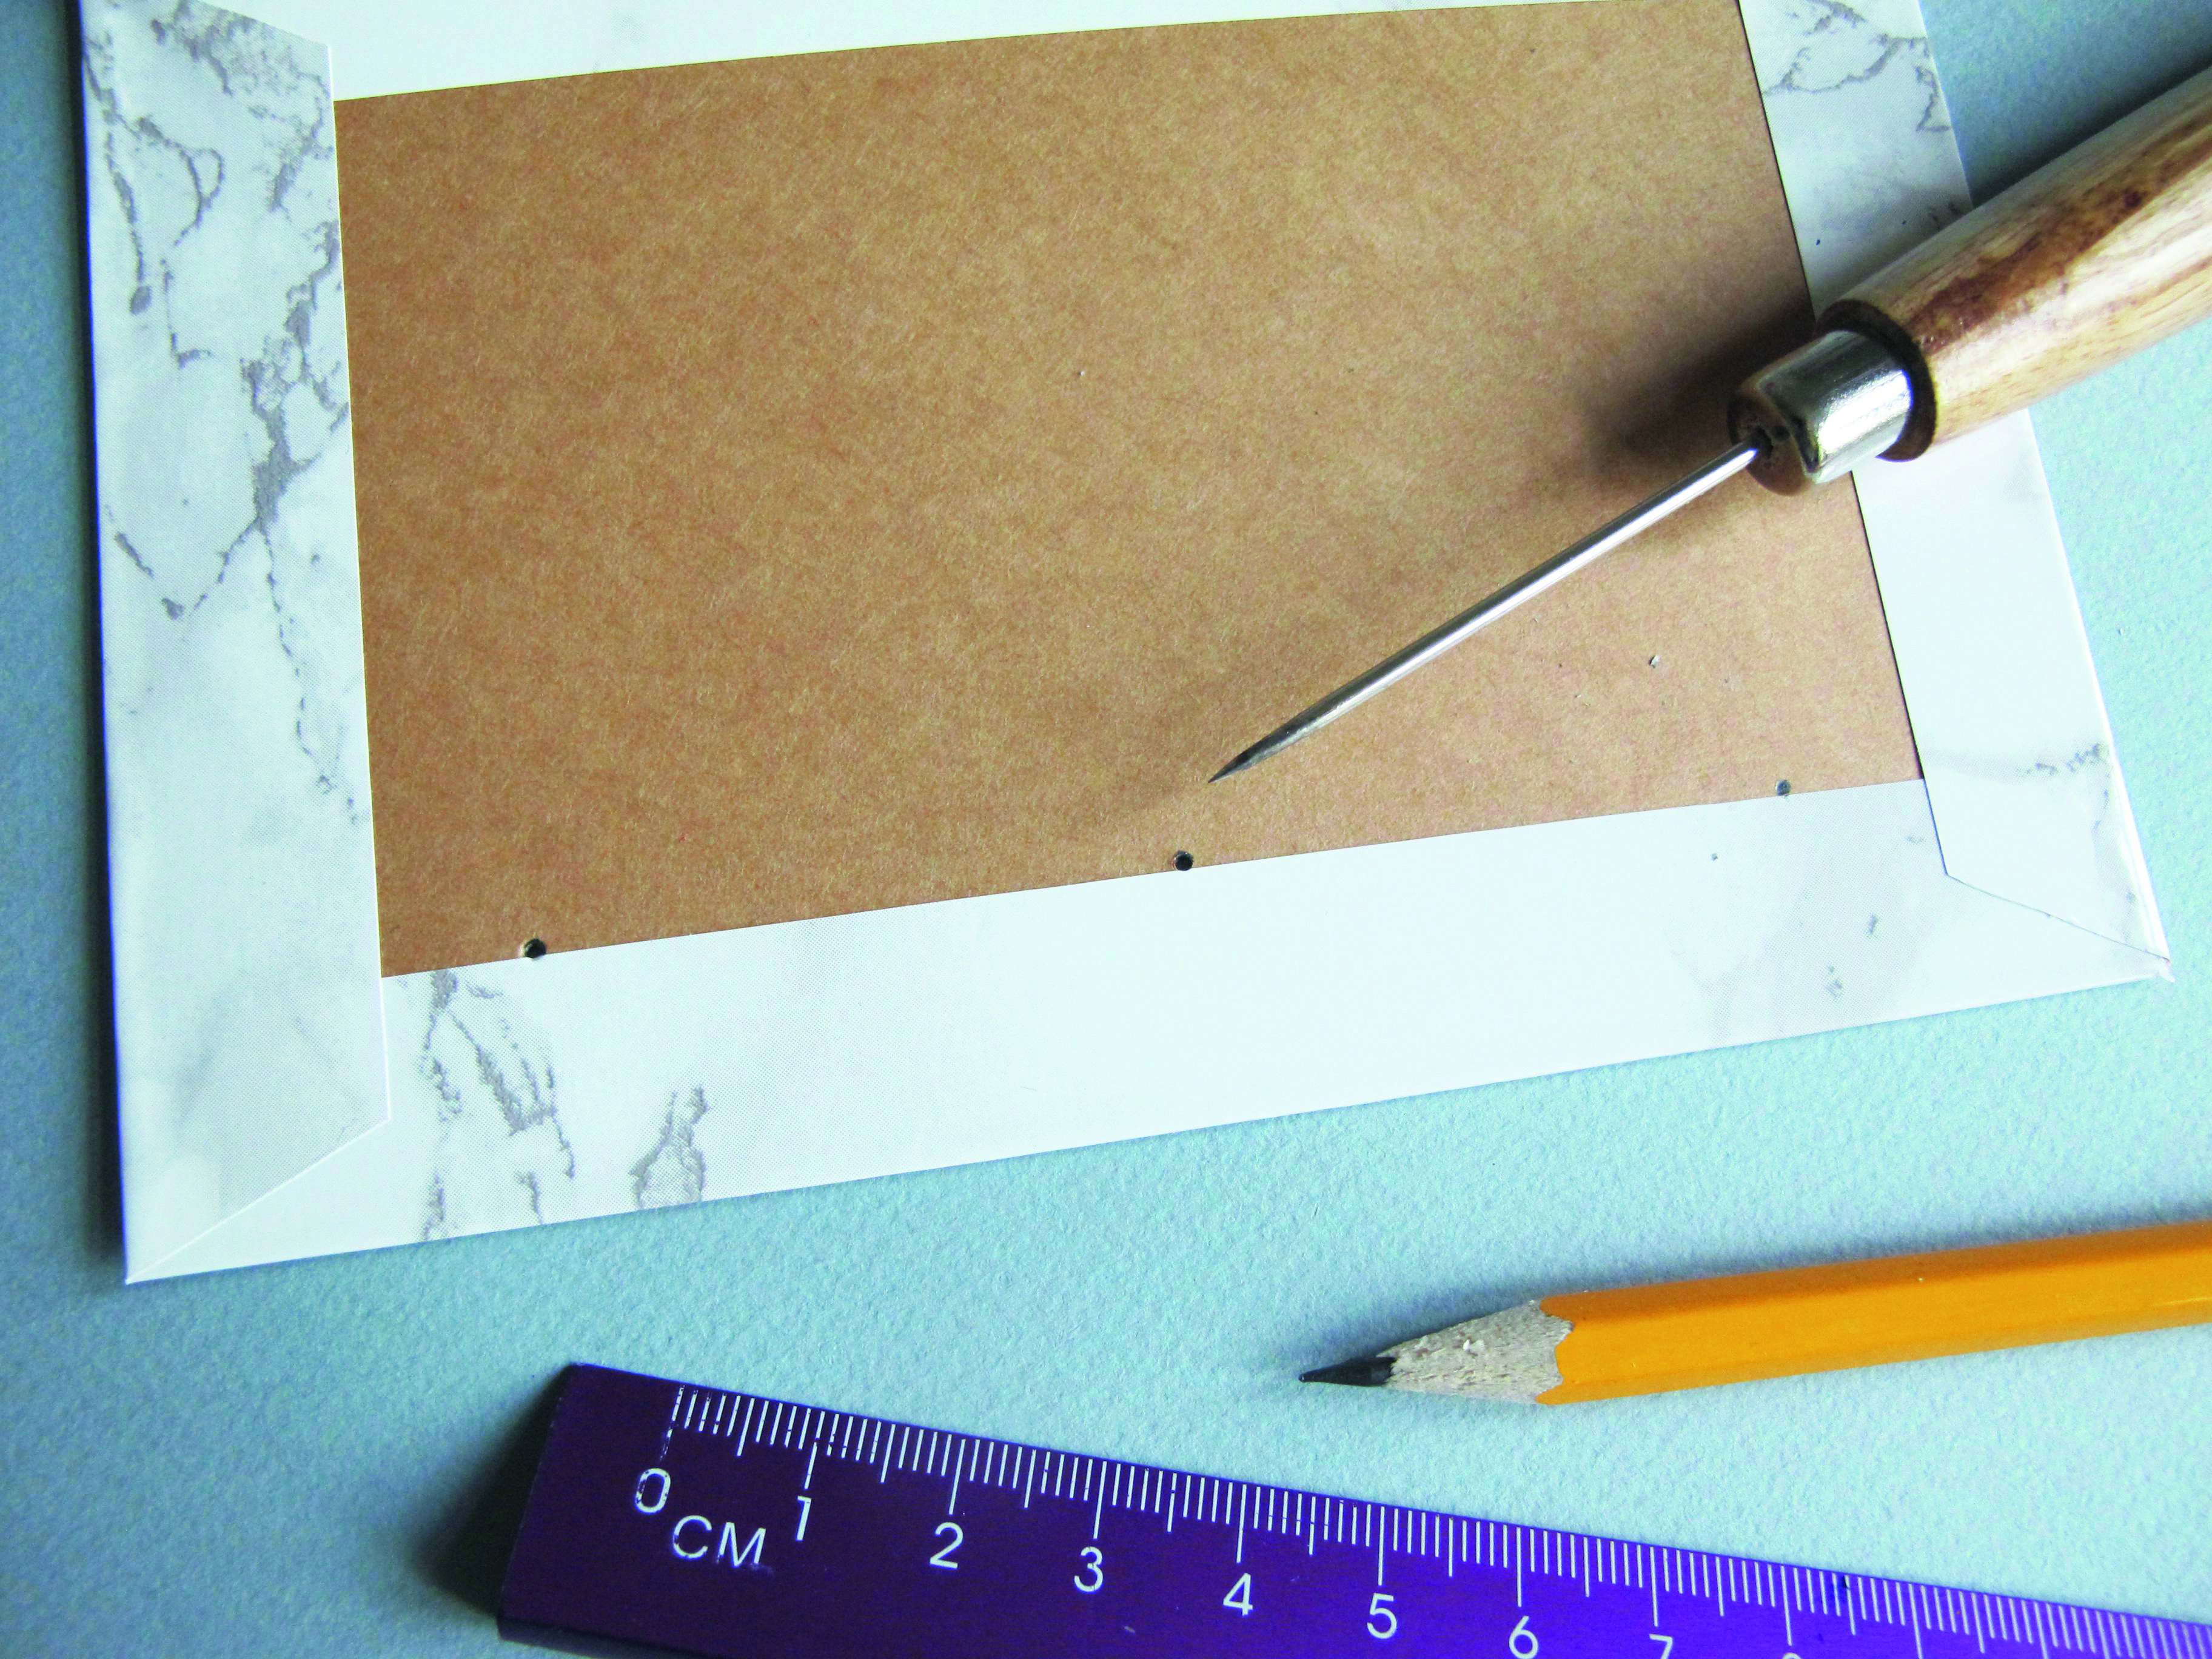
Draw a pencil line on the WS of both covers, 2cm (3⁄4") in from the edge of one long side. Measure and mark 3cm (11⁄4") in from the top and bottom of the line. Measure the halfway point between the two, and mark again. Make a hole at each marked point using the awl.

Step 4

bookbinding_step4

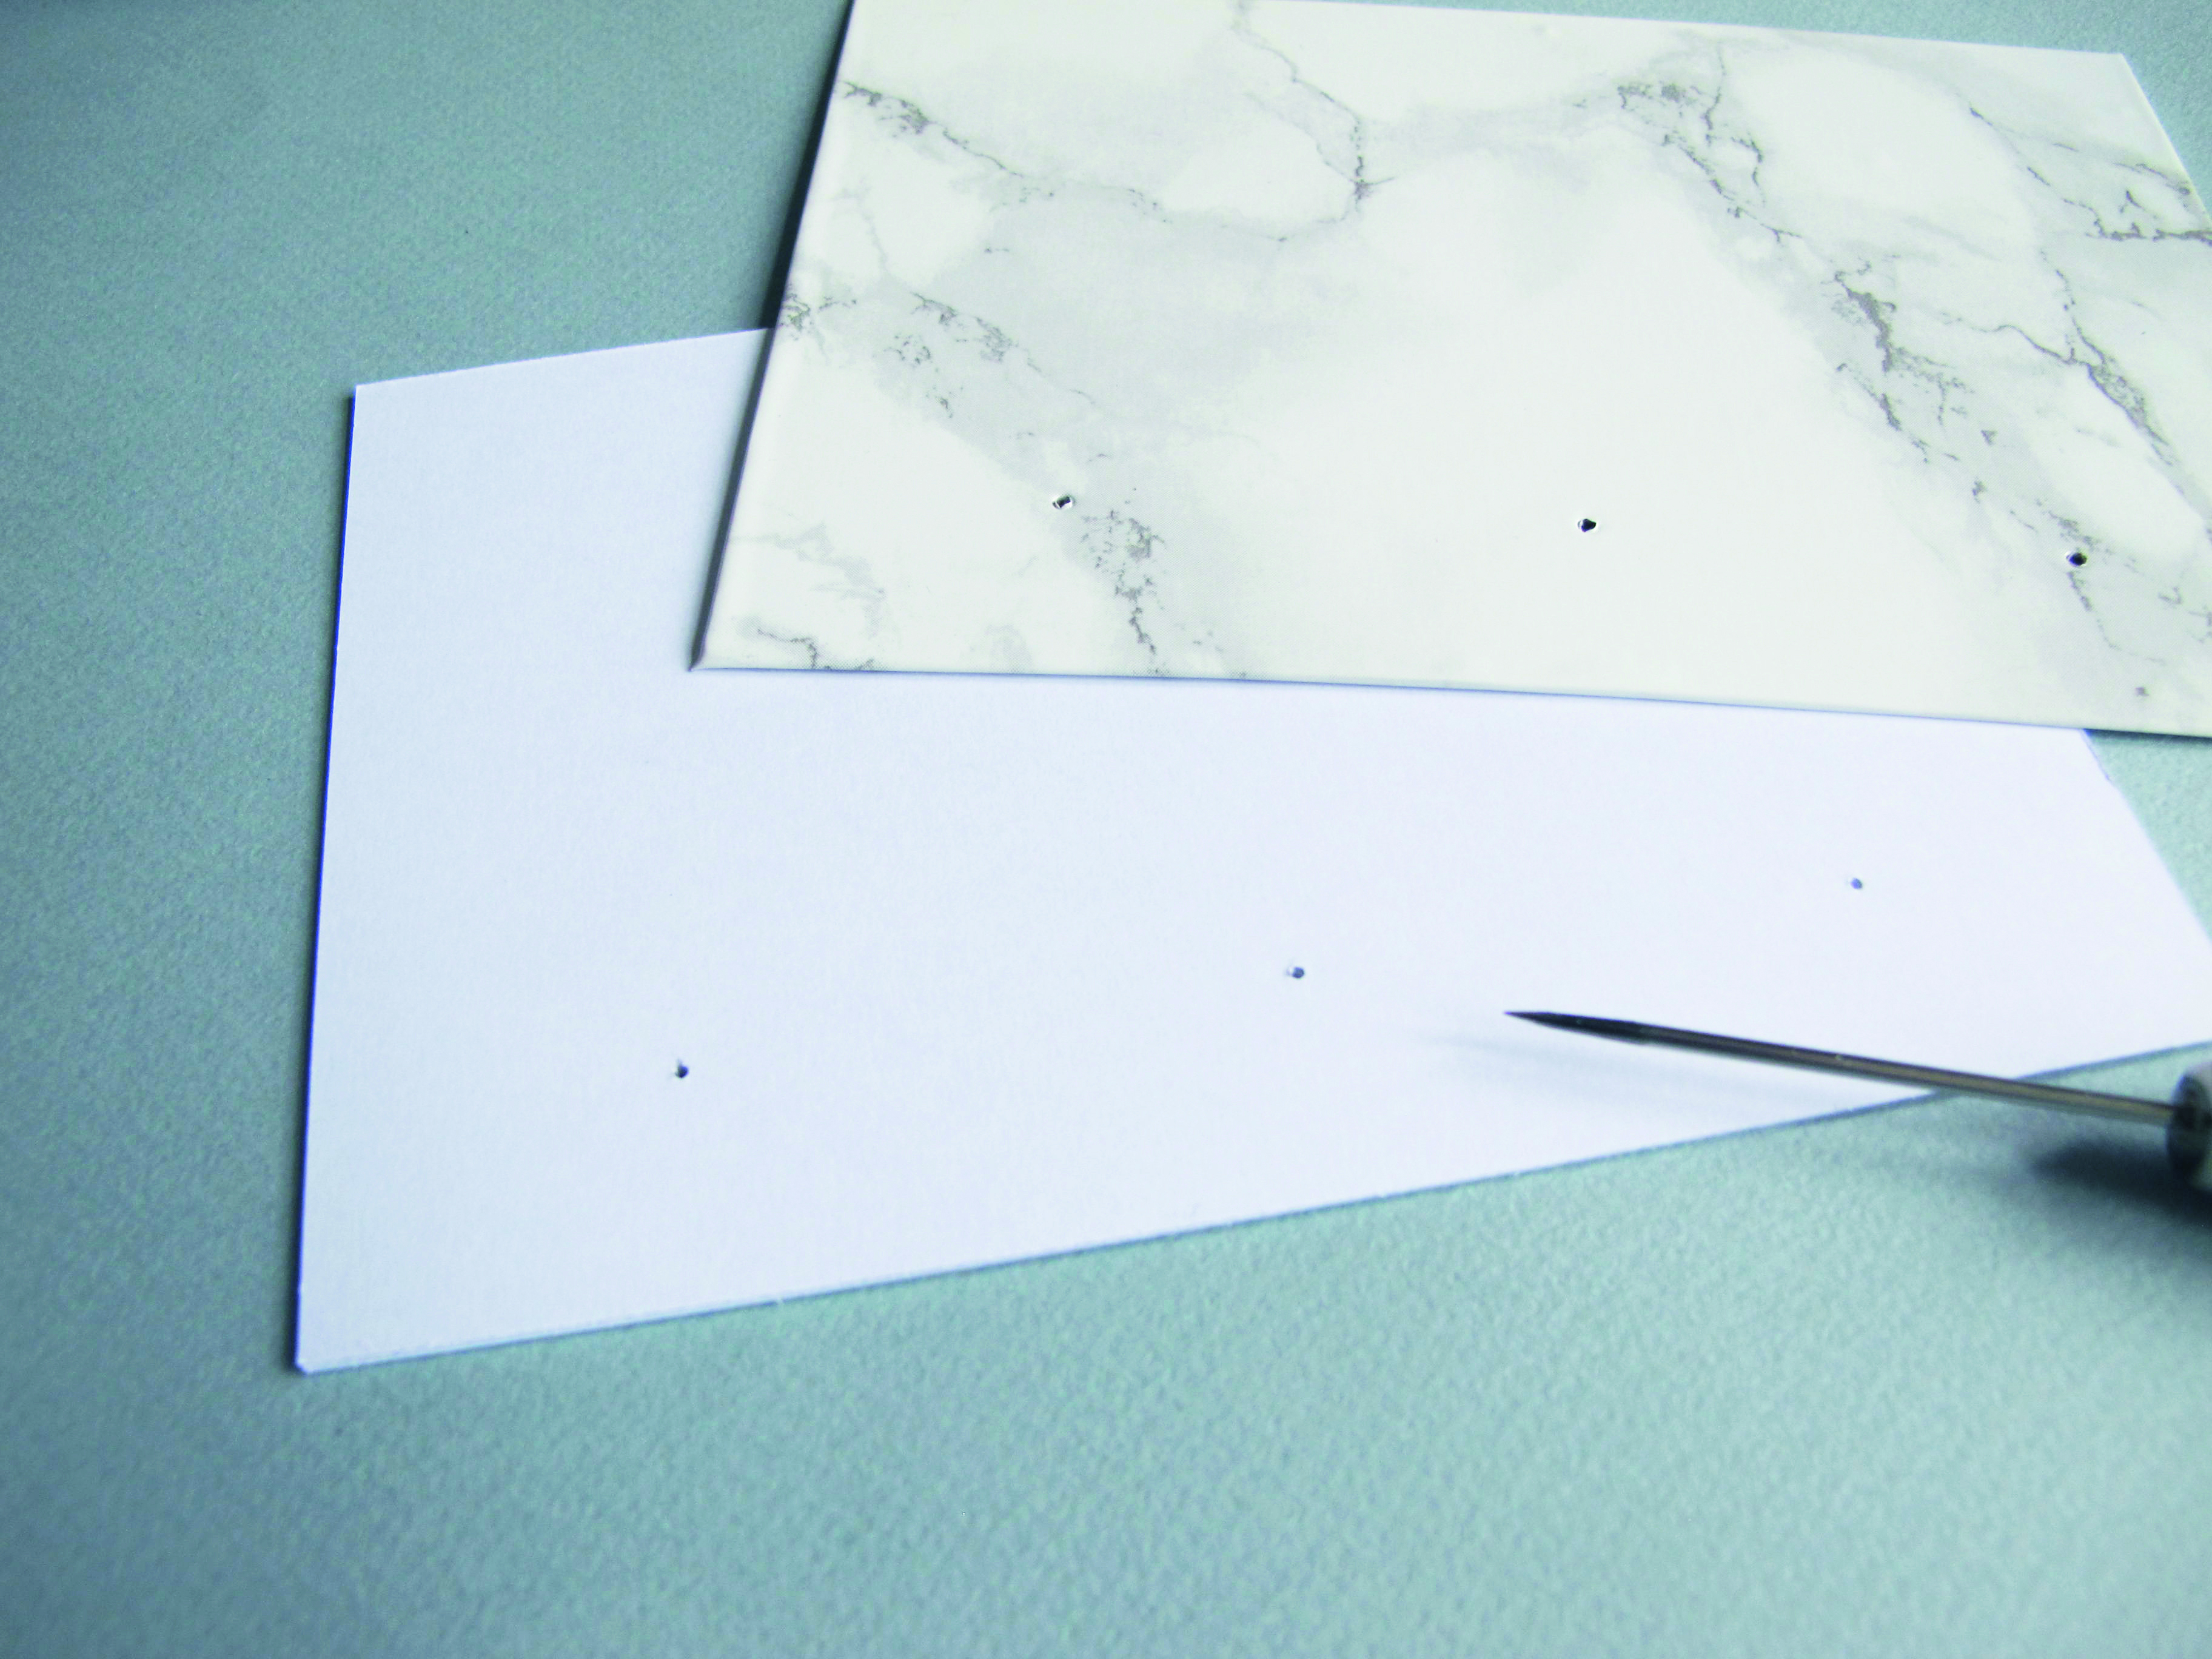
Using one of the covers as a guide, make corresponding holes in the white pages with an awl.

Step 5

bookbinding_step5a
bookbinding_step5b

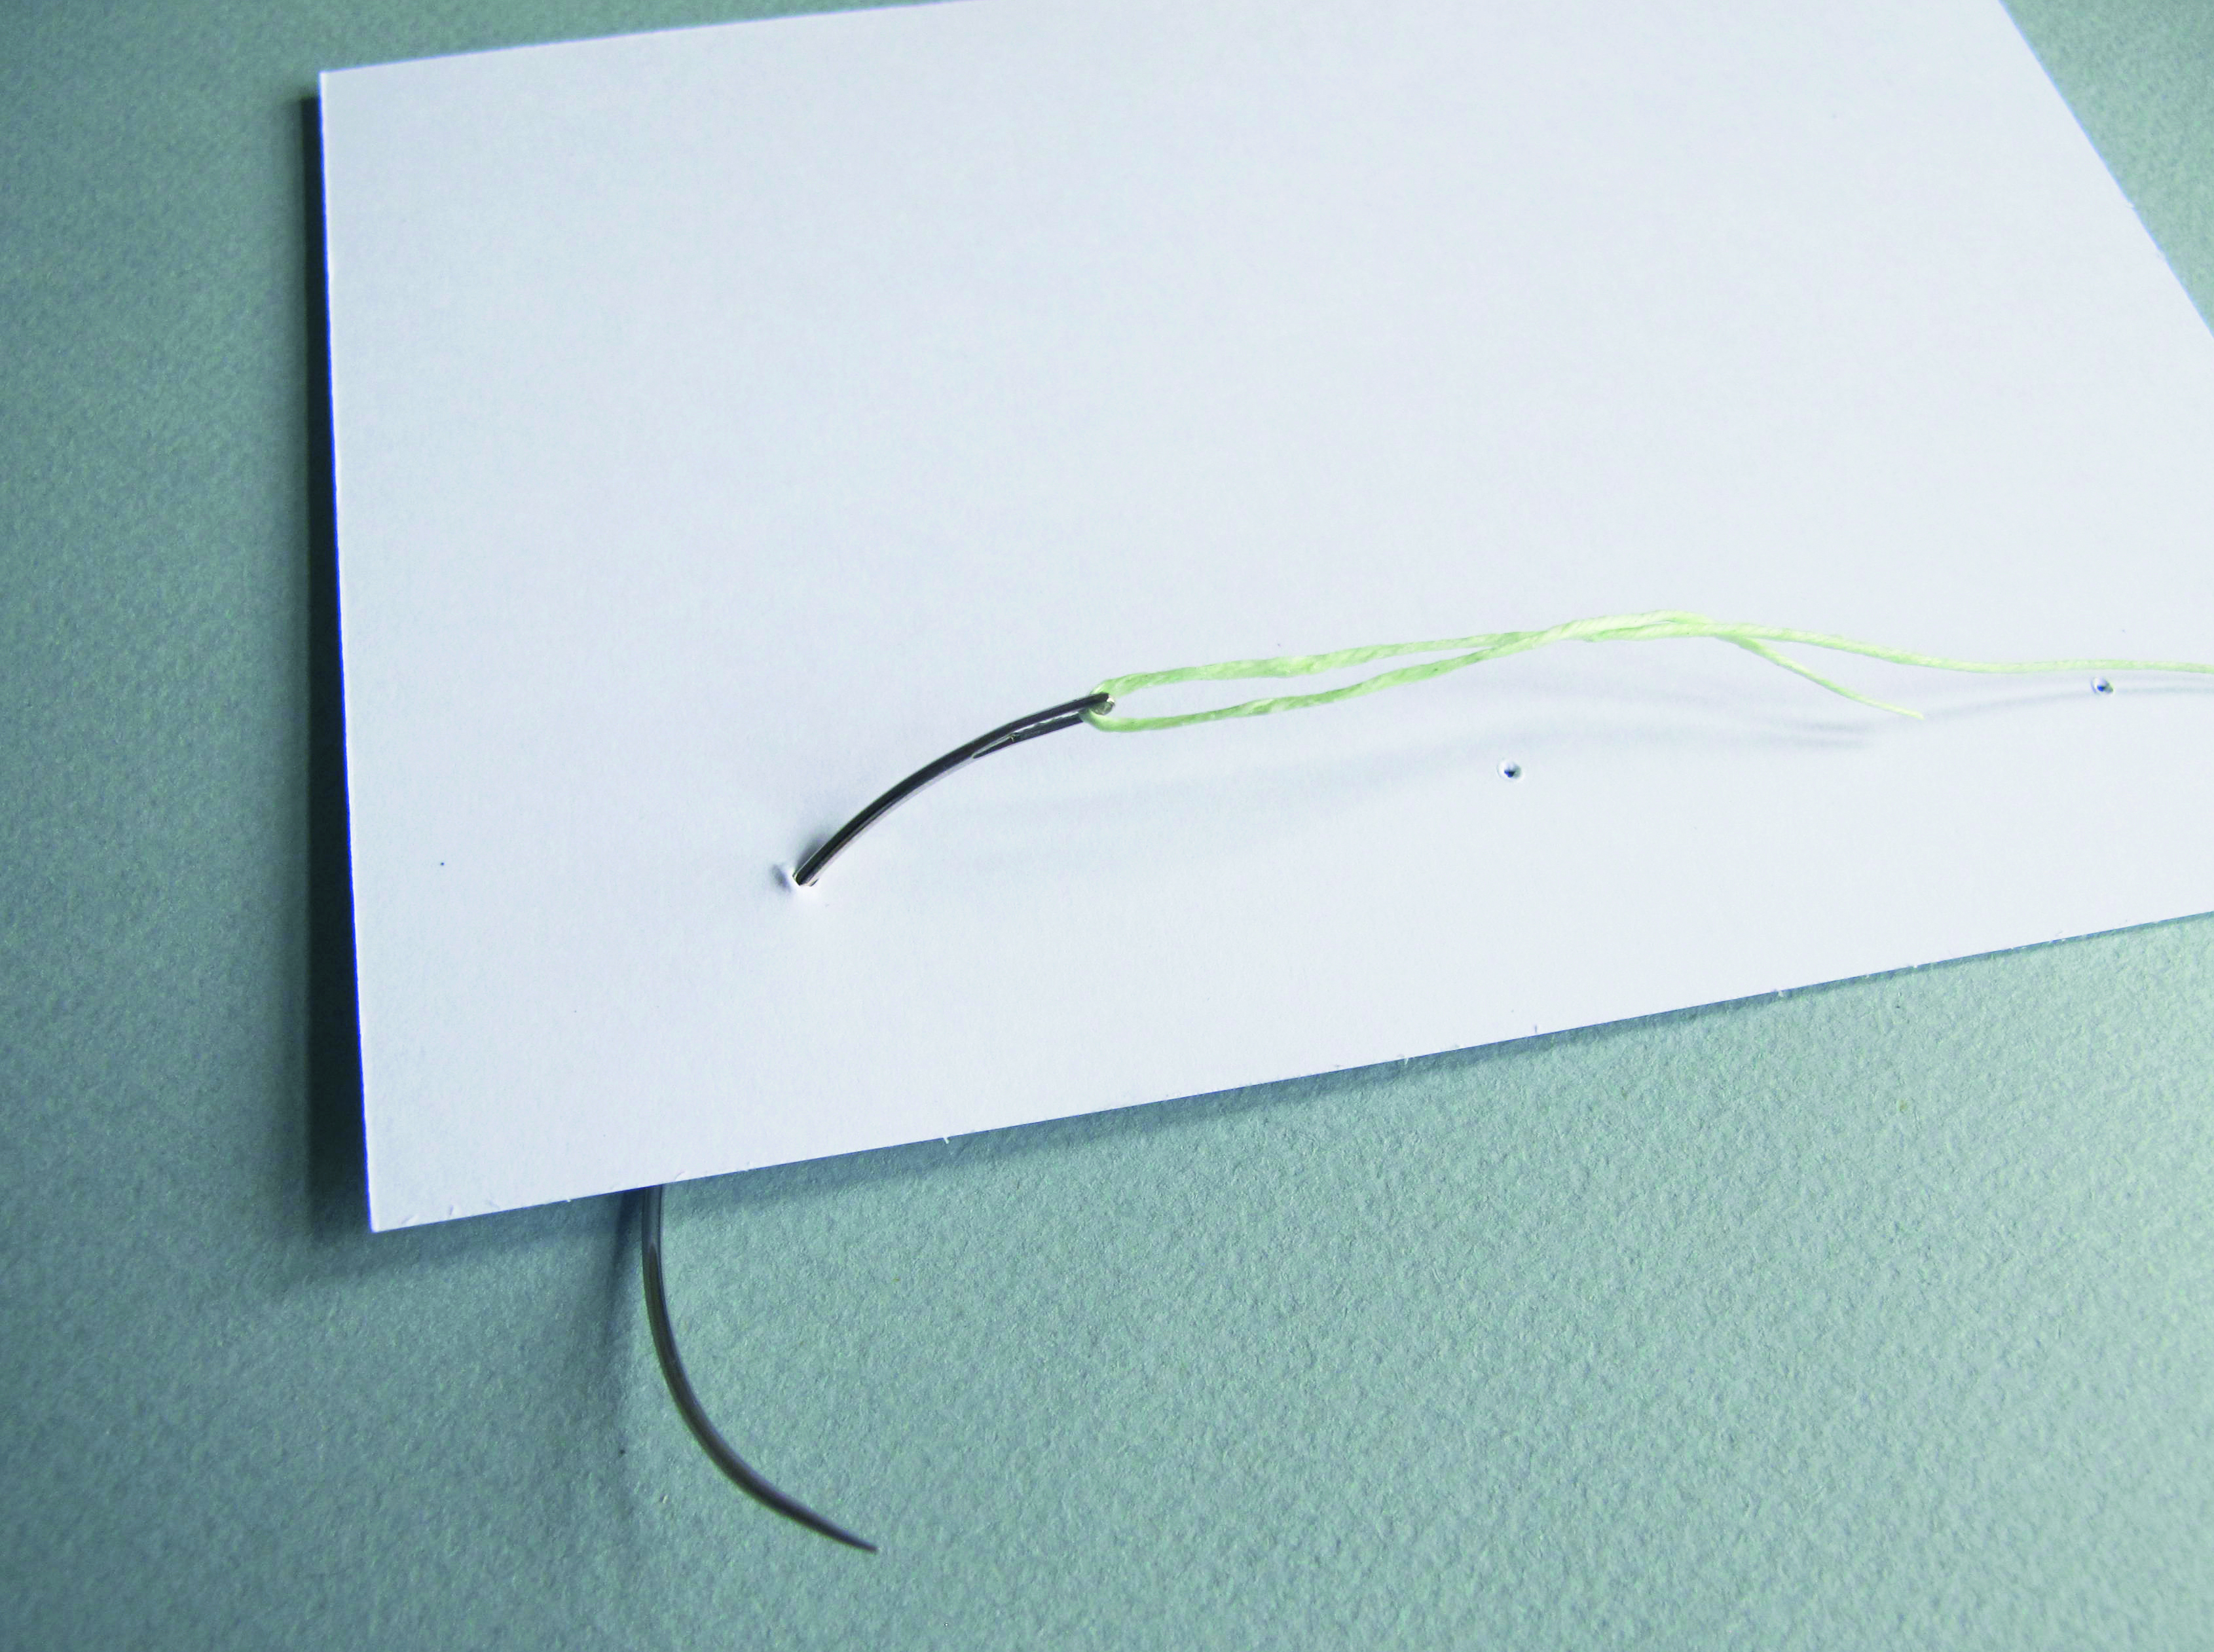
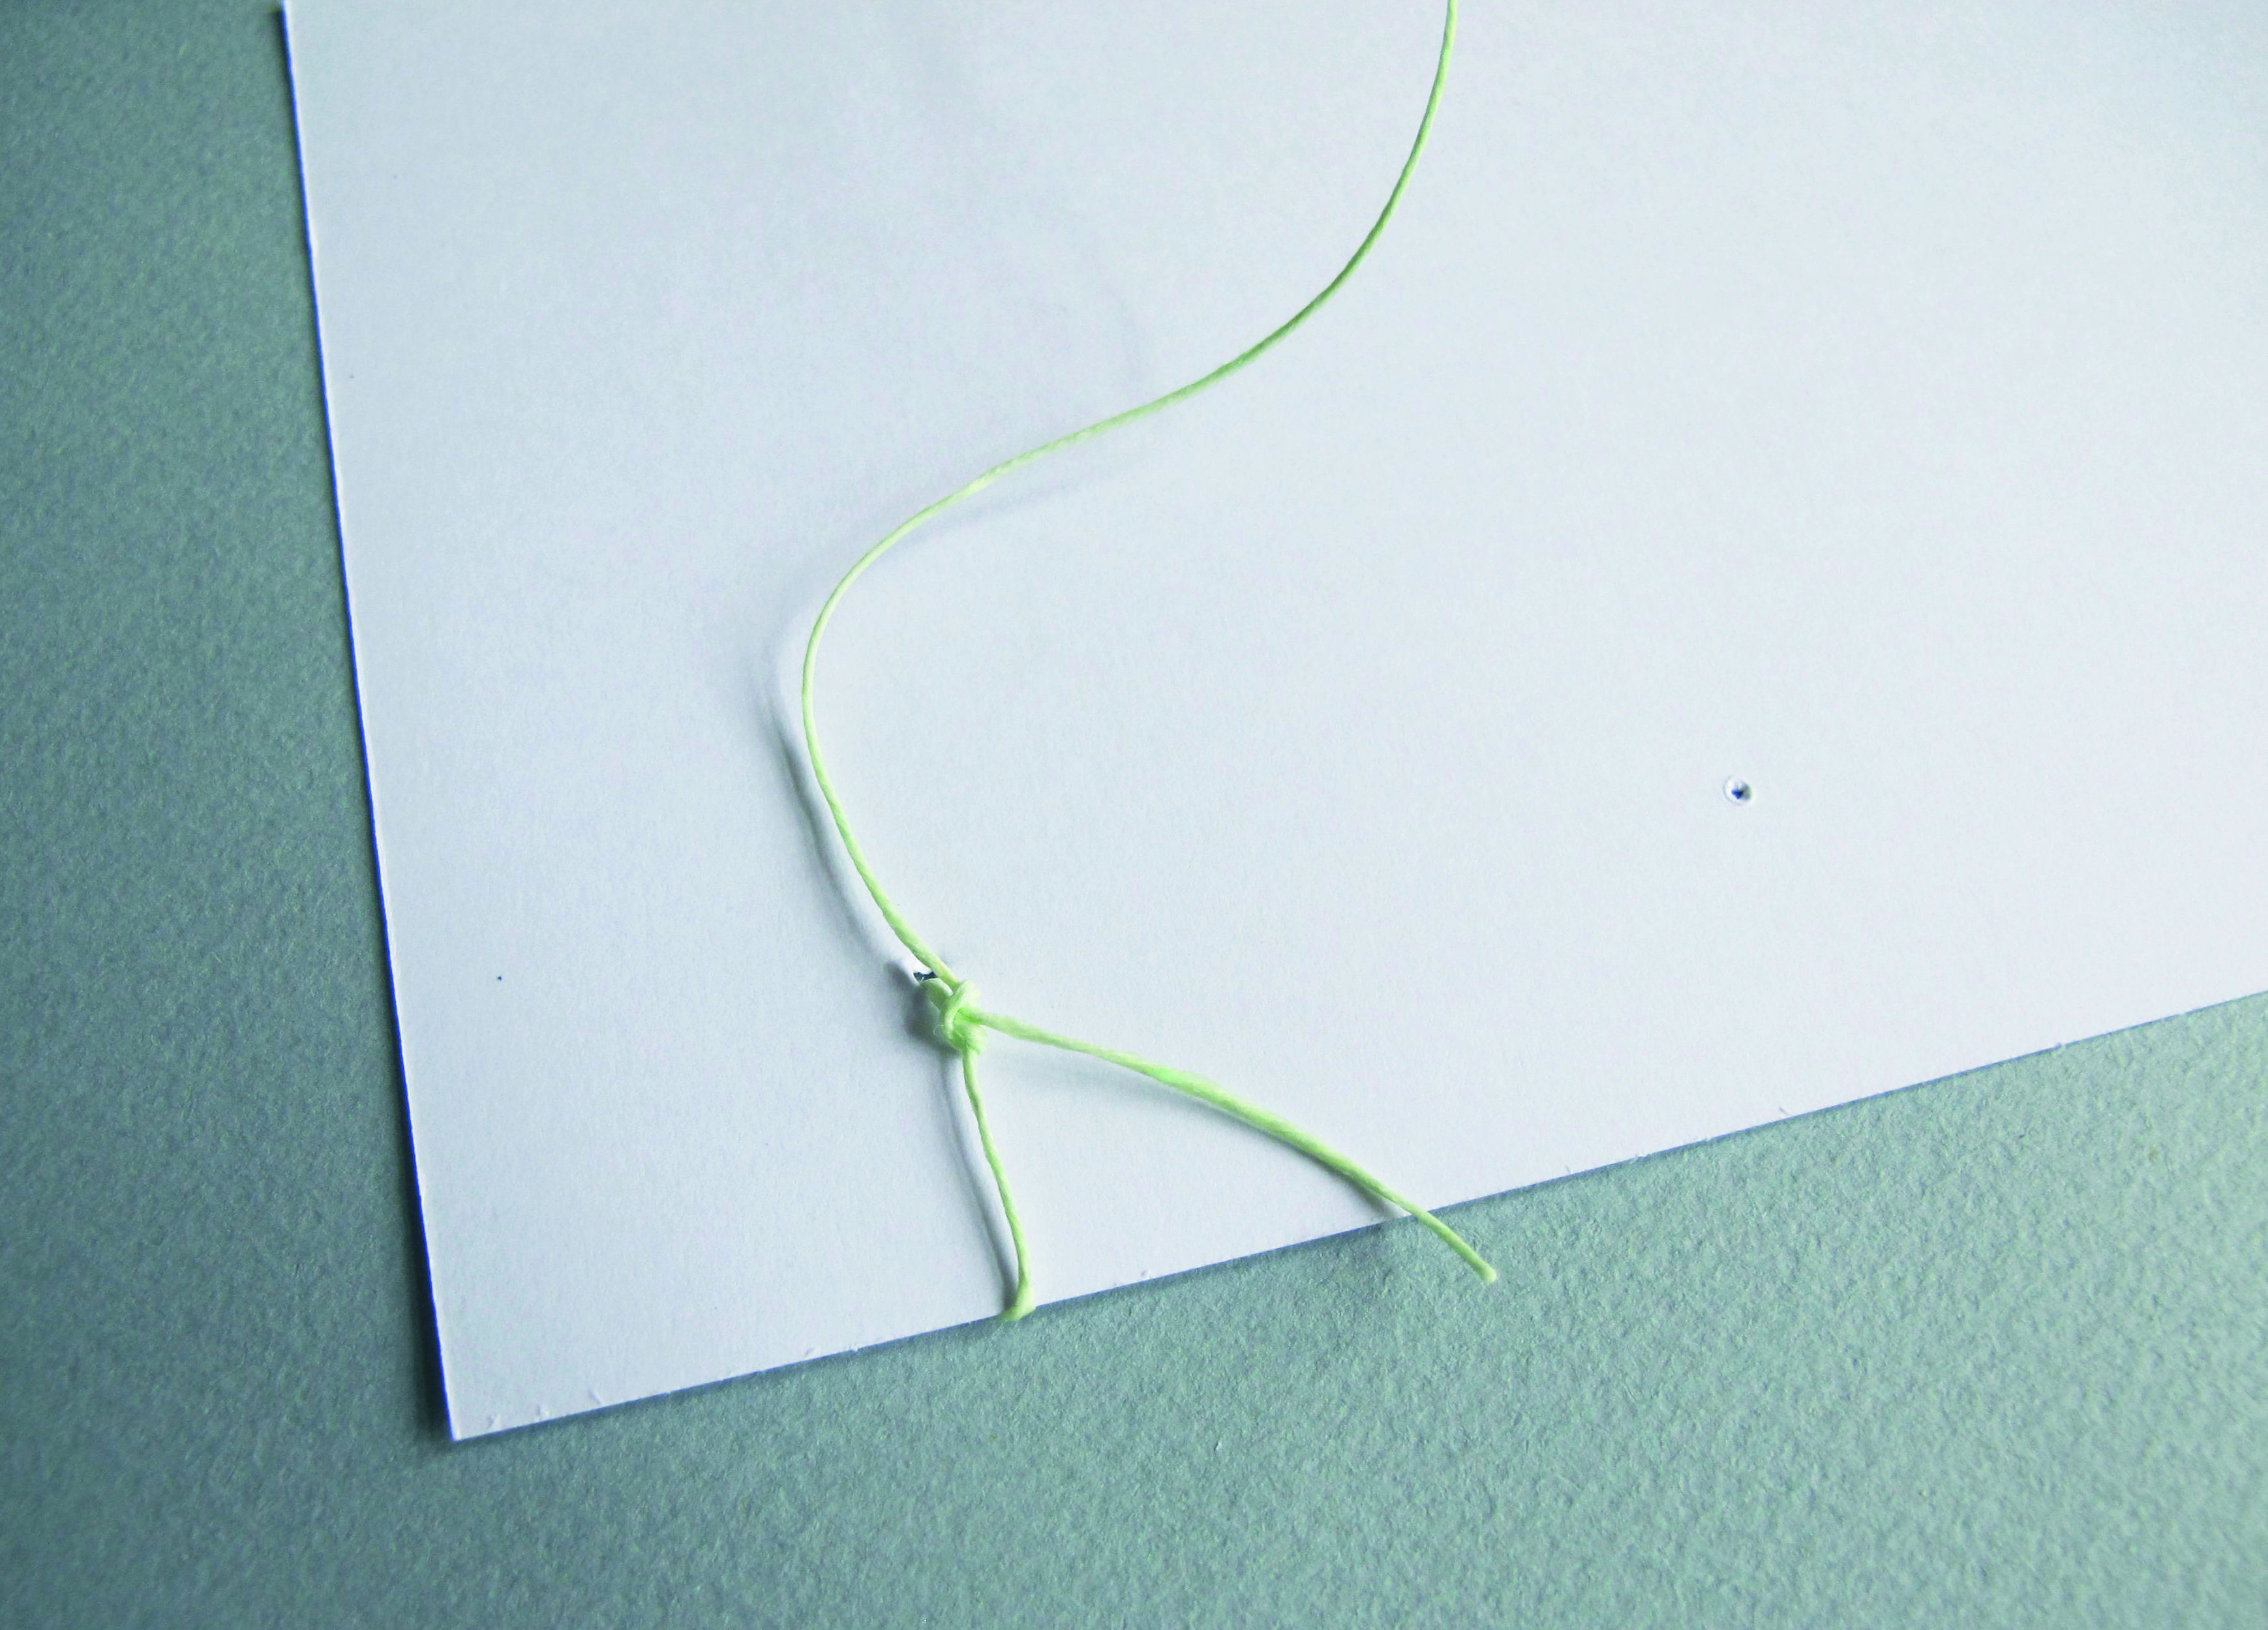
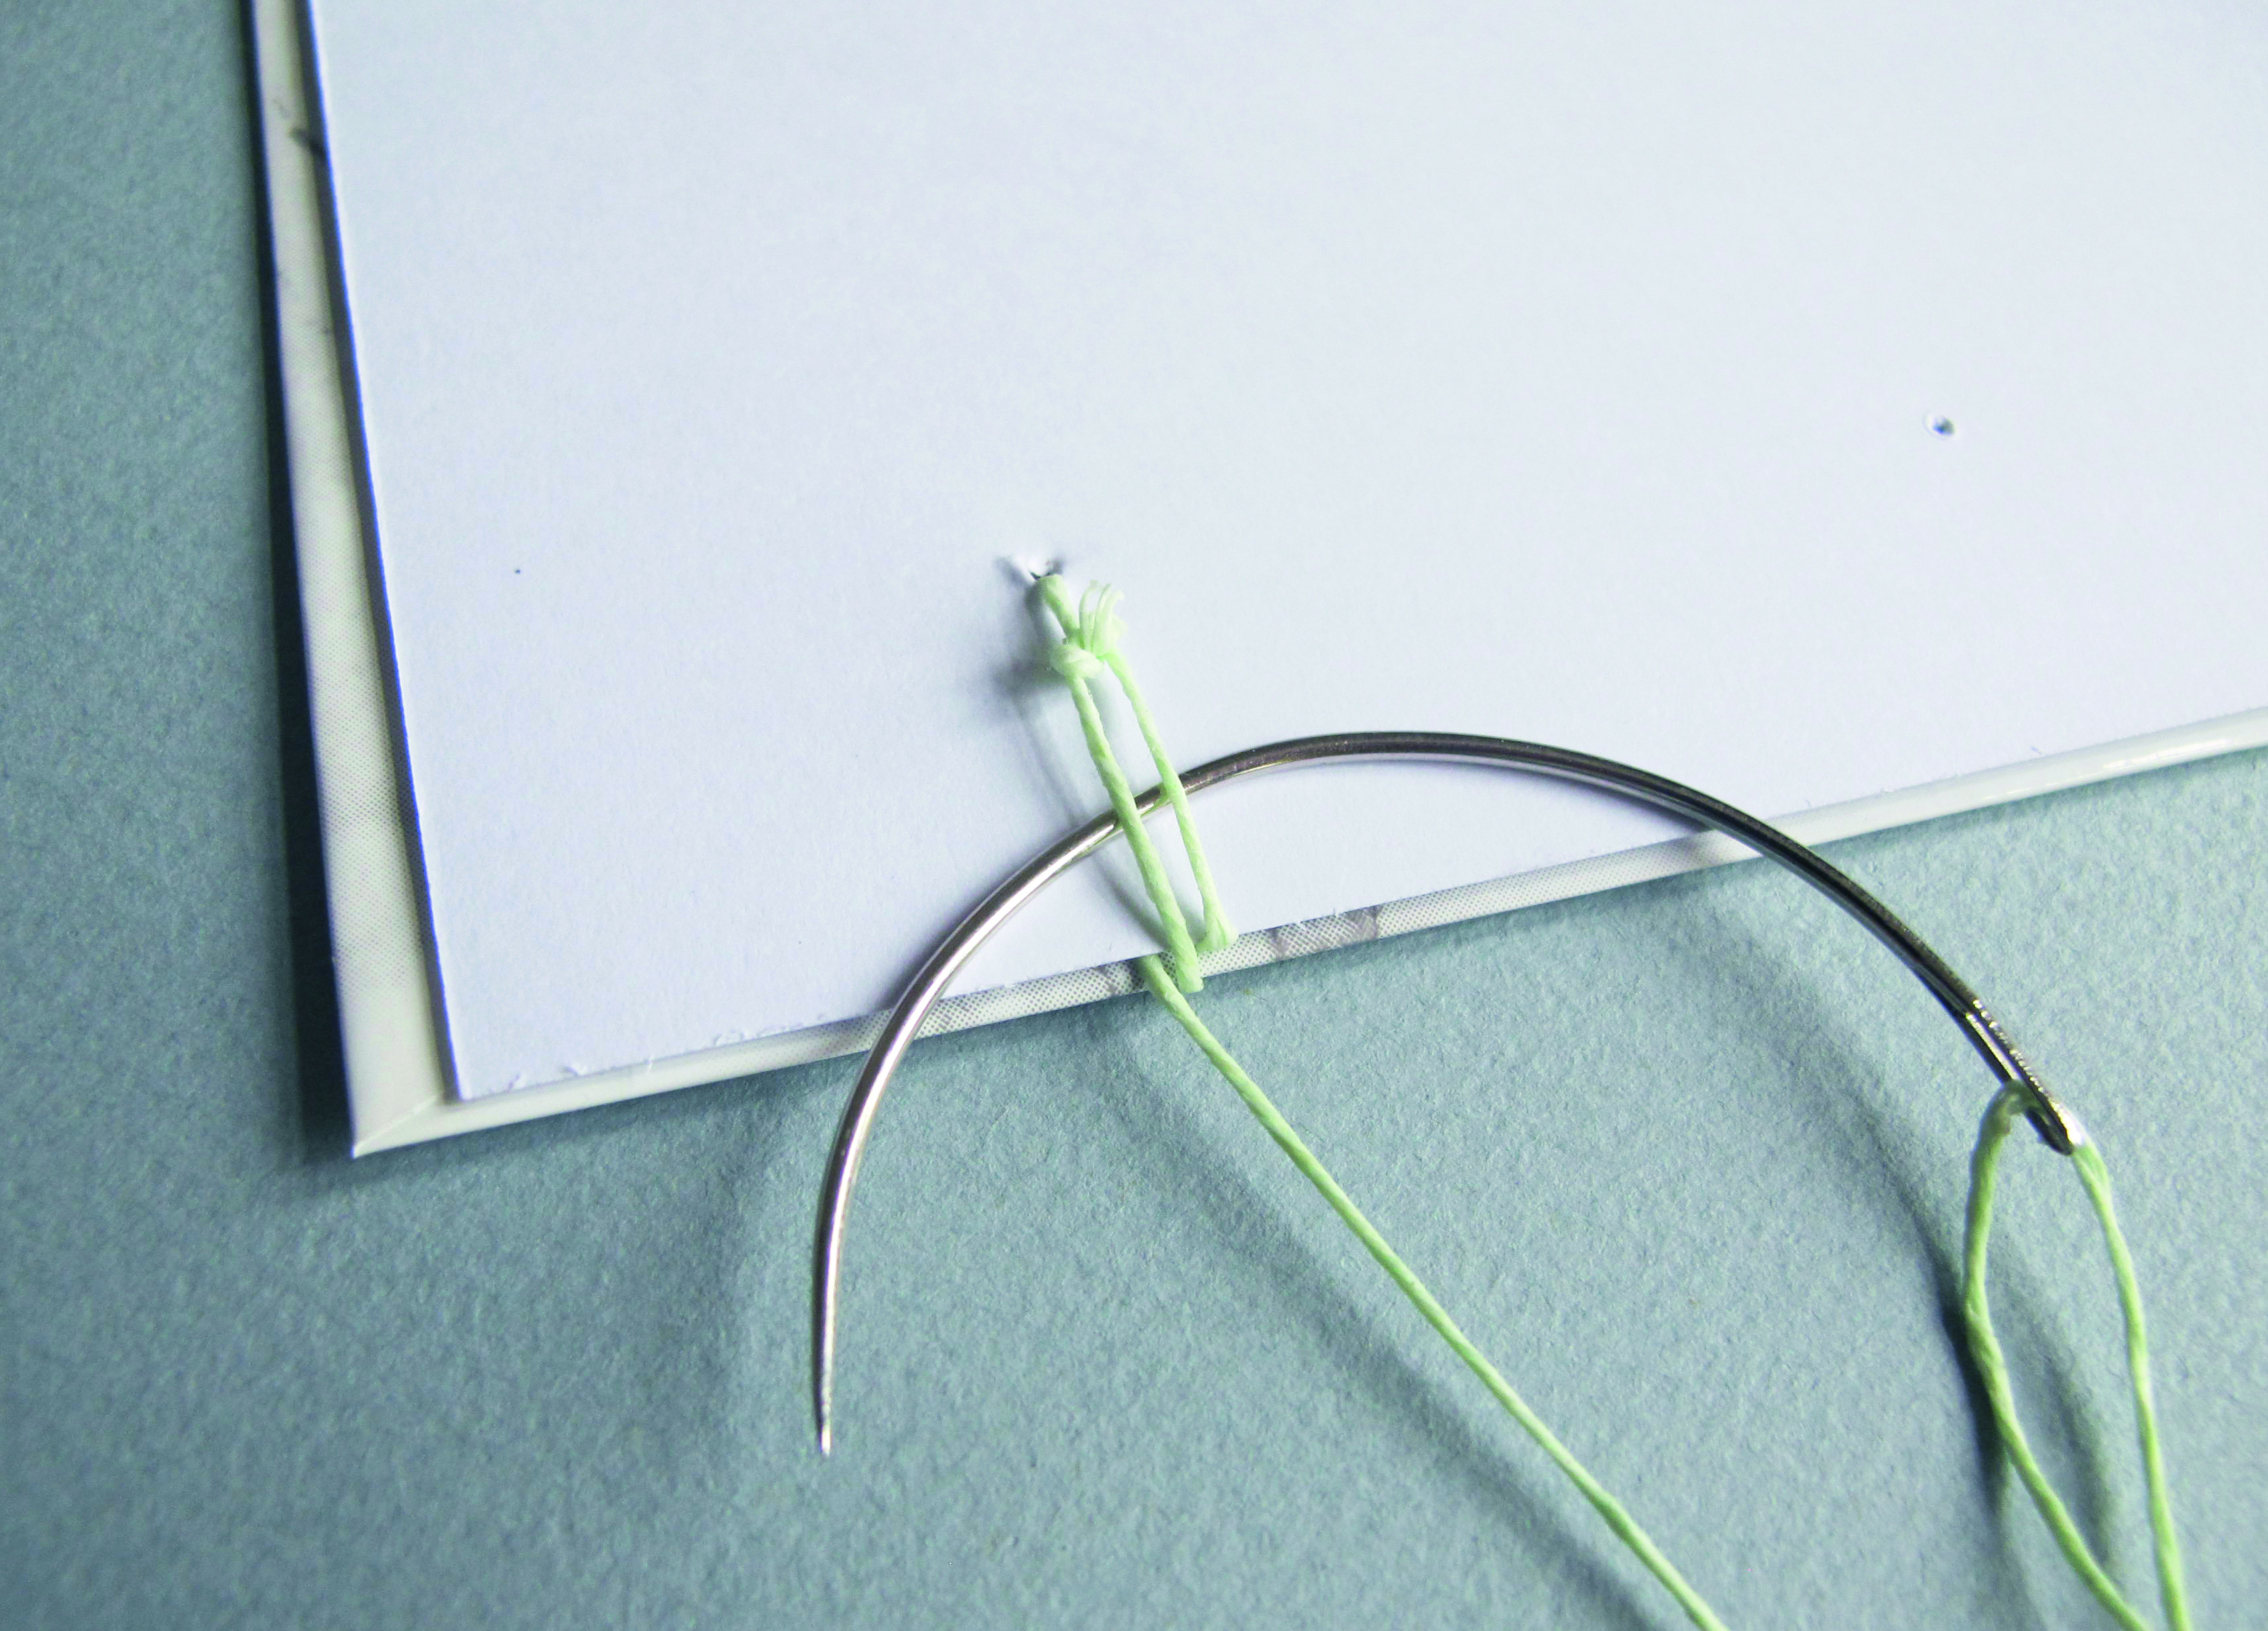
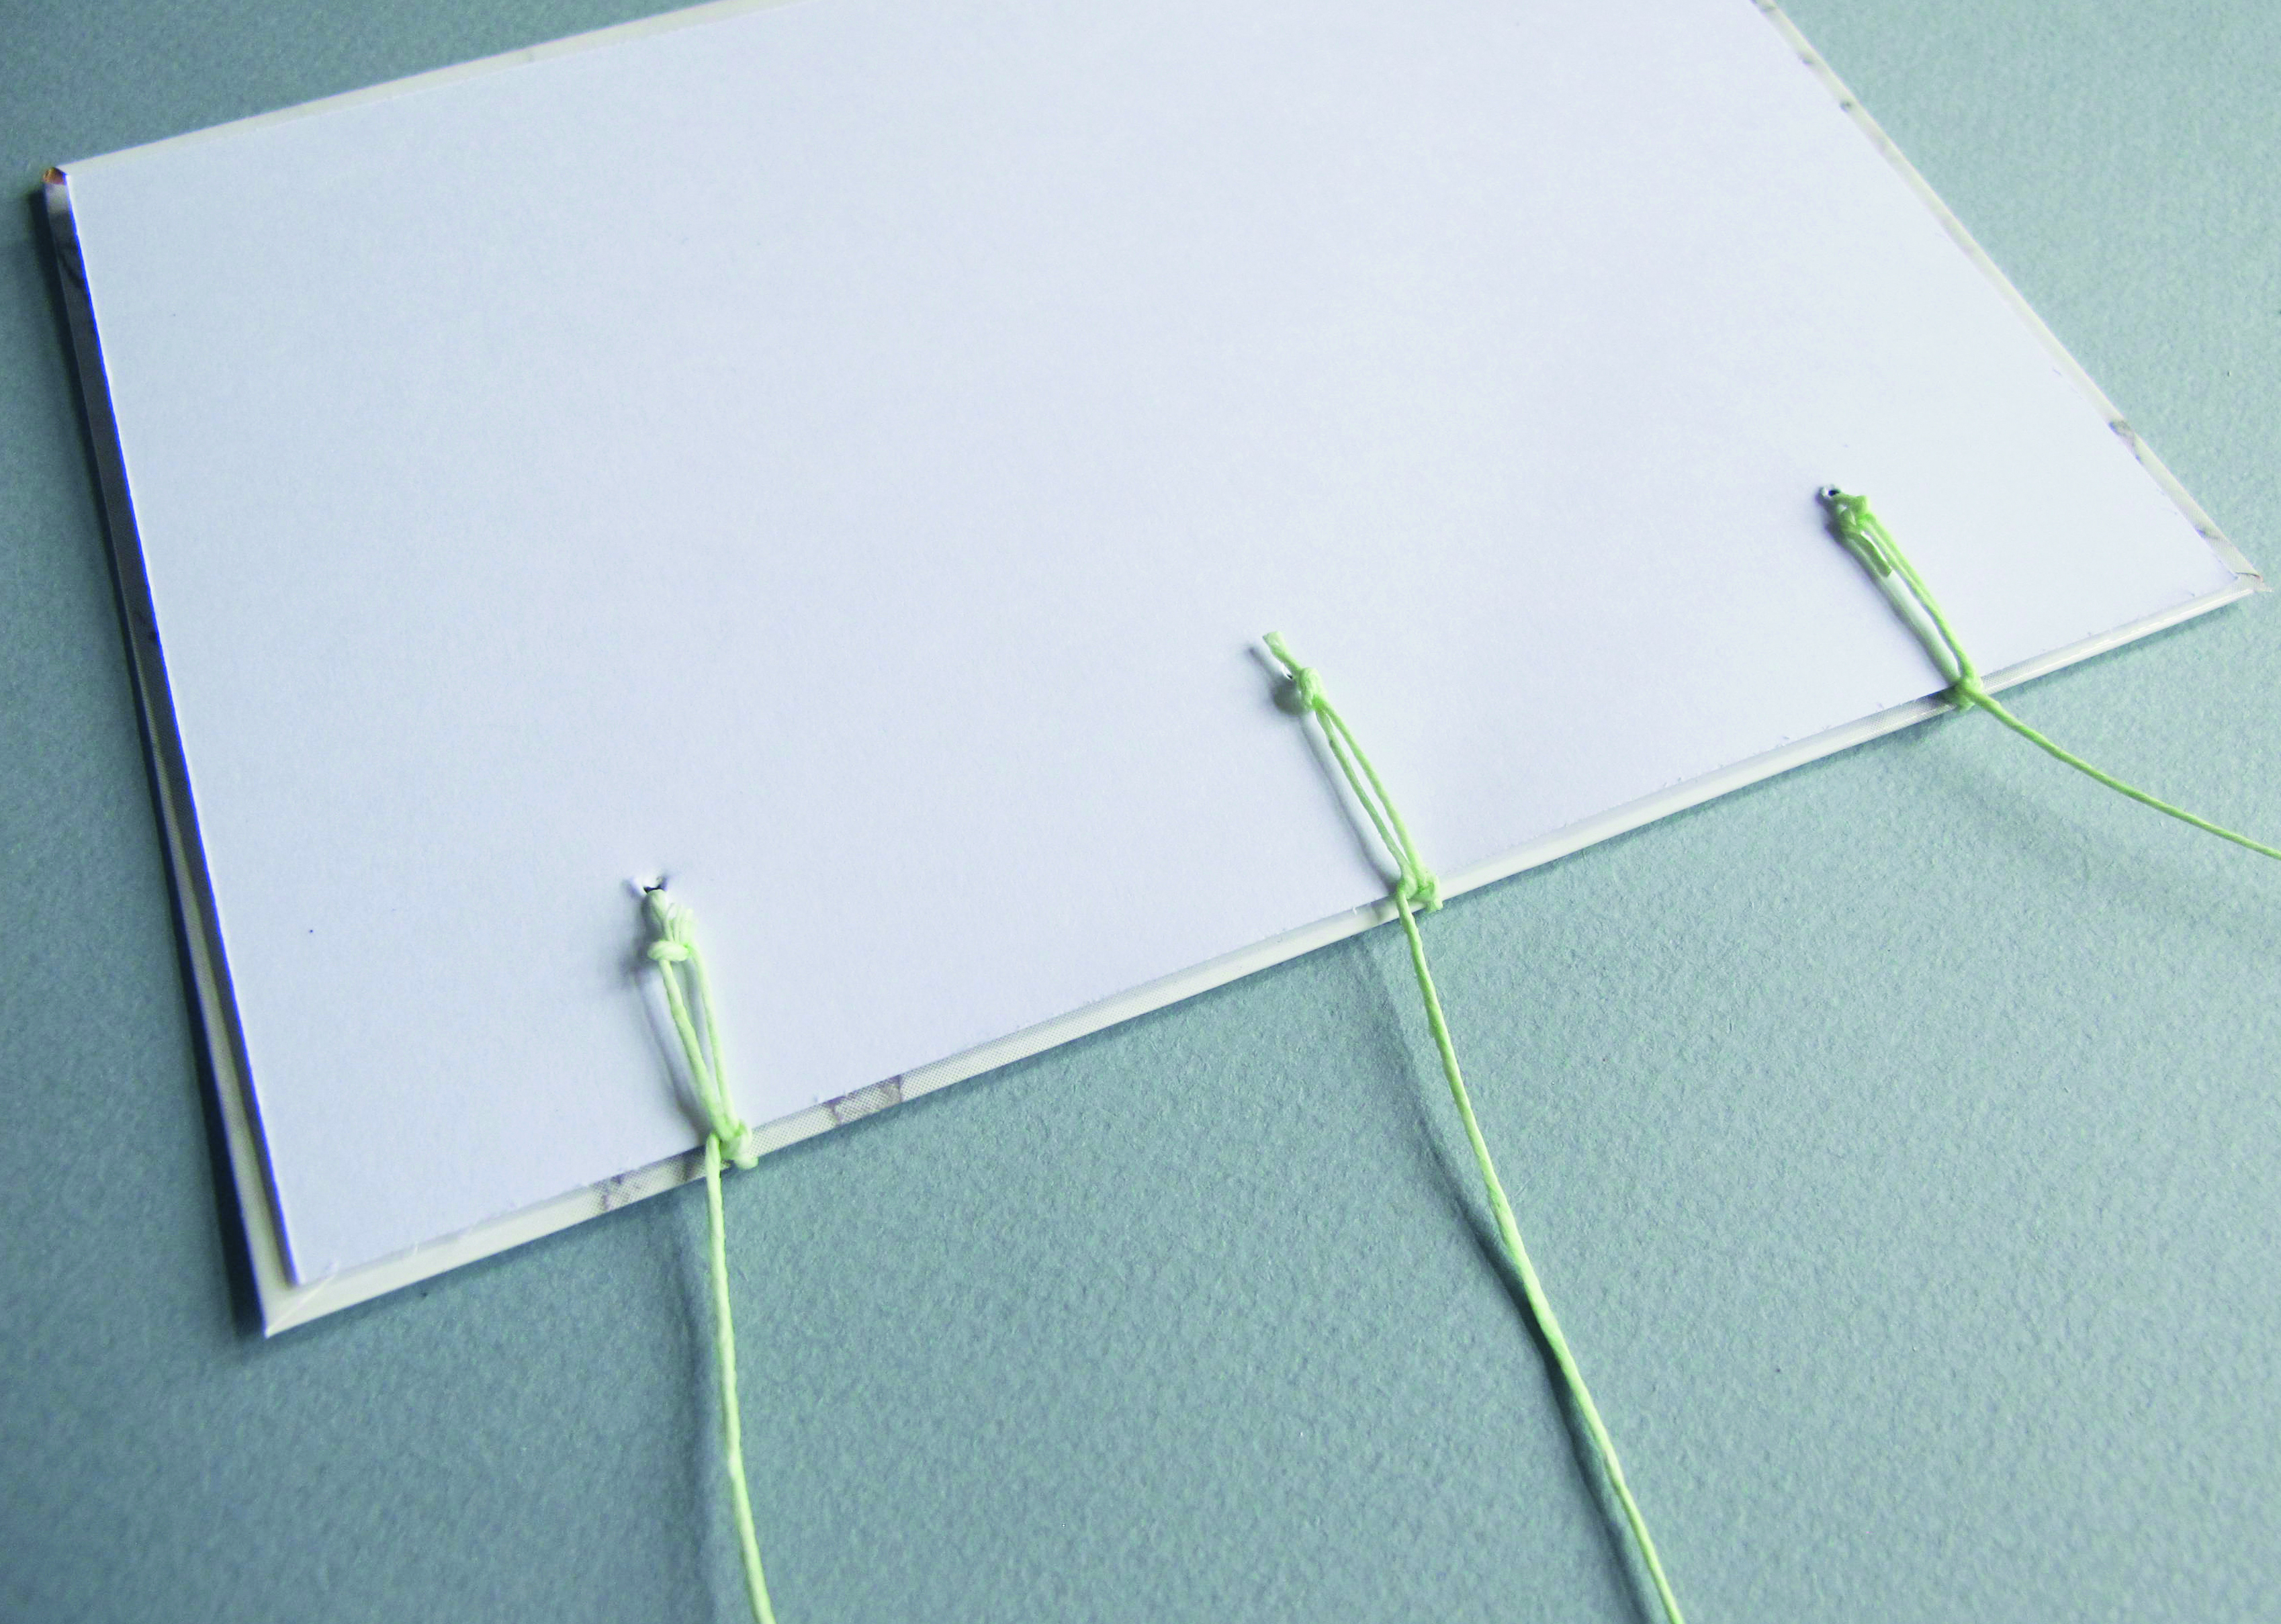
Cut the waxed linen thread into three equal lengths and thread onto three needles. Take the first page and sew down into the first hole with the first needle. Bring the thread back round to the front and tie in a knot, then trim the end.

Step 6

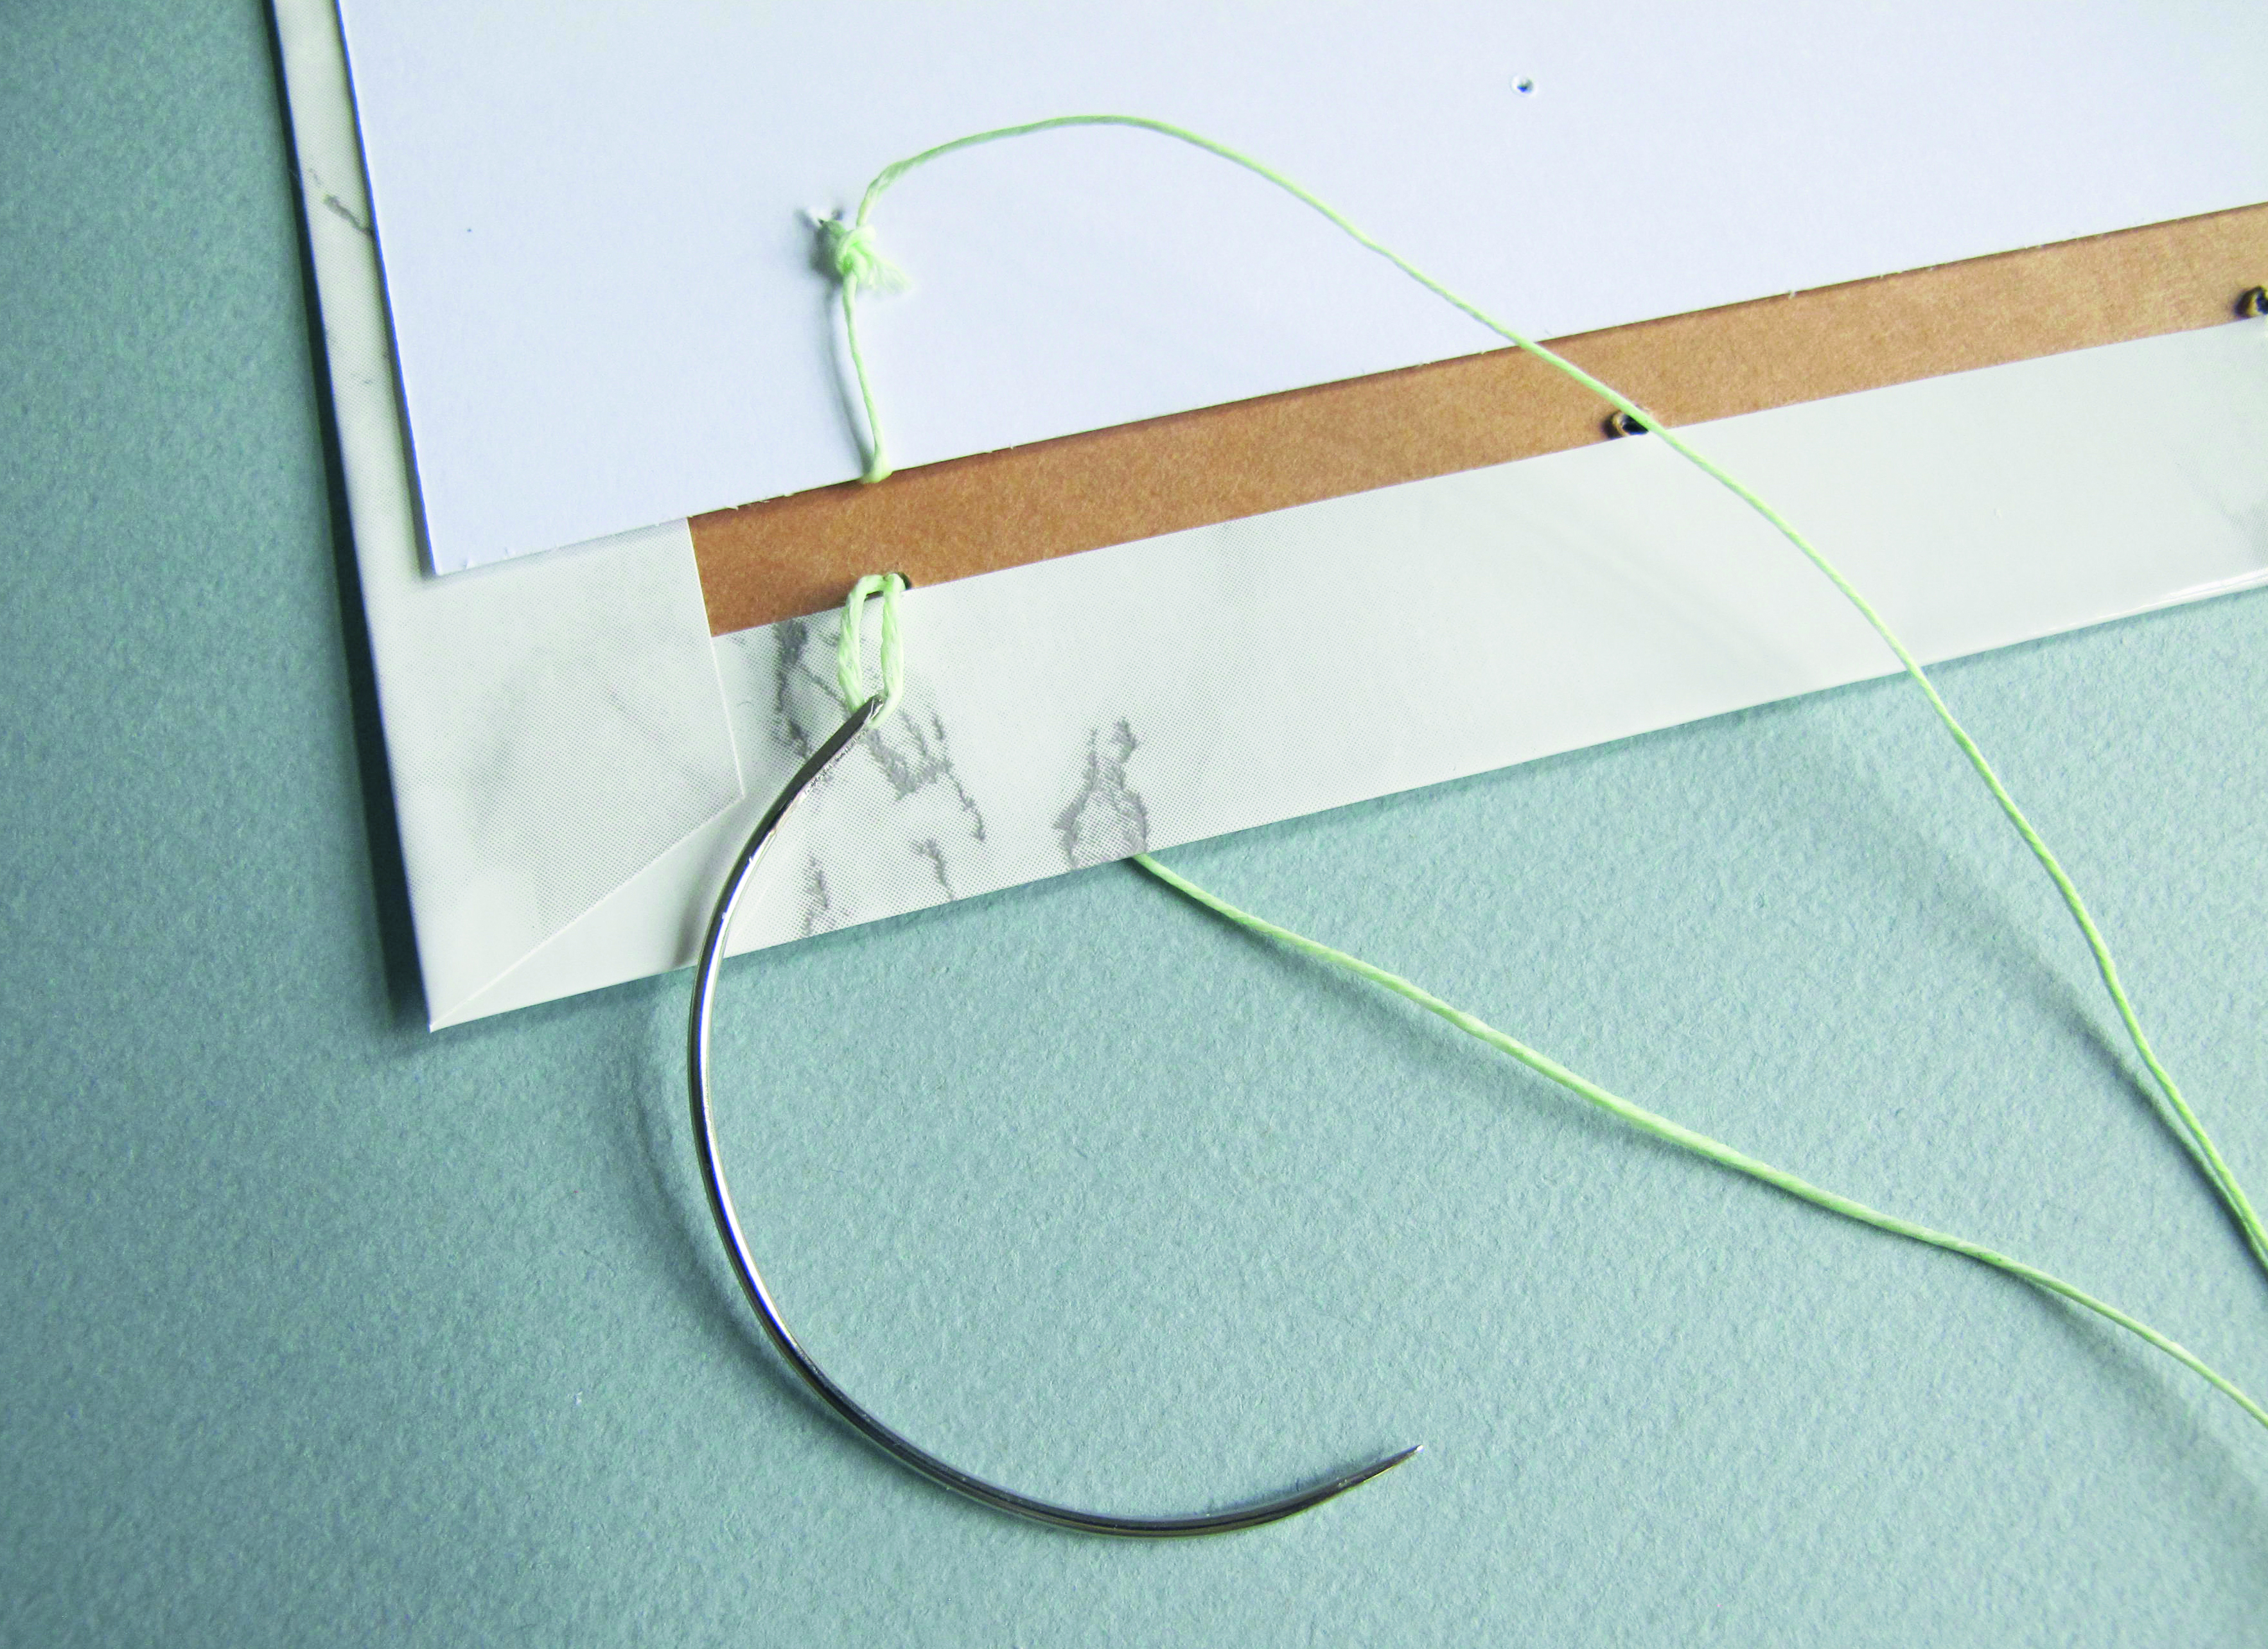
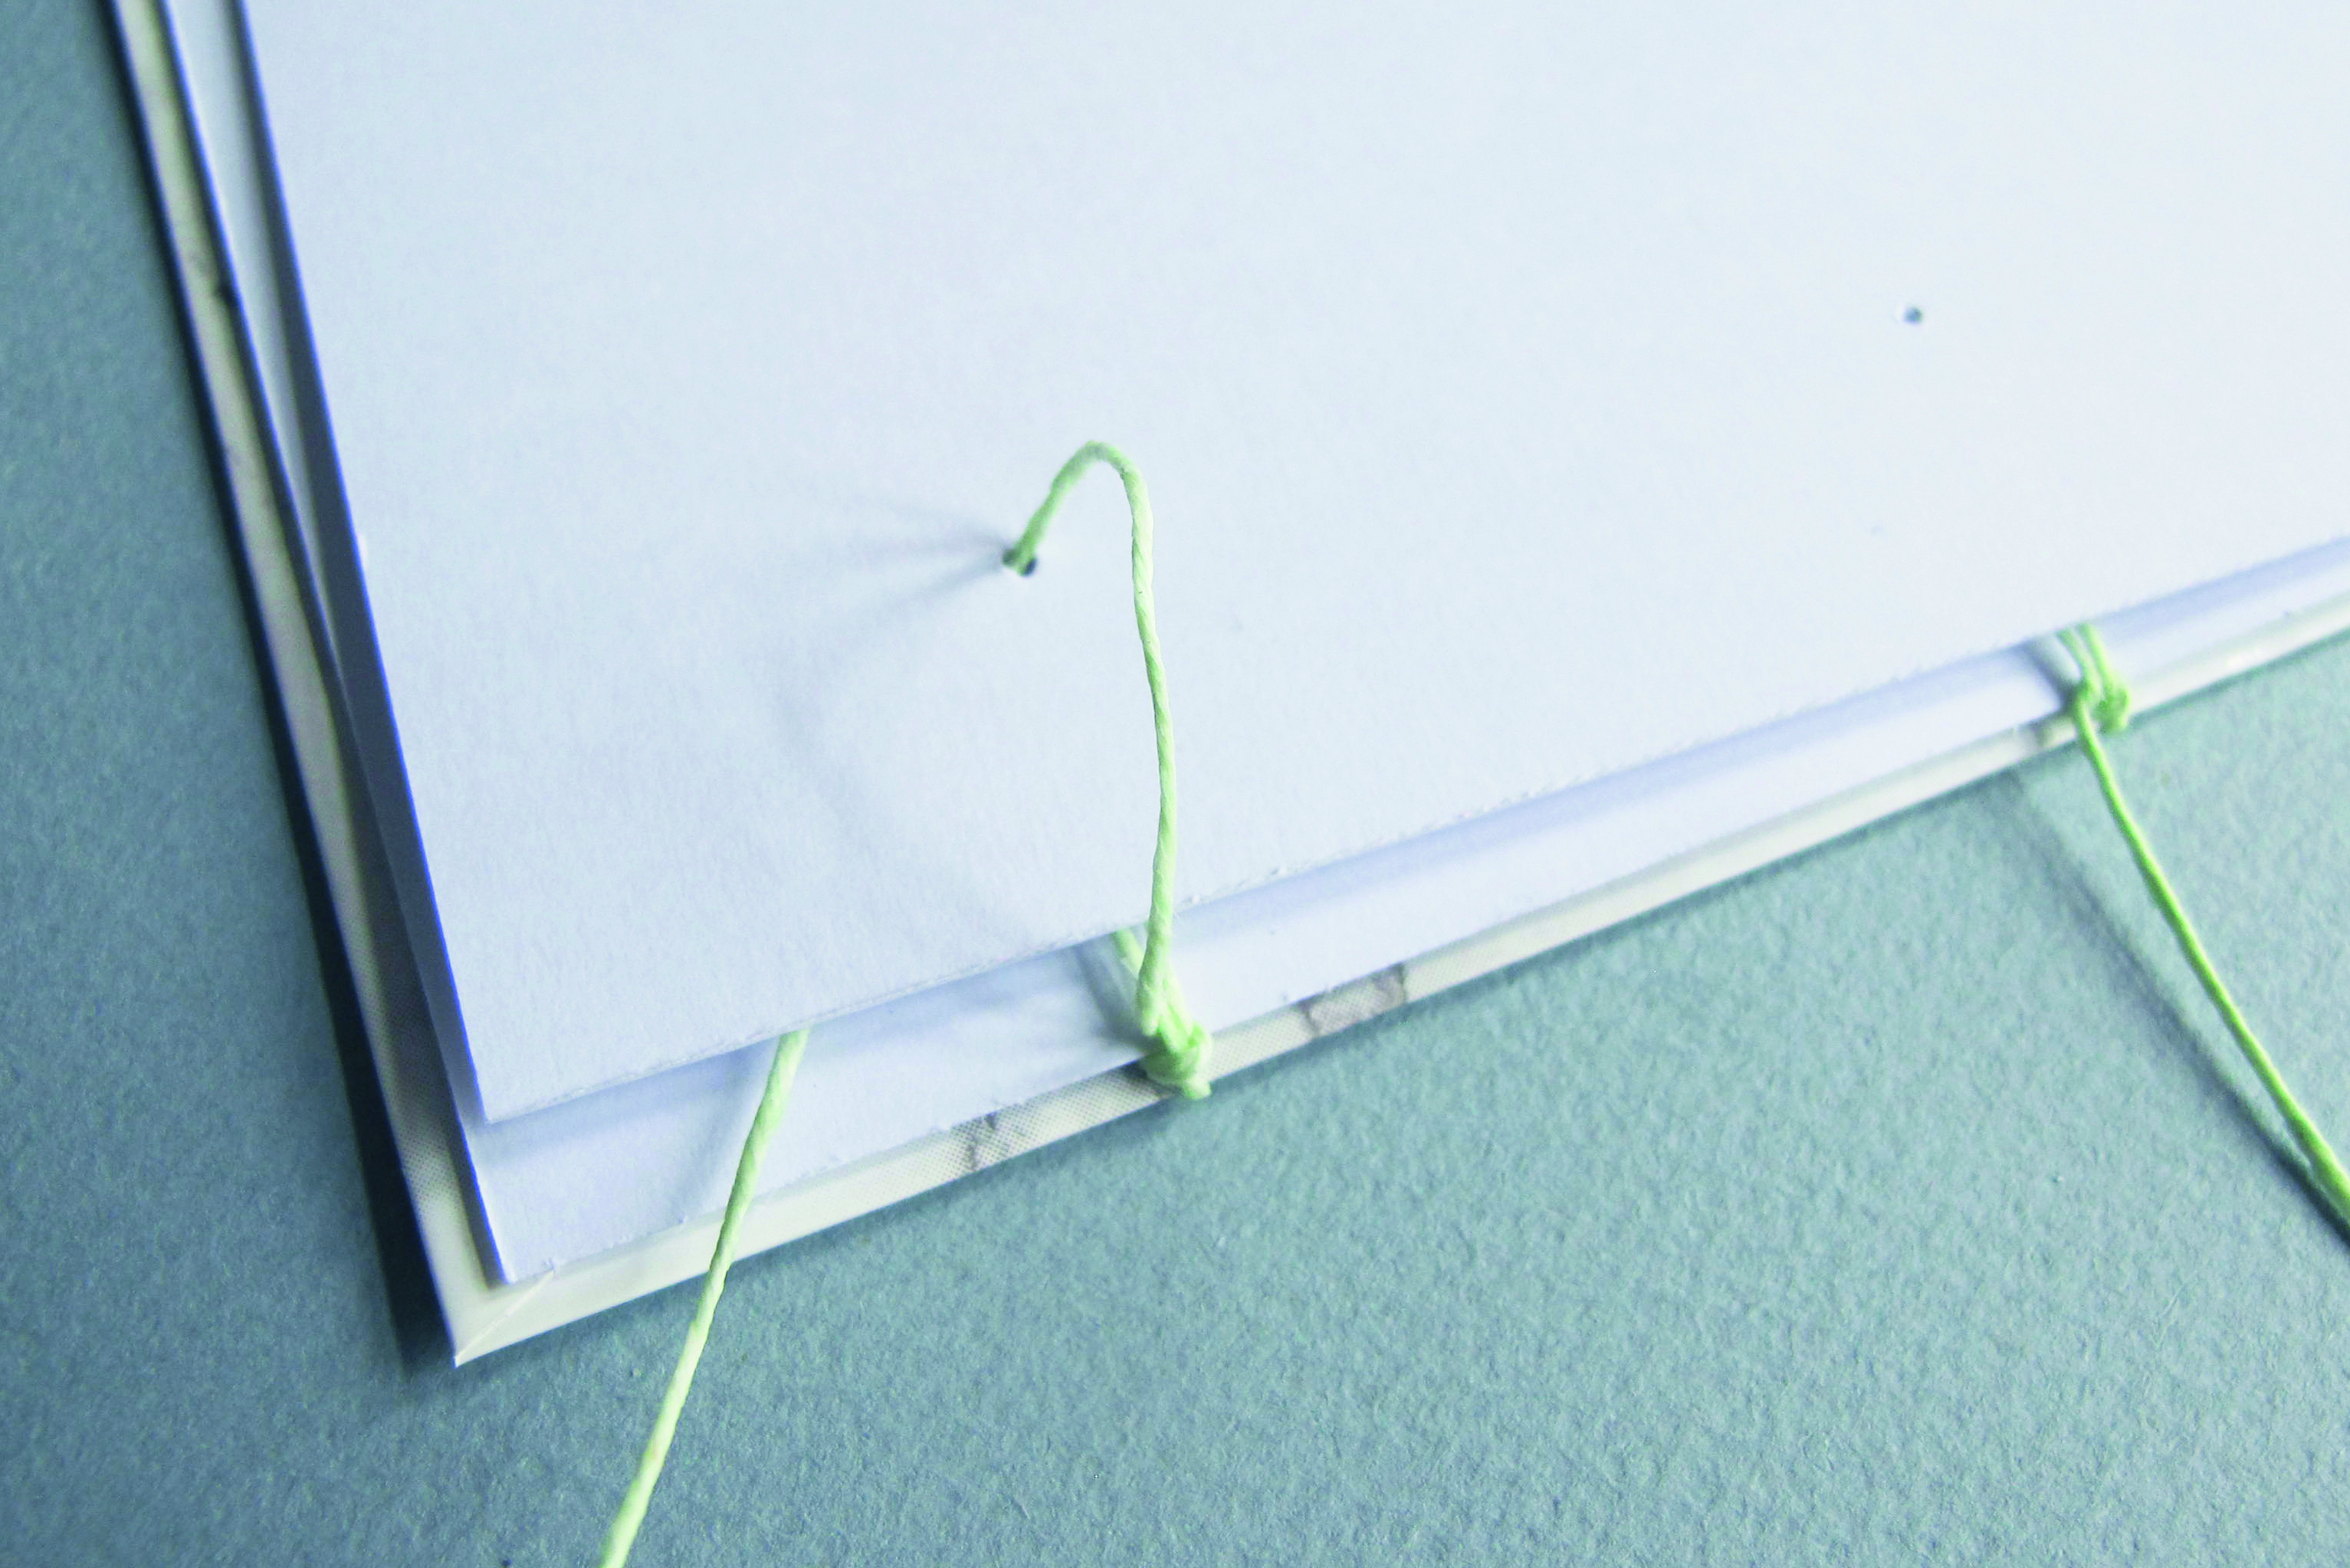
bookbinding_step6Take one of the covers and place it under the page, lining up the holes. Bring the same needle round and under the cover, and up through the first hole. Pull taut.
Step 7

bookbinding_step7

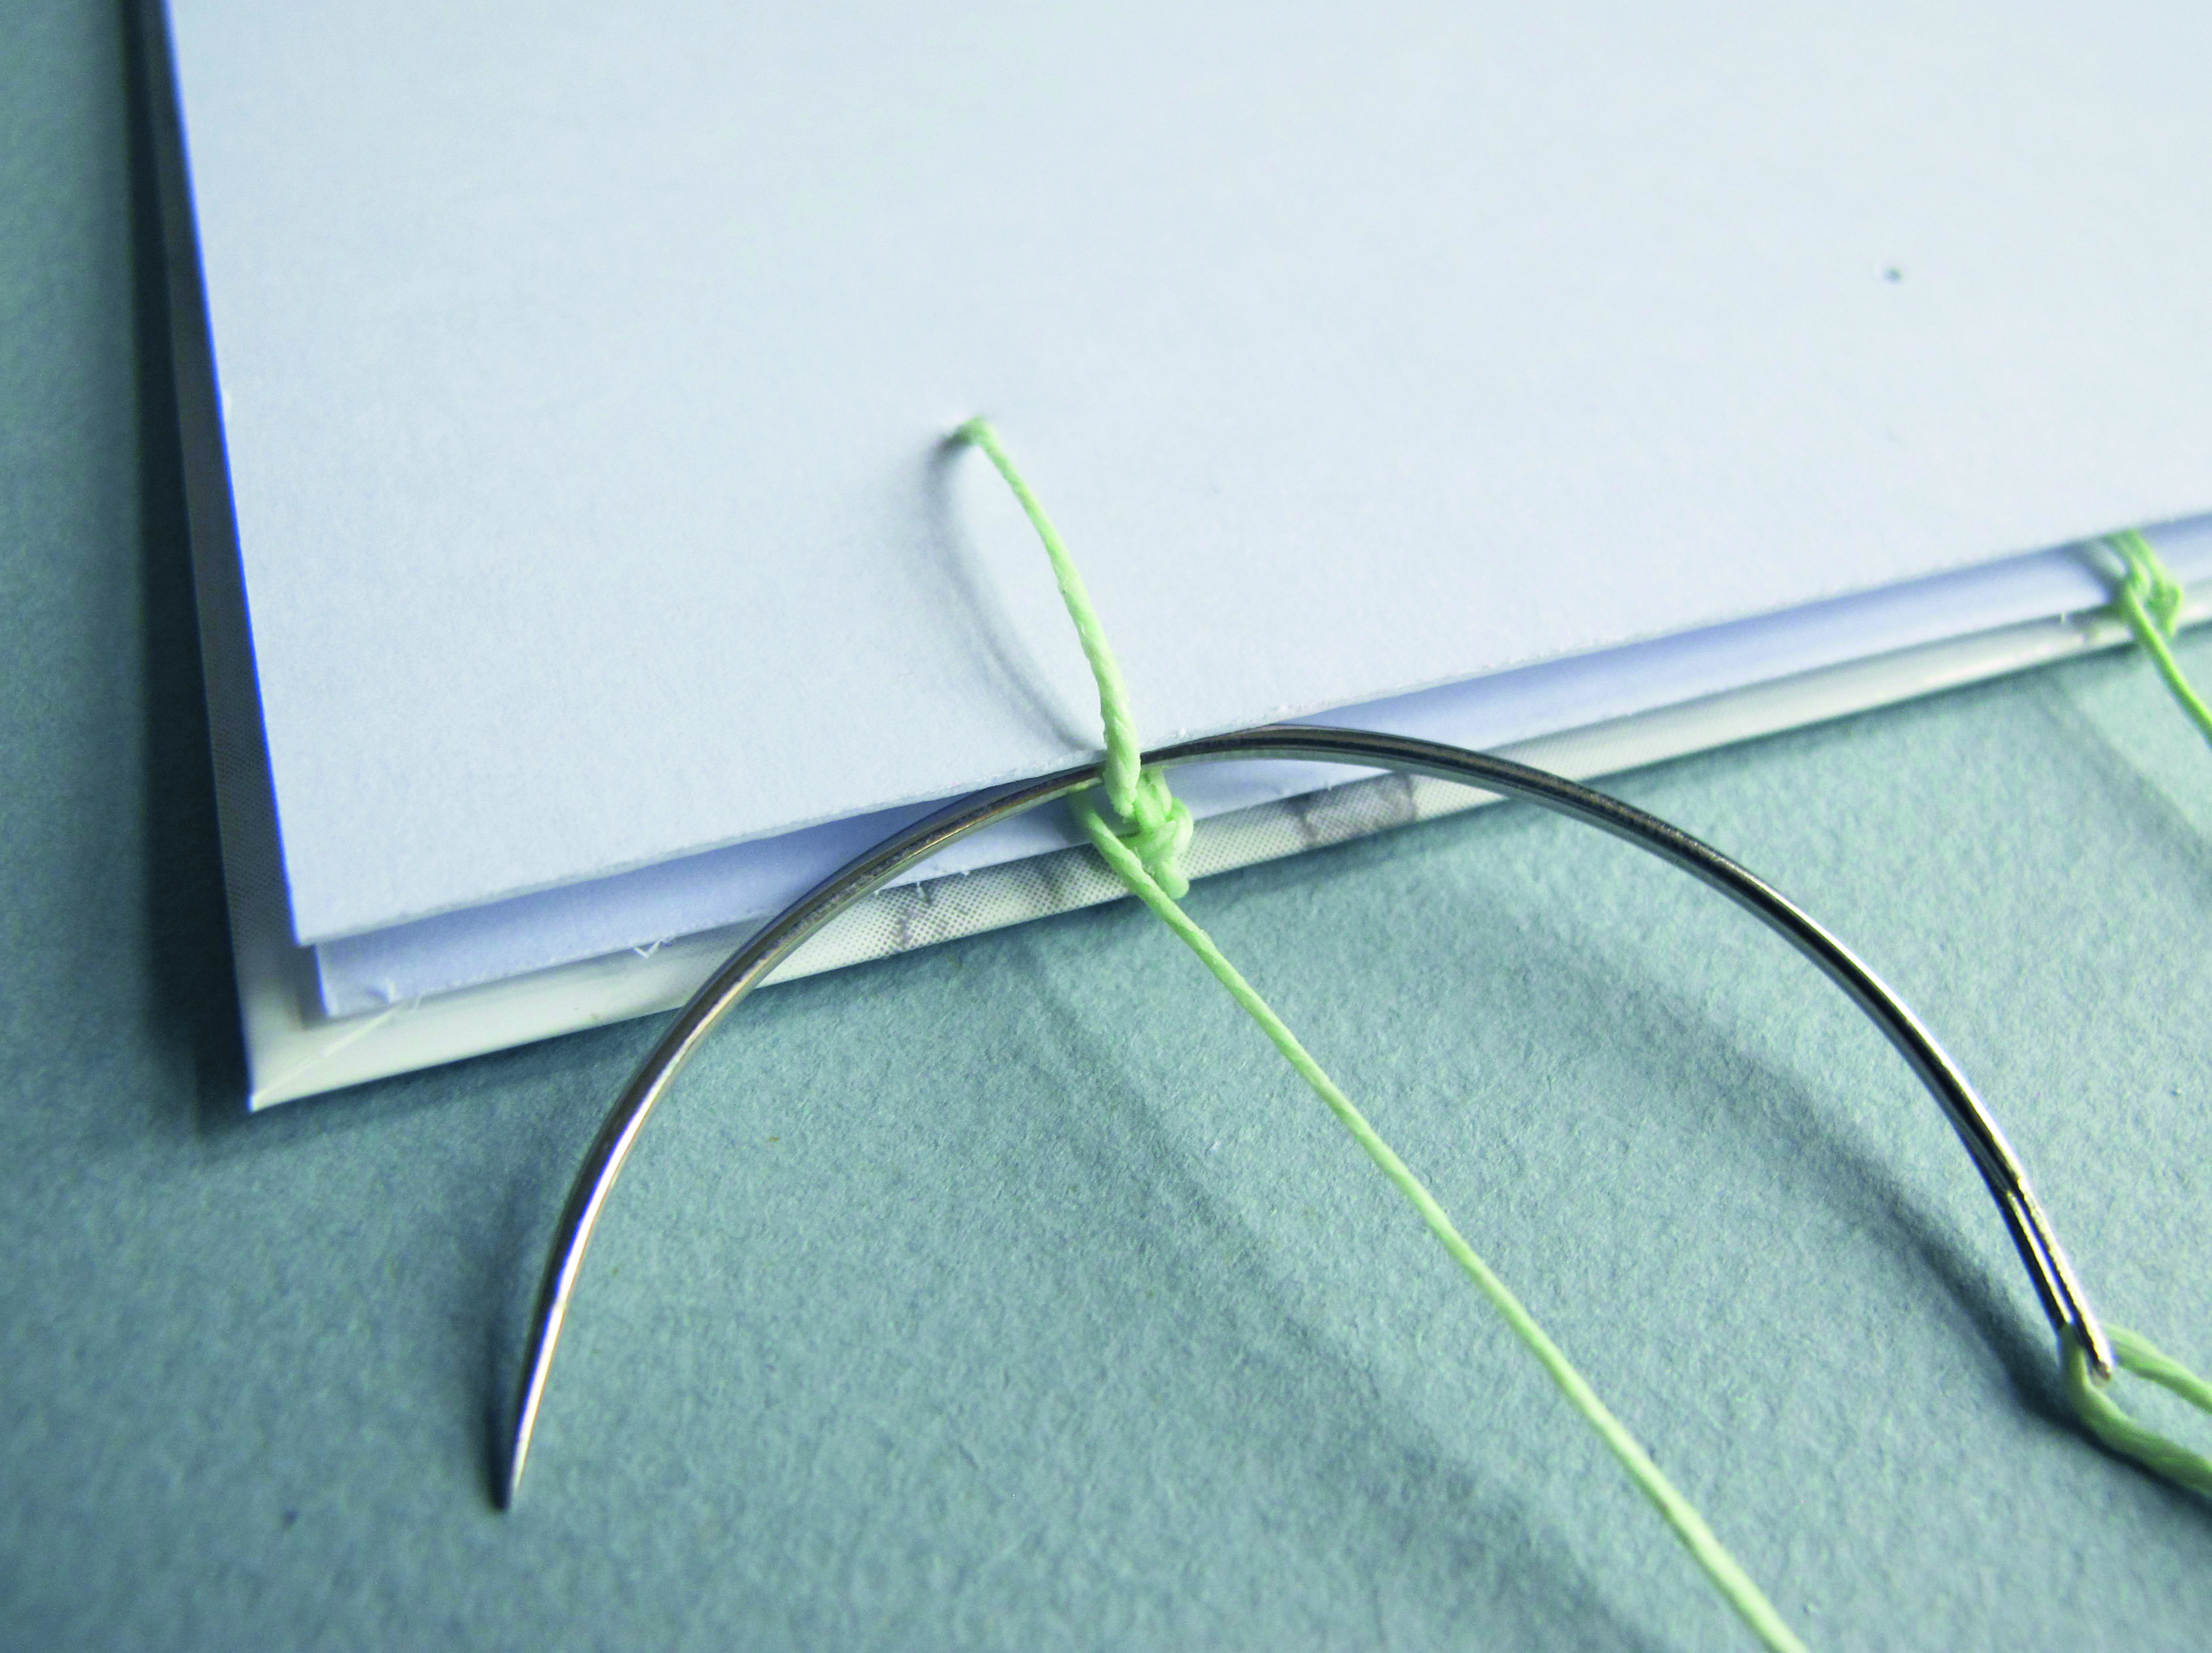
Take the needle under the threads on the first page, come back around, then pull taut.

Step 8

bookbinding_step8

Repeat the binding method in Steps 5-7 for the second and third holes of the first page using the corresponding needles.

Step 9

bookbinding_step9

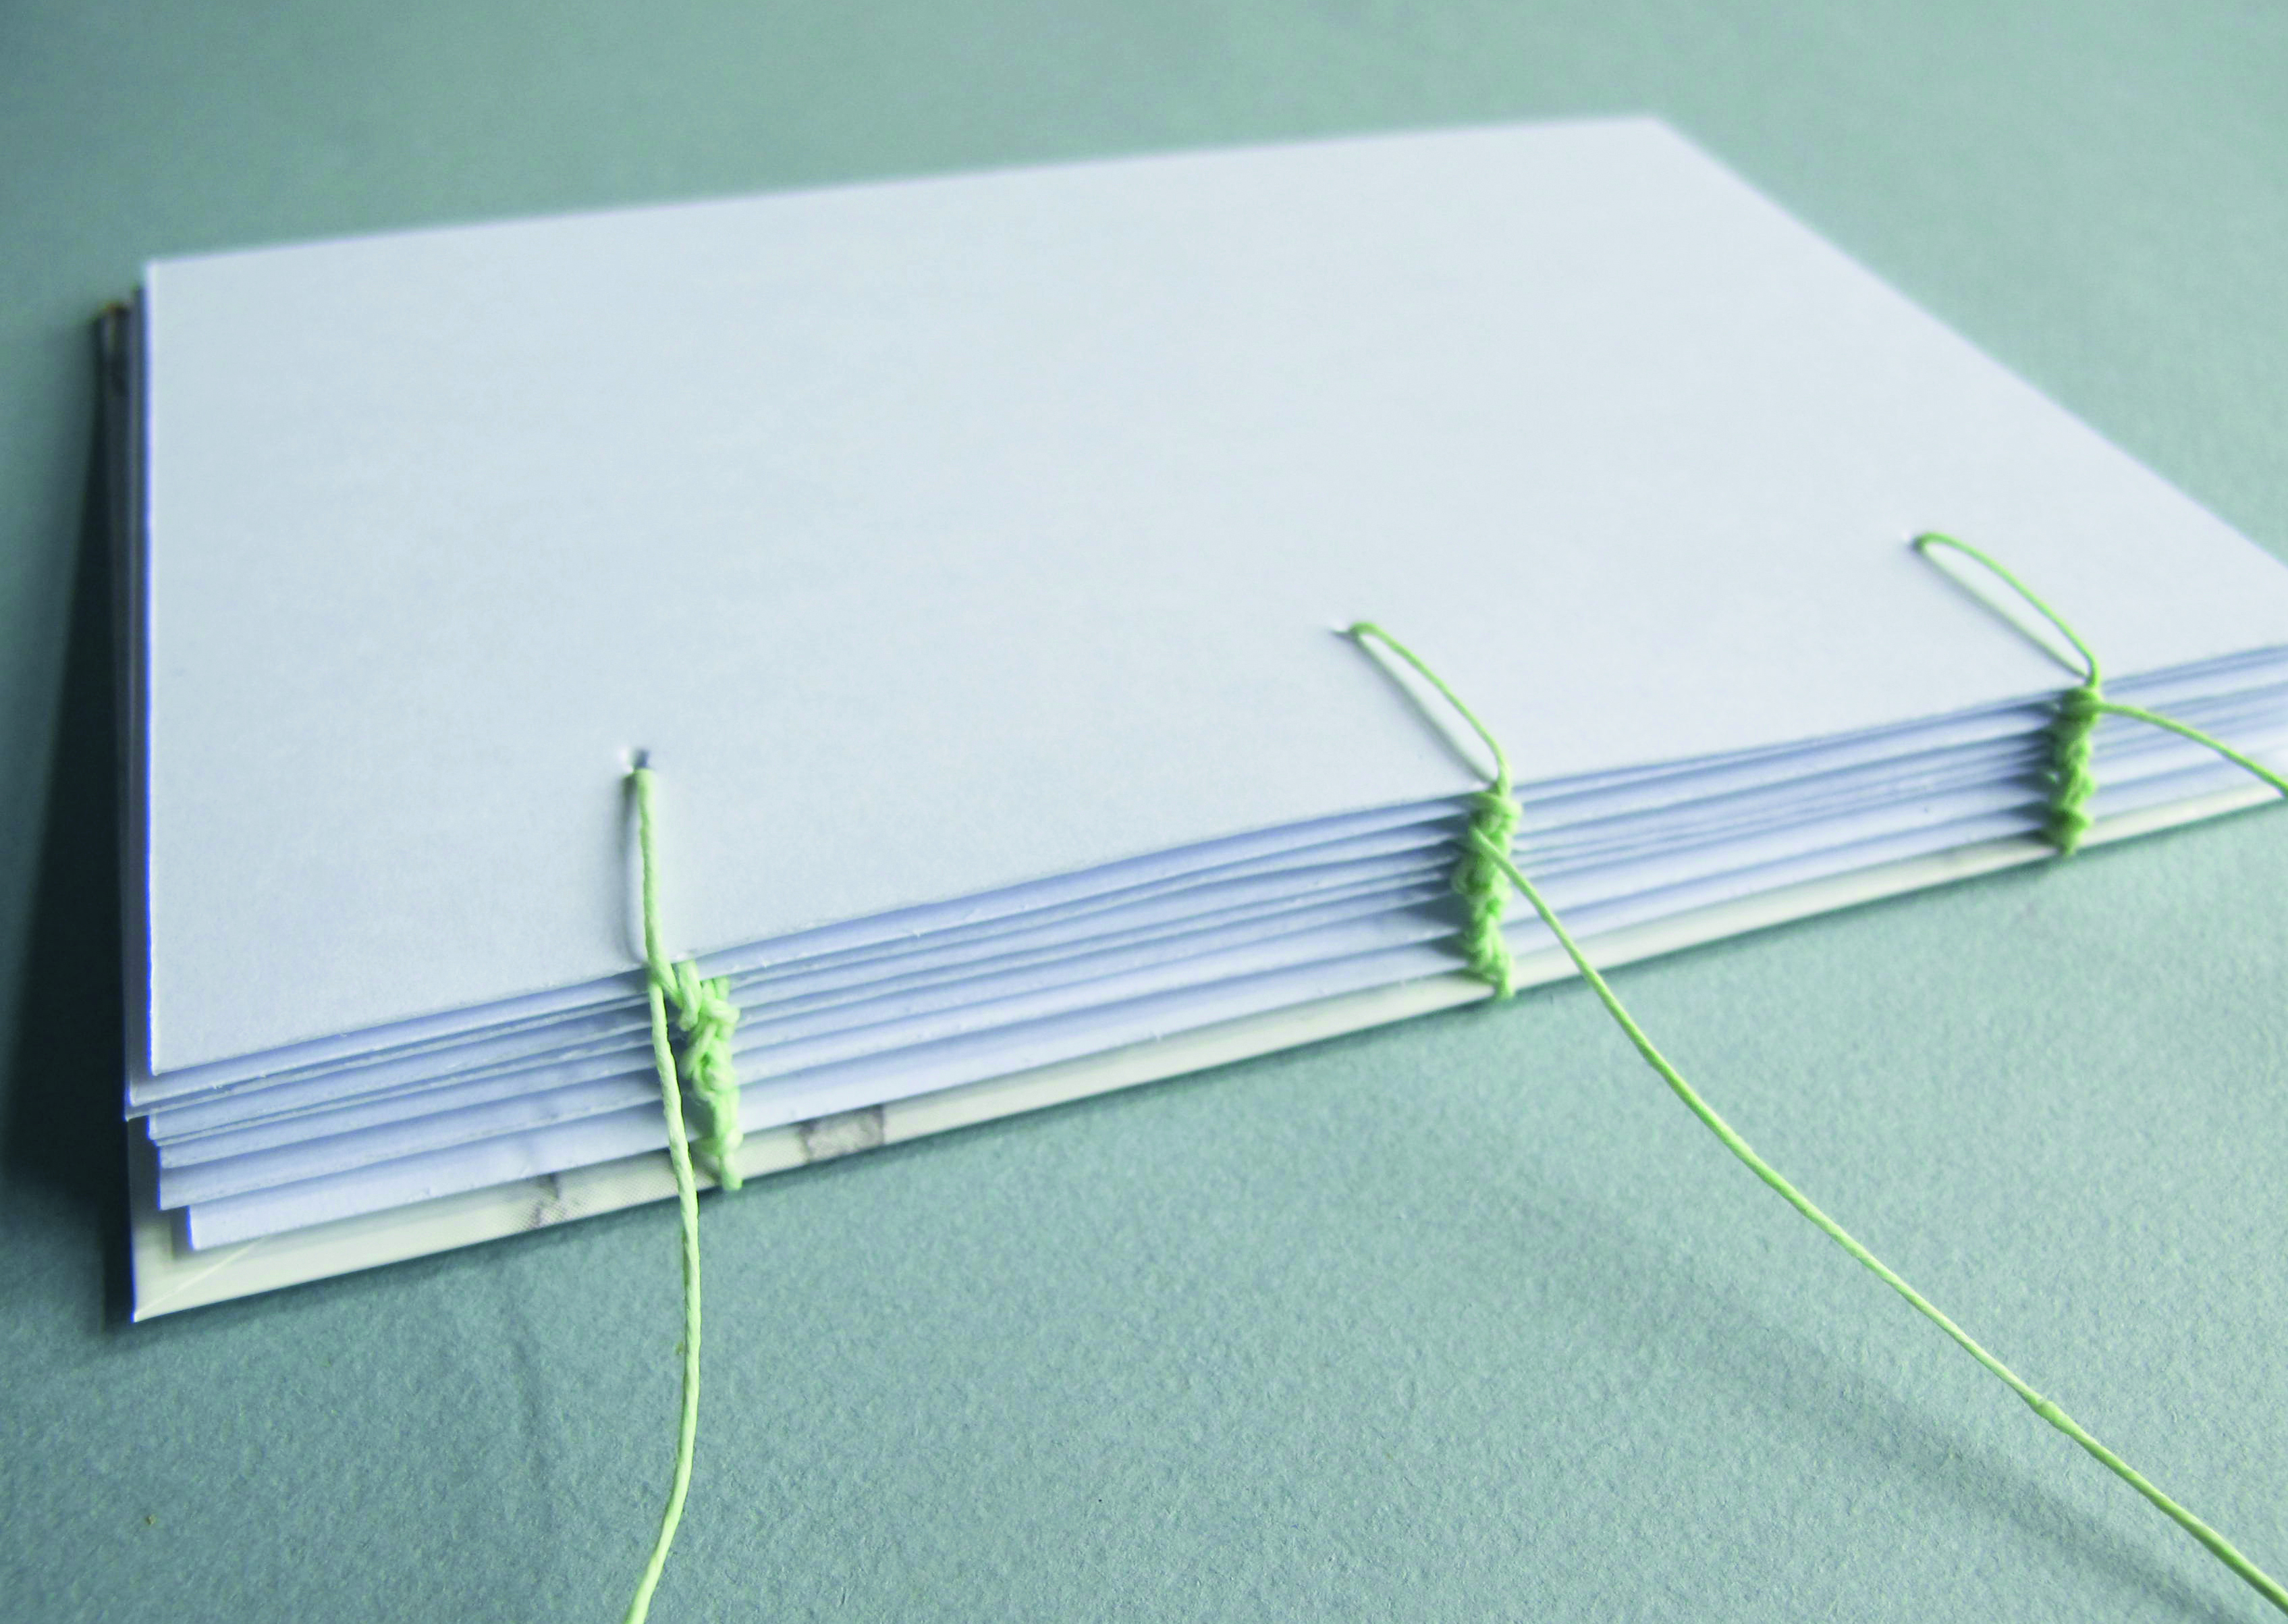
Lay the second page in position. Thread the first needle through the first hole from the top, as before.

Step 10

bookbinding_step10

Pull the thread, then push the needle under the loop and pull taut. Repeat for the other holes using the corresponding needles.

Step 11

bookbinding_step11
bookbinding_step12

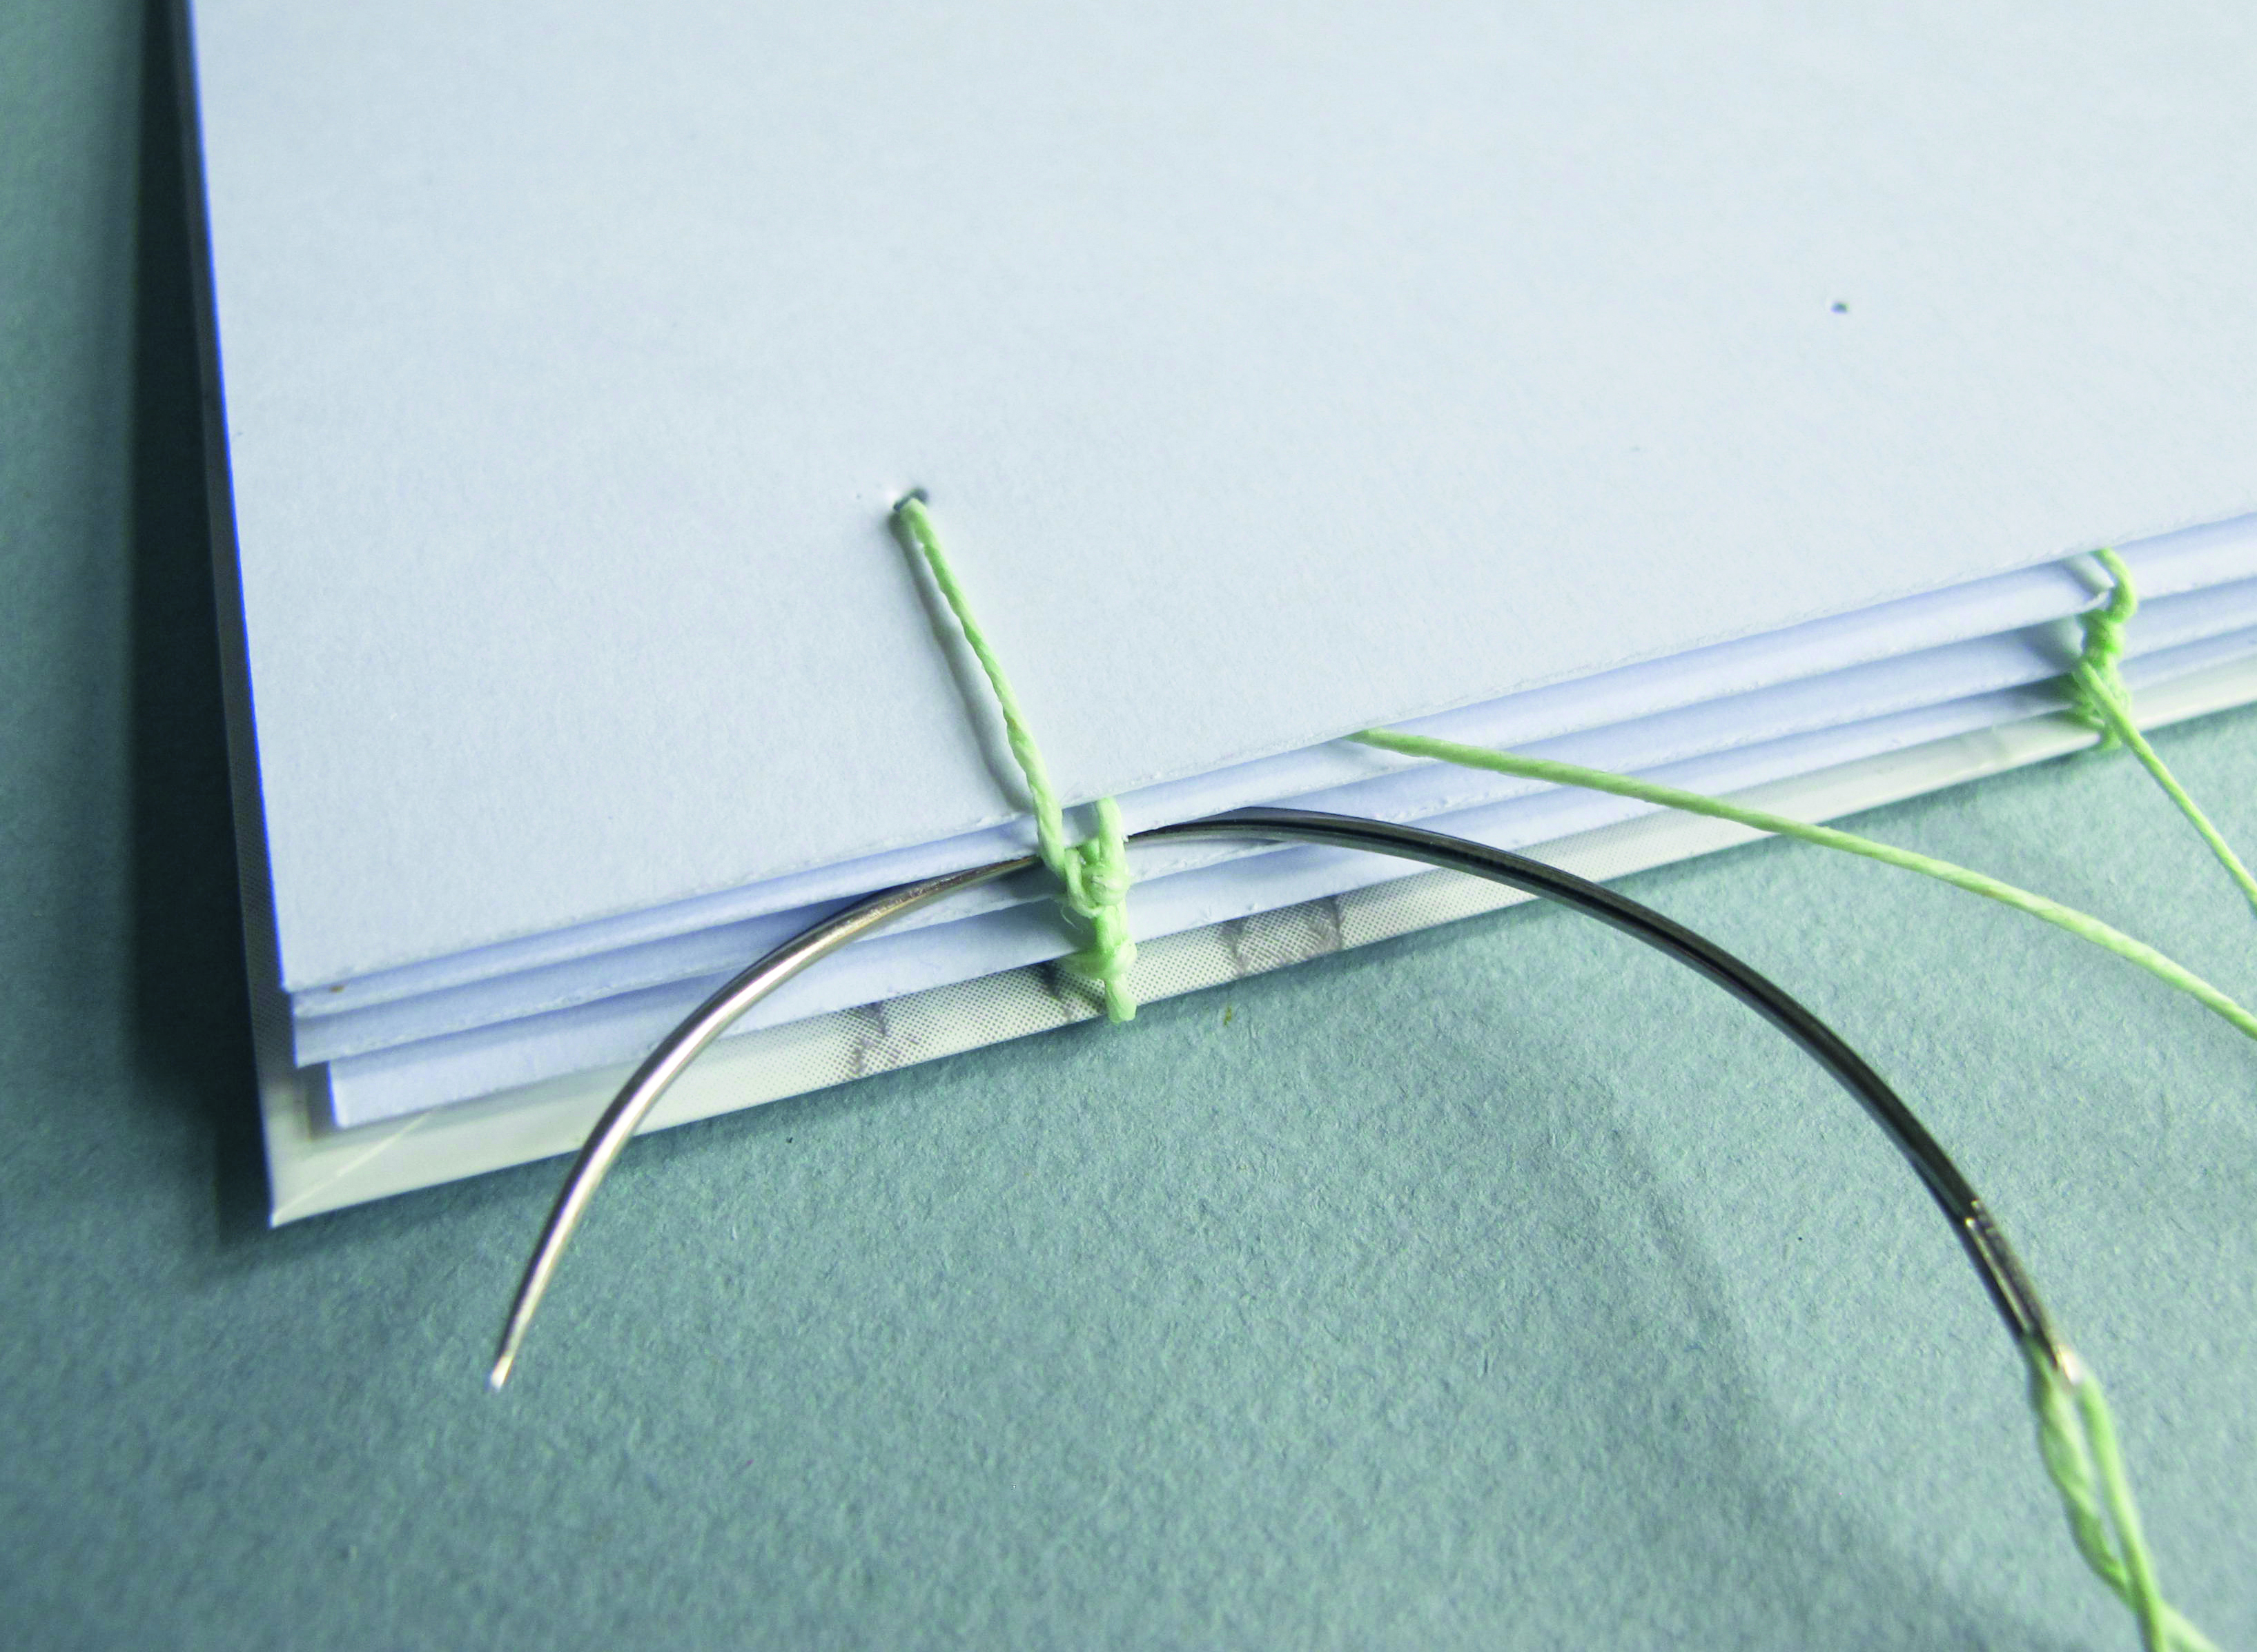
For the third page, loop the thread around the first hole as before, but this time push the needle under the previous stitch below. Repeat for the remaining holes. Continue in this way to add the remaining pages, always looping around the previous stitch.

Step 12

bookbinding_step12

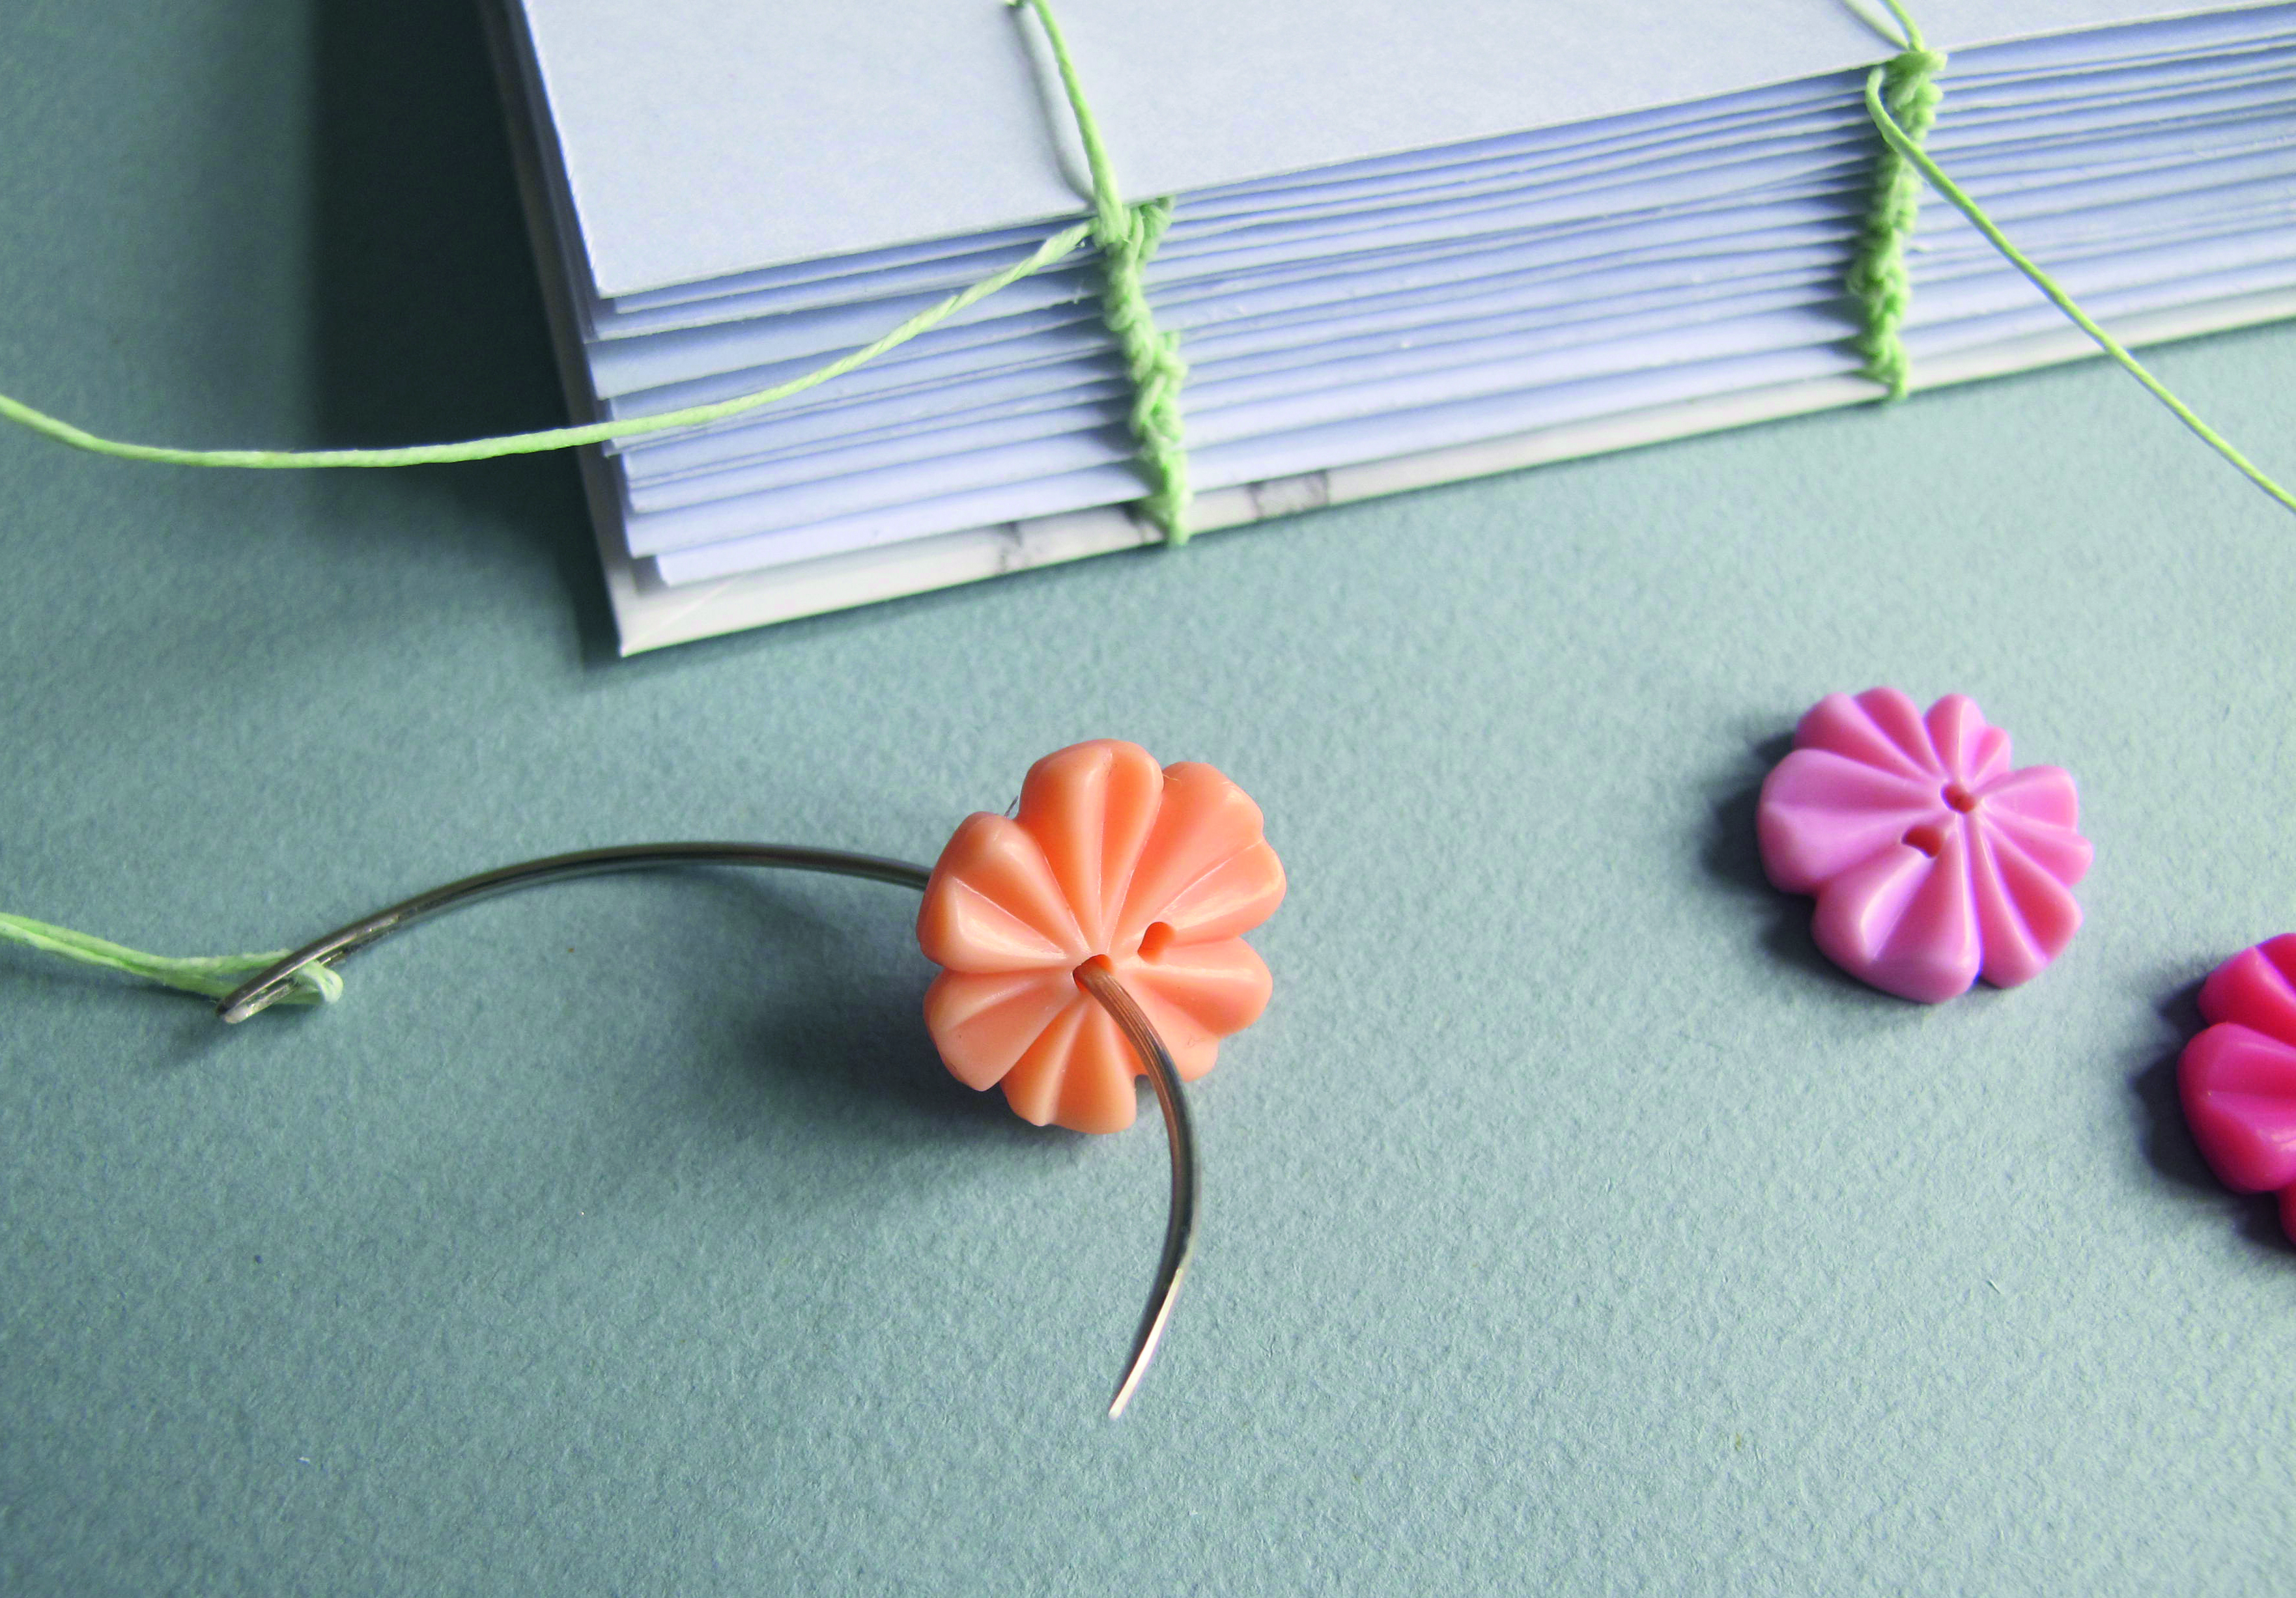
When you have added all fifteen pages, thread the first needle through a flower button.

Step 13

bookbinding_step14

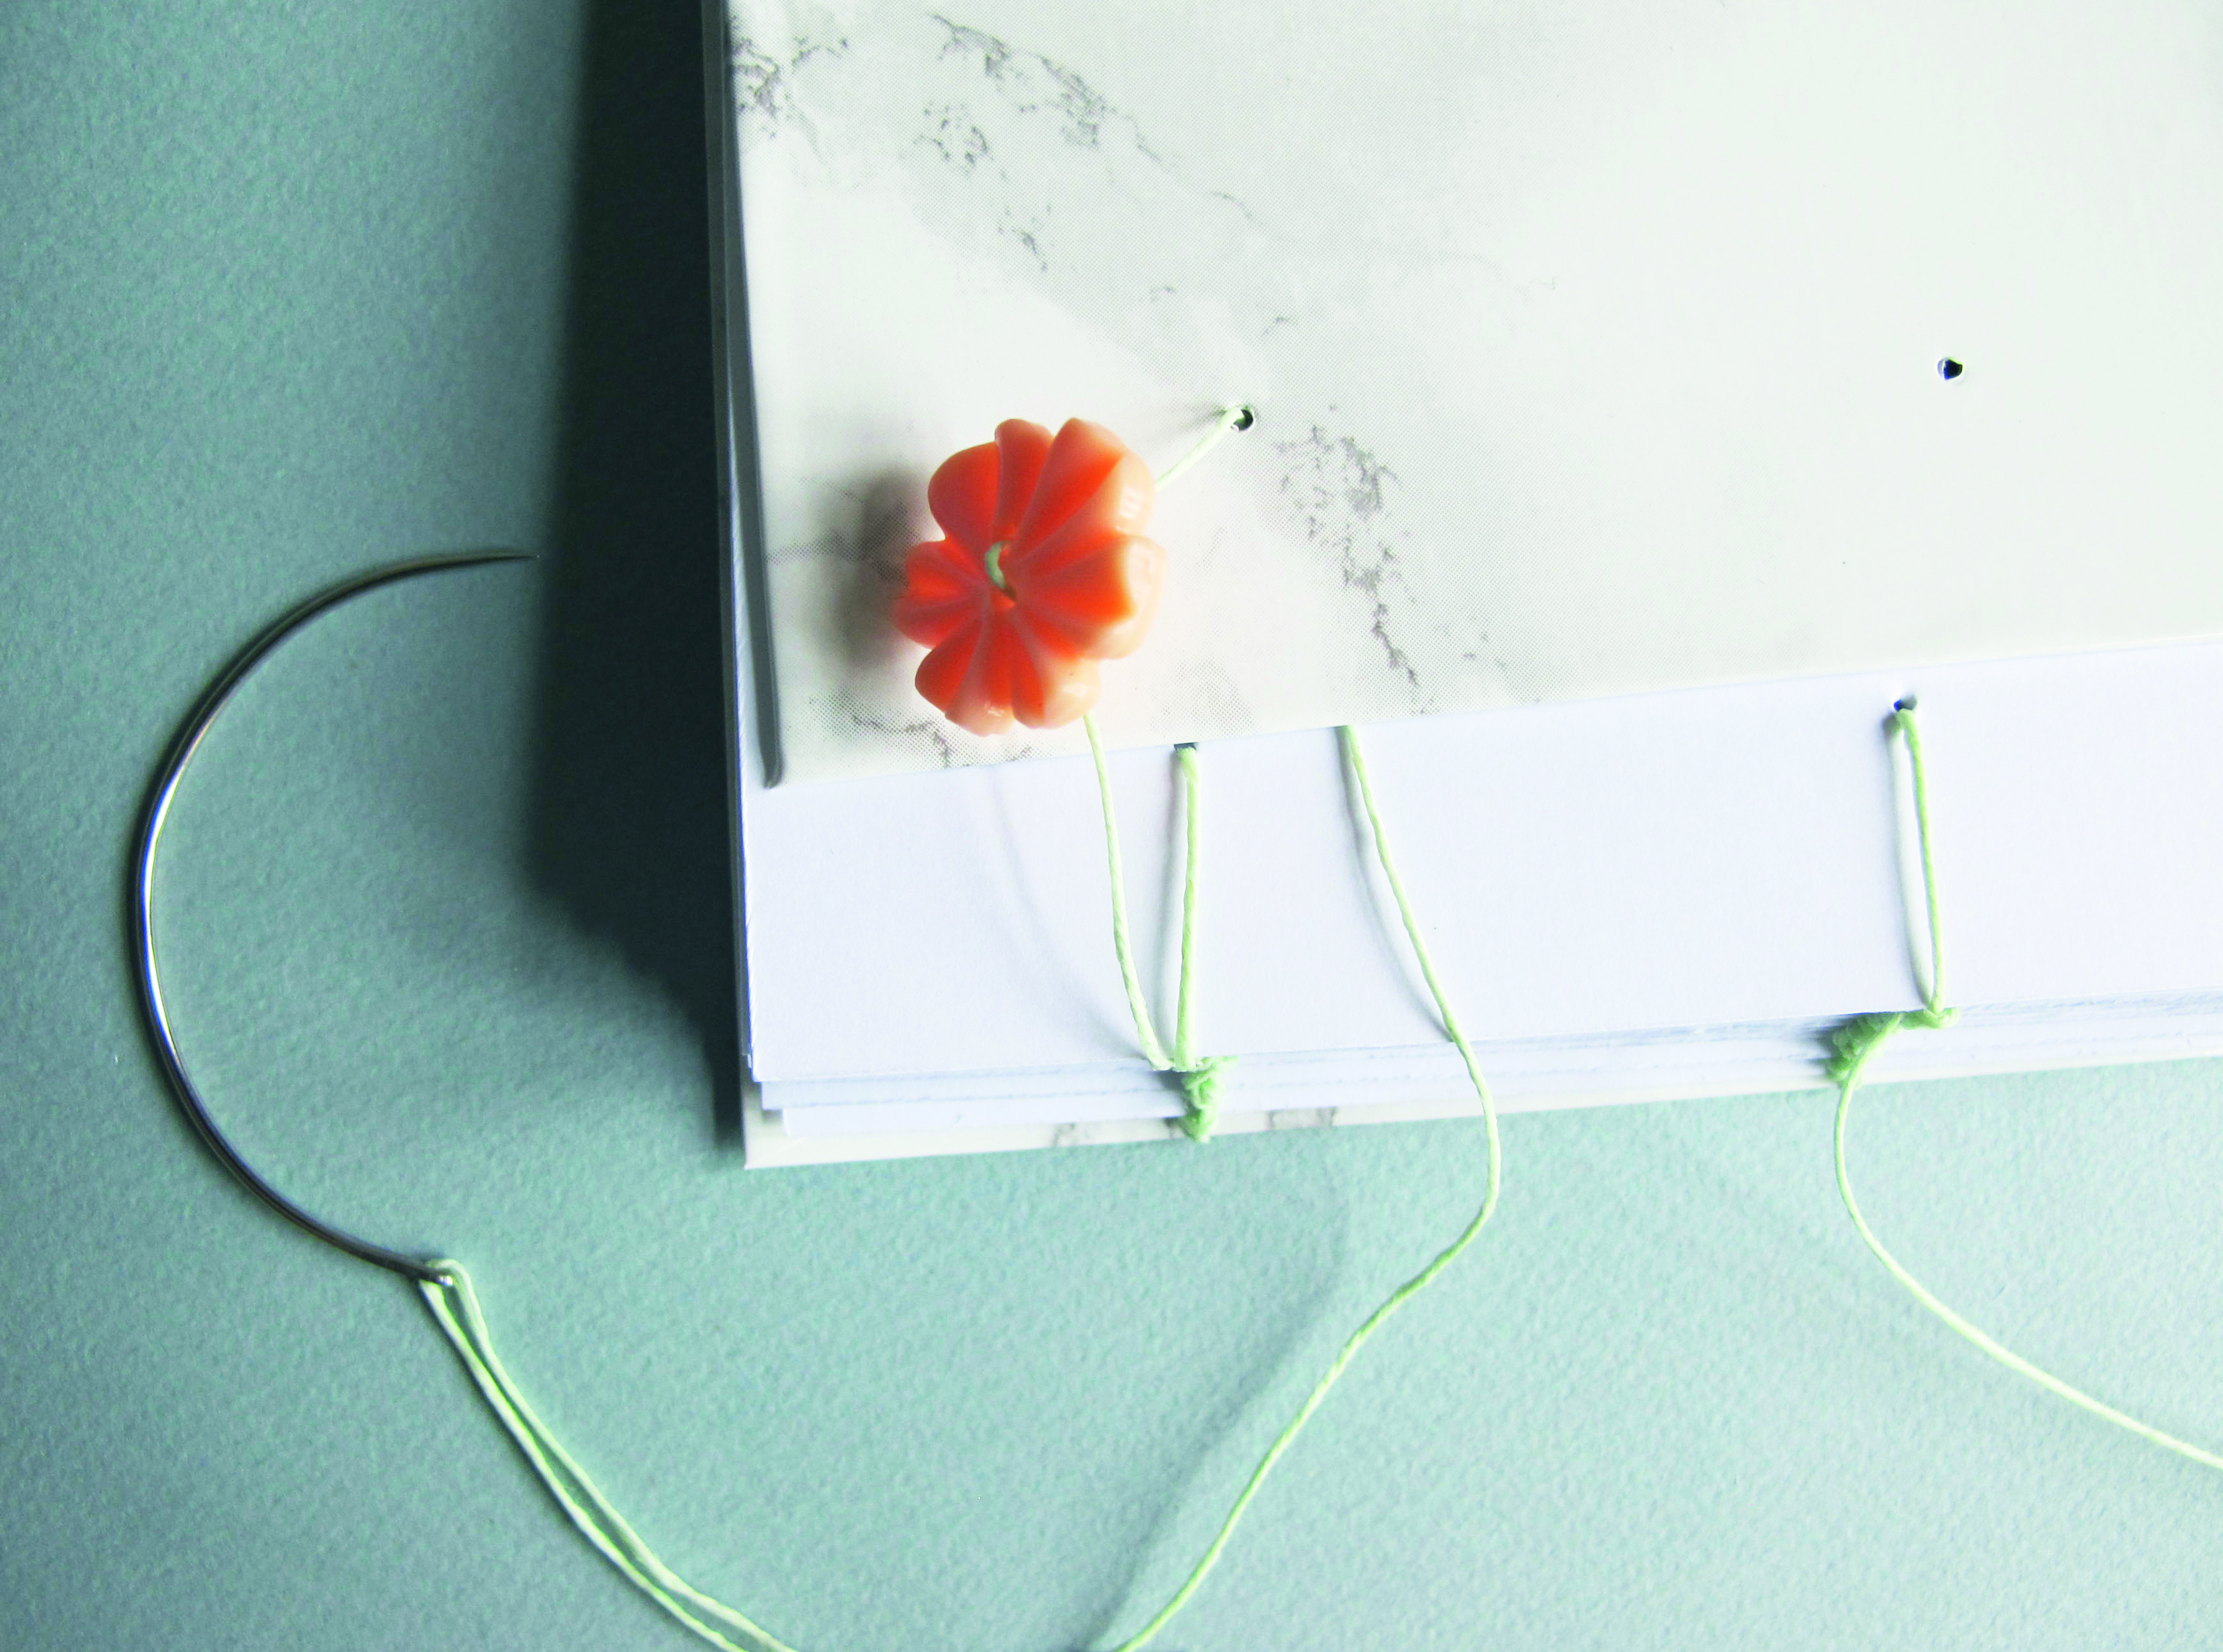
Place the second marble cover on top of the pages with right side up. Loop the needle with the threaded button through the hole, then pull the thread taut.

Step 14

bookbinding_step15

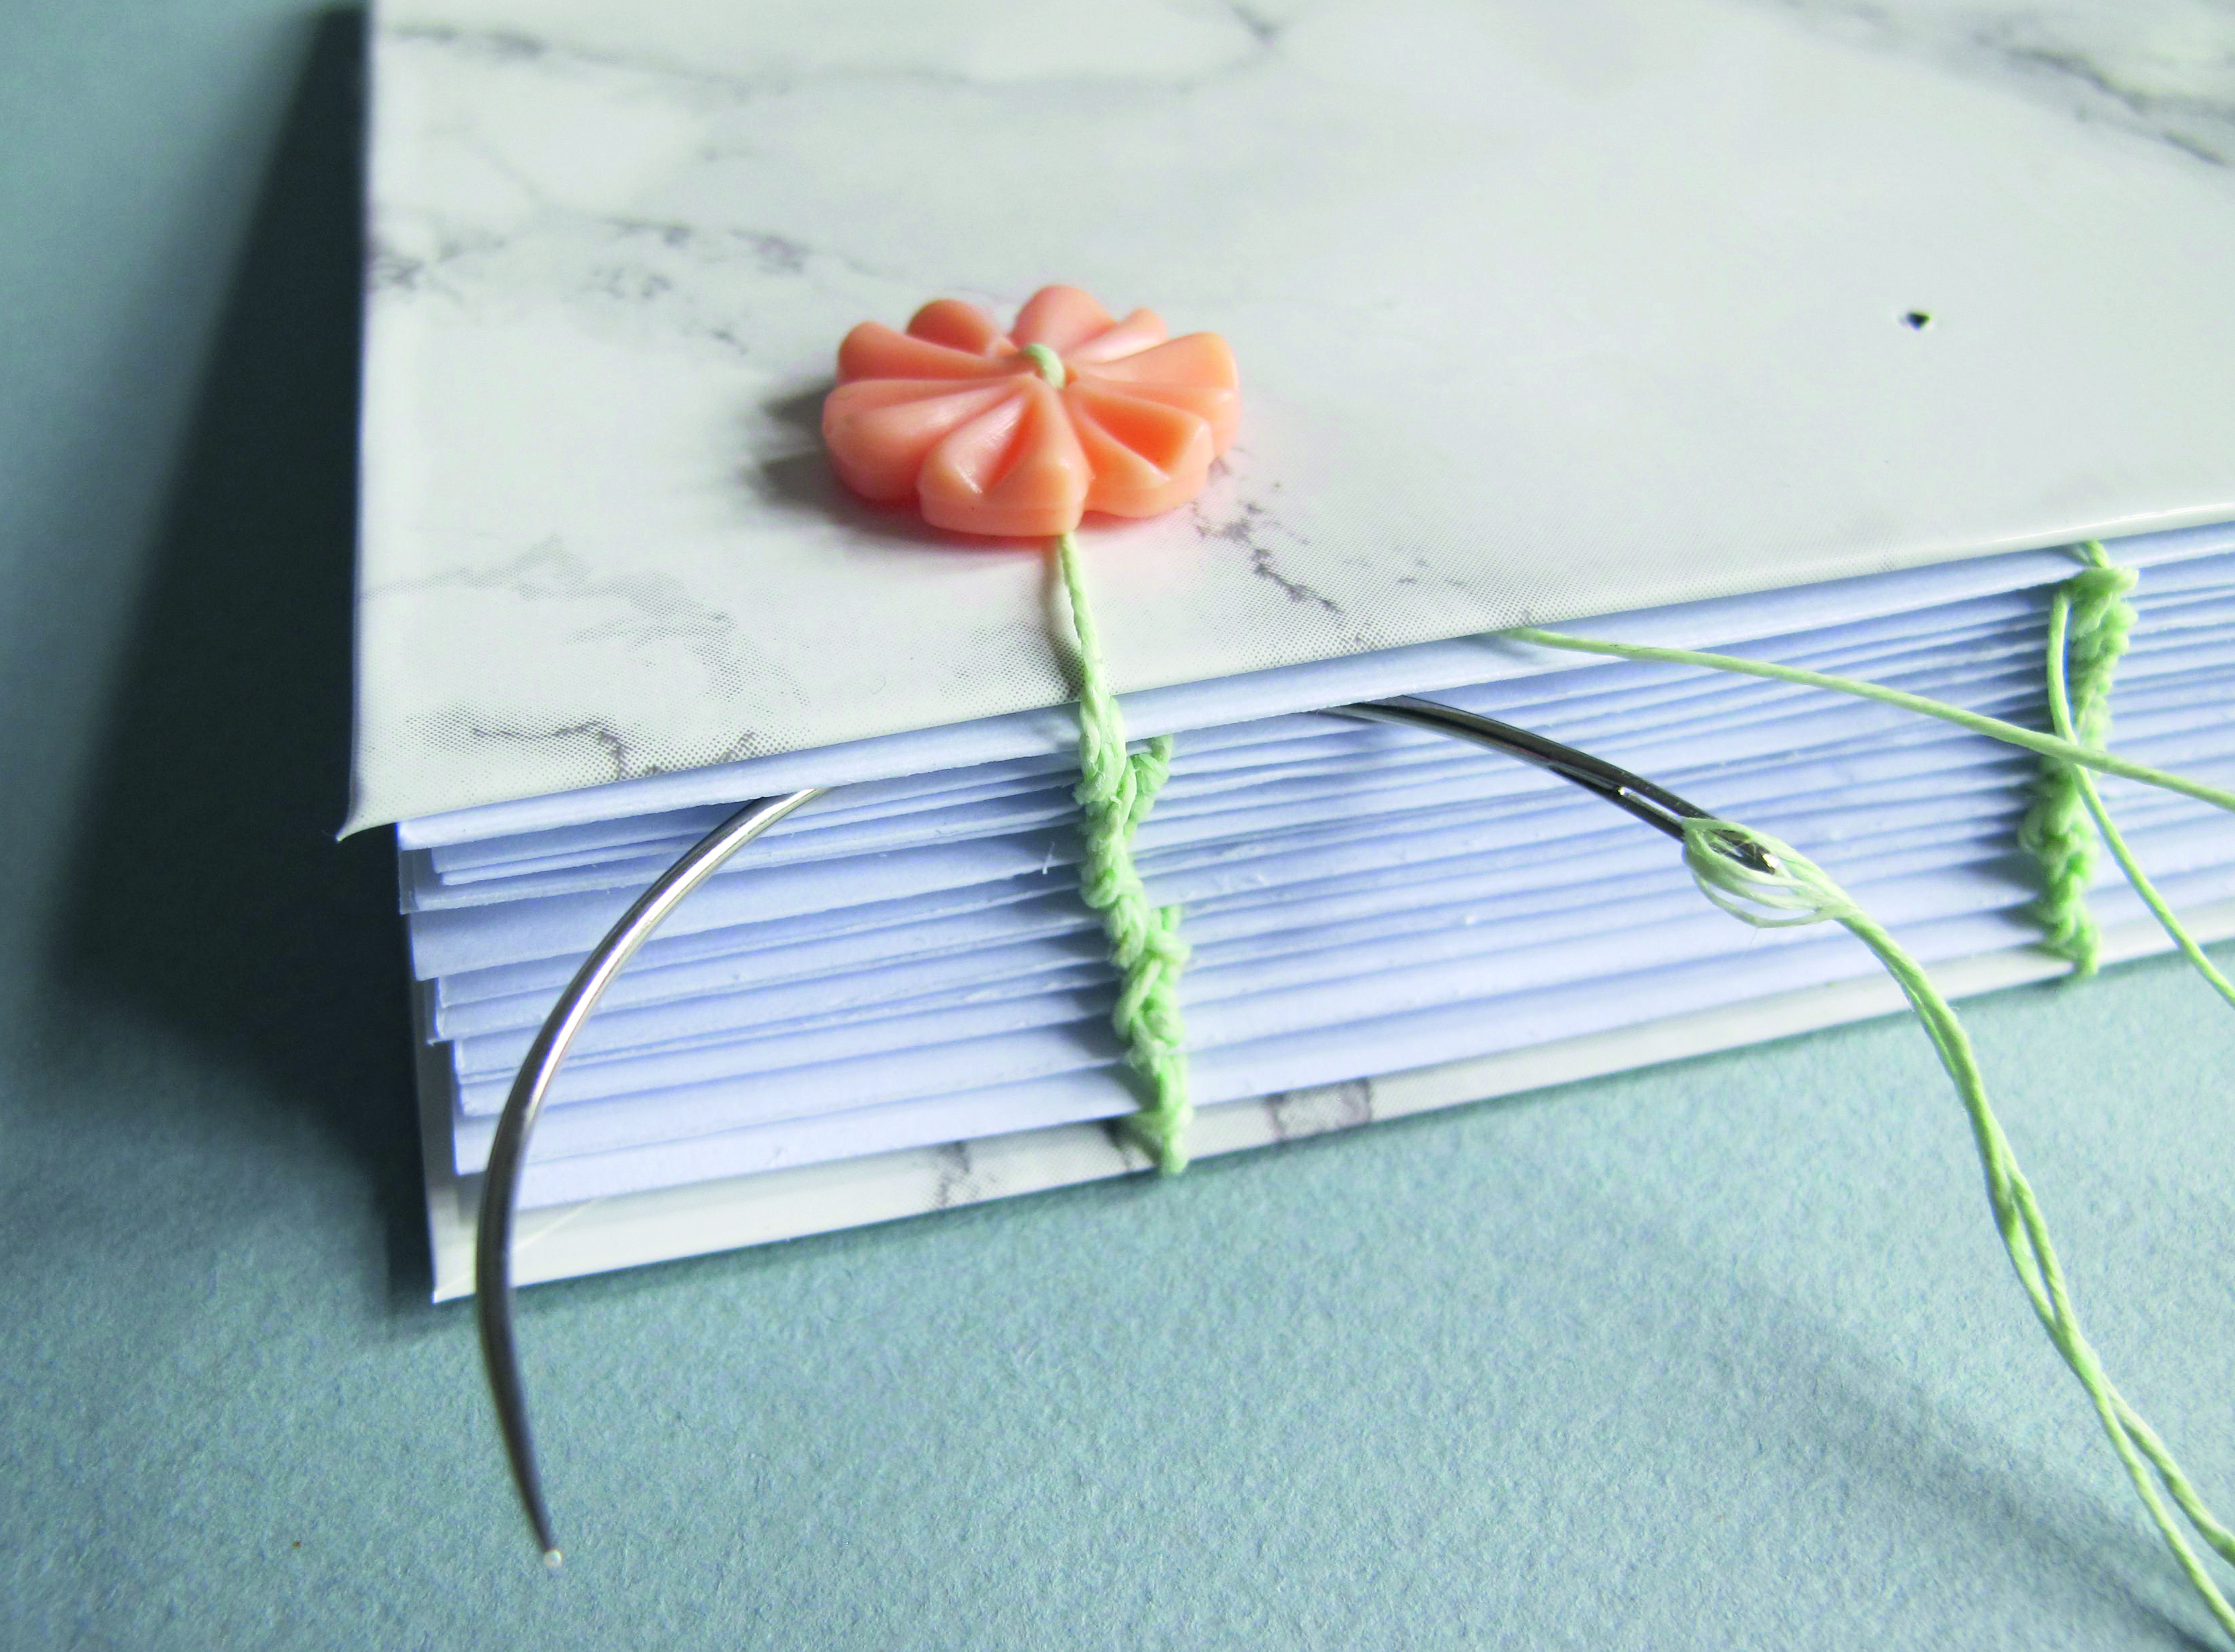
Loop the needle around the previous stitch below and pull the thread taut. Repeat Steps 12-14 to add the next two buttons.

Step 15

bookbinding_step16

Thread the first needle back through the previous stitch (below it), to the inside of the book. Open the book, tie a knot on the inside thread and trim any excess. Repeat to secure the last two buttons.

And you’re done! You’ve officially learned how to do bookbinding. If you’ve caught the papercraft bug then make sure you check out our origami section which is full of free tutorials. We also have tons of free daily craft patterns here on Gathered so you can be creative all year round.