How to make origami flower fairy lights

Give your craft space, bedroom or living room a pretty update with this fabulous origami floral set of fairy lights!

Try 6 issues of any craft magazine for just £9.99

Published: May 1, 2024 at 2:53 pm

Transform a string of plain white lights with this fabulous origami flower fairy lights tutorial!

While we usually associate fairy lights with winter festivities, dressing them up in pretty pastel flowers makes these lights summer-ready – they’re perfect for hosting a garden party or for just adding some pretty colour to a room.

We also love the idea of picking colours or a pattern to suit a specific theme for a special occasion! At first, folding the flowers may look complicated, but after completing the steps a few times you’ll be able to produce these blooms with ease!

undefined

Origami flower fairy lights tutorial

You will need:

  • Patterned papers (we've got loads to download and print at home)
  • Glue gun (and glue sticks)
  • Bone folder
  • Battery-operated fairy lights

This project is only suitable for use with battery operated fairy lights – do not use mains powered fairy lights! Never leave the decorated fairy lights unattended when turned on as they could pose a fire hazard.

Step 1

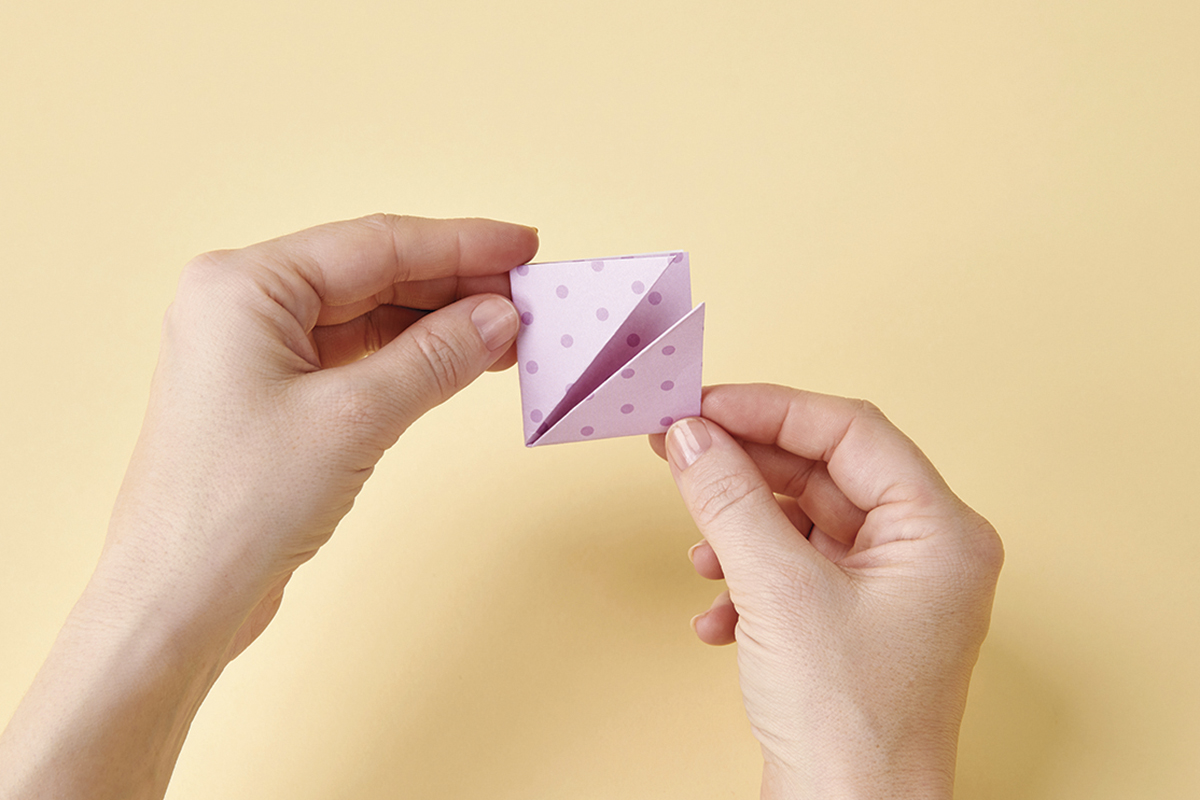
Cut 9cm squares of pink spotty paper. You will need five squares for each flower shape. Fold each square in half to form a triangle.

Origami flower fairy lights step 01


Step 2

Fold the bottom left and bottom right points upwards so that they meet at the top to form a square. Repeat the process for all of the paper pieces.

Origami flower fairy lights step 02


Step 3

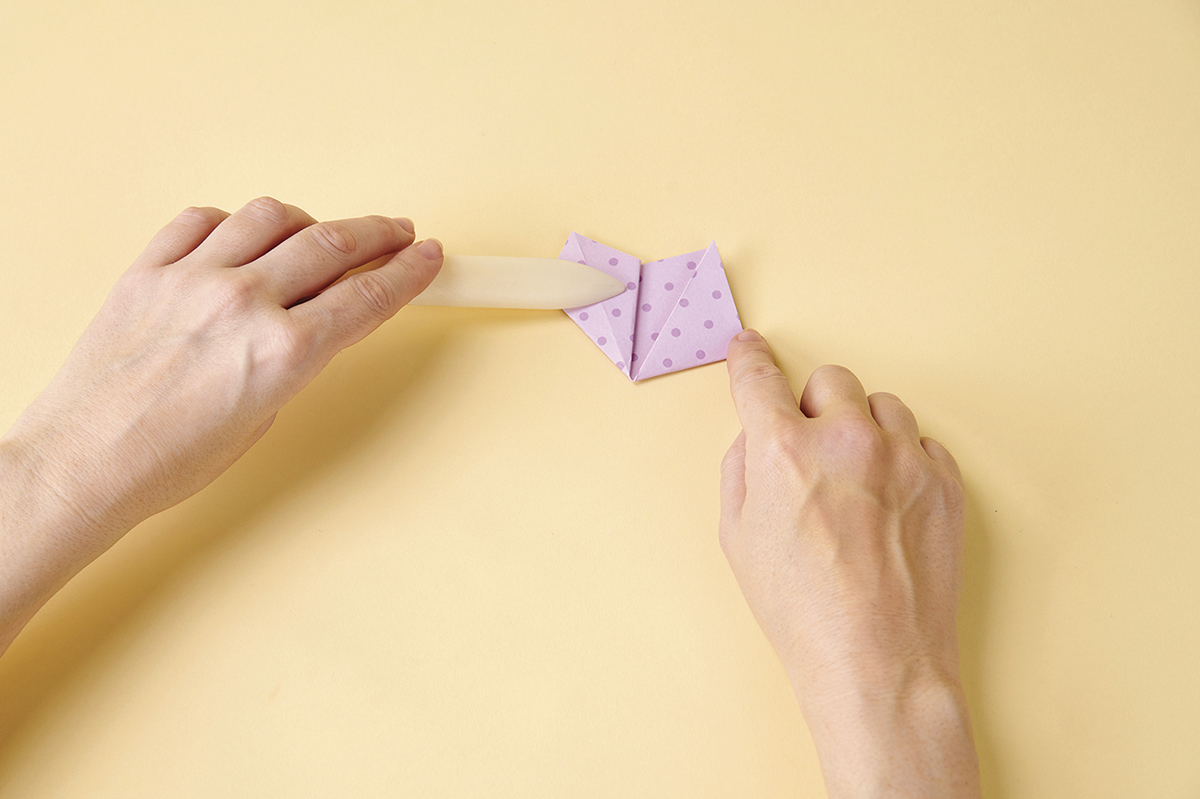
Open out the folded corners and, using a bone folder to help, press them flat so that the two creases line up. This will create kite shapes at each side.

Origami flower fairy lights step 03


Step 4

Fold the top corners of the kite shapes downward so that the top edge is level with the square behind. Repeat the process for all of the paper pieces.

Origami flower fairy lights step 04


Step 5

Fold each of the kite shapes inward along the scored lines. Curve the shape so that both sides meet in the middle and secure with glue. Repeat with each square to create five petals.

Origami flower fairy lights step 05


Step 6

Apply glue to the outside edge of a petal and attach another petal. Continue to add all of the petal shapes. Leave a small gap in the middle, big enough to insert each fairy light and thread lights through.

Origami flower fairy lights step 06


Light up your life with these origami flower fairy lights

We're big fans of these origami flower lights and there's loads of ways you can use them to brighten up any space. String them around your beds headboard, or display them along a shelf in your craft room.

As they're battery powered, you can take them out of the house too (as long as the weather is good) – why not string them around your garden parasol and give your summer bbq's a tropical vibe!

Your next fix of fun flowers

If you've enjoyed crafting these beautiful blooms, take a look at our library of paper flower patterns and find your next must-make project with Gathered.

paper flower patterns