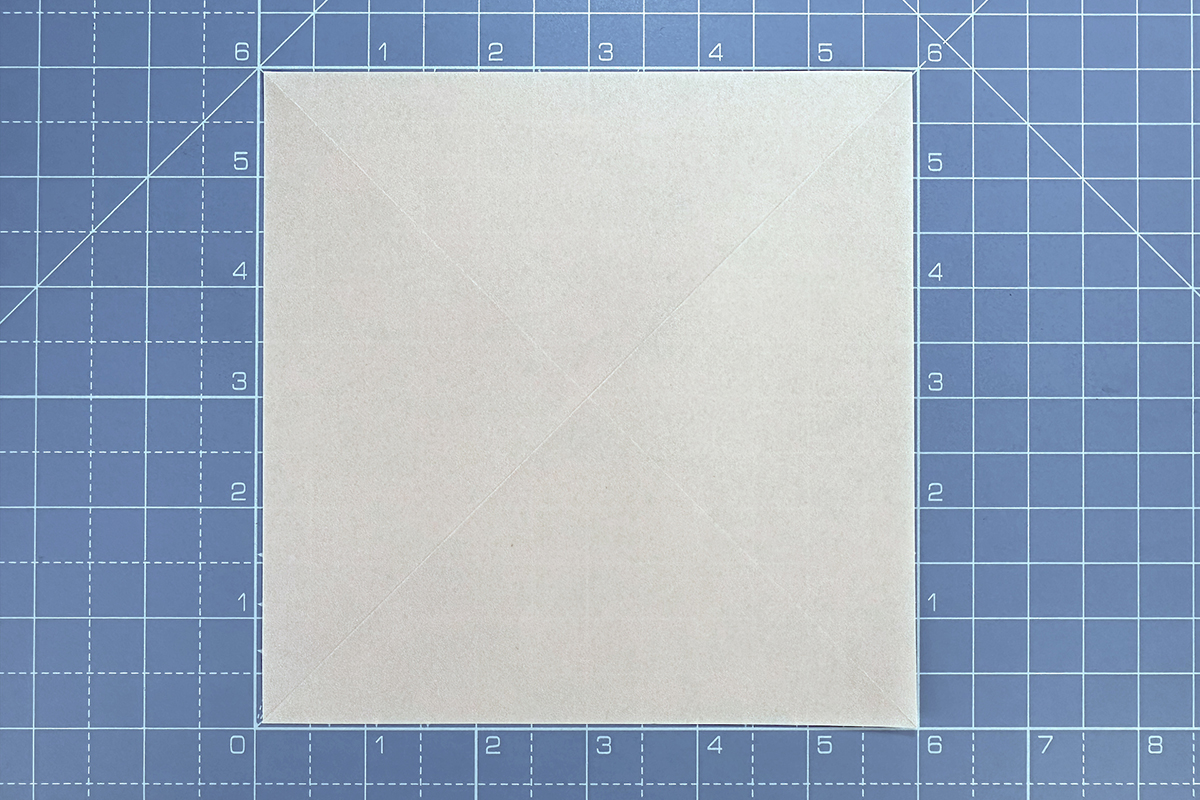
Step 1
Start with a square piece of paper. Dedicated origami paper works best for this origami lotus, because once you progress with the model it gets harder to fold, so it helps if the paper is thinner.
Lotus flowers are usually pink, but have fun experimenting with different colours and patterns – you could even add some glitter to the tips of the petals once complete!
In this tutorial, we are using 15x15cm paper that is patterned on one side and white on the other.
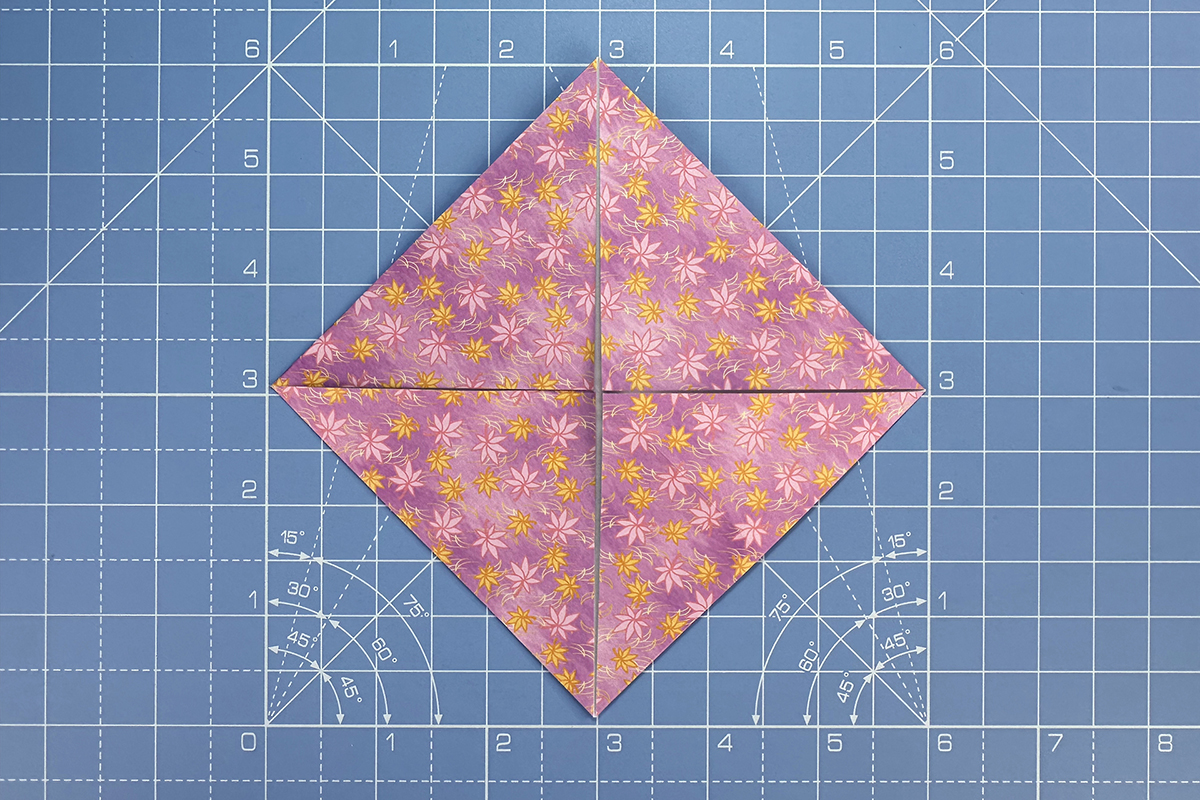
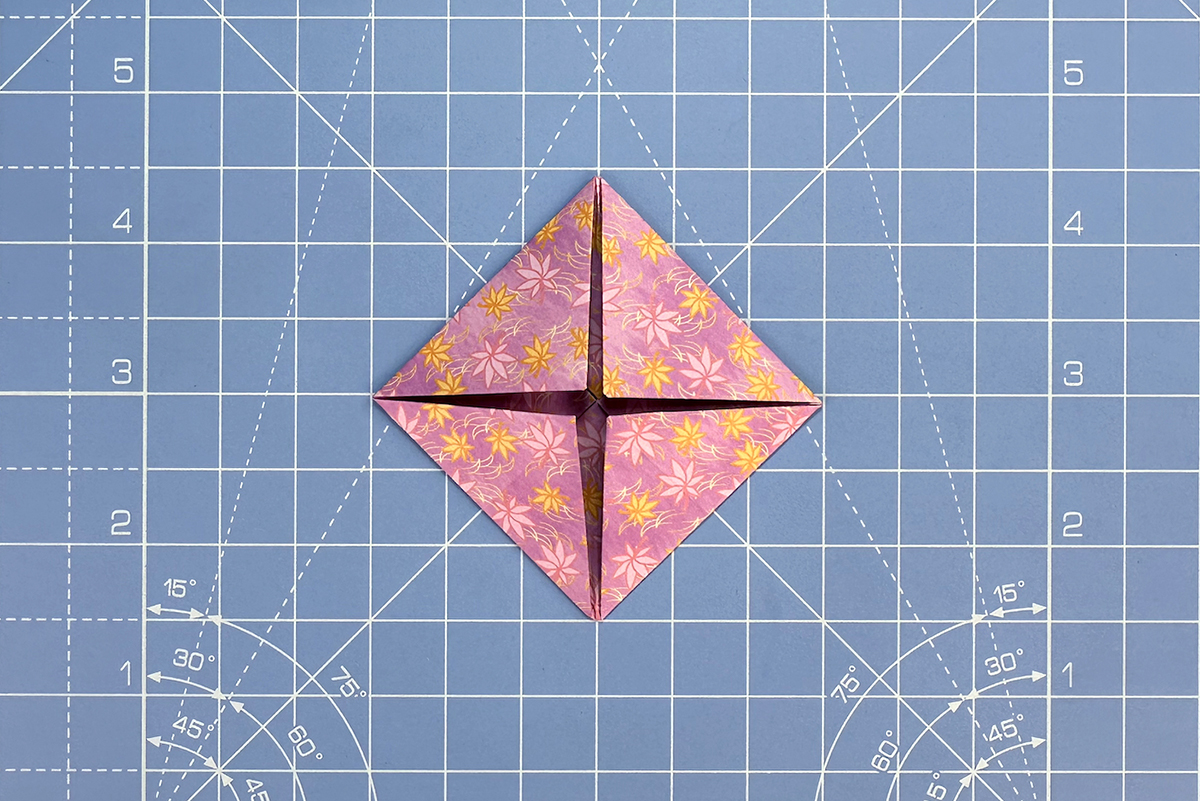
Start with the paper face down, then fold in half along the diagonals and unfold.
Step 2
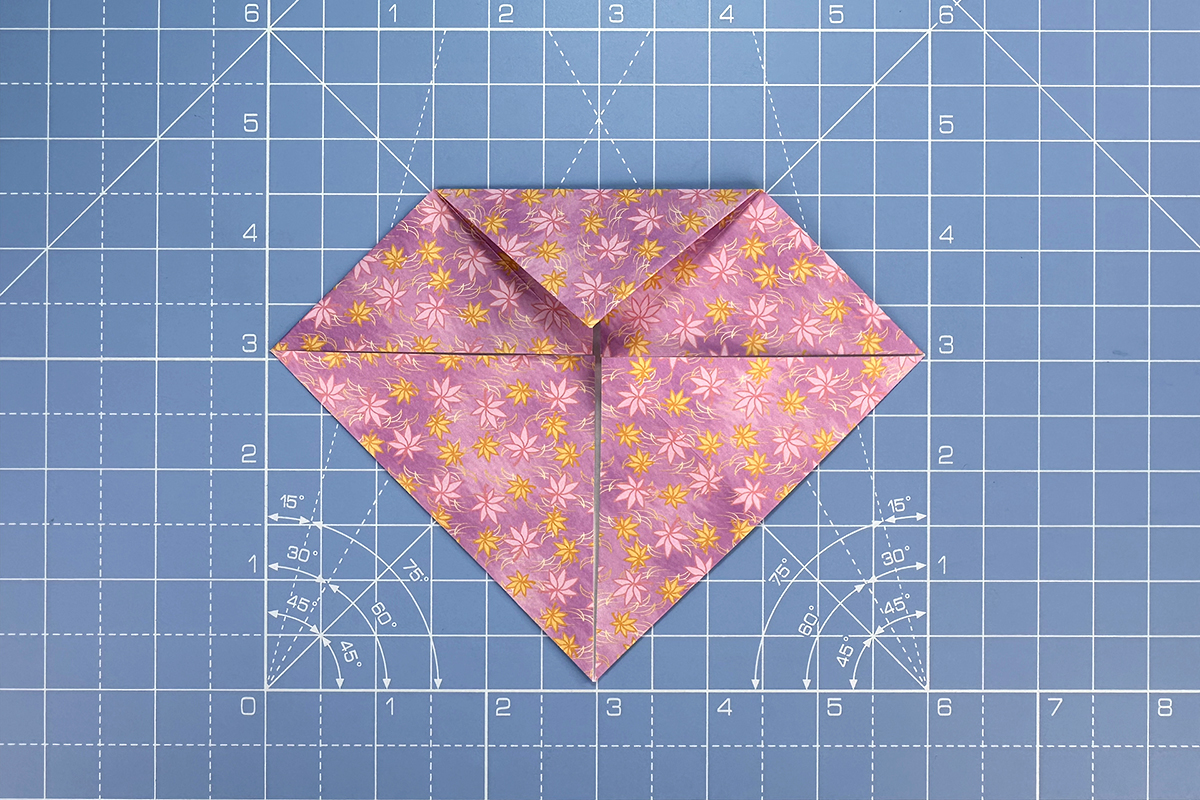
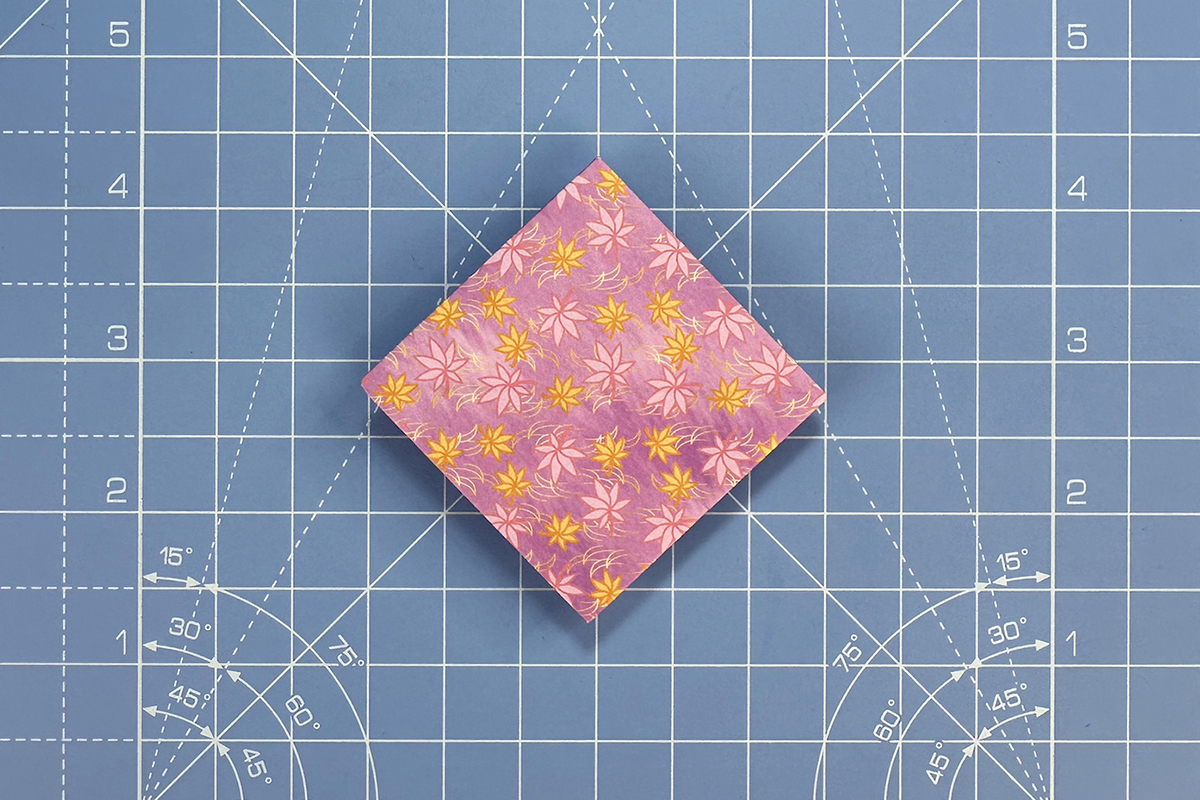
Fold each of the four corners into the centre of the paper.

Flatten the creases.
Step 3
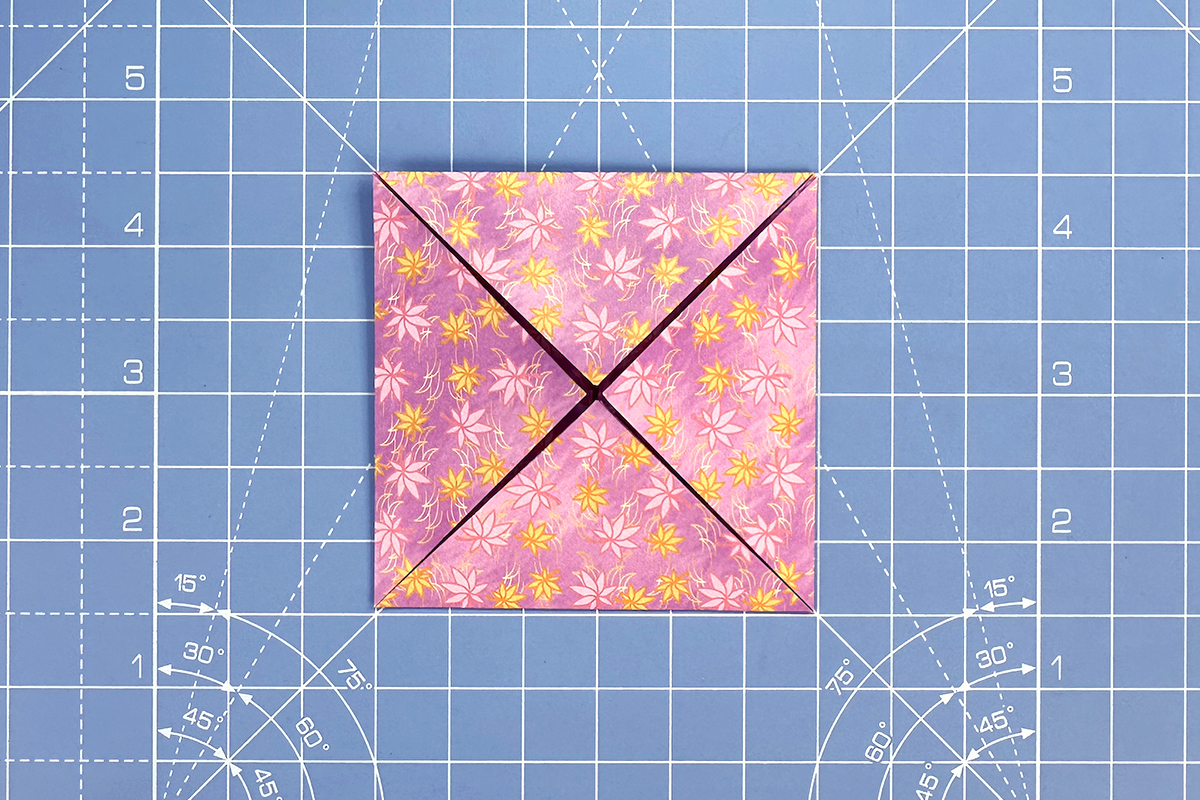
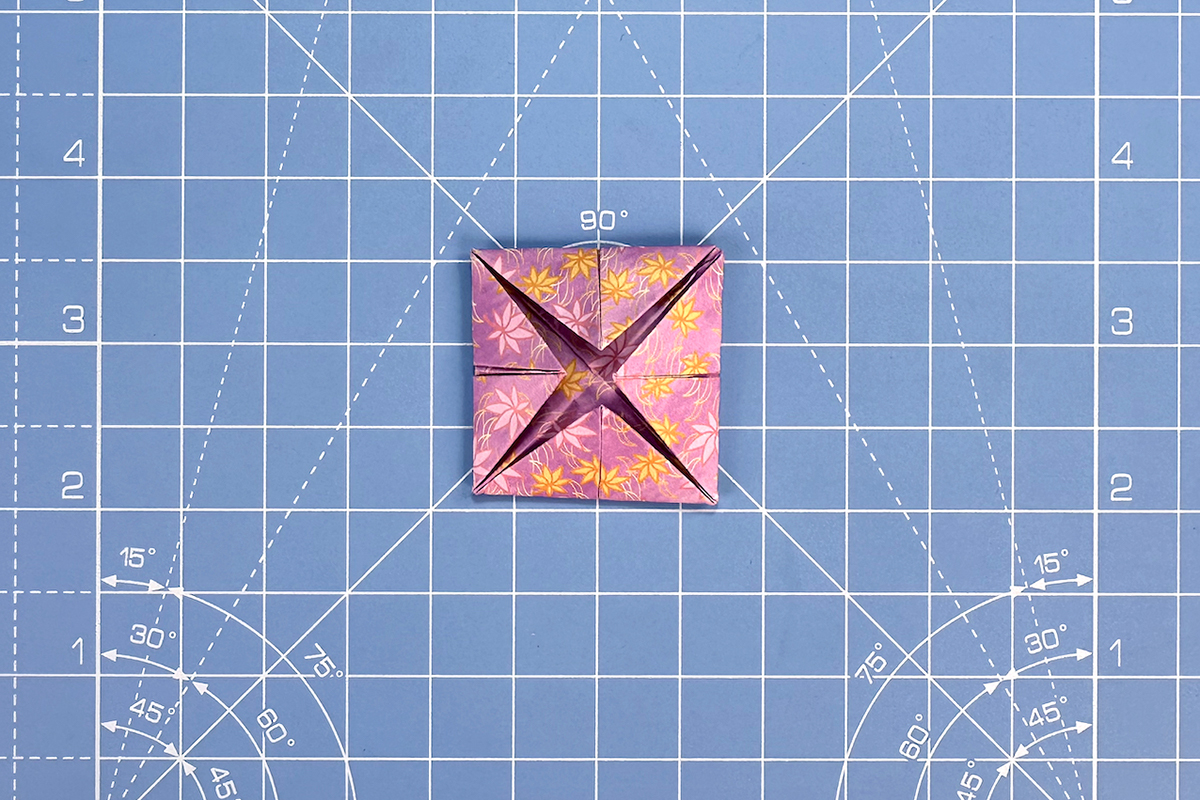
Without turning the model over, fold each of the four corners into the centre for a second time.
Flatten the creases.
Step 4
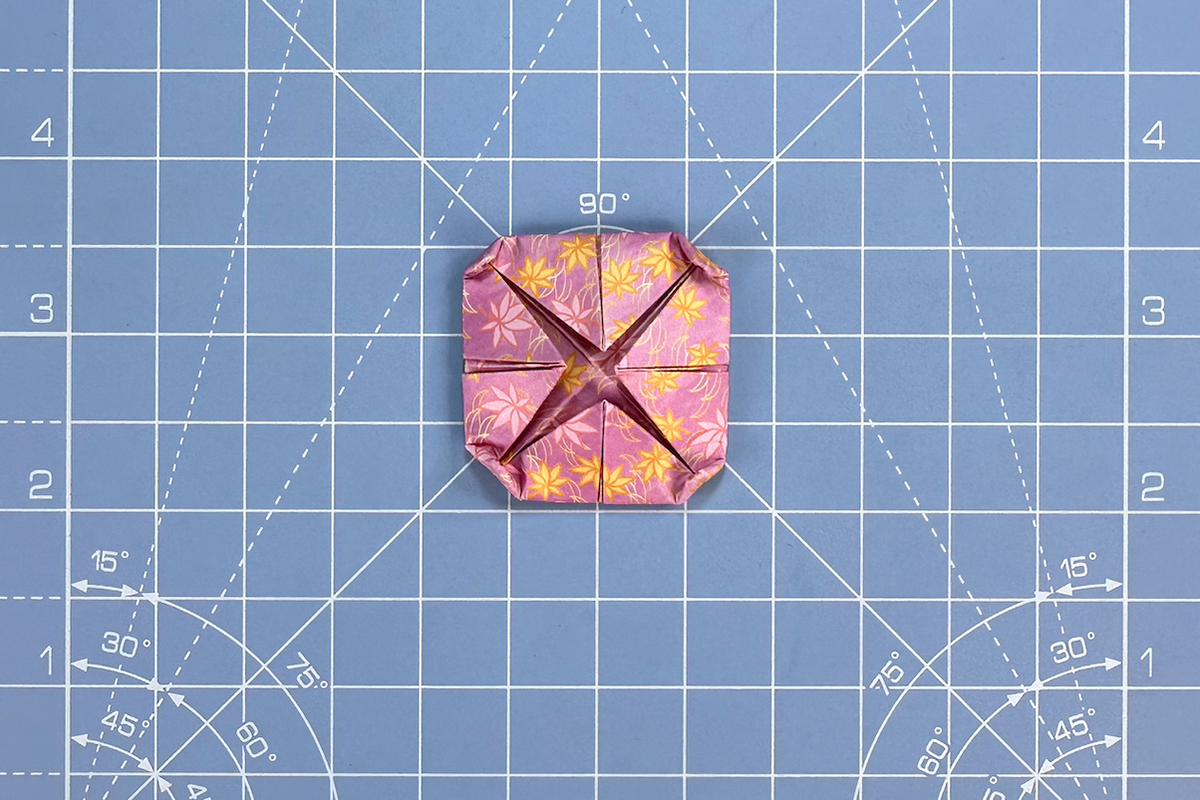
For a third time, still without turning the model over, fold each of the four corners into the centre.
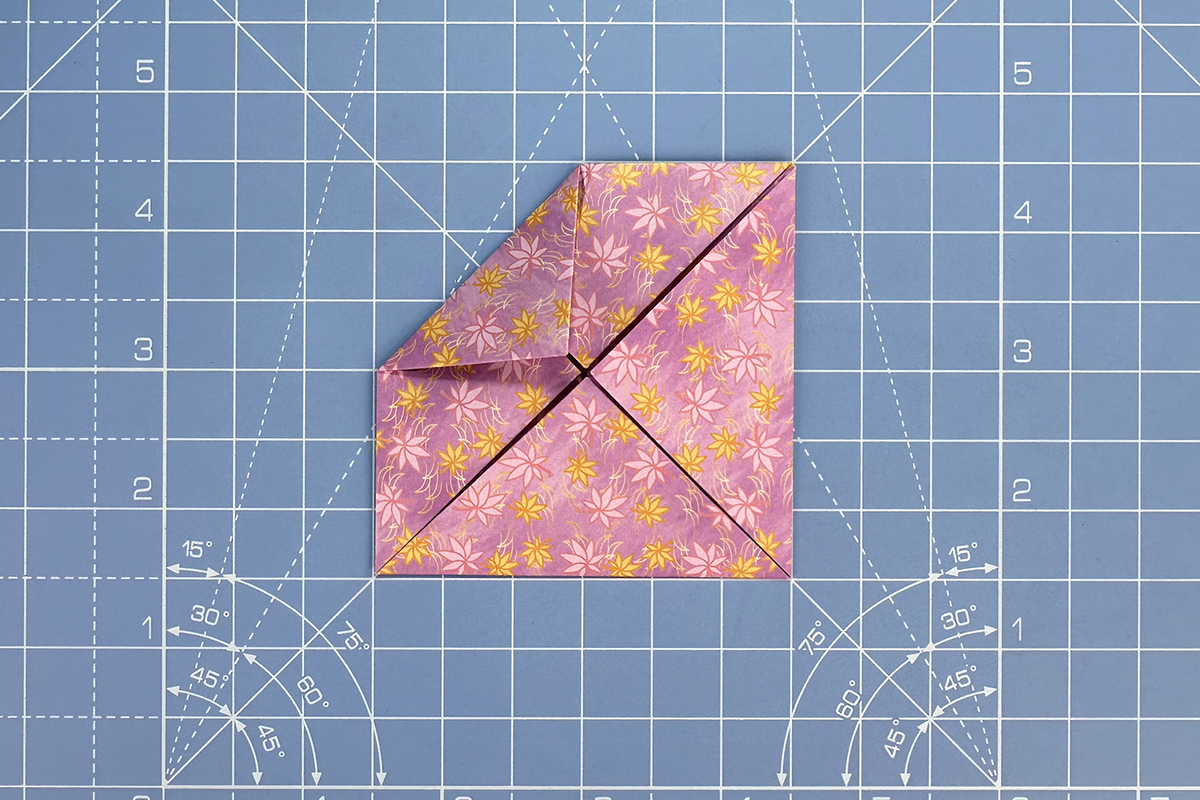
Flatten the creases.
Step 5
Turn the model over.
Step 6
For a fourth time, fold each of the corners into the centre. The model will be quite thick at this point, so you might find it tricky to fold the paper.

If you have one to hand, a paper creaser (also called a bone folder) will be useful to help flatten the creases.
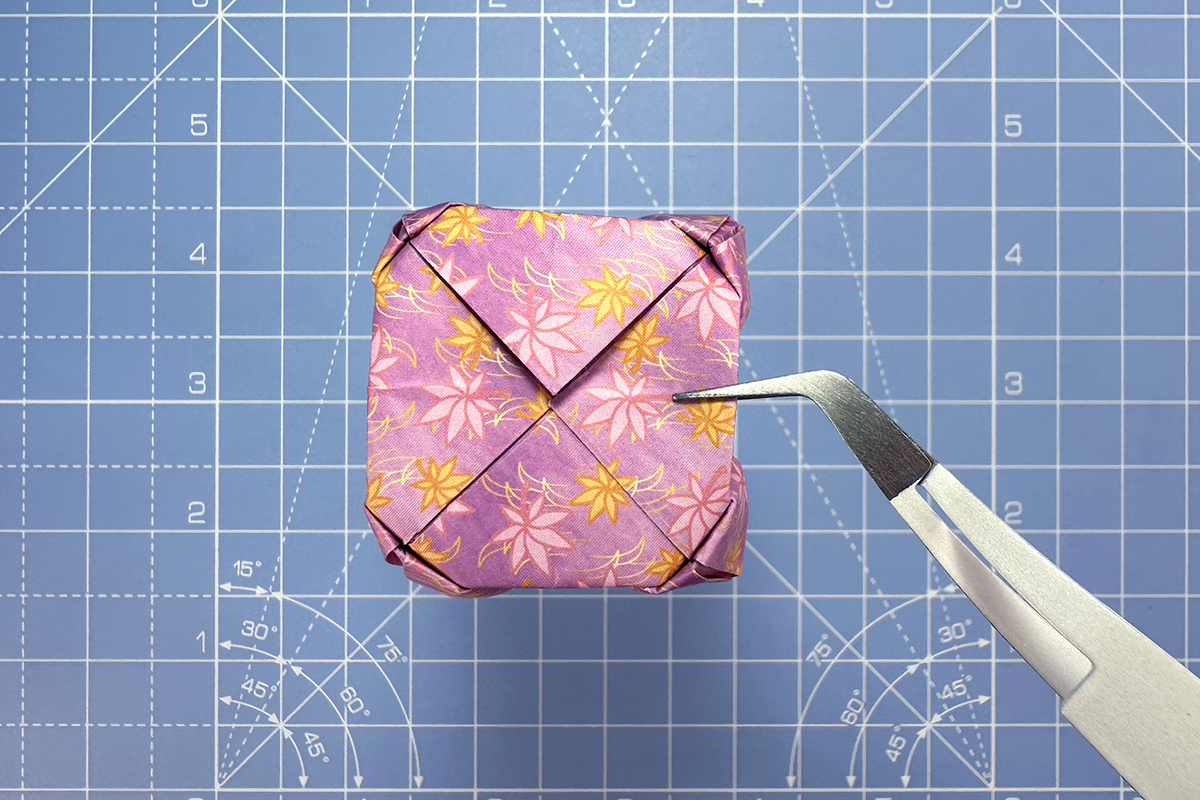
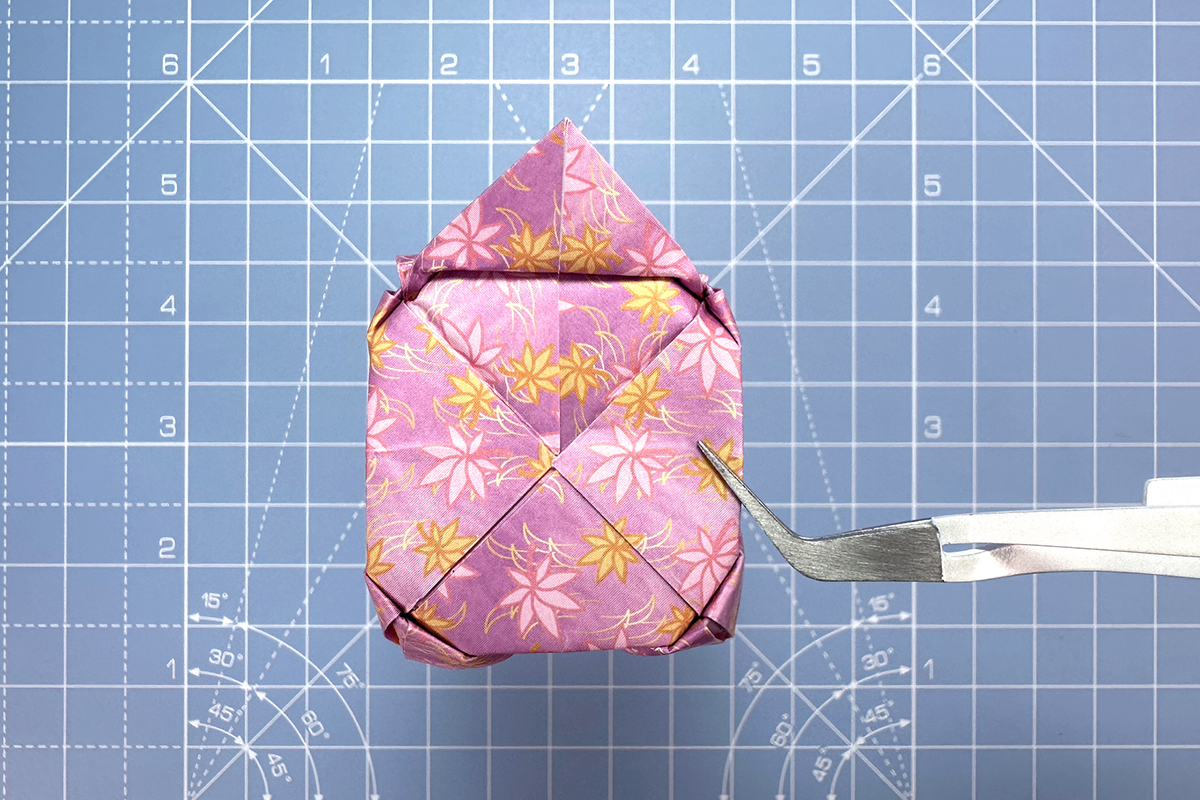
Step 7
On each of the four corners, fold inwards a small amount. The paper will now be very difficult to fold, so a paper creaser will help at this point.
Don’t worry if the corners don’t look neat; they are there to help you with the next step and will be hidden once the model is complete.
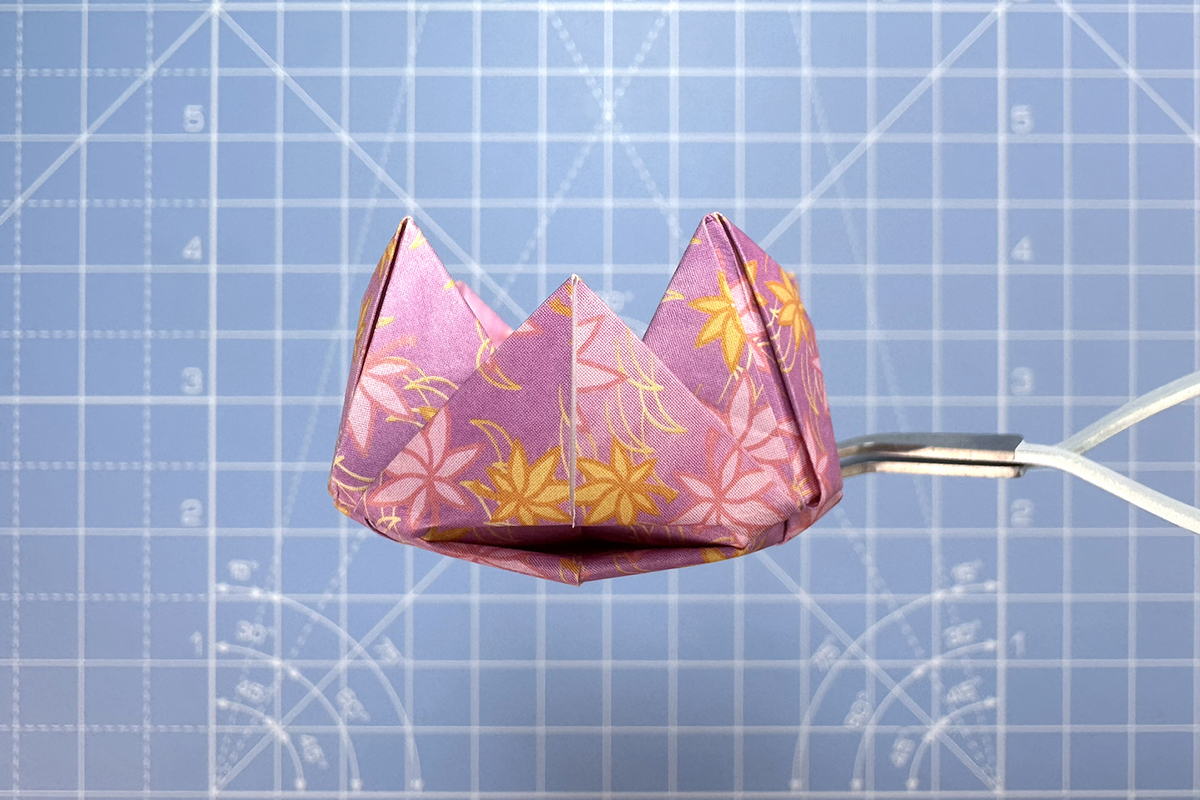
Step 8
The next step is a little tricky, so go slow. Don’t be discouraged if the paper rips – it’s all part of the learning process.
With one hand, press down firmly on one of the corner tabs you made in step 7 (I use my thumb on my left hand). Then with the other hand, slowly pull the flap from behind to the front, to create a petal.
You’re essentially turning the corner inside out. If you’re struggling to do this without ripping the paper, try opening the model slightly before pulling the petal forward.
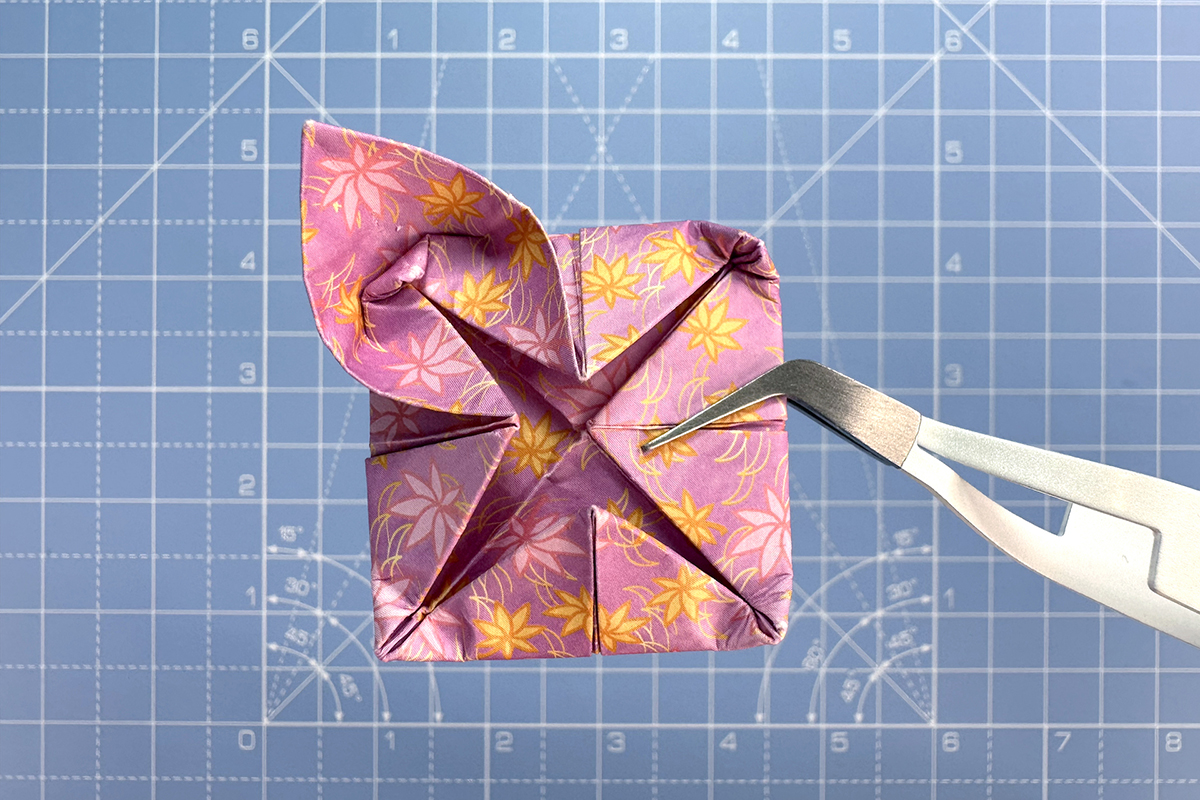
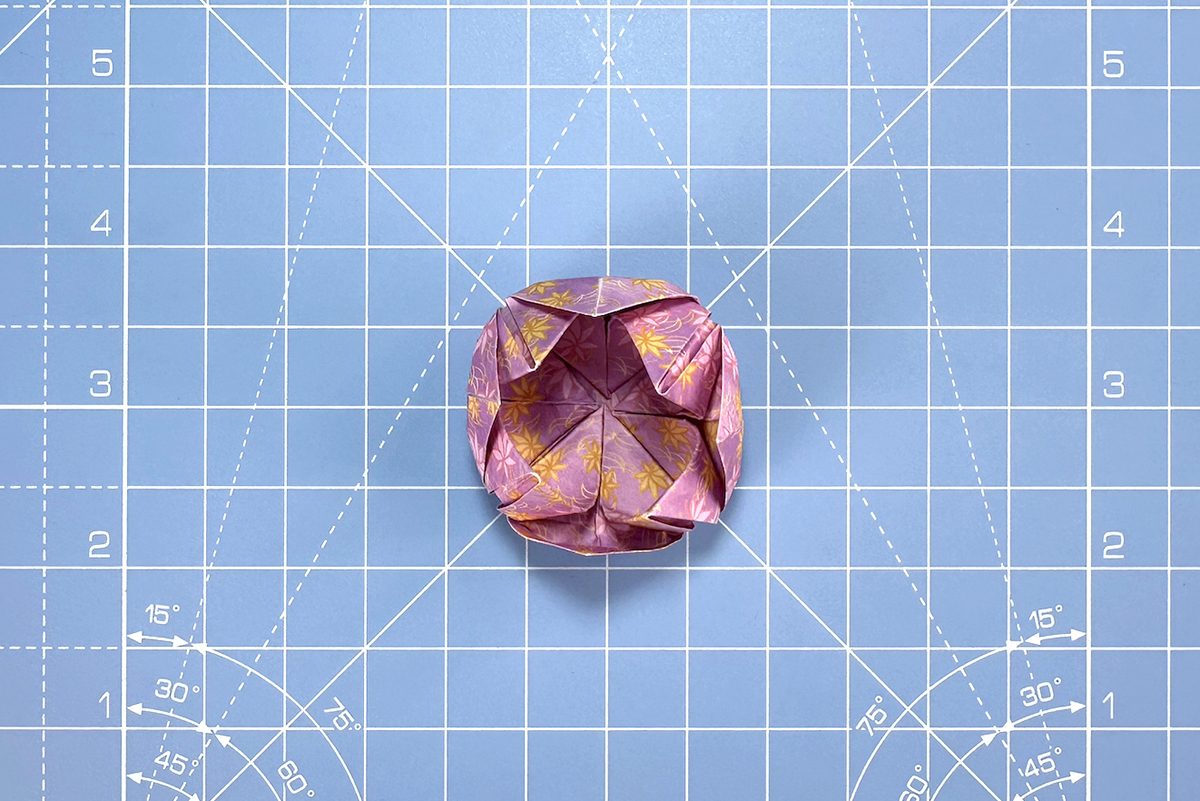
Step 9
Repeat step 8 on the other three corners.
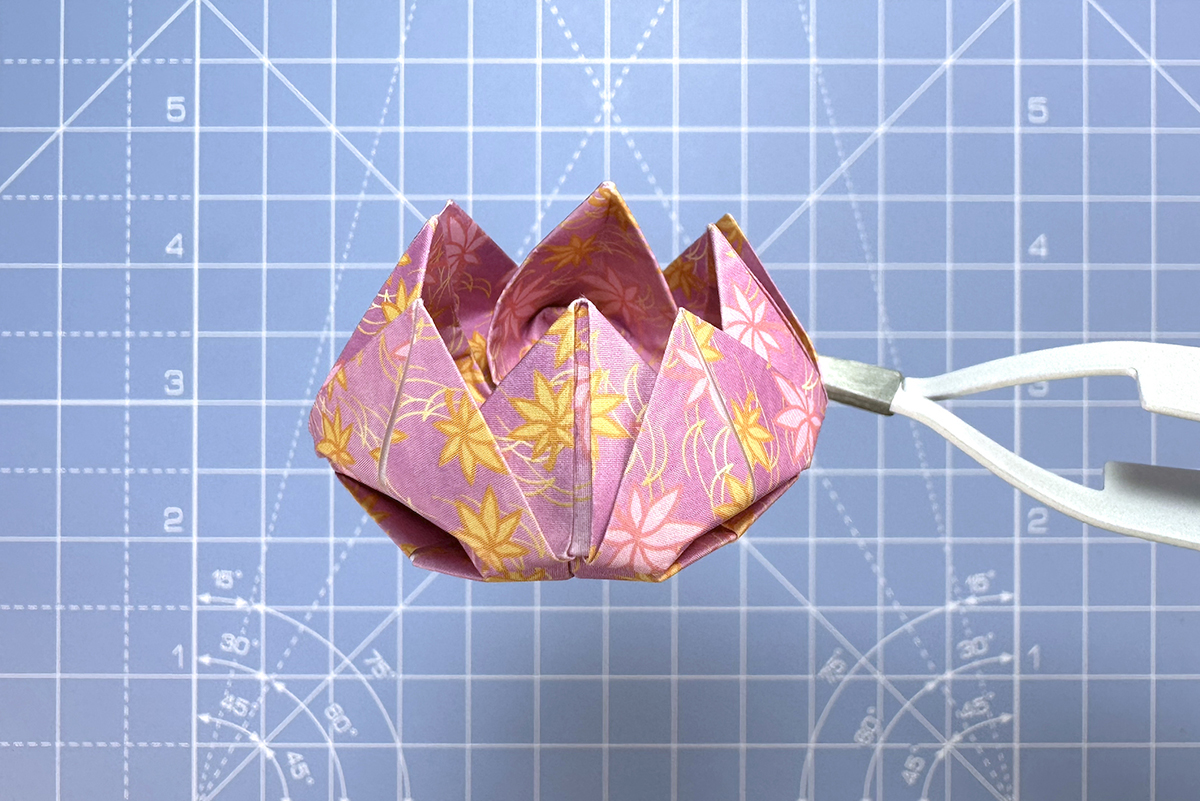
Step 10
We’ve made four petals already, but the lotus has another four – making eight petals in total.

Working on the sides now, gently pull the next set of petals from behind.
You’ll notice that the lotus begins to take on a more rounded appearance at this point.
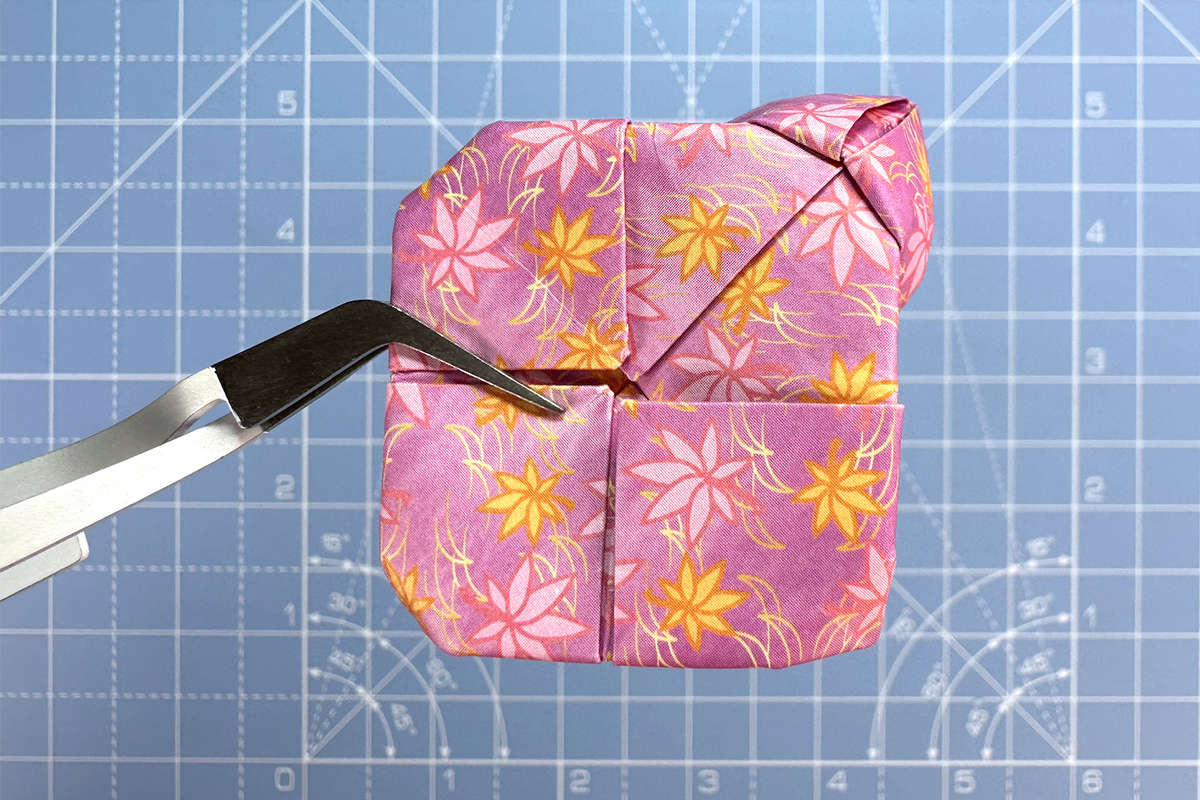
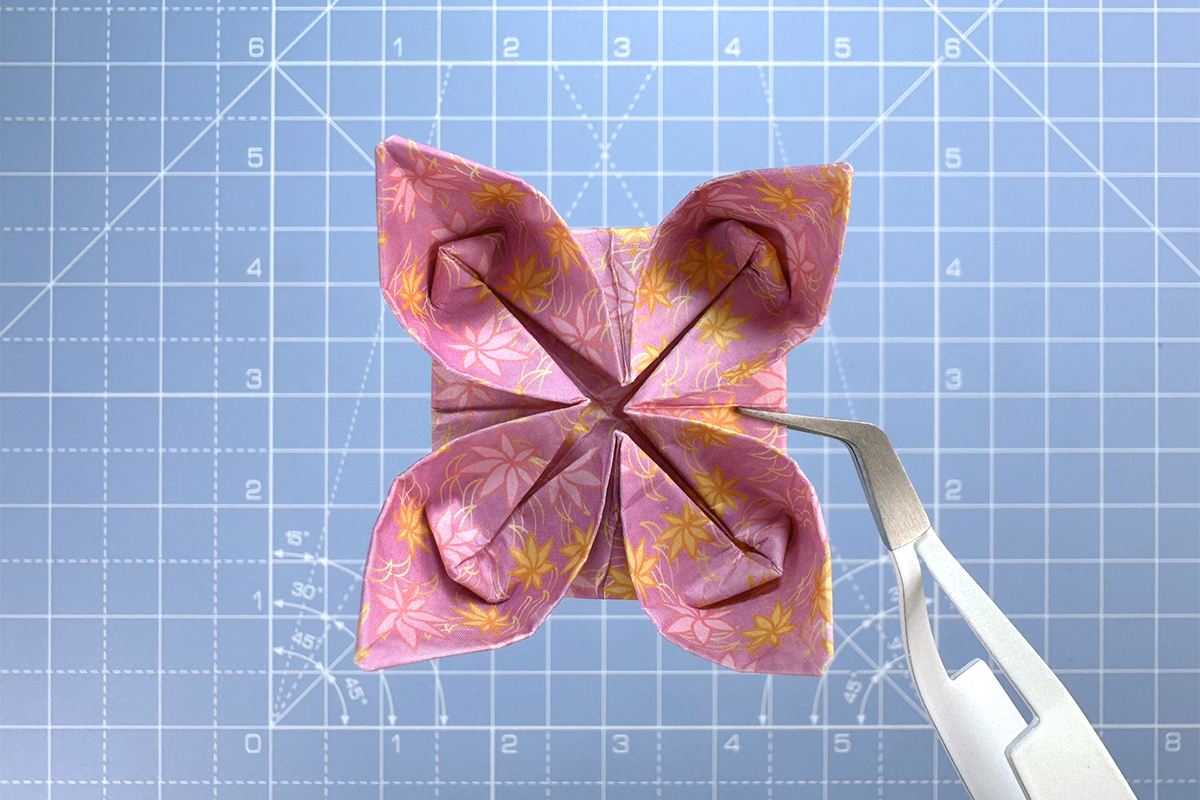
Step 11
Repeat step 10 on the other three sides.
There is one further set of petals, which you can fold out normally from the bottom if you like to form a flatter base. I’ve opted not to do this as I prefer the rounded, more natural look.
Step 12
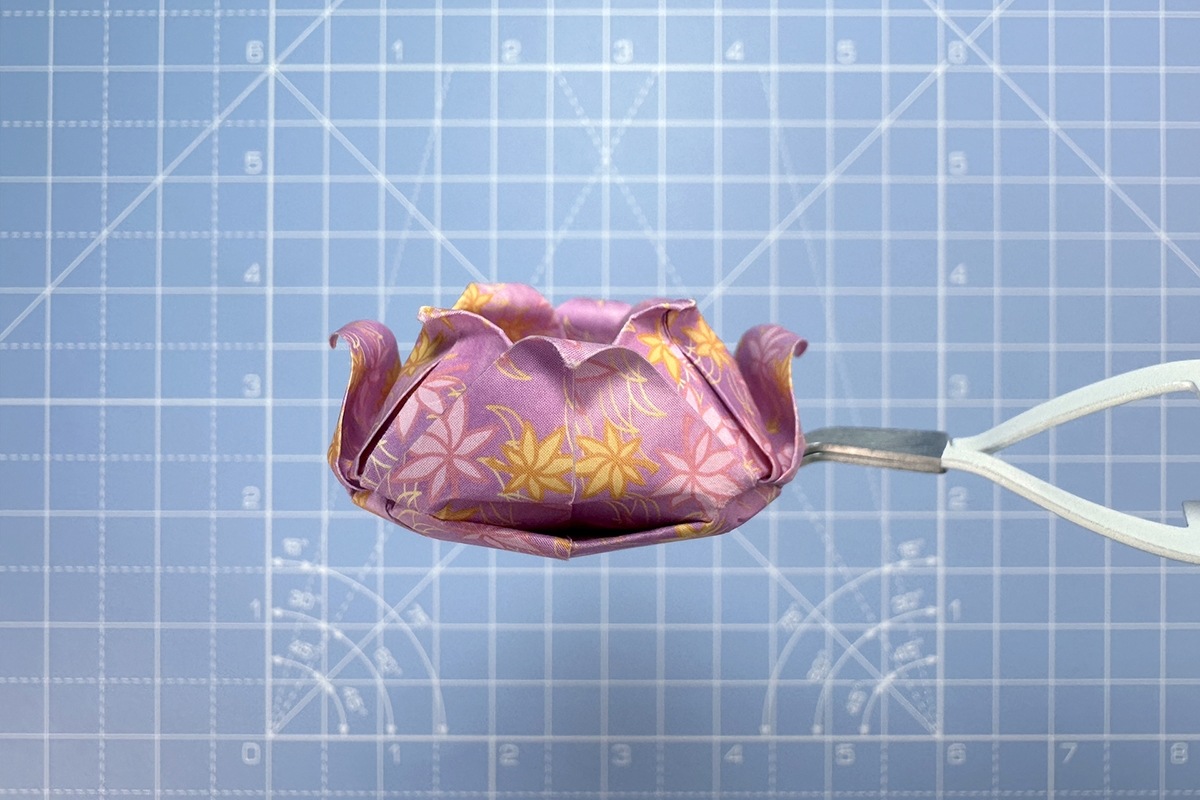
Finally, for a bit of extra pizazz, curl the petals outwards if you fancy. You can do this by rolling the edge of the paper with your fingers, or curling the edge of the paper around a cocktail stick.
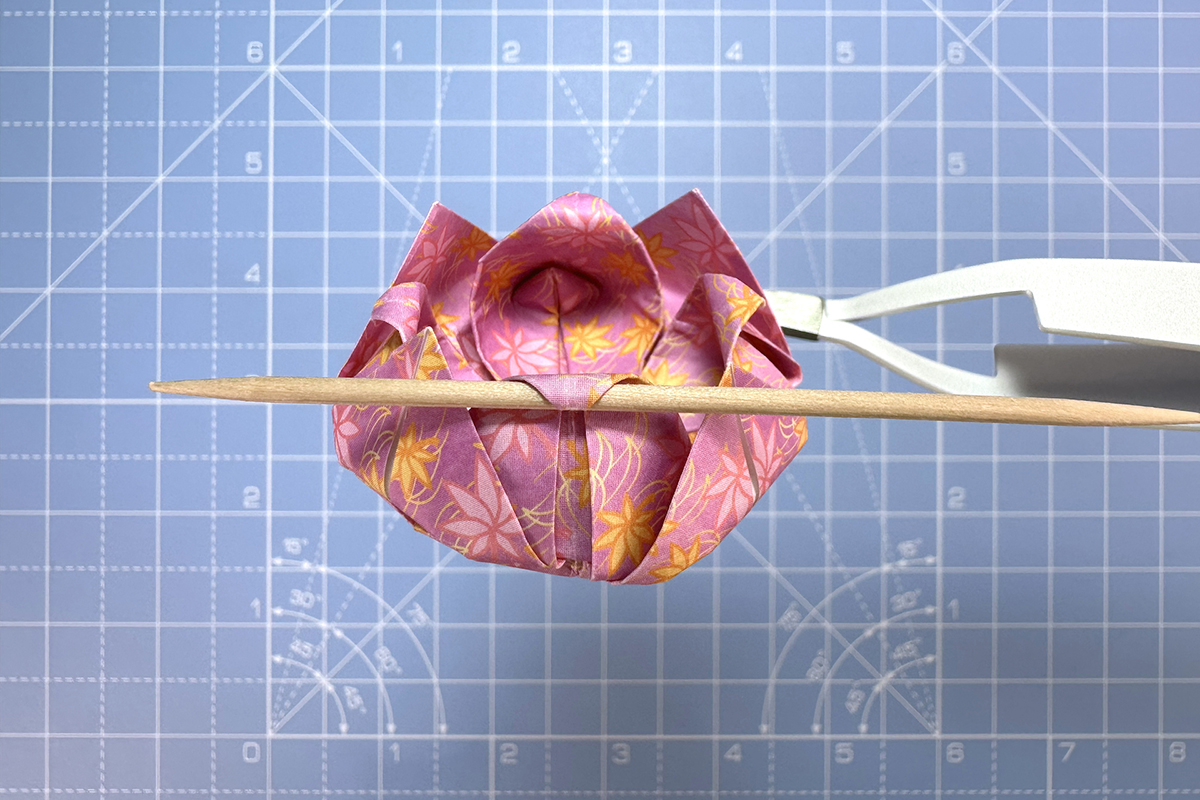
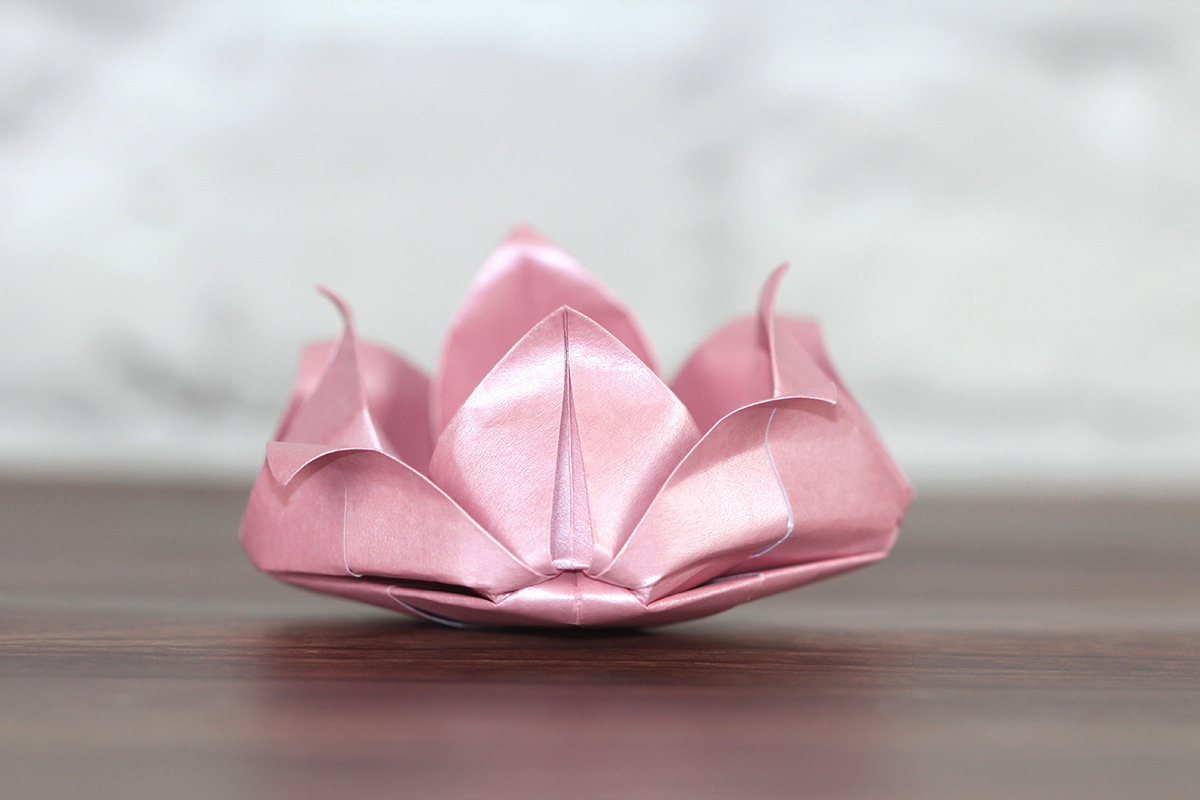
Congratulations! You’ve completed an origami lotus.