Oil pastels have a reputation for being tricky to use, but knowing a few basic oil pastel techniques can make things much easier!
Like any medium, familiarising yourself with the way your materials work is all part of the learning process.
Oil pastels have a thick texture, rich pigments and colours that can be blended together easily. However, the buttery consistency of the pastels can make it difficult to produce precise or detailed drawings.
If you get creative, you can produce a wide variety of different effects with oil pastels and create dramatic works of art.
In this guide, we’ll show you helpful oil pastel drawing techniques to make your artwork stand out! We’ve included some simple tips for beginners as well as methods for more experienced artists to explore.
17 best oil pastel techniques
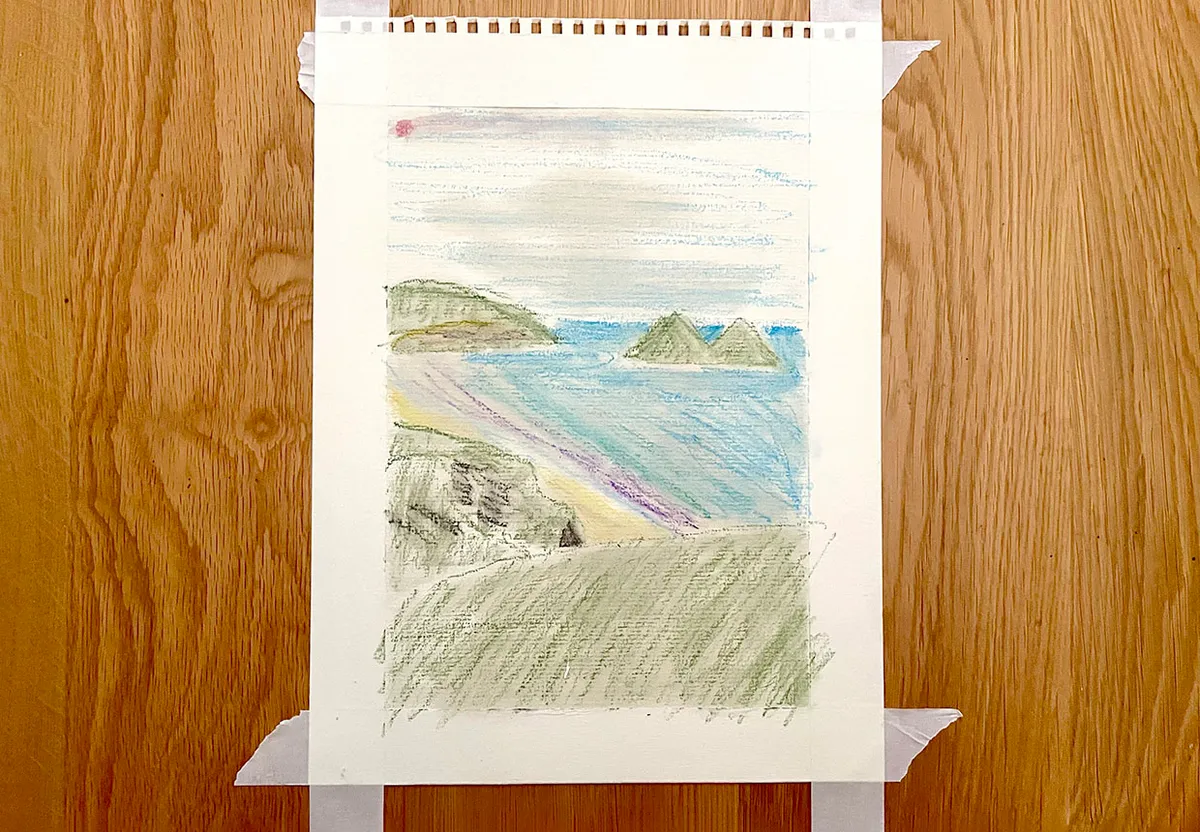
1. Underpainting
If you’re a painter, then you’ve probably come across the term “underpainting” before.
An underpainting is an initial layer of shape and colour which you build on. It provides a rough structure for the rest of your drawing. If you like, you can blend the colours together using a solvent to create a wash effect.
2. Blending
Oil pastels are super blendable and there are lots of different ways to get the perfect gradient, from rubbing the pastels with your finger to applying solvents.
Even baby oil can be used to blend your oil pastels. Learn how to blend oil pastels.
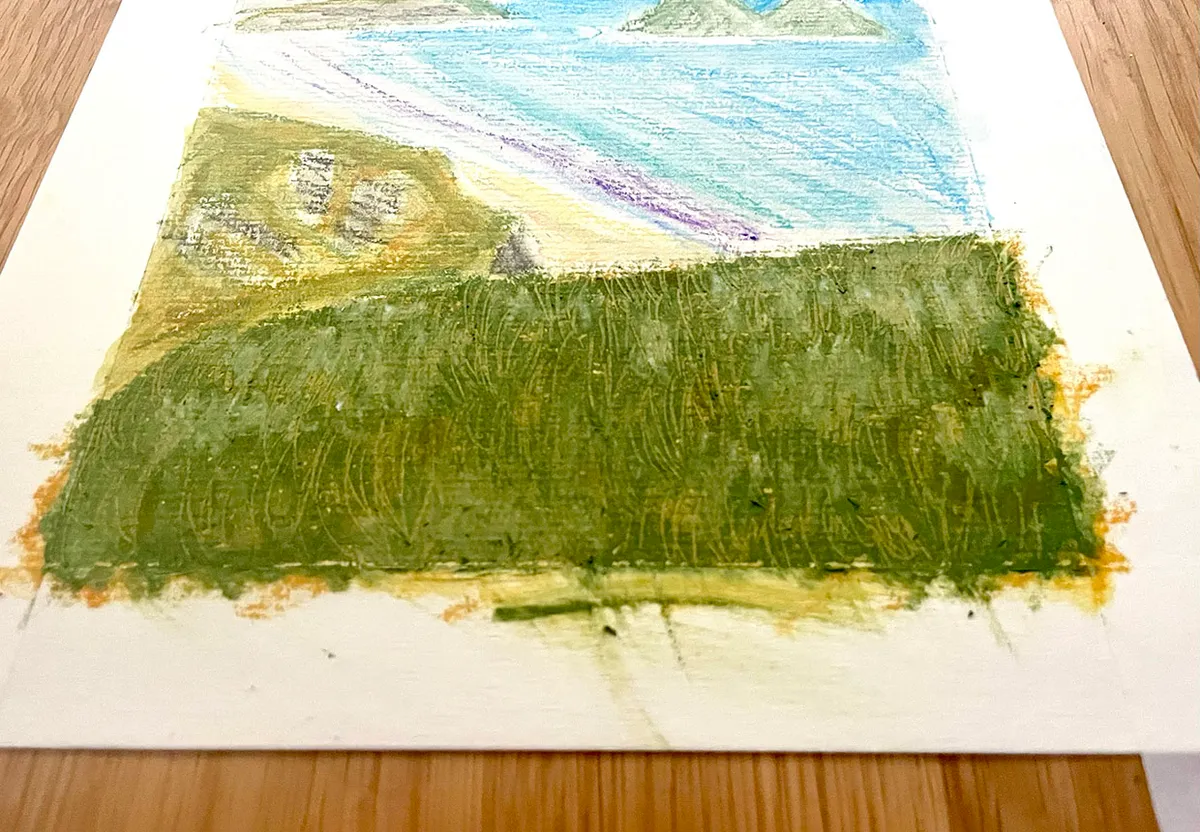
3. Sgraffito
Sgraffito has Italian roots and means “to scratch”. In oil pastel drawing, you can scratch through the top layer of your drawing to reveal the underlying colours.
This technique can be an effective way to bring texture into your art and pick out small details. Here, we've scratched away green pastels to show the yellow pastel layer underneath.
4. Stippling
Stippling is a technique which involves building up colours gradually using little dots. It’s a time-consuming method, but the finished results can be stunning.
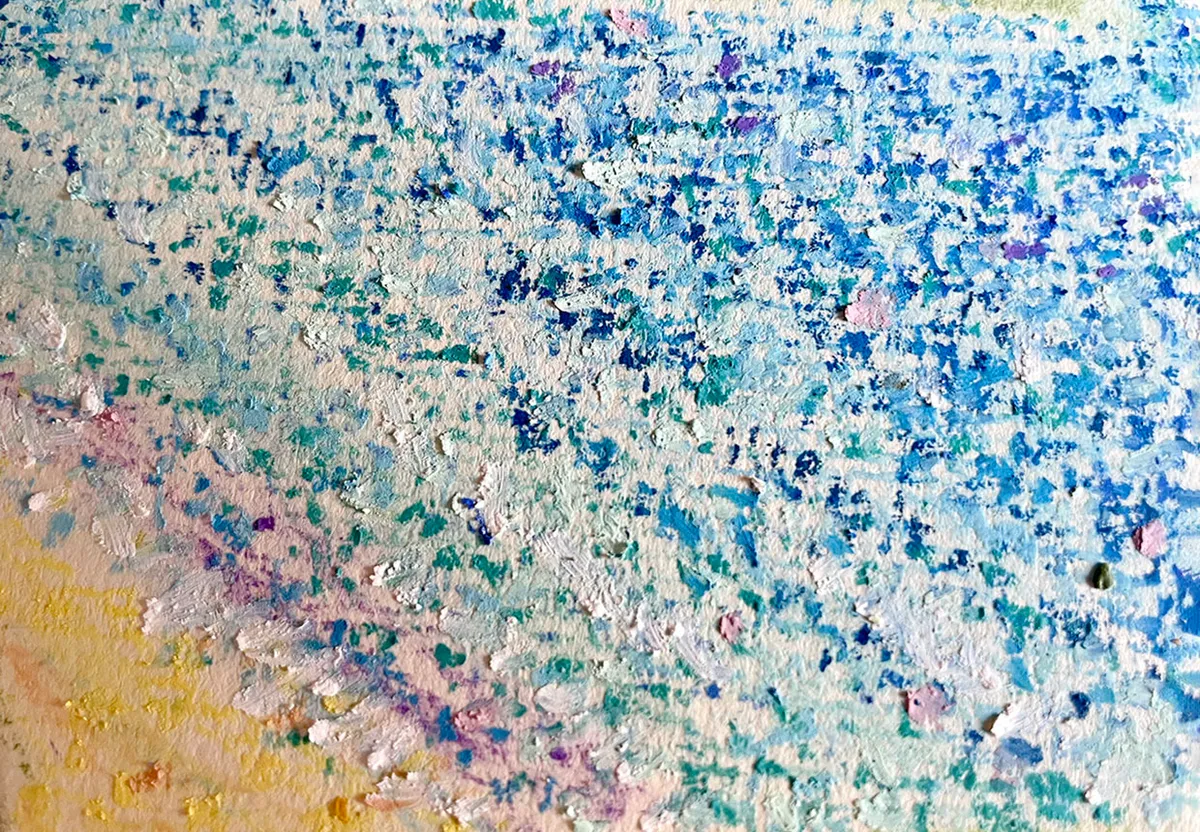
5. Scumbling
Scumbling is a technique which uses swirling motions to give your drawing a unique texture. It’s also a brilliant way to blend oil pastels together.
Everything you need to know about oil pastels
If you’re new to oil pastels, you need a handy resource to help you get up to speed! Take a look at our how to use oil pastels guide, which covers everything from techniques to materials.
6. Layering colours
Due to their thick consistency, it’s possible to build up layers of colour using your oil pastels. This needs to be done carefully, as the top layers will merge with the colours underneath.
Sometimes this can look good, but if you use too many colours your drawing can end up looking muddy. If this happens, you can either scrape away some of the oil pastels or lift them carefully using mineral spirit or baby oil.
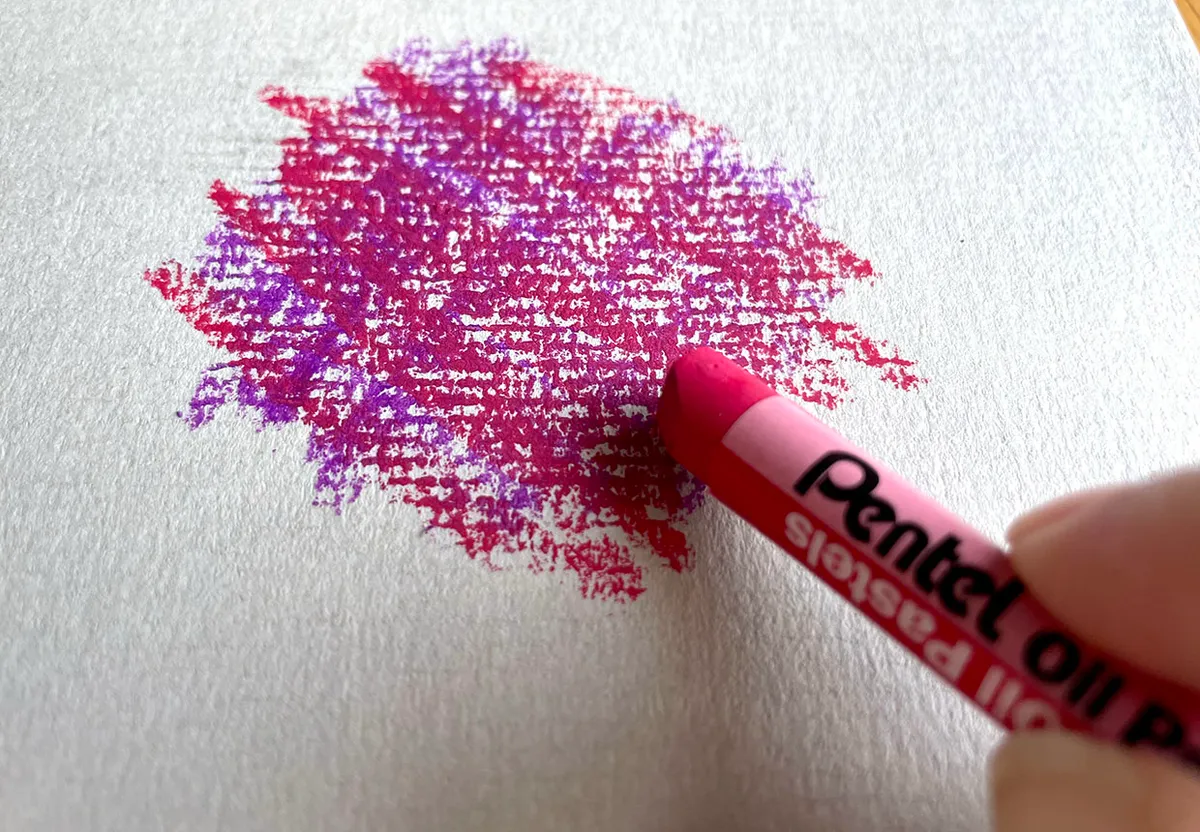
7. Mixing colours
You can mix colours by simply rubbing them on top of one another until you have the desired effect. You can also break off chunks of your pastels and blend them together on a palette.
Be careful not to combine too many colours in one spot or they can end up looking dull and unappealing.
If you don’t want to risk making a mess of your drawing, keep a scrap of pastel paper to hand to test your colours before using them on your art.
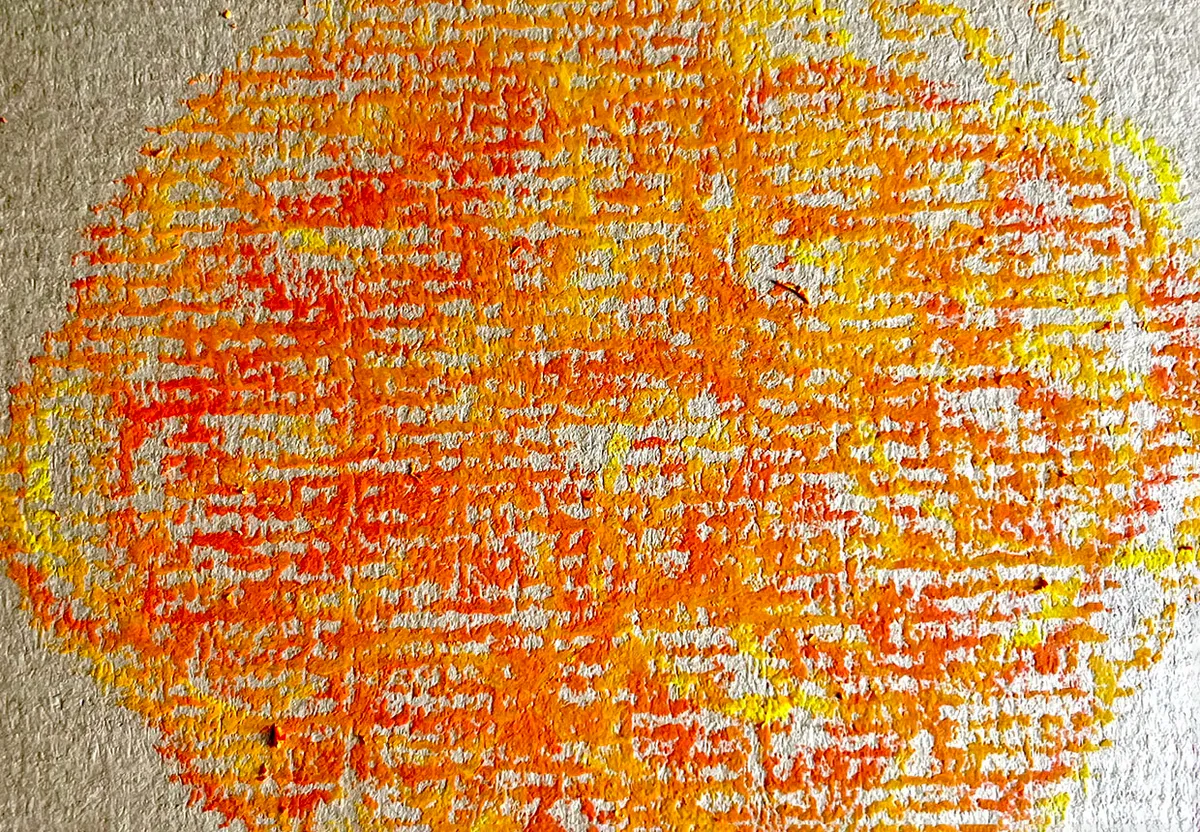
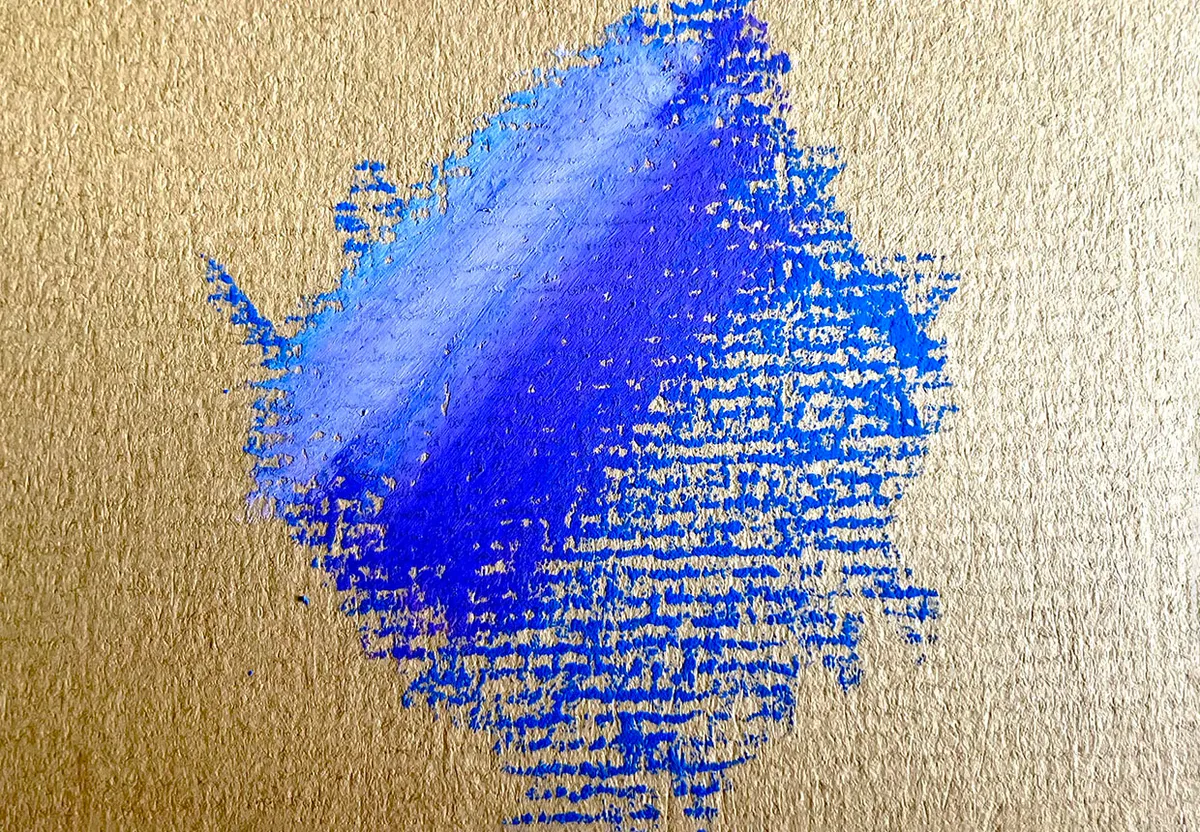
8. Texture rubbing
Sometimes the texture of the paper can do some of the heavy lifting for you! Tilt your pastel and rub the side lightly over the paper.
Some of the pigment will stick to the surface, but you’ll still see the texture of the paper underneath.
9. Heat
According to Fine Art Tutorials, you can release even more pigment from your pastels by heating them up.
They recommend holding the pastel near a lit candle or close to a radiator for best results.
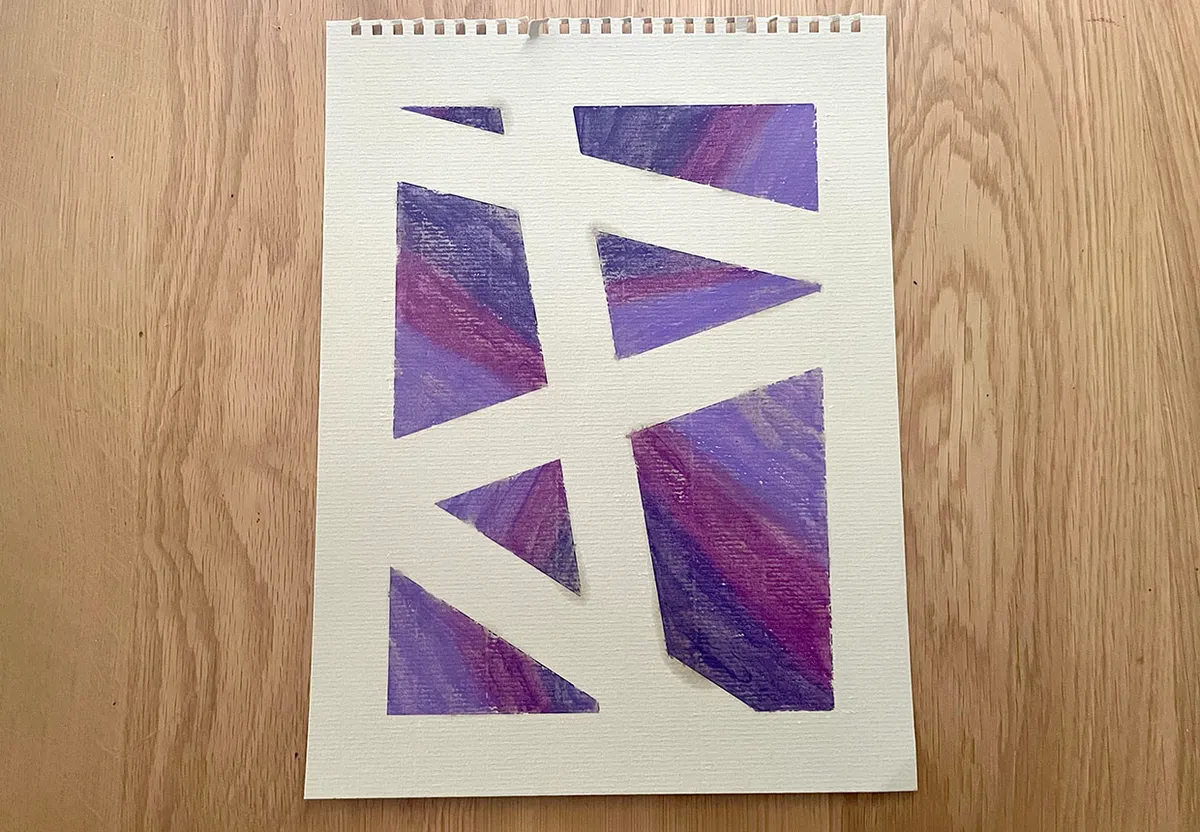
10. Masking
Masking is a clever technique that can be used to produce lots of interesting effects. You can use masking tape to create crisp borders or to protect sections of your paper.
It’s very satisfying to peel it away and reveal your finished artwork!
11. Oil pastel resist
Have you ever tried wax resist art? Traditionally, you would draw a picture using a crayon or a candlestick, then paint over the top using watercolours. You can use oil pastels for this too! Give it a go and see what you can create.
12. Fixative
Fixatives can be used to protect your finished drawing and prevent smudging, but did you know they can also be used while you work on your art?
Fixatives can be used to stop your layers from blending together, which can be a real hassle for oil pastel artists. You’ll just need to check the description of the fixative you’re buying to see whether it’s designed to be used on your work in progress.
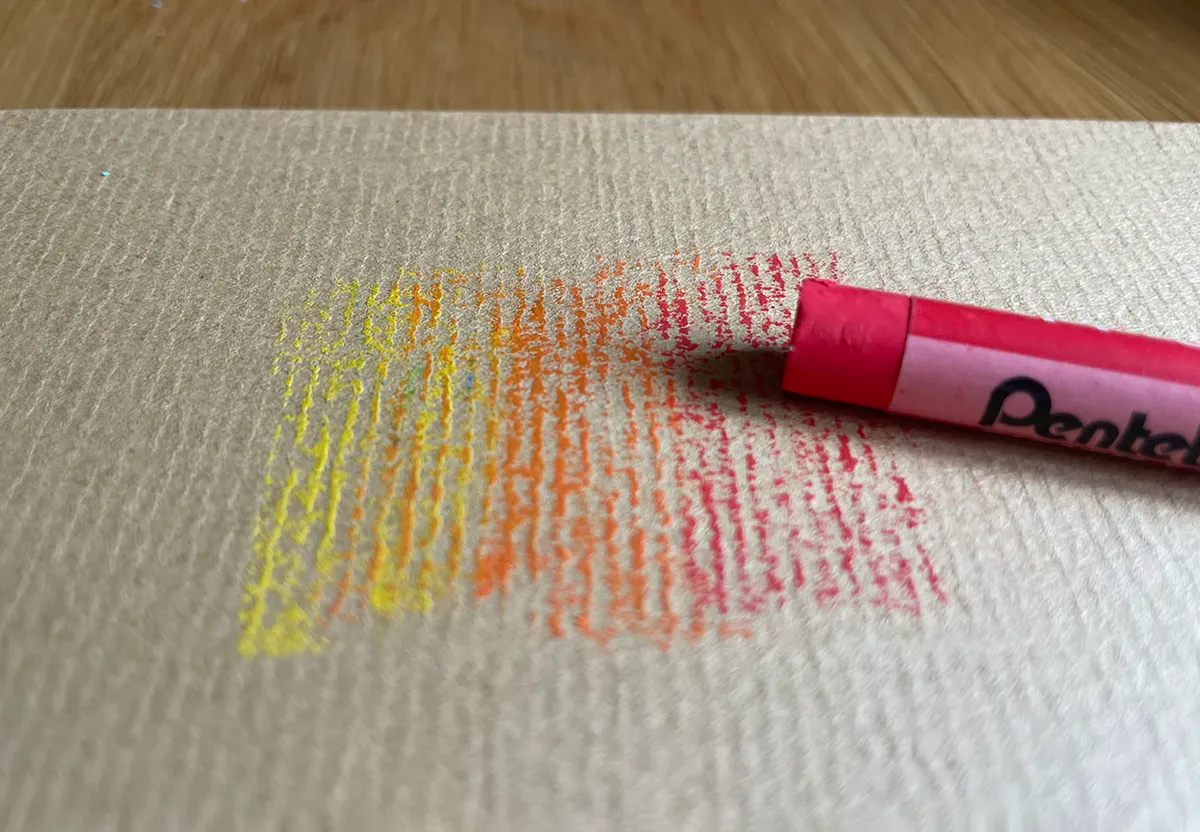
12. Mark making
Creative mark making can give your oil pastel drawing real texture and a sense of movement. Try varying the length of your pastel strokes and see what different effects you can create with short or long lines.
You can also make your marks directional so that they follow the shape or outline of whatever you’ve chosen to draw.
13. Thinners
Thinners can be used in a variety of ways in pastel art. You can use them to blend colours together or to thin your pastels so you can brush them across your paper like paint.
There are solvents such as turpentine which can be used to thin oil pastels, but these often have a very strong odour. Look for odourless thinners – they work in the same way and smell much better!
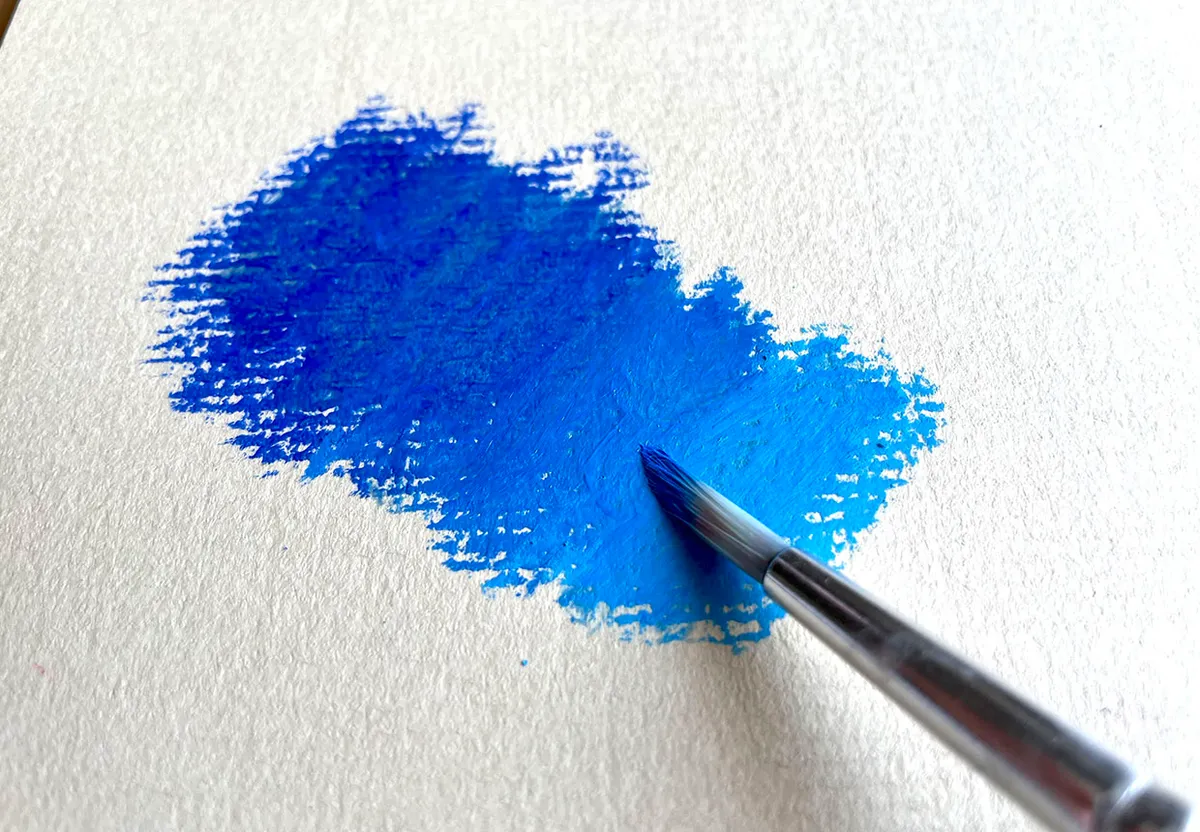
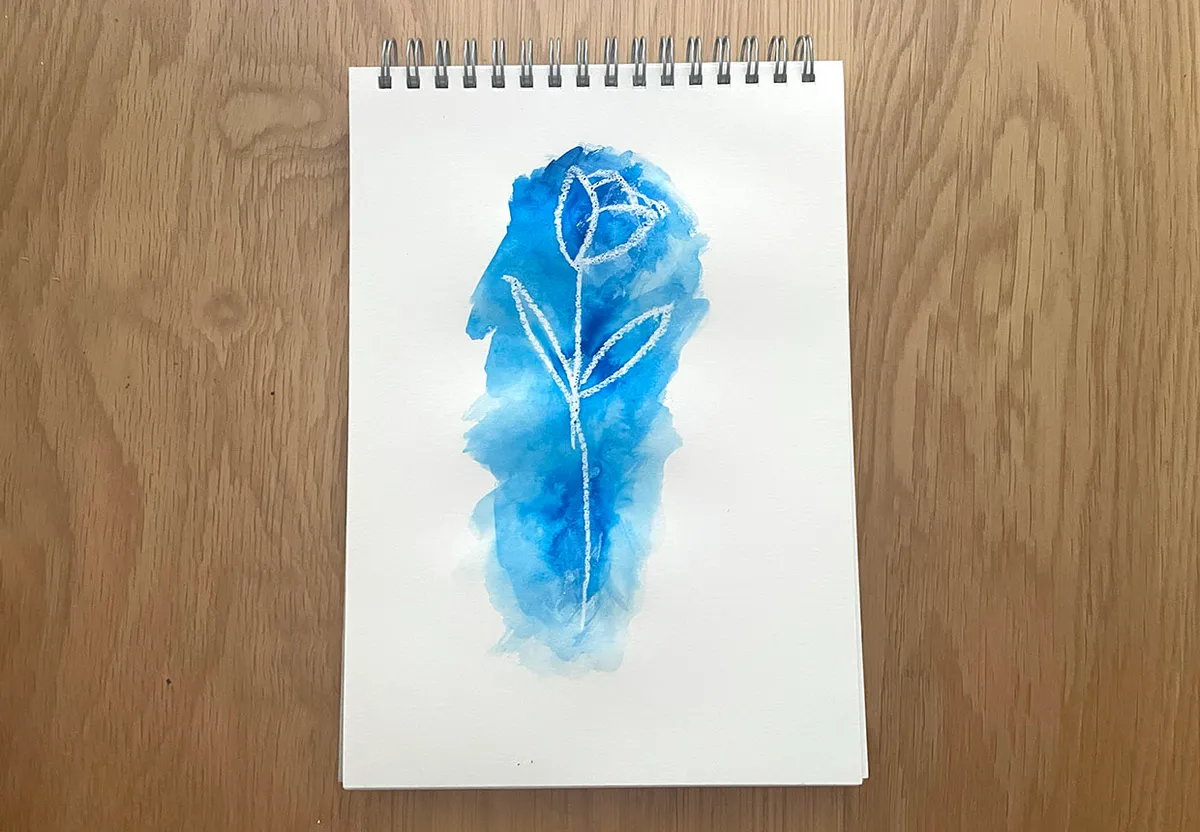
14. Watercolour effects
You can get your oil pastels to behave like watercolour paint with this clever technique from art supplier Mont Marte.
Draw onto the paper with your pastels, then dip your brush in water and blend for beautiful watercolour effects.
15. Glazing
Use linseed oil or turpentine to create thin washes of colour called glazes. You can build up several layers of glazes to intensify the colours and add depth to your drawings.
This is a simple technique, but it’s highly effective!
16. Cross hatching
Cross hatching is a good technique to try if you want to layer up different colours before blending them together.
Alternatively, you can leave the lines showing to bring additional texture into your artwork.
17. Chilling
We’ve explored using the power of heat to release the pigment from your pastels, but chilling your pastels can have benefits too.
If you’re struggling to achieve precision in your oil pastel art, this tip is for you! Staedtler recommends chilling your pastels in the fridge before you sharpen them.
This means that the pastels are firmer and less likely to crumble as you sharpen them, resulting in a nice pointed tip for detailed work.
Learning oil pastel techniques will improve your artistic style
Oil pastels have a reputation for being difficult to learn, but as with any medium, it’s important to master the basic techniques in order to produce successful drawings.
These pastels have a beautifully thick texture, vibrant colours and can be blended together smoothly.
While oil pastels aren’t suitable for precise drawings, they can still be used to produce captivating works of art.
The tips we’ve included will give you a foundation to build on so that you can take your skills to the next level.
How to choose the best oil pastels
Choosing the right art materials for your needs doesn’t need to be daunting!
Whether you’re a beginner looking for your first set or an artist looking to upgrade, get started with Gathered’s guide to the best oil pastels.