All products were chosen independently by our editorial team. This review contains affiliate links and we may receive a commission for purchases made. Please read our affiliates FAQ page to find out more.

DIY constellation string art

Explore the stars with Lucy Crick's DIY string art!

Try 6 issues of your choice of craft magazine from just £9.99

Published: February 19, 2021 at 8:04 am

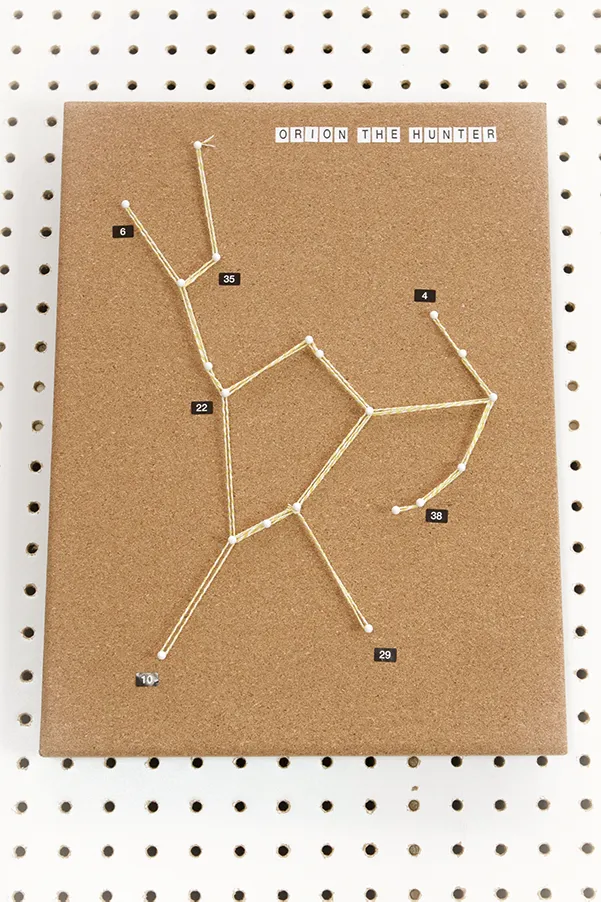
String art is fun, simple, educational and suitable for all ages which is why we love it. Plus it's a super affordable craft that will keep the kids entertained for hours. The lovely Lucy Crick has created this DIY string art tutorial which will teach you and the kids the world of constellations. To make this DIY string art project suitable for your little ones follow Lucy's tutorial to step 3 and then let them thread the string in step 4. You may want to add a little super glue into the pins so they can't be pulled out.

For more affordable projects to do with your family head to our craft ideas for kids which includes everything from pipe cleaner crafts to toilet roll creations.

Materials

DIY string art

You will need:

  • String
  • Pins
  • Cork board

Step 1

Paint your corkboard black or leave as it is. Choose your constellation and plot it out using a white pen. You can make larger marks if you like, which look

Step 2

diy string art Step 2

Stick your pins into the star points you’ve made.

Step 3

diy string art Step 3

Tie a knot in your string. Take the first pin out and put it through the string and back into the board, so the knot keeps it in place.

Step 4

diy string art Step 4

Pull the string to your next pin and wrap it around so it remains taught. You can loop back on yourself to make a thicker line with more string for a fuller effect, but bear in mind you might have to go back on yourself to create the right linking lines for your constellation too. So it may take a little adjusting to find the right path.

Step 5

diy string art Step 5

Once you reach your final star (pin), tie the string around it in a knot and trim for neatness. Add a few more white pen stars if you want to give your map context. Your DIY string art is complete!

Step 6

diy string art Step 6

For an extra touch, you can add your constellations name (or maybe the name of your little helper!). If you’ve fallen in love with the stars after this project then check out our 31 constellation crafts round-up.

We hope you’ve enjoyed making your DIY string art. Head to our paper crafts for kids for more fun, family activities.