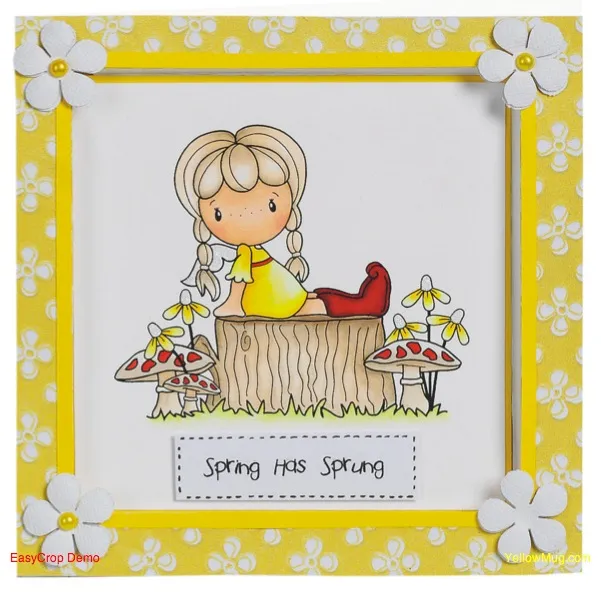
If you're looking for new ways to add extra interest to your card designs, then give a frame card a go. A frame card consists of a layered frame that your stamped panel sits behind, to create a sense of depth within your make.
When creating a frame card, choose a thicker card - 220gsm works well - but not too thick, as the thicker your card, the harder it is to fold and crease. Similarly, anything lighter may be too flimsy. A bone folder will give sharp creases, and a guillotine (paper trimmer) will make cutting your panels a lot easier. Cards that have the folded edge at the top are more stable than cards with the folded edge at the side. Bear this in mind if you want to use embellishments, as these can be heavy and may cause the card to fall over. Here's a handy tip: Making templates from scraps of card and writing down the sizes for layering onto them will save you time. They can be used for reference again and again.
Want more freebies? Take a look at our ever-growing collection of free patterned papers, there are lots to choose from and there are lots of different themes. We love these free summer meadow papers and these free cactus papers! If you’re in a crafty mood, why not check out the best glue gun and best die-cutting machine. Thinking about buying a craft printer? Check out our review of the best printer for card making. We love seeing what you make, so don’t forget to share your craft projects with us on Instagram, Facebook, or Twitter, too!
How to make a frame card:
To make the frame card, you will need:
- Card
- Bone folder
- Scissors or paper trimmer
- Scoring tool
- Craft mat
- Metal ruler