Sketch the Layout and Proportions: The Body and Face
Step 1
Layout your A3 paper in portrait orientation, so that your bat drawing will fit onto the page and make the most sensible use of the space.
Prepare to lightly sketch the basic shapes and proportions. Use a sharp 2B pencil for this and use a very light pencil pressure (press very lightly with the pencil) so that you can rub out any unwanted lines easily.
First, draw an oval shape for the body. I like to think of this shape as an upside-down egg. Place the body in the bottom half of your page so that you have plenty of space to draw the wings later.

Step 2
Mark out a small circle inside the egg shape. This will be a guide for the facial features.

Step 3
Sketch the ears on either side of the circle so they point upwards from the egg shape.

Step 4
Draw two small dots for the eyes. These are placed at the very base of the inner corner of the ear. The eye should sit in the lower half of the circle. You can erase your guide marks as you go, or erase them later.

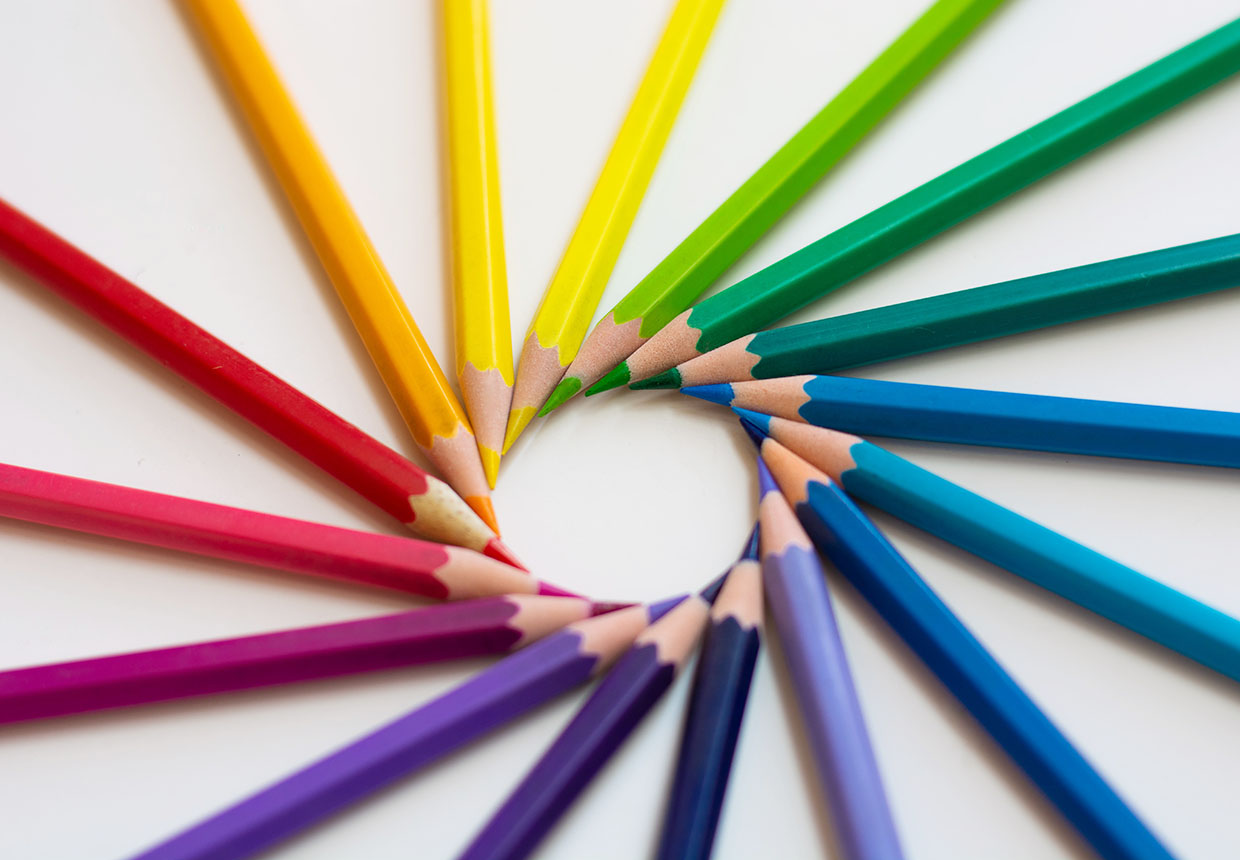
The Best Colouring Pencils for Artists
There are lots of brilliant, high-quality pencils out there. Here are some of the best colouring pencils to use for this drawing.
Step 5
Draw a slightly curved, horizontal line for the top of the nose. This should sit in between the eyes, just slightly lower. Add two small comma marks for the nostrils underneath the horizontal line.
Step 6
Draw the mouth, which is like a ‘w’ shape, with two sharp front teeth protruding out.

Step 7
Finally, add a small, slightly curved horizontal line to mark the bottom of the chin. This should sit at the base of the circle.
Sketching the Layout and Proportions: The Skeletal Structure
Step 1
Each bat wing is actually a thin layer of skin stretched between long finger bones and a thumb! The skeletal structure isn’t all that different to a human hand.
Step 2
Start by drawing a zig-zag made up of three lines of different lengths, a bit like a lightning bolt, coming up and out from the shoulder of the bat. Your first line coming from the body should be the shortest. The second line will be longer, and the third line should be the longest. Repeat this for the other wing as well.

Step 3
Draw a little claw at the joint where the second and third lines meet. At the same point, draw 2, long and slightly curved lines coming out to form the structure of the rest of the wing. Repeat this for the other wing as well.
Step 4
Now draw two straight lines at the bottom of the body for the legs.
Sketching the Layout and Proportions: Drawing the Wings
Step 1
Draw the shape of the skin layer that stretches over the wing bones and the leg bones. Keep your lines curved to meet the end of each bone.
Repeat these steps for the other wing.

Step 2
Draw a vertical line going down between the legs of the bat and draw the outline of the shape of the tail.
Sketching the Layout and Proportions: Refine Your Sketch
Step 1
Now is the time to tidy up your sketch before you progress to adding colour. Rub out any excess or unwanted lines and amend any proportions if you need to.
Also at this stage, you can refine the detail of the skeleton. Use the structural lines you drew for the wings previously as the framework, and draw slightly more detailed bones.

Adding Colour to the Wings: Yellow and Orange
Step 1
Gradually build layers of colour to build rich tones of yellow and orange on the wings.
Start with the lightest colour first: Lemon yellow. Colour all the areas in yellow that you eventually want to be orange (like the wing bones and the markings on the wings).
Keep in mind the direction you shade with your pencil and try to keep your marks going in the same direction as the lines of the wing. Also, consider your pencil pressure (how hard you press).
Try to keep a light pencil pressure and gradually increase the intensity of the colour by going over the area several times.

Create stunning textured drawings with cross hatching
There are lots of amazing ways to use cross hatching to strengthen your drawing skills. This Gathered article shows you how you can use the cross-hatching technique to build tone and texture.
Step 2
Once you’ve marked your yellow areas, now colour over all the lemon yellow with the next layer of colour: Cadmium yellow (or a warmer yellow).

Step 3
At this point, start to define the fur of the body by using a flick motion with your yellow pencil around the edge of the body where it meets the wing. This will create a fur-like edge that looks soft and fluffy.

Step 4
Follow the same process with the next layers of colour: reddish orange, vermillion red, and then scarlet red.

Step 5
Using your deepest red tone, (scarlet red) add some cross-hatching marks to give texture to the tail and the bottom of the wings.


Adding Colour to the Body and Face
Step 1
Gradually build the texture of the furry body by building layers of colour, starting with the lightest colour first, and shading with soft hair-like marks.
Use a cream-coloured pencil to put a base layer of colour down all over the body and face. Try and avoid smudging the colour with the 2B pencil marks, and so erase these gently as you go along.
Start to build layers of colour and add another layer of Pale Yellow.

Step 2
Now, use a light brown to start to draw defined hair-like strokes with the pencil to create a furry texture.

Step 3
Keep following the same technique using colours of increasingly darker tones like cadmium orange.

Adding Colour to the Wings: Black
Step 1
Gradually build a deep and dark black colour for the wings by layering several different colours. Start with a greyish-black layer and carefully colour the areas on the wing that you want to eventually be black.
Use a light pencil pressure at this stage and carefully refine the shape and edge of the black area as you go.

Step 2
Now you are confident of the areas you want to be black, start to go over the area using the same greyish-black colour, but increase your pencil pressure to make the colour more intense.

Step 3
Use the side of the pencil lead to softly shade on top of the yellow colour on the wings. This will help the colours to merge seamlessly together.

Step 4
Next, go over the grey with Prussian blue. Use the side of your pencil to achieve a mottled texture and increase the darkness of the colour.

Step 5
Finally, go over the blue layer with a true black pencil, again, using the side of the lead. You should now see how building these layers of colour has created a rich and deep, dark black.

Taking a Step Back
Step 1
Take a moment to step back and look at your bat drawing as a whole. Are there any areas you would like to refine or amend?
At this stage, I felt the black of the wing wasn’t well balanced with the light tones of the body or the wings, so I added some deeper brown and orange hues to balance the drawing.

Step 2
Now use the electric rubber to lift layers of pencil from the wing and reveal tiny bright white spots.
Keep the spots very small and run along the areas where yellow and black meet on the wing. This adds a magical and delicate feel to your drawing and brings the bat to life!