All products were chosen independently by our editorial team. This review contains affiliate links and we may receive a commission for purchases made. Please read our affiliates FAQ page to find out more.

Create stunning textured drawings with cross hatching

Grow your pencil drawing skills by adding cross hatching to your repertoire. Learn how to master this essential technique with our practical guide

Try our magazines – get 6 issues from just £9.99!

Published: February 26, 2024 at 3:24 pm

If you’re looking to improve your pencil drawing skills, cross hatching is a brilliant shading technique to explore.

Cross hatching adds texture to your drawings, creating contrast and depth, making the technique an essential component for any sketch artist.

Cross hatching can also help to give you a better understanding of how to use light and shade in your drawings, as well as creative ways to add texture to your artwork.

When you’re a new artist defining your unique drawing style, it’s crucial to explore a variety of shading techniques, and cross hatching is no exception. Cross hatching looks tricky, but it’s actually very simple to master once you’ve learnt a few basic techniques. In this guide, we’ll show you how to cross hatch like a pro!

Read on to learn more about cross hatching art and have a go at a still life drawing project.


undefined

What is cross hatching?

Cross hatching is a style of drawing that uses criss-crossing lines to create shading and a sense of depth. The finished result often looks like a grid.

Cross hatching is a drawing style that’s been popular with artists and illustrators for centuries, as the technique creates striking effects with just a few lines. You can use cross hatching to draw everything from portraits, to still lifes or landscapes.

You can use pens or pencils for cross hatching, so it’s worth experimenting with both to see which you prefer.

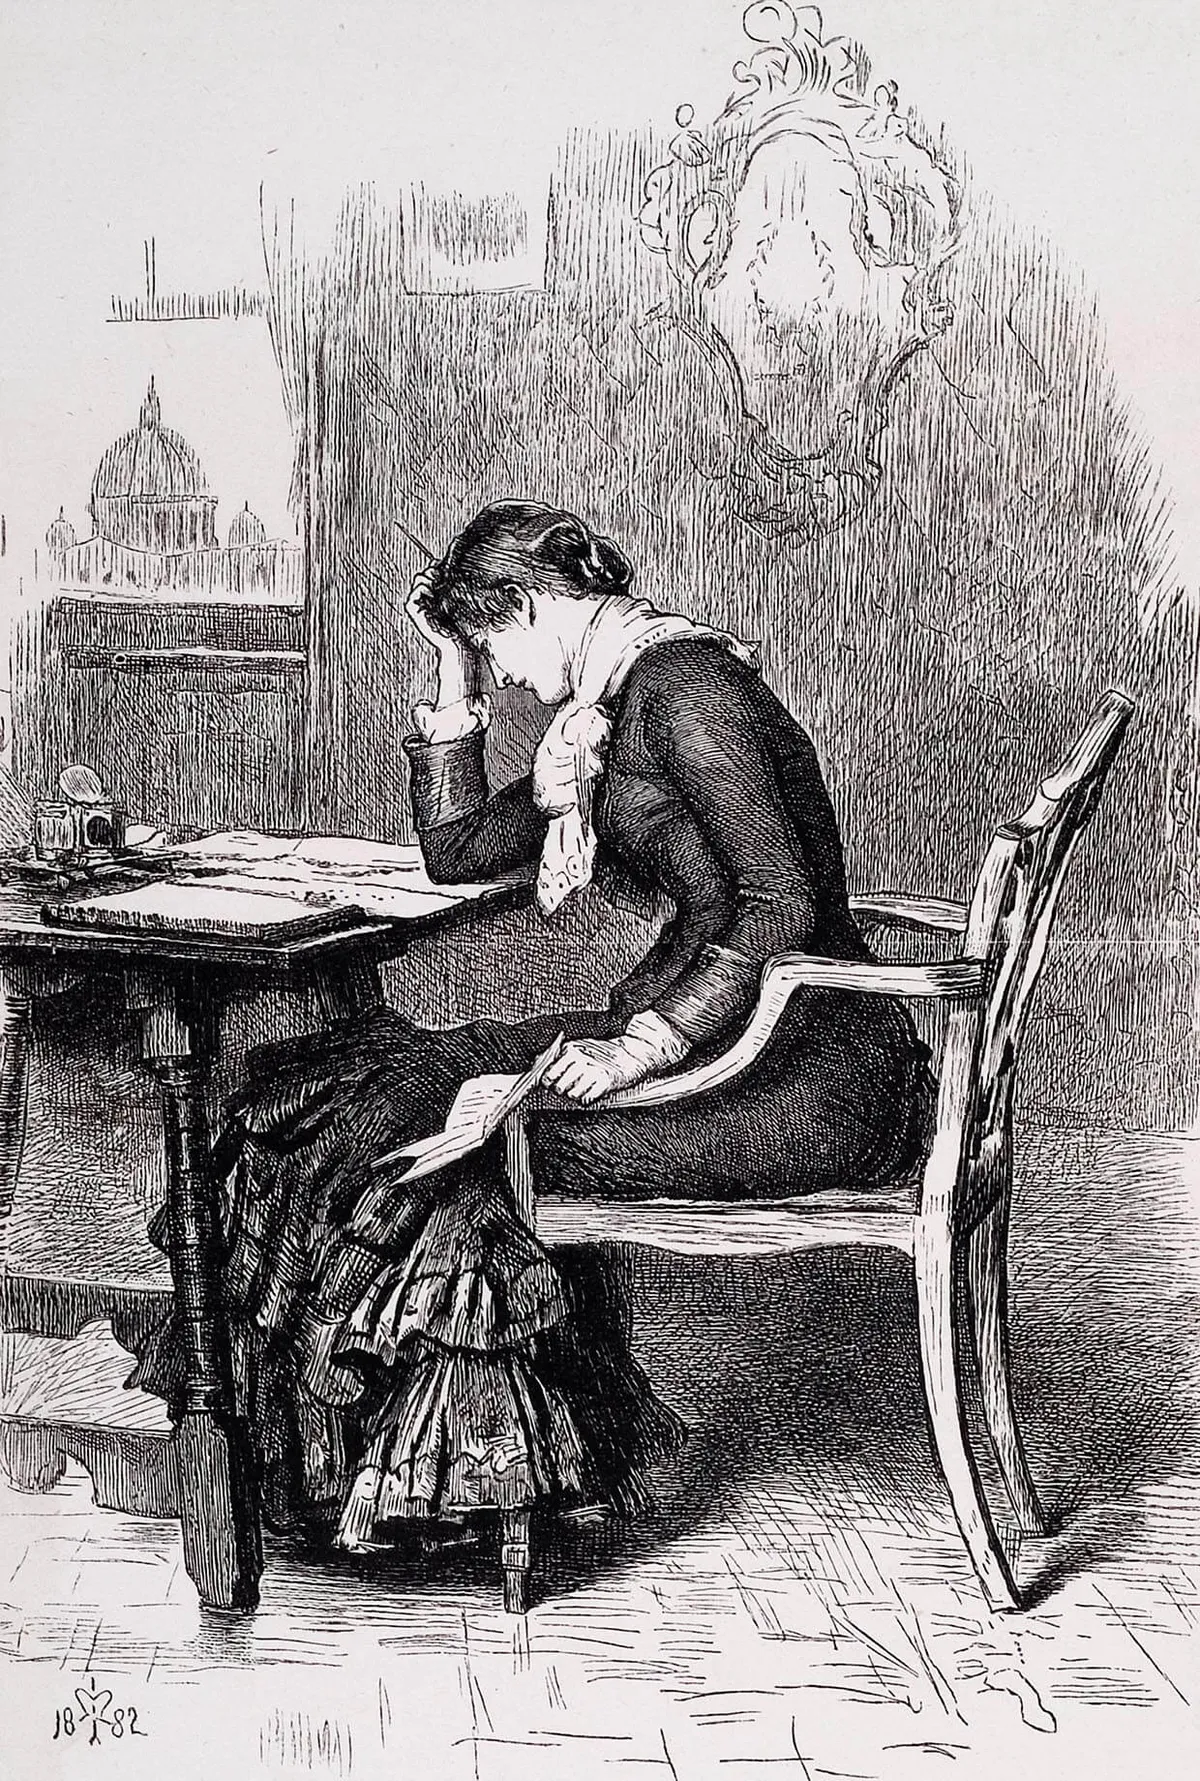
The drawing below is by the 19th century artist John Everett Millais. It’s a really good example of how cross hatching can be used to create a detailed drawing. In this drawing, Everett Millais has used a combination of hatching and cross hatching marks with striking results. Try imitating his style in your own cross hatched drawings!

Kept in the Dark - When the Letter was completed she found it to be one which she could not send,1882. John Everett Millais (d.1896) and Joseph Swain (d.1909). - Unsplash/Birmingham Museums Trust

What’s the difference between hatching and cross hatching?

The term hatching is used when you draw lines in one direction only. Cross hatching is when you add lines perpendicular to your first set of lines, creating a cross.

Combine hatching and cross hatching together to maximise the depth and texture of your pictures. Generally speaking, hatching is best used for lighter areas of a picture.


Top tips for cross hatching

1. Practise first

Before you dive into your first cross-hatched drawing, have a go at outlining a shape first, such as a sphere or a cube. Try using both hatching and cross-hatching to create a 3D effect.

2. Create shading

When you’re cross hatching, it’s important to think about the positioning of your lines. If you keep the lines far apart, your drawing will look lighter, while closely drawn lines can create shadows.

3. Choose your values

Before you start cross hatching, create a value scale. Draw a line of squares and draw into them to create a range of tones from light to dark. Top tip: make darker shades by adding lines slanted at a different angle on top of your previous lines.

4. Vary your marks

The lines don’t need to be straight, so don’t feel as though you have to draw in one continuous line.

5. Play with the angles

Your lines don’t have to be rigidly horizontal or vertical, either. Switching up the angles can really bring your drawing to life!

6. Follow the lines

If you’re drawing a curved object such as an apple, bend your lines to reflect the shape of the object that you’re drawing. This will add dimension to your artwork.


How to become a better artist

Improve your sketching skills in minutes with our top 20 quick drawing tips.

7. Make monochrome art

Colours can be distracting when you’re trying to get to grips with the basics of cross hatching. Start with one colour for your first drawing, then move on to experimenting with a wider range of shades.

8. Fill in an outline

You can use cross hatching to fill in an outline – this is a good way to complete a drawing with just a few pencil marks and works very well for illustrations.

9. Thick and thin

Experiment with different line thicknesses on your drawing. Graphite pencils are great for this because you can use both the point of the pencil and the side of the tip. You could also try using fineliner pens in a range of nib sizes.

10. Think about your light source

When working on your drawing, think about where the light is coming from. For example, is the sun shining on the left of your picture? If so, then you’ll need to make the left side of your subject lighter than the right side. Understanding lighting will give your drawing depth.

11. Try speed drawing

Cross hatching can be a fun technique to try if you want to create a quick sketch, perhaps as a warm-up exercise before you get stuck into another project. Try giving yourself a time limit – it can really loosen up your drawing style.

Cross hatching materials

Before starting your first cross hatching art project, it’s a good idea to stock up on everything you’ll need to create a fabulous drawing. Check out our shopping list for some recommended supplies.

Draw an easy still life using cross hatching

You will need:

  • Drawing pencils or a fineliner pen (Graphite pencils are good for cross hatching)
  • Sketchpad
  • Mouldable eraser

Sketching an outline

Step 1

Choose your subject matter

First, decide what you’re going to draw. If you’re new to drawing, it can be easier to work from a stock image.

Take a look at websites such as Unsplash and Pexels for inspiration. These websites have lots of great free photos for you to download.

If you’re a confident artist, you could choose to draw a still life scene. Fruit is always fun to draw, as it has interesting shapes to explore.

For this crosshatching tutorial, we’re going to draw a still life scene of some fruit on a cloth for added texture. Set up your own version in front of you before you get started.

Step 2

Create a value strip

This is an optional step, but worth trying if you’re new to cross hatching. Draw a set of squares in a line and start to fill them in using hatching and cross hatching.

In art, the range of shades that a colour can be is called its value. Build up your pencil marks so that you have a strip with shading ranging from light to dark to create a shade’s value. Add lines at different angles to create your darkest squares.

This value strip exercise will help you to understand the colour range of your drawing and how to shade its lightest and darkest areas.

Cross hatching value strip

Step 3

Lightly sketch the outline of your drawing

Draw the outline of your picture using light pencil marks. It’s worth doing this even if you’re planning to use a pen for your cross hatching art, as it gives you a good structure to build on.

You can’t erase your marks when you’re drawing with a pen, so take the time to get your outline right before you work into it.

Step one – drawing the outline


Beat boredom with our easy drawing ideas

Sometimes you’re in the mood to draw, but just can’t choose a theme. Explore Gathered’s favourite easy drawings to get inspired for your next project.


Add light and shade with cross hatching

Step 1

Shade the lightest areas first

When you’re cross hatching, it’s best to start with the lightest areas and gradually layer up your pencil marks to achieve a shaded look.

Keep glancing up at what you’re drawing to check where the lightest sections should be. You may want to leave some areas completely blank.

Step two – cross hatching the lightest layer

Step 2

Gradually add the mid-tones

When you’re happy with your first layer, study your still life or reference photo to determine where you need to put your mid tones.

Continue to hatch and cross hatch to darken those sections of the drawing.

Step three – cross hatching medium shading

Step 3

Vary the direction of your lines to add dimension

You don’t need to stick to straight lines on your drawing, so have a go at curving them too. Your hatching and cross hatching can reflect the shape of the object you’re drawing.

The lines don’t need to be continuous either – you can break up the lines to add interest to your drawing.

Step four – varying the lines

Step 4

Build up the darkest sections to make your drawing pop

Look at the darkest areas of your drawing and work into those sections to create a sense of depth. Notice where there are areas of very deep shadow and keep adding lines until you’re happy with the shading.

Step five – hatching the darker shading

Step 5

Refine your cross hatched art with professional finishing touches

Complete your drawing with a few expert finishing touches. Step back and admire at your drawing from a distance.

When you’re too close to your artwork, it can be easy to forget the overall appearance of your drawing. Getting perspective from a distance will allow you to see any areas which need more work to make them darker or more textured.

If there are any areas which are too dark, you can take the shading back a notch by lightly rubbing the drawing using a mouldable eraser.

Step six – adding finishing touches to your drawing

Step 6

Enhance the outlines and textures

If your drawing still feels a bit flat, sometimes a little extra shading can bring the drawing to life.

Shade over your pencil marks to create a gradient effect. Don’t overuse this technique, but used in moderation, shading can greatly enhance cross hatching.

You can also combine cross hatching with a little stippling (dots) if it works for your subject matter.

Finally, you can go over your outlines with a soft drawing pencil to get a more rustic finish.

If you’ve been using a pen for this tutorial, go over your drawing with a mouldable eraser to remove the pencil marks that you added at the beginning. The eraser will effectively strip away the pencil lines allowing your pen drawing to shine!

Cross hatching

Shopping list

Cross hatching

Make cross hatching your new favourite pencil shading technique

When you’re developing your own unique artistic style, it’s a fantastic idea to explore different drawing techniques to discover which ones work best for you.

Cross hatching is an excellent drawing technique to perfect, as it allows you to step back from your work and gain a fresh perspective on light and shade in your masterpiece-in-progress.

Understanding pencil shading techniques is critical to becoming a better artist…

Expand your drawing skills with stippling with Gathered

Stippling is a way of creating pictures using lots of pencil dots. Simply cluster dots together to produce dramatic light and shade in your work.

Learn how to produce your own dotted drawings next with Matt Breen’s stippling guide on Gathered.