How to make a pincushion by hand

Use our needle felting tutorial to make your own mini teacup pincushion. Gretel is going to teach how to make a pincushion by hand - what a nice lady!

Try 6 issues of your choice of craft magazine from just £9.99

Published: May 12, 2021 at 10:42 am

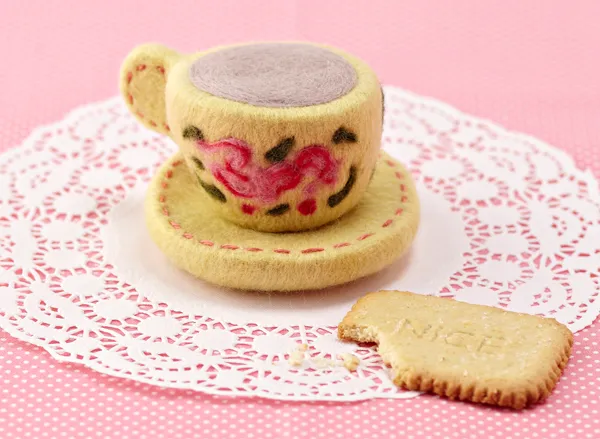
Look, it’s a mini teacup! And you know how we feel about mini things especially when they're actually useful too! This tutorial by Gretel Parker is a great beginner needle felting project and it'll teach you how to make a pincushion by hand. You can make a set for the little ones in your life to play with (only the best china for our tikes) or use it as a practical pincushion for all those pesky pins and needles.

If you're new to needle felting then make sure you also check out Gretel's beginners guide to needle felting which covers all the basic techniques you'll need for this tutorial.

This project was created by Gretel for Mollie Makes magazine – for more easy-make craft projects and creative inspiration, subscribe to Mollie or click here to find out more.
Needle felting tutorial Mini teacup pincushion cropped

You will need:

  • 20g merino wool roving for the cup and saucer (M)
  • Small amounts of merino wool roving for the decoration
  • Small amounts of merino wool roving for the drink
  • Two size 40 triangular needles and a holder
  • A felting mat to work on
  • Embroidery thread
  • Embroidery needle

Finished teacup size: 4 x 8cm Finished saucer size: 8cm

If you still need a little extra help with needle felting head to our best needle felting kits and top needle felting books both of which are packed with things to help you master needle felting.
How to make a pincushion by hand

You will need:

  • Roving
  • Felting mat
  • Thread

Step 1

Needle felting tutorial Mini teacup pincushion step 1

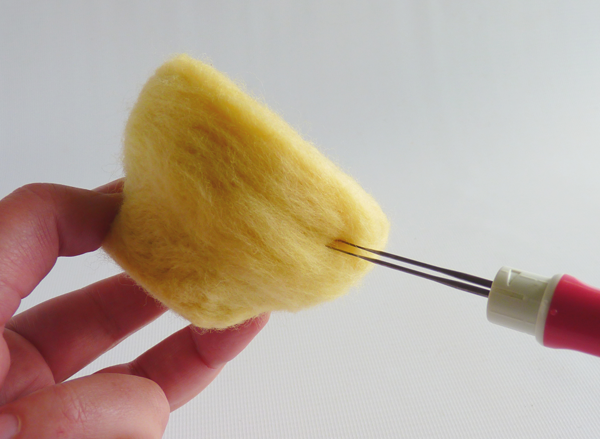
Take a length of roving (M), measuring 50 x 4cm. Tease it out gently to make a flattish strip, then roll it up to make a short tube. Begin shaping the teacup, using two needles. Squeeze one end in as you work, to make it smaller and turn as you go, to keep the cup round.

Step 2

Needle felting tutorial Mini teacup pincushion step 2

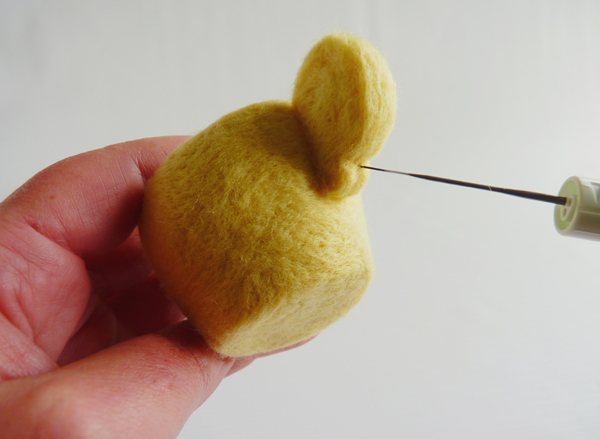
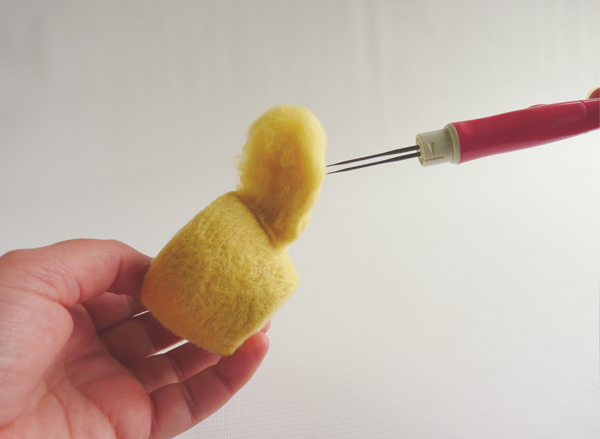
When you’ve formed the teacup, take a pinch of wool and make a little handle. Shape it on your felting mat first and, while it is still quite soft, fix it to the side of the cup.

Step 3

Needle felting tutorial Mini teacup pincushion step 3

Use one needle to sculpt a fancy edge.

Step 4

Needle felting tutorial Mini teacup pincushion step 4

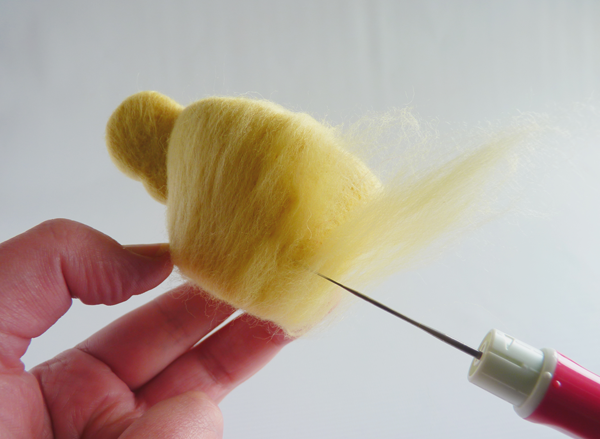
Cover the cup neatly with a thin layer of wool, using one needle to finish off the surface.

Step 5

Needle felting tutorial Mini teacup pincushion step 5

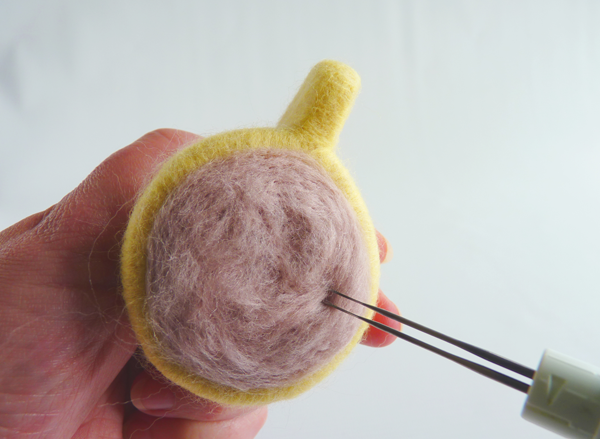
Take a good pinch of your beverage wool (we used a hot chocolate colour) and needle felt it to the top of the cup. Wind the wool in a circular direction as you work.

Step 6

Needle felting tutorial Mini teacup pincushion step 6

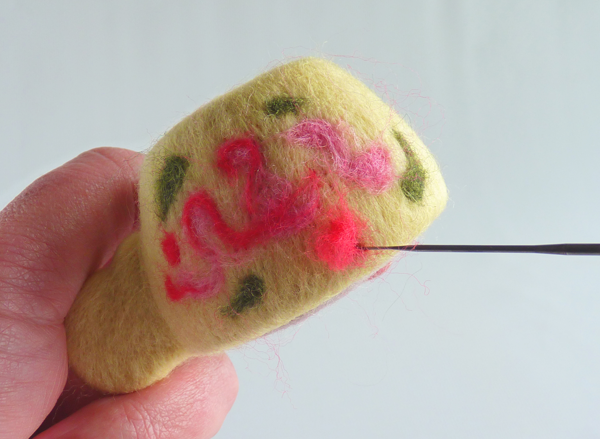
Now add the surface pattern. For a flowery effect, use one needle and tiny wisps of wool to suggest roses and leaves. Keep it loose and free, so that it resembles hand painted porcelain. You can also use beads for the surface pattern or try embroidering directly onto the felt.

Step 7

Needle felting tutorial Mini teacup pincushion step 7

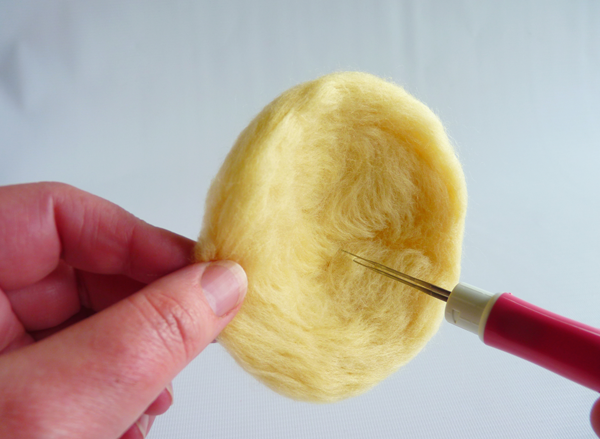
To make the saucer: take a length of roving (M) 30 x 4cm in length. Wind it into a saucer shape and begin working with two needles. Turn it frequently, so that you get a good circular shape. Hold the edge upwards as you work, so that you get a raised rim.


Step 8

Needle felting tutorial Mini teacup pincushion step 8

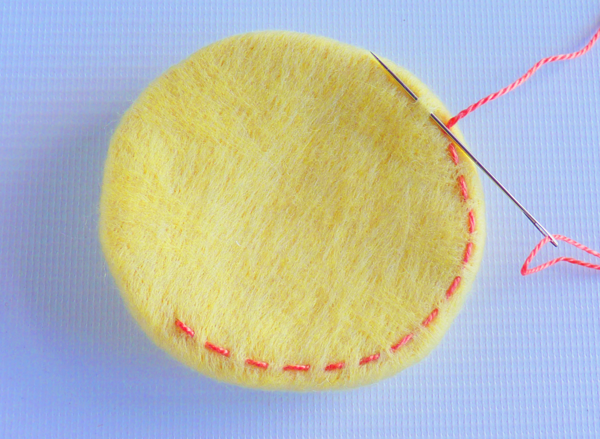
When the saucer is 8cm in diameter, cover it with a fine layer of wool, as you did with the cup. Sew some plain stitching around the rim and inside the edge of the cup handle.

We hope you’ve enjoyed learning how to make a pincushion by hand. We have plenty more needle felting projects here on Gathered. Why not make your own needle felted animals or needle felt cherry keyring?

Finished your teacup pincushion? Show us what’s on your craft table on FacebookTwitterPinterest and Instagram using #molliemakers.