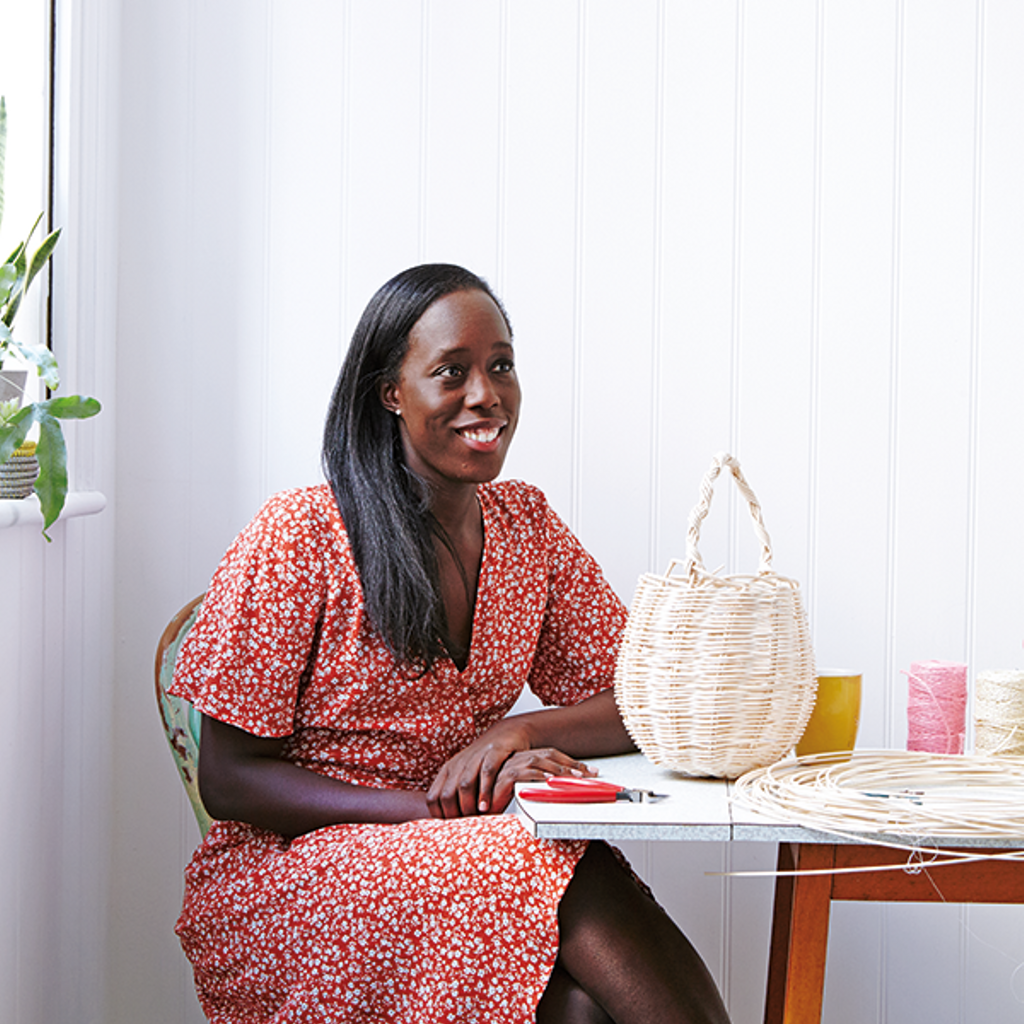
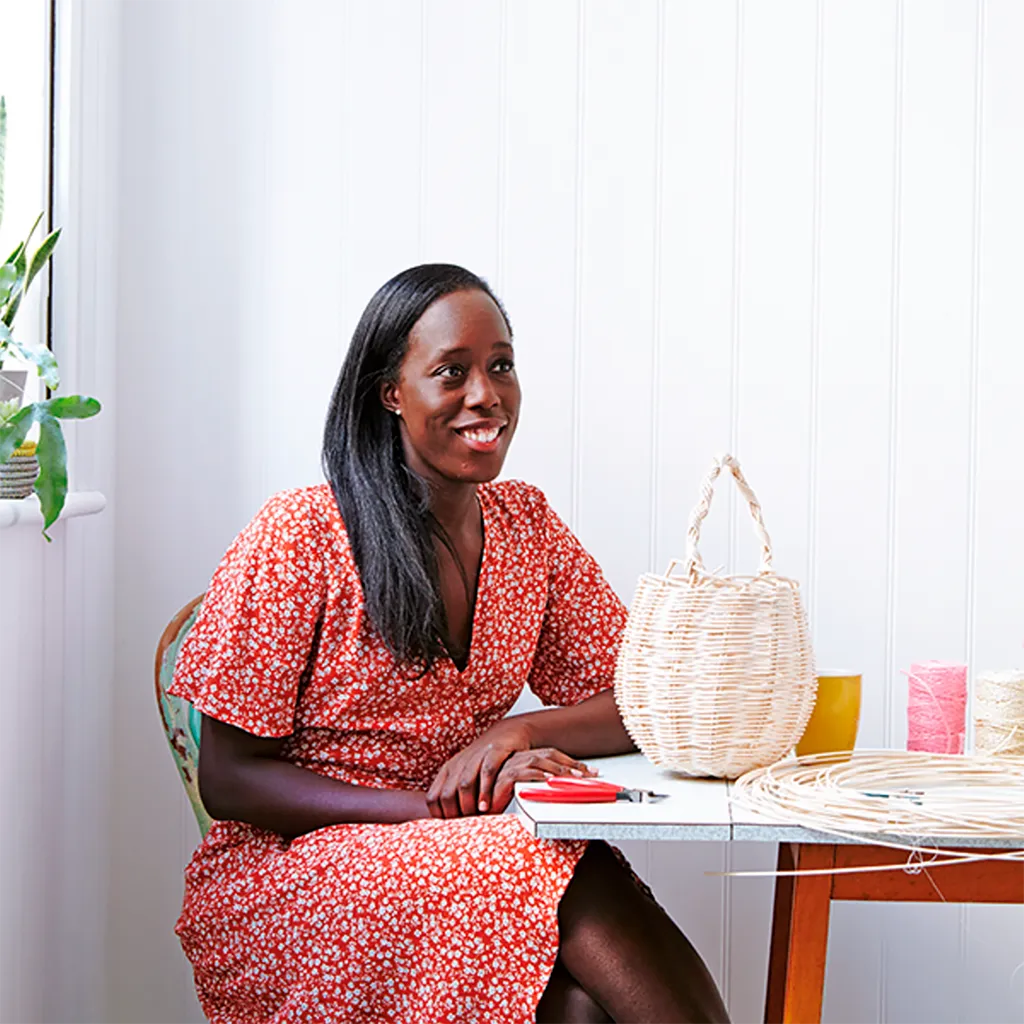
Fancy learning about basket weaving? We've invited the incredible talented Tabara N'Diaye to teach you all about basket weaving and include her favourite basket weaving kits.
Tabara created La Basketry (read our interview with Tabara to learn more) as is now an expert in all things basket weaving and we just know her basket weaving for beginners guide will become your go-to instruction manual. Over to you Tabara!
My love story with baskets and basket-weaving started in Senegal, where my family is originally from. Up to this day, I have fond memories of rows and rows of colourful baskets lining up the local markets.
All the different patterns, smells, and colours have always fascinated me, but it was really in 2016 that my basket love affair took on another level.
As a craft that’s passed down from generation to generation by women in Senegalese villages, weaving has always resonated with me. It inspired me to collaborate with a group of female artisans that I had connected with and to launch La Basketry as an online boutique offering beautiful and practical homeware.
It wasn’t long before I delved into the world of basket-weaving myself. My first book, aptly named ‘Baskets', was published in 2019 and has since been translated into 6 languages.
I have enjoyed connecting with basket lovers all around the world because of that, but also through teaching workshops, and collaborating with other makers and brands.
undefined
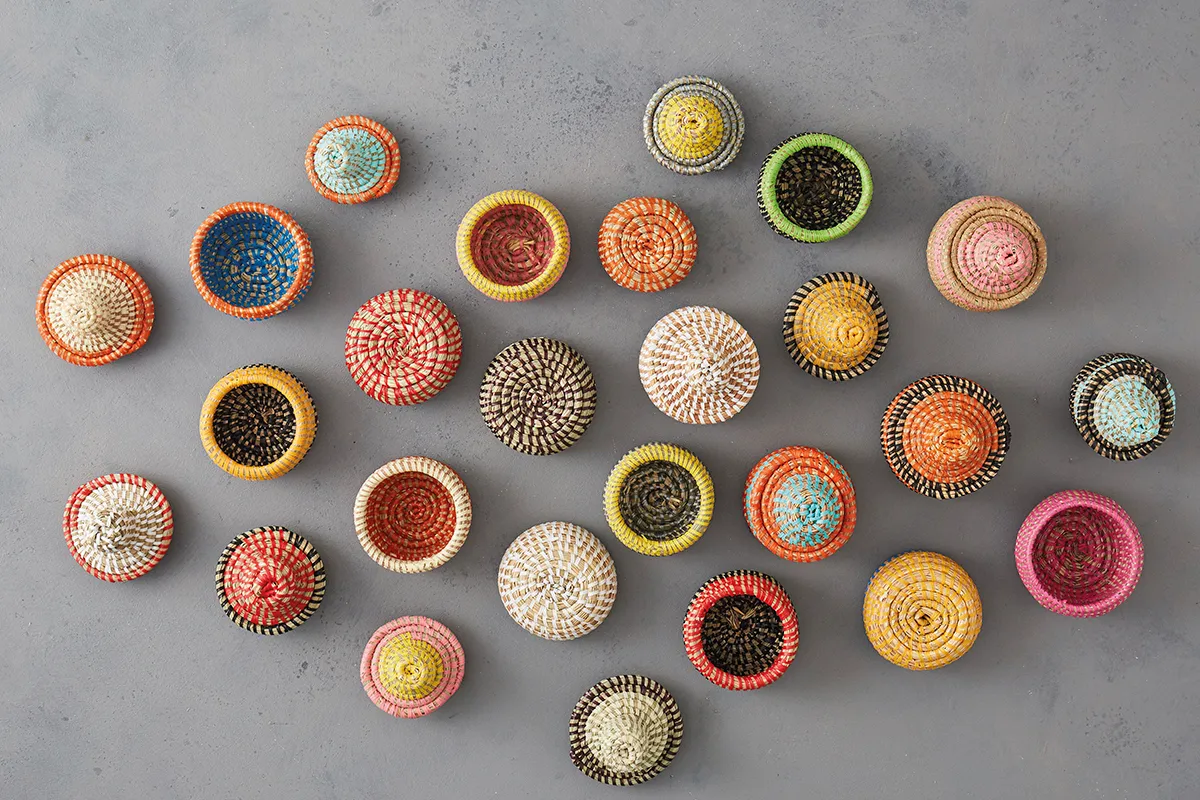
And in 2020, as people spent more time at home and turned their attention to crafts, I enjoyed developing a range of three DIY Kits so people could weave their own baskets at home, using different materials. They’ve proven popular!
As baskets become more and more fashionable in and out of the home (the rattan trend, in particular, has completely exploded onto the interior and fashion scene) now's the perfect time to delve into the world of basket-weaving.
I've created this basket weaving for beginners guide to teach you all the basics of this beautiful craft. Enjoy!
Jump straight to...
What is basket weaving?
Did you know that basket-weaving, or ‘basketry’, is often considered to be one of the oldest crafts in the world? The world's oldest basket (pictured) was actually found in the Judean Desert earlier this year, in March 2021.
Archaeologists concluded that it was woven some 10,500 years ago, during the Pre-Pottery Neolithic period, but were unsure about its usage. So it's not surprising to learn that many crafts have roots in basketry. Take pottery, for example, baskets used to be lined with clays, and when the clay had dried out they were used for cooking food.
Basket weaving is simply the process of weaving materials into baskets. Men and women have always had materials such as leaves, woods and grasses at their disposal, that naturally lend themselves to the construction of baskets for agriculture. To store and process food, but also for fishing, presenting gifts or more commonly as storage around the house.
And as populations migrated from one country to another, baskets were easy traders – it's always fascinating to see similar weaving techniques used in West Africa but also in South America and the southern part of the USA.
Nowadays, basket-weaving techniques are championed to create a wide range of woven dimensional products for the table or the home, but also in fashion with bags, shoes and accessories.
Your basket weaving supplies
Your hands
This is a no-brainer but the most important tool is your hands. Basket-weaving can be hard on them, especially if you spend long afternoons weaving away. Hello cramps!
So make sure you take regular breaks, do some stretches, massage your hands, stay hydrated and put your project down and go back to it.
Needles
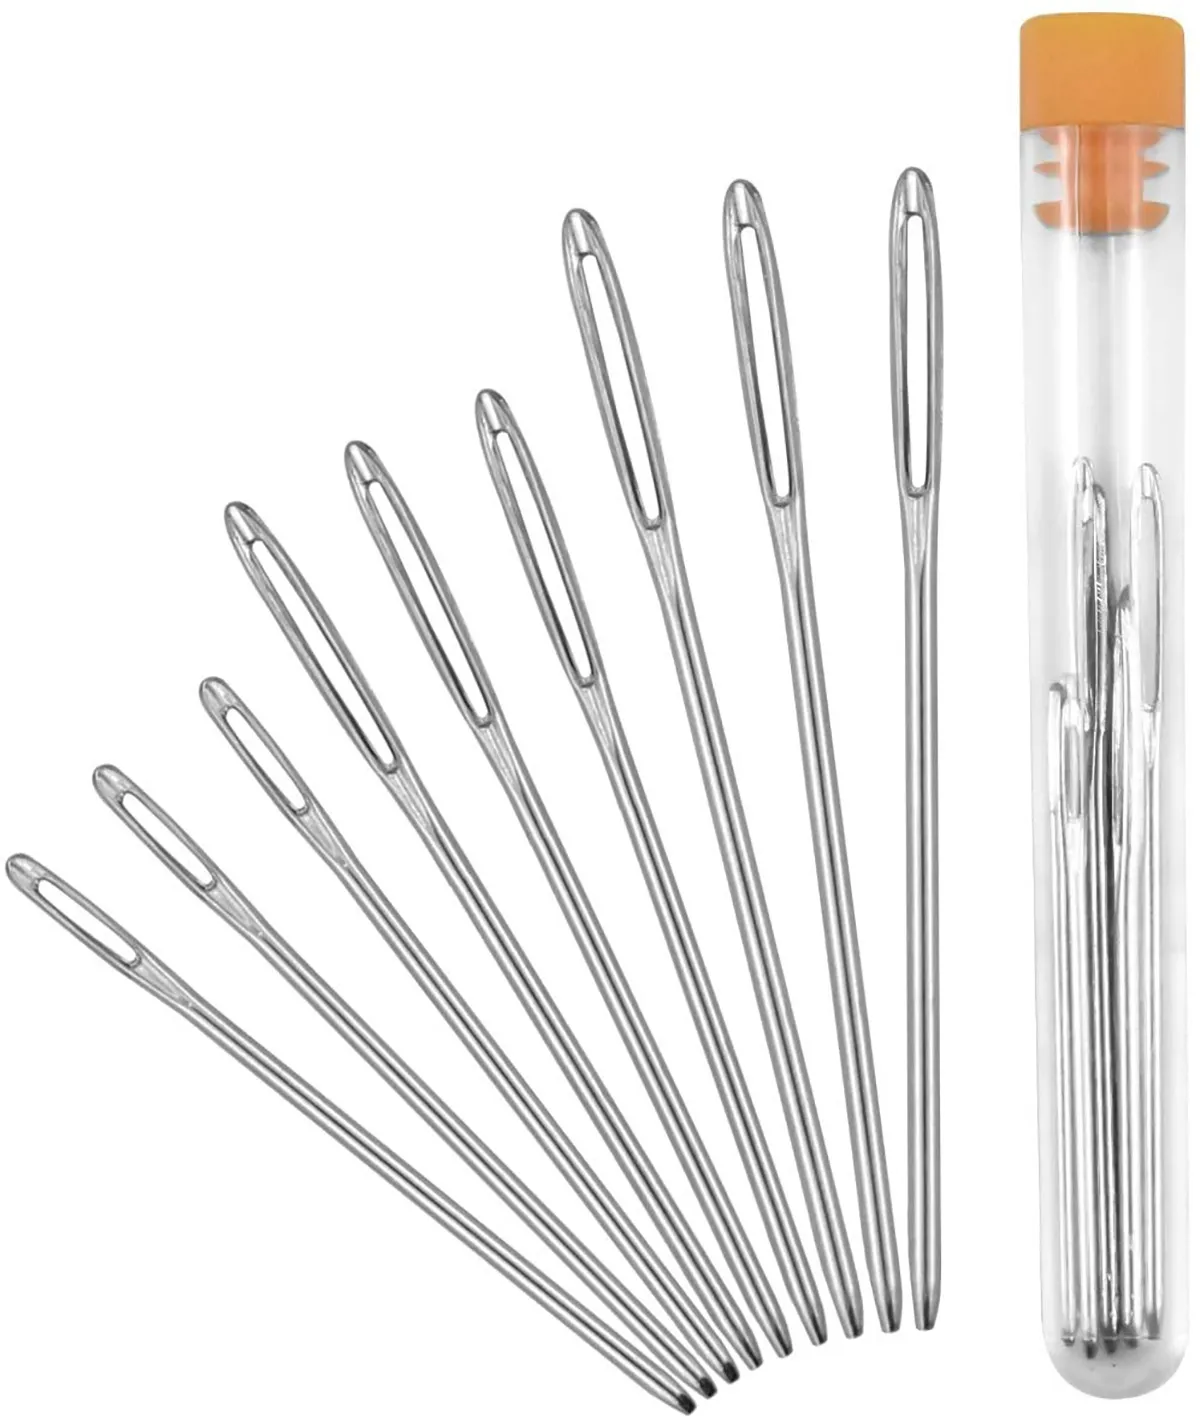
Weaver’s needles and large-eyed needles are perfect for thicker materials like grasses. You will use your needles to weave in the ends of your raffia and make your finished product look nice and neat!
Small embroidery and sewing needles won't work for basket weaving, you'll need needles like these from Amazon. Make sure to stock up as you are likely to break one or two during the process!
Bodkin

A very handy tool to have when working with centre cane or willow, it’s used to pierce through and make gaps when you are weaving.
Scissors and or Cutters
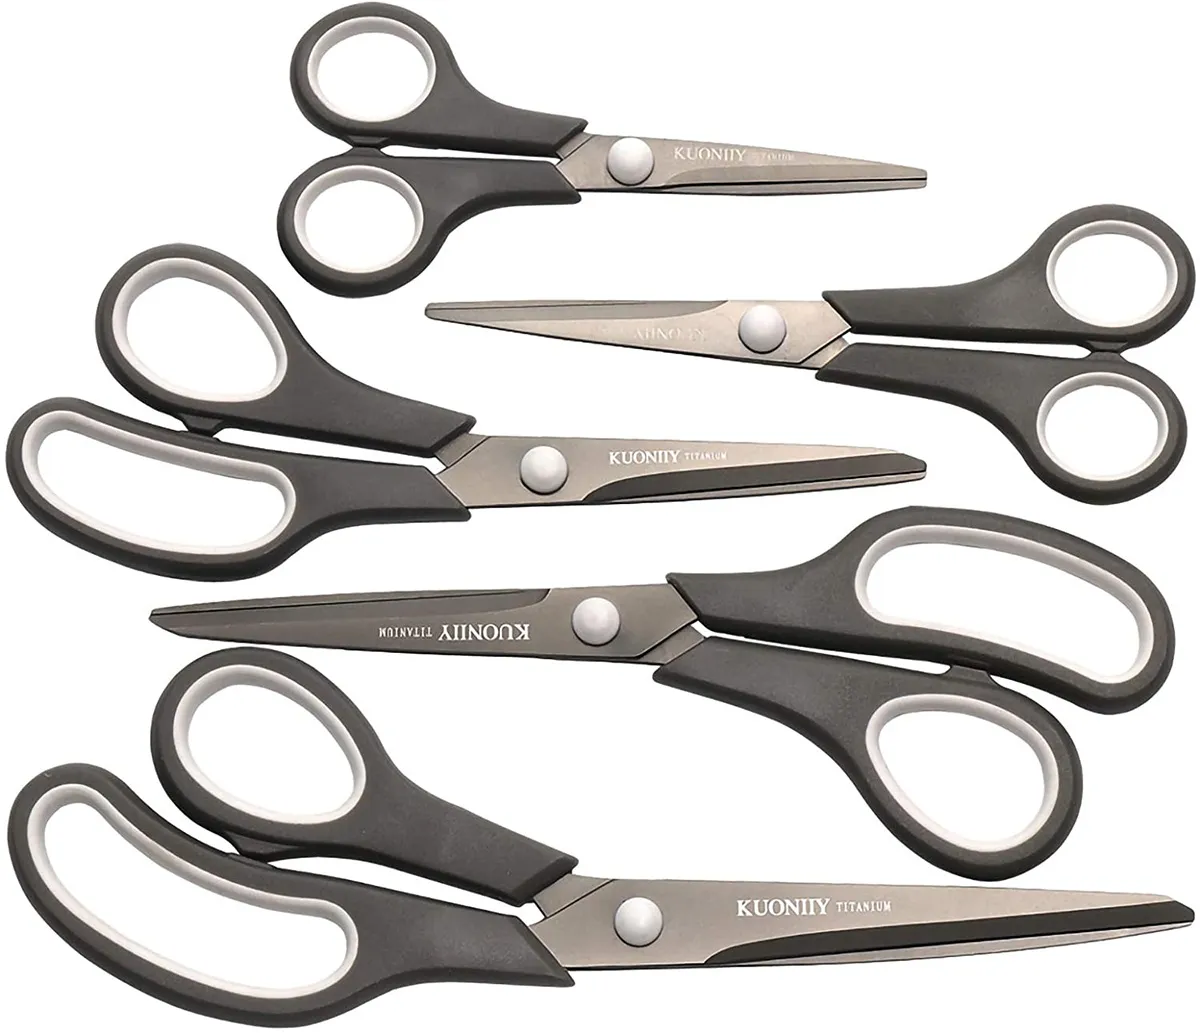
A pair of sharp scissors to cut different materials is essential.
Raffia
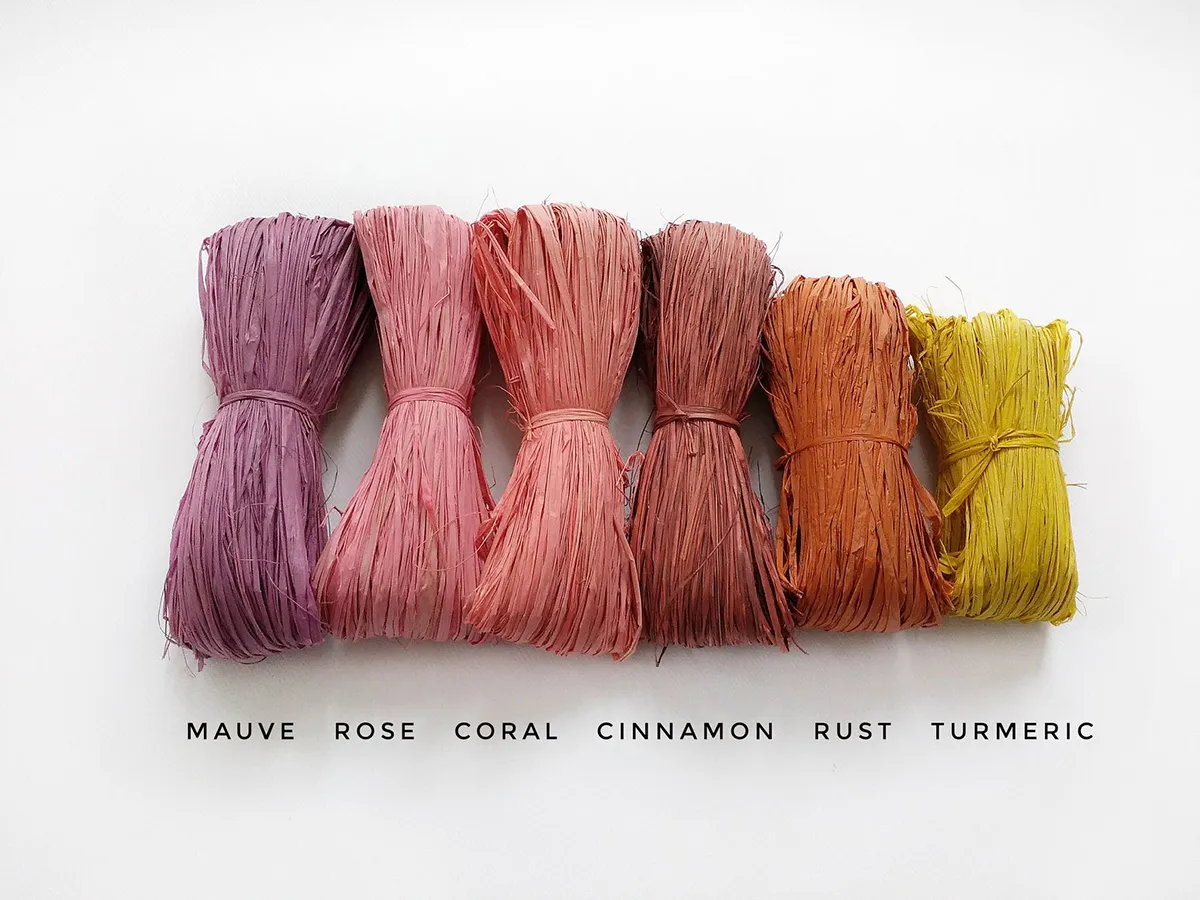
An all-round good material for basket-weaving, raffia can be used as the base of your basket, or as the stitching material. It’s widely available and in multiple colours too!
Dried Grasses
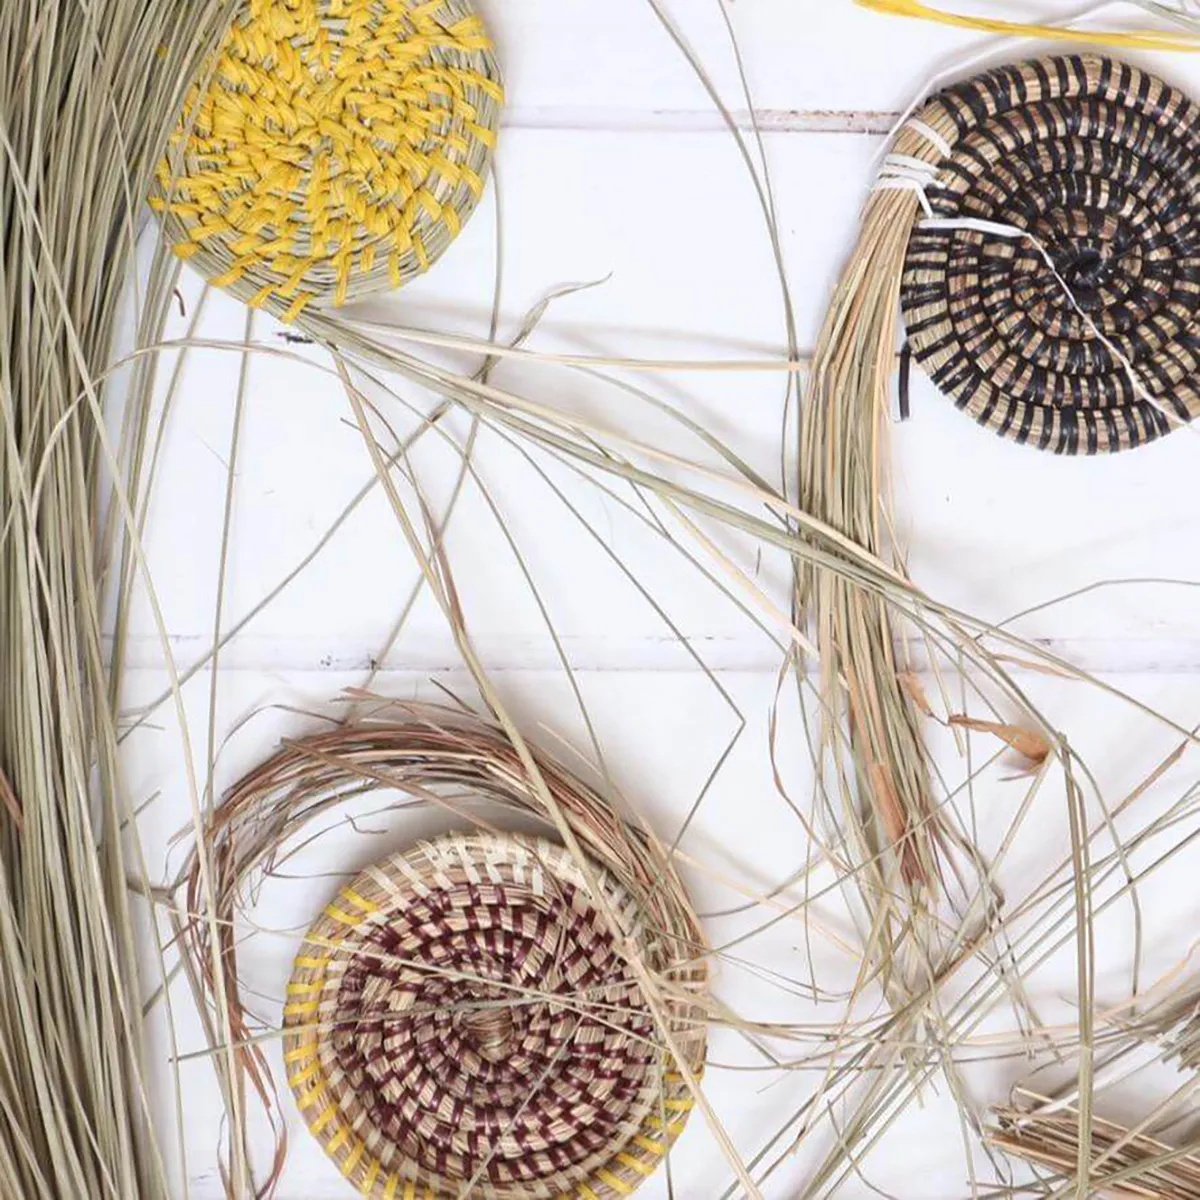
It's worth enquiring at your local garden centre for most dried grasses such as oat straw, marram grass, sweet grass, sedge or pine nuts.
Rope
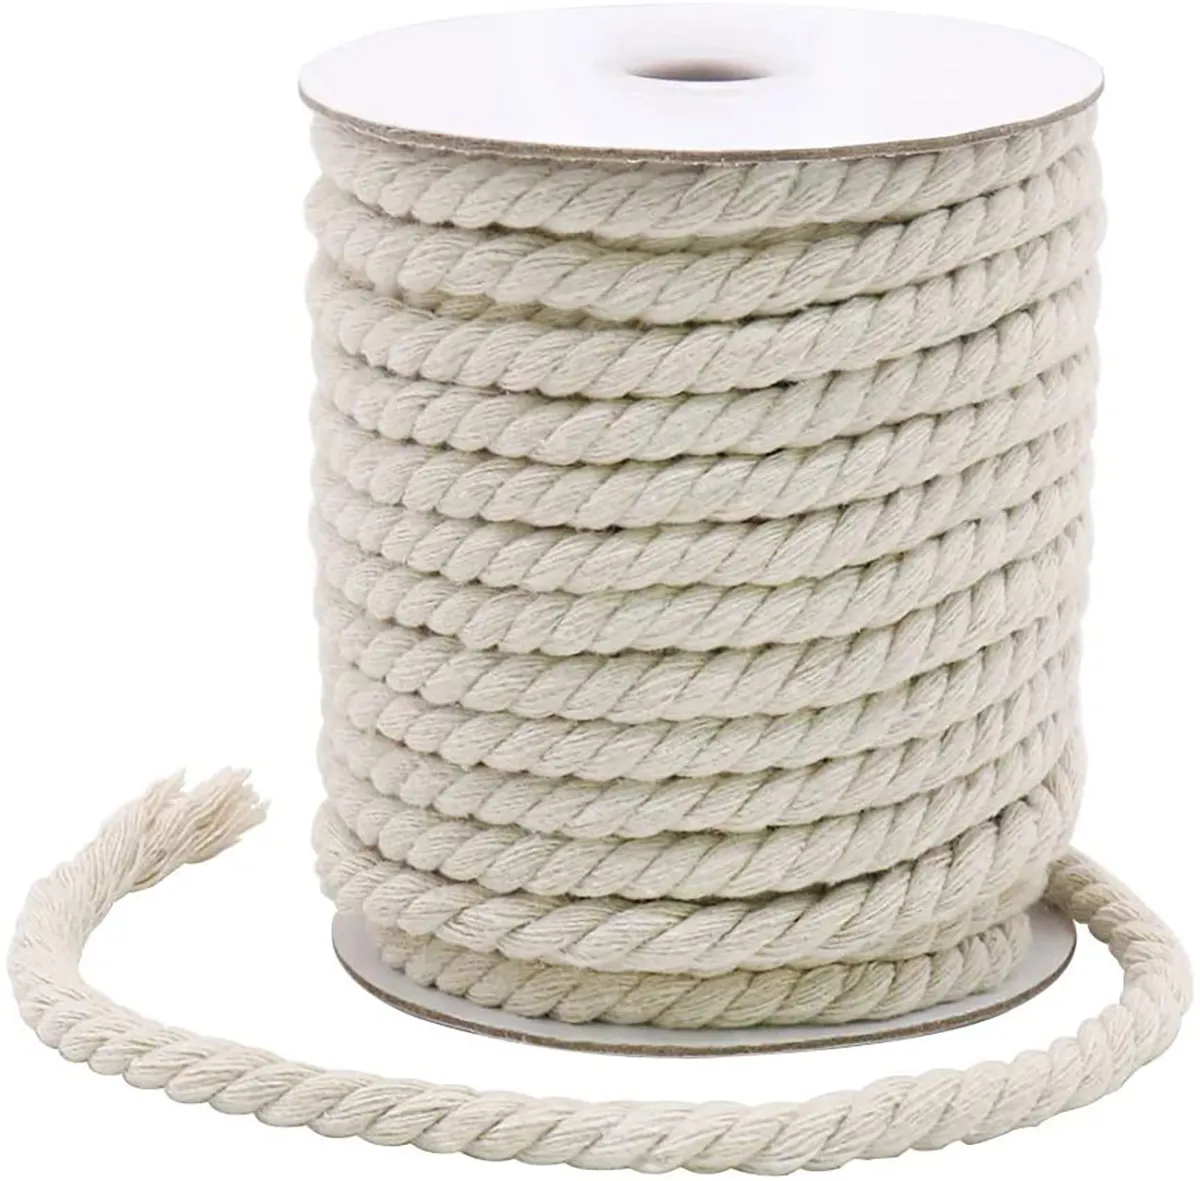
One material to have in your tool kit! Rope made with cotton, it’s very strong and durable, and useful for a multitude of basket-weaving projects.
Twine
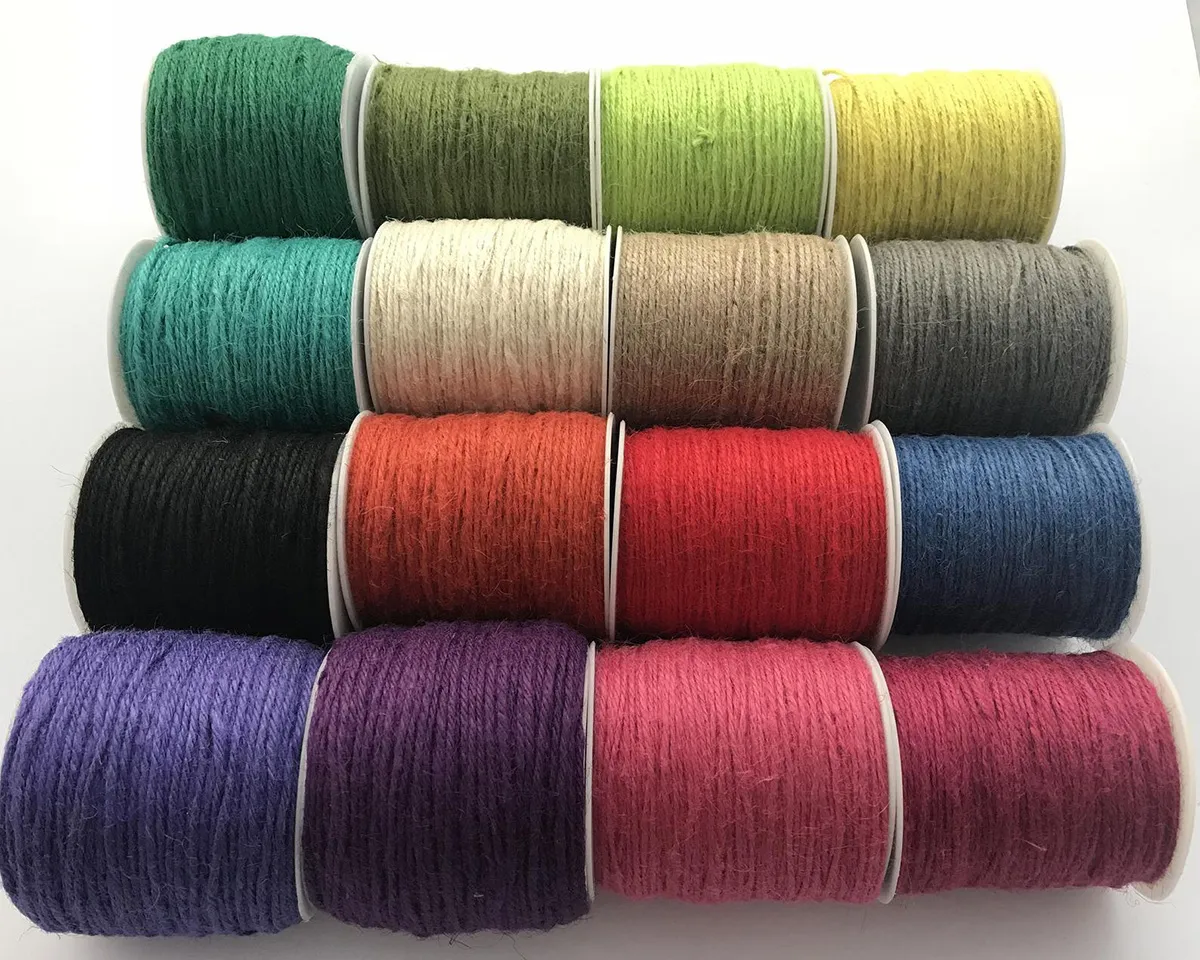
You may already have rolls of jute twine around the house as it’s often used in the kitchen or to wrap presents.
Clothes Pegs and Clips

Ideal for keeping your weave and loose ends secure as you weave.
Centre Cane
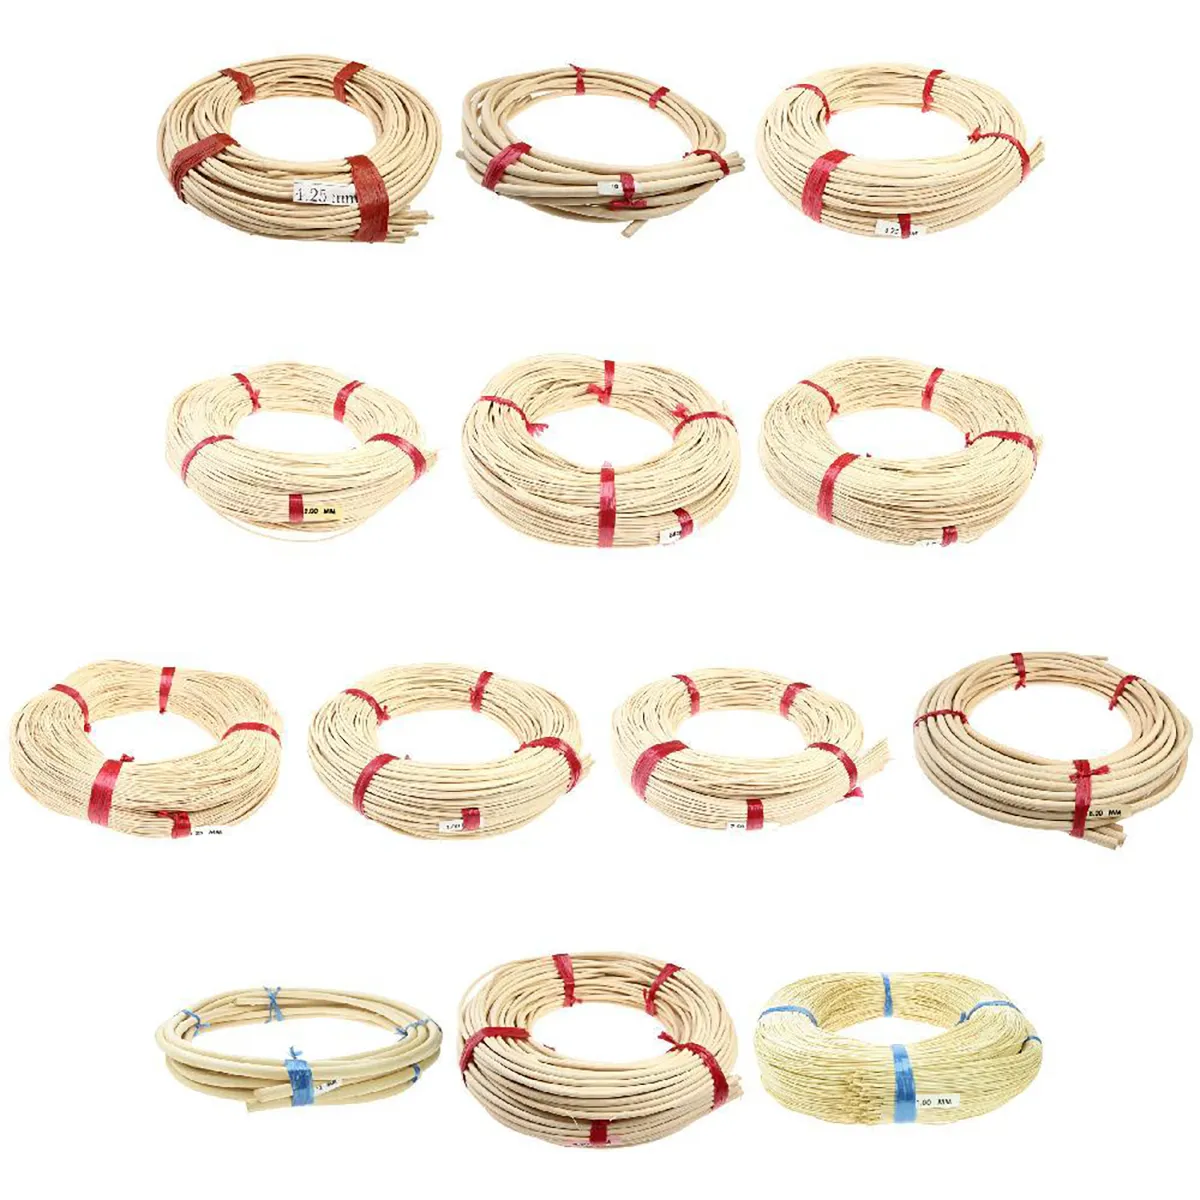
Made from the inside of the rattan palm and imported from South-East Asia, centre cane comes in bundles and can be purchased in a variety of sizes. When working with centre cane, you will need a bucket filled with lukewarm water.
How to weave a basket for beginners
Basket-weaving is intertwined with so many other crafts such as sewing, weaving or shaping in pottery, and if you are already a crafter, you will soon notice the similarities.
There are many different basket-weaving techniques but in this guide, I have chosen to focus on coiling and stake and strand working with centre cane.
Basket weaving techniques
Coiling

Coiling is often described as a ‘sewing technique’ as you wrap your core material into a coil and ‘sew’ over the coils with another material (the stitching material) that is threaded through a needle
Step 1
Cut 4m of your primary colour (we’ll reference it as COLOUR A).
Step 2
Place COLOUR A on top of the rope and wind it tightly 20 times clockwise from right to left until 1) you can fold the rope 2) you can create a small eyelet covered with COLOUR A
Step 3
Wrap COLOUR A twice around the base of the eyelet and secure with a peg.
Step 4
Grab the other end of COLOUR A and thread it through one of the needles
Step 5
Poke the threaded needle up through the central hole of your eyelet - you’ve done your first stitch!
Step 6
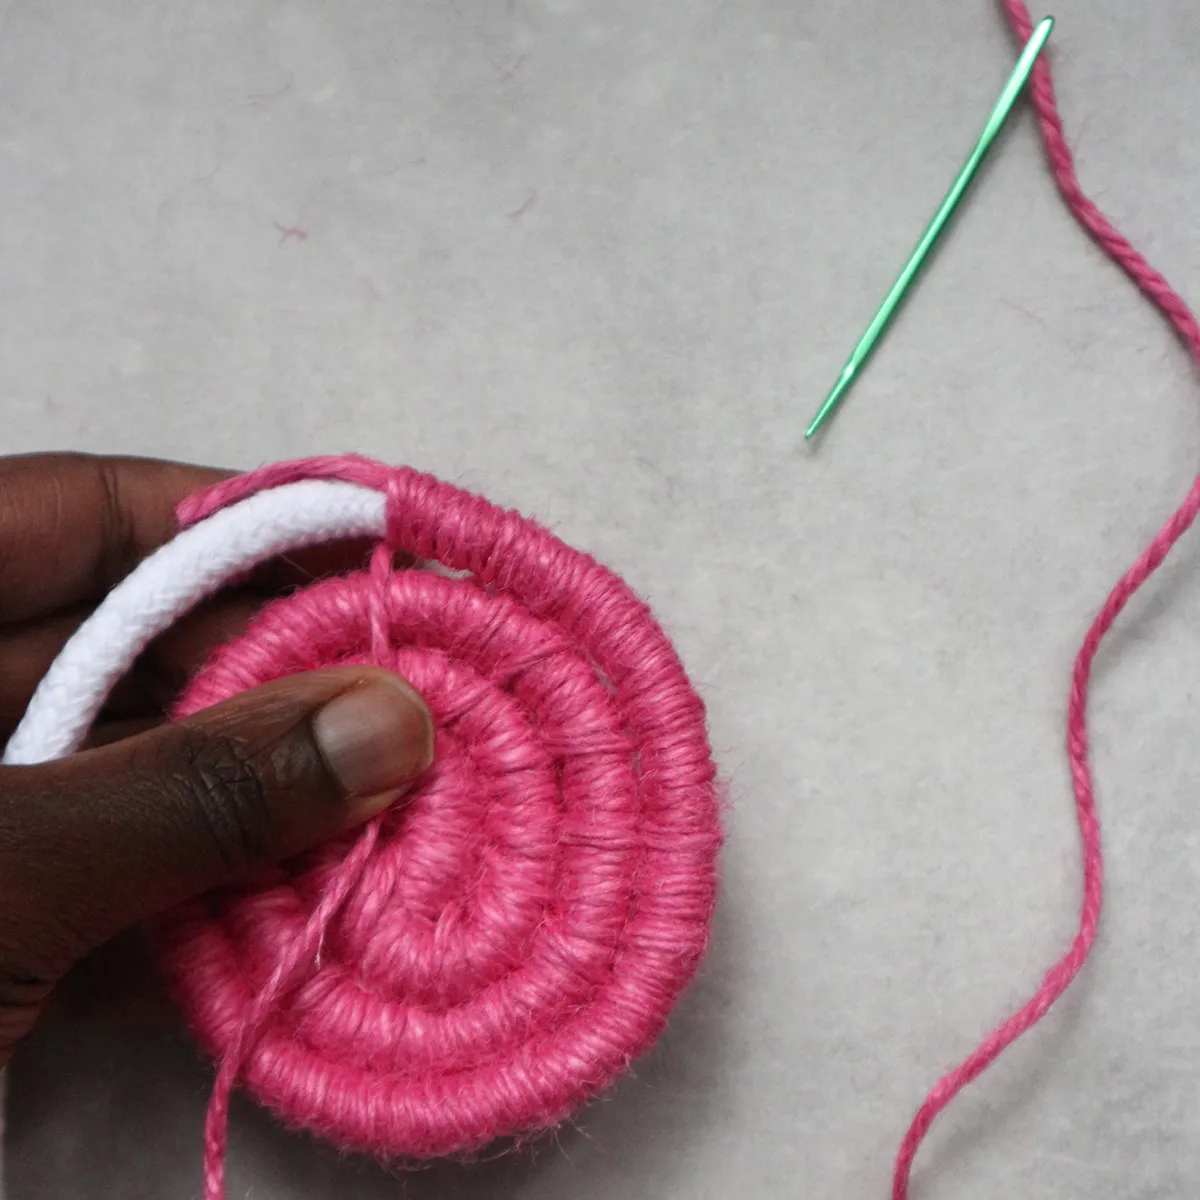
Start to coil the rope into a circle and follow the pattern described with your piece of twine - wrap COLOUR A clockwise over the rope (wraps) and through the central hole (stitch) - creating a figure 8
Repeat this step until you have done a full round, the central hole should have almost disappeared!
Step 7
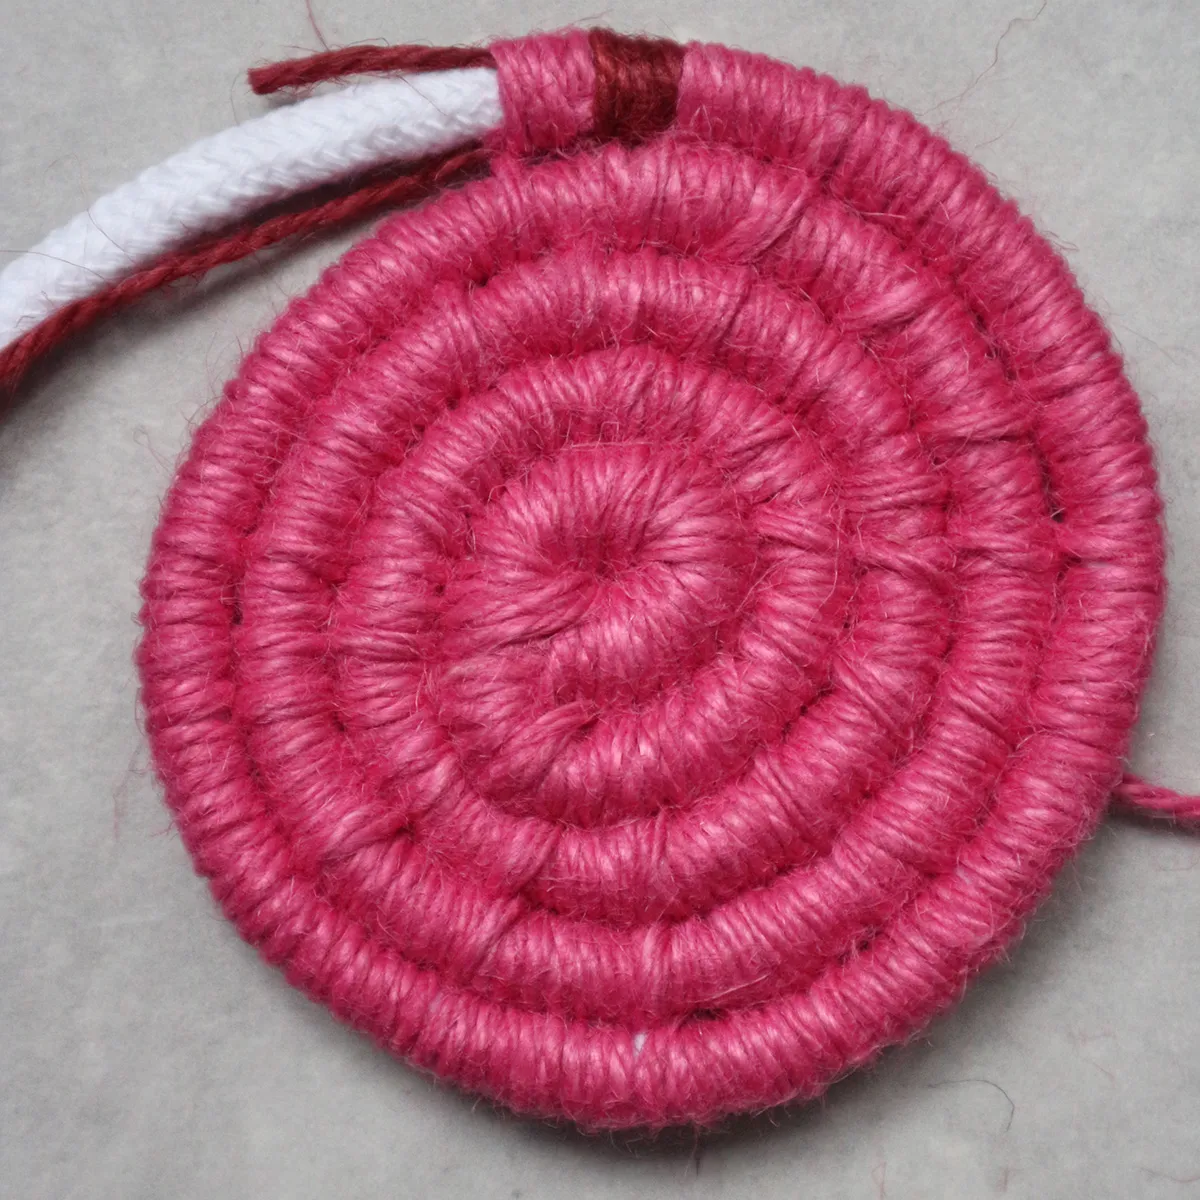
Build the base of your basket - wrap COLOUR A 8 times around the rope (clockwise) and stitch one time through the previous round (instead of through the centre) - try to align your last wrap with your stitch. Repeat step 7 until the base of your basket is your desired size.
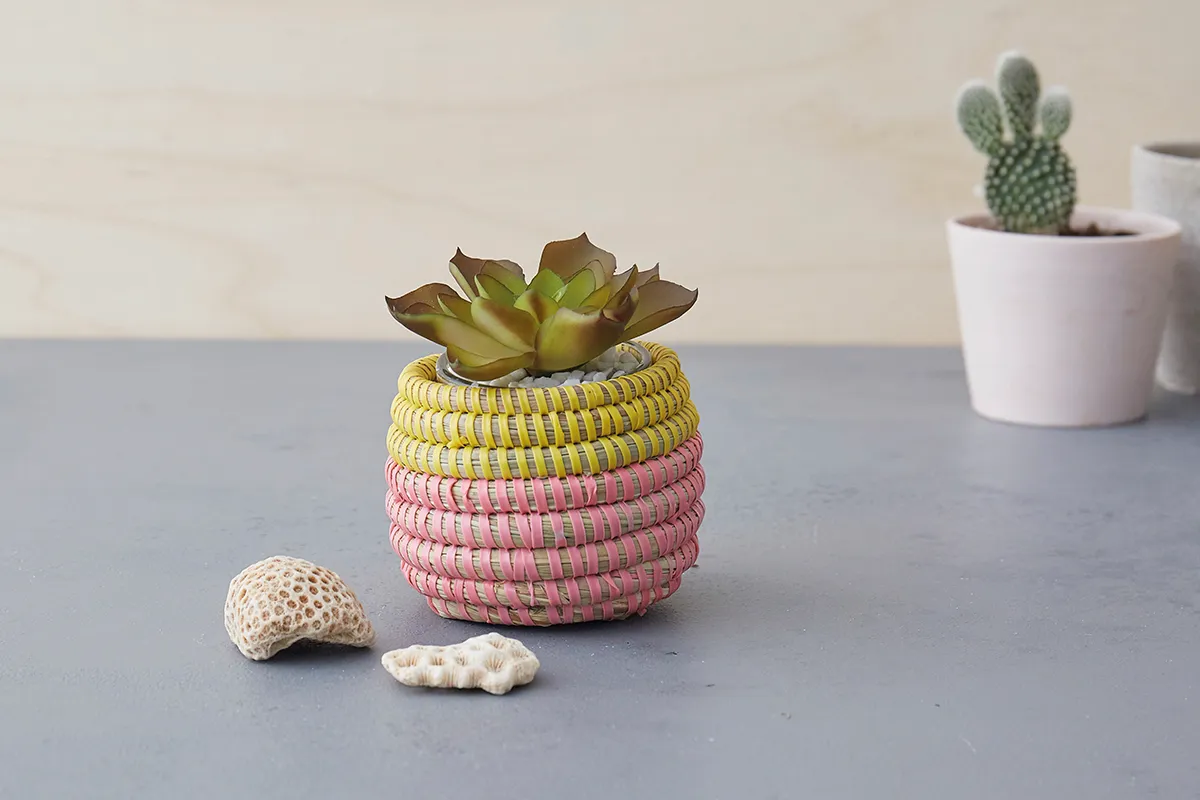
If you fancy testing out your new basket weaving technique then give our DIY craft storage pots a go!
Stake and Strand
This technique involves working with ‘centre cane’ or ‘rattan’ - first the flat base is woven with horizontal ‘strands’, then vertical ‘stakes’ are attached to the base to shape the basket
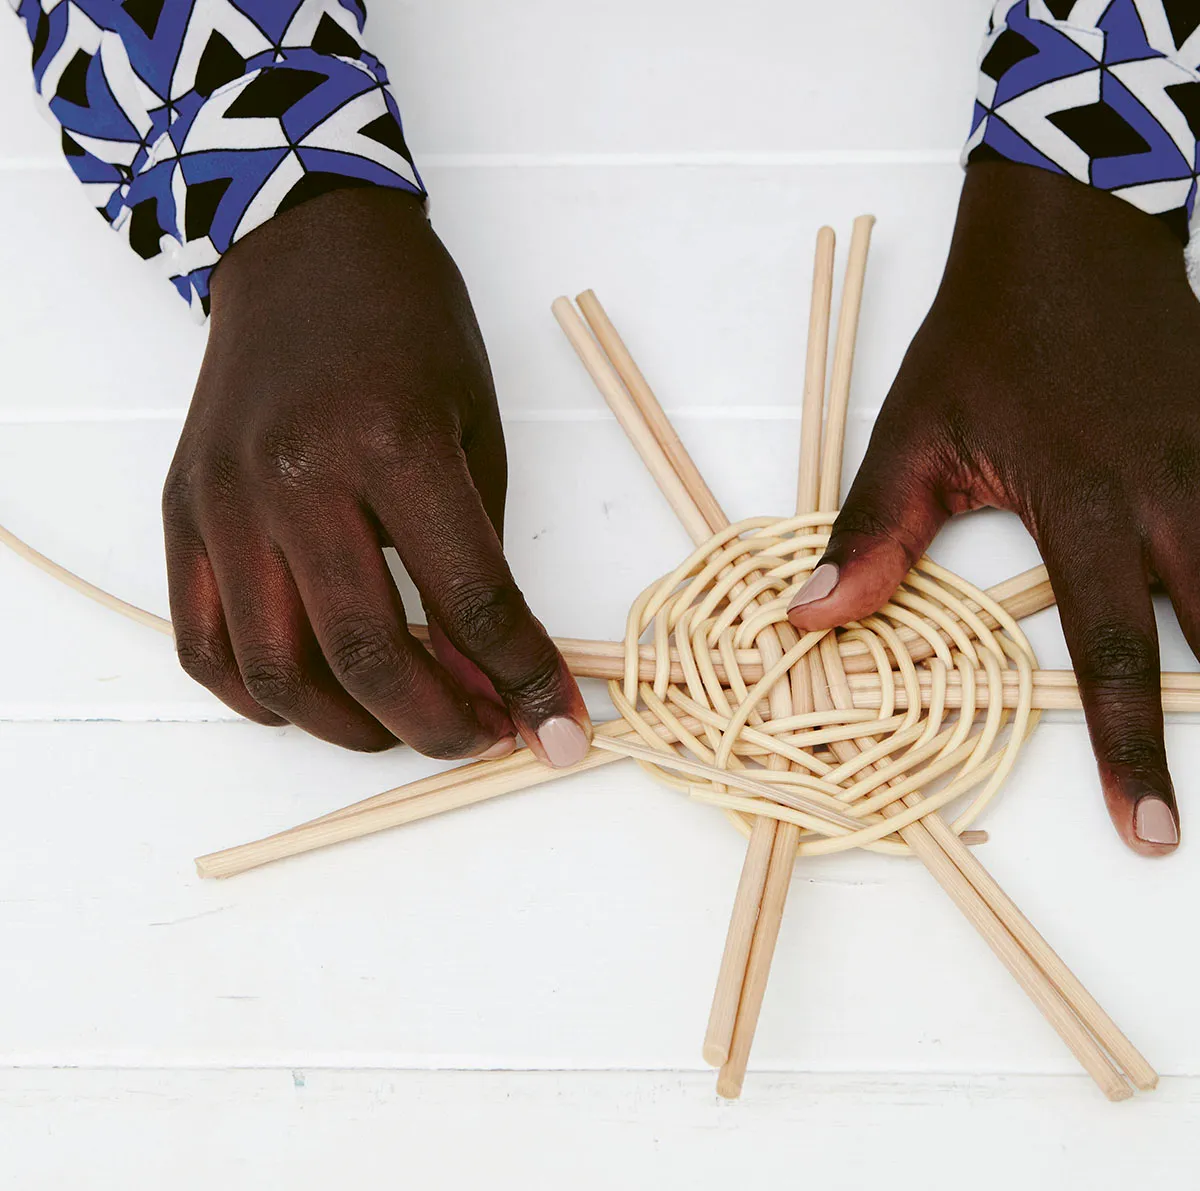
Step 1
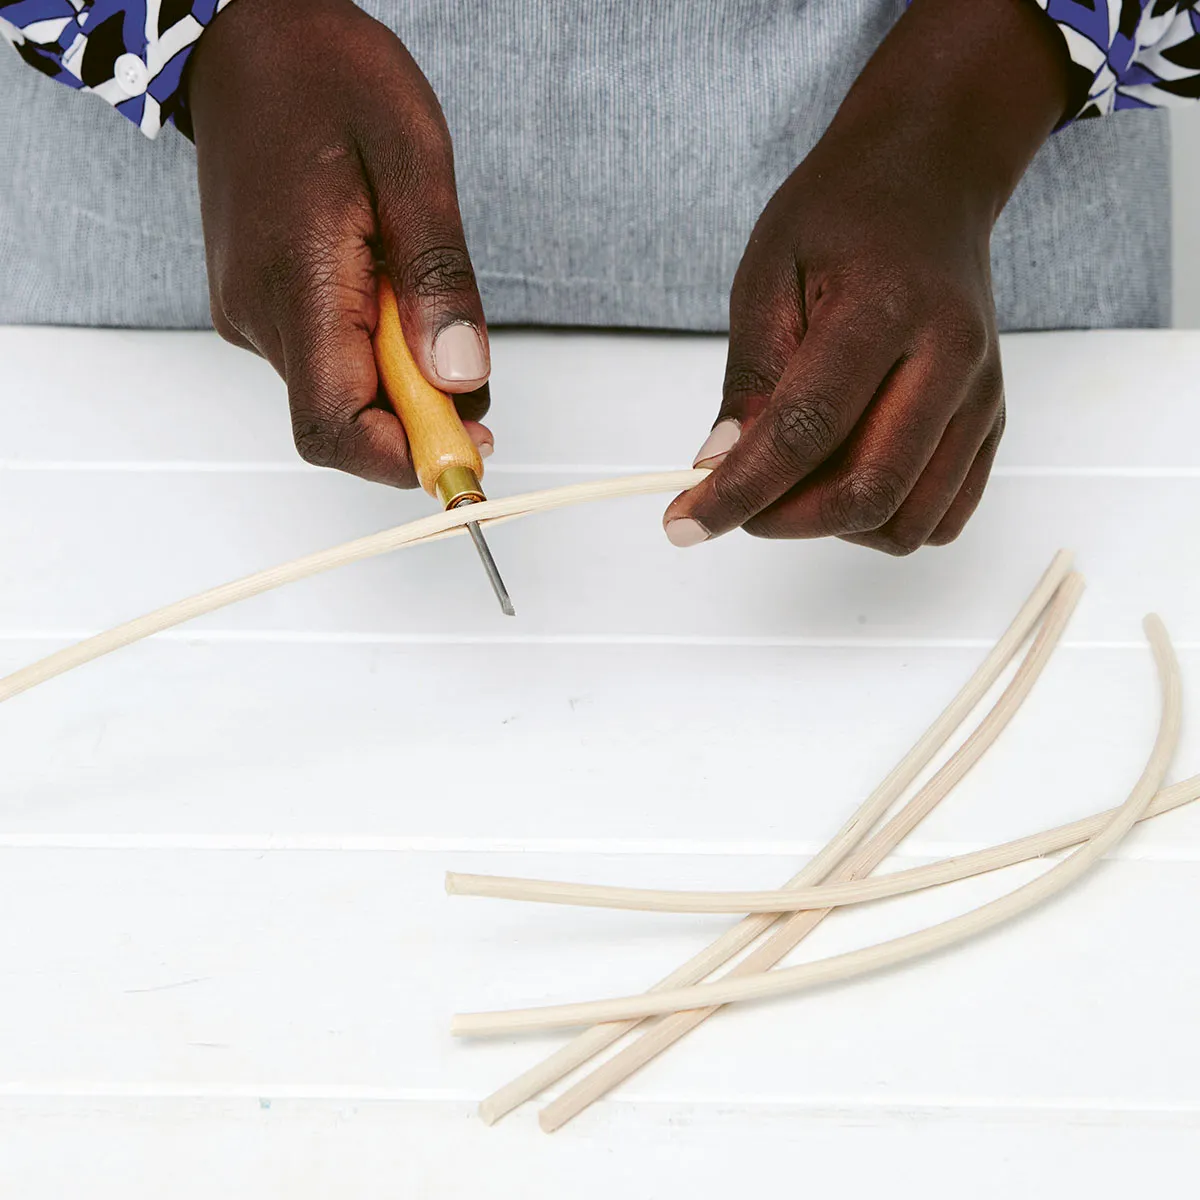
Making a slath is the starting point for all cane baskets. Using cane cutters, cut 8 20-cm (8-inch) lengths of centre cane.
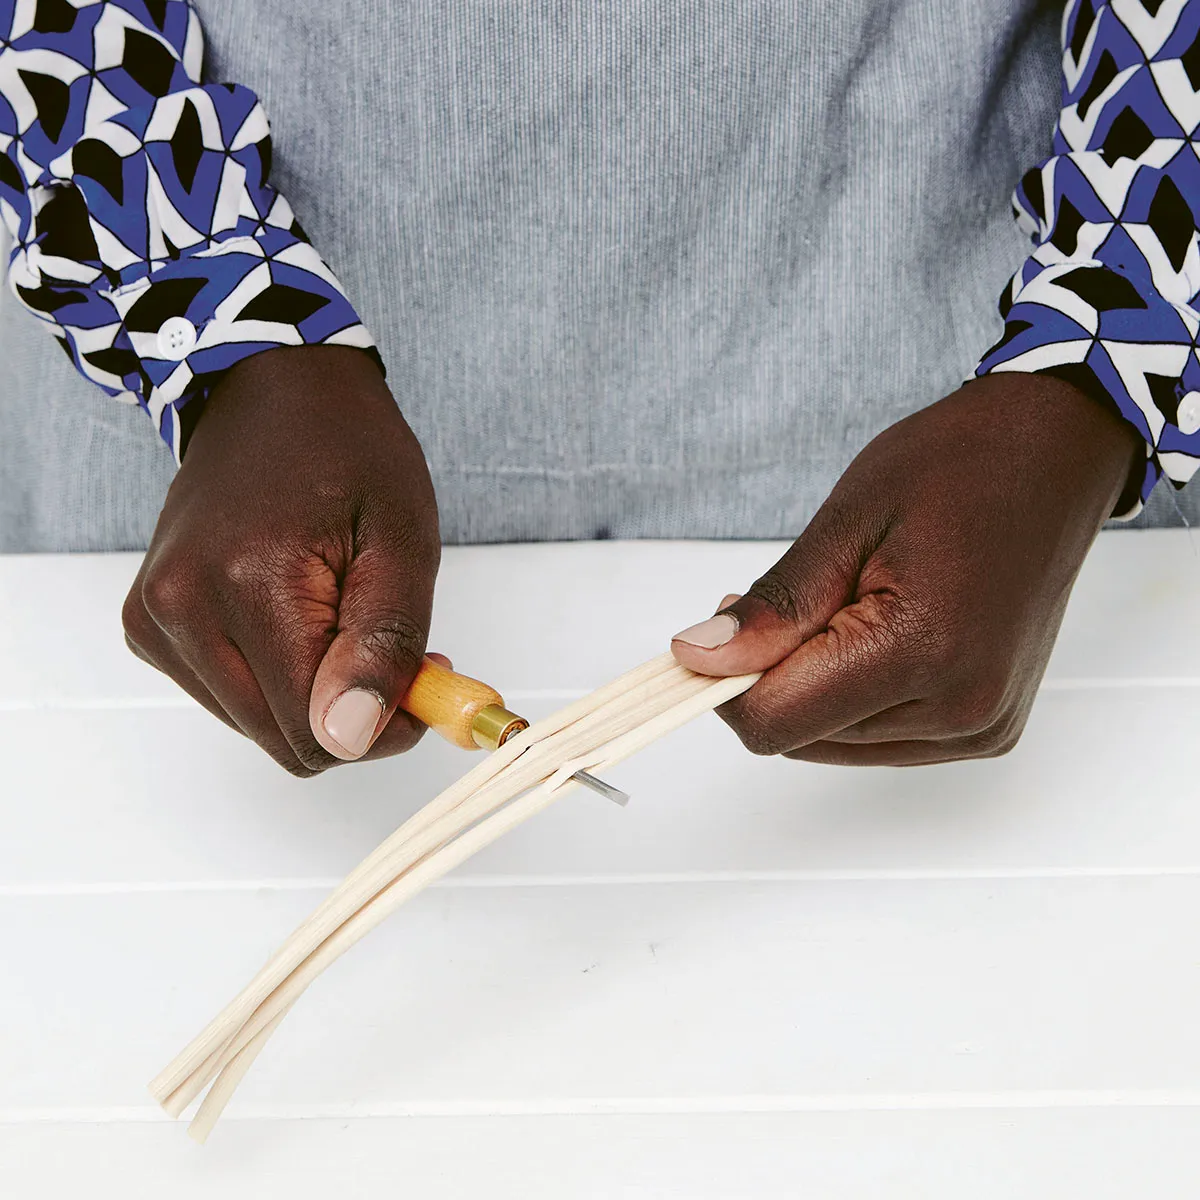
To make a 4-through-4 slath using your bodkin, gather the stakes into 2 groups of 4. Start by piercing one of the stakes in the middle with your bodkin.
Step 2
Repeat with your next 3 stakes, so you have 4 pierced stakes in total.
Step 3
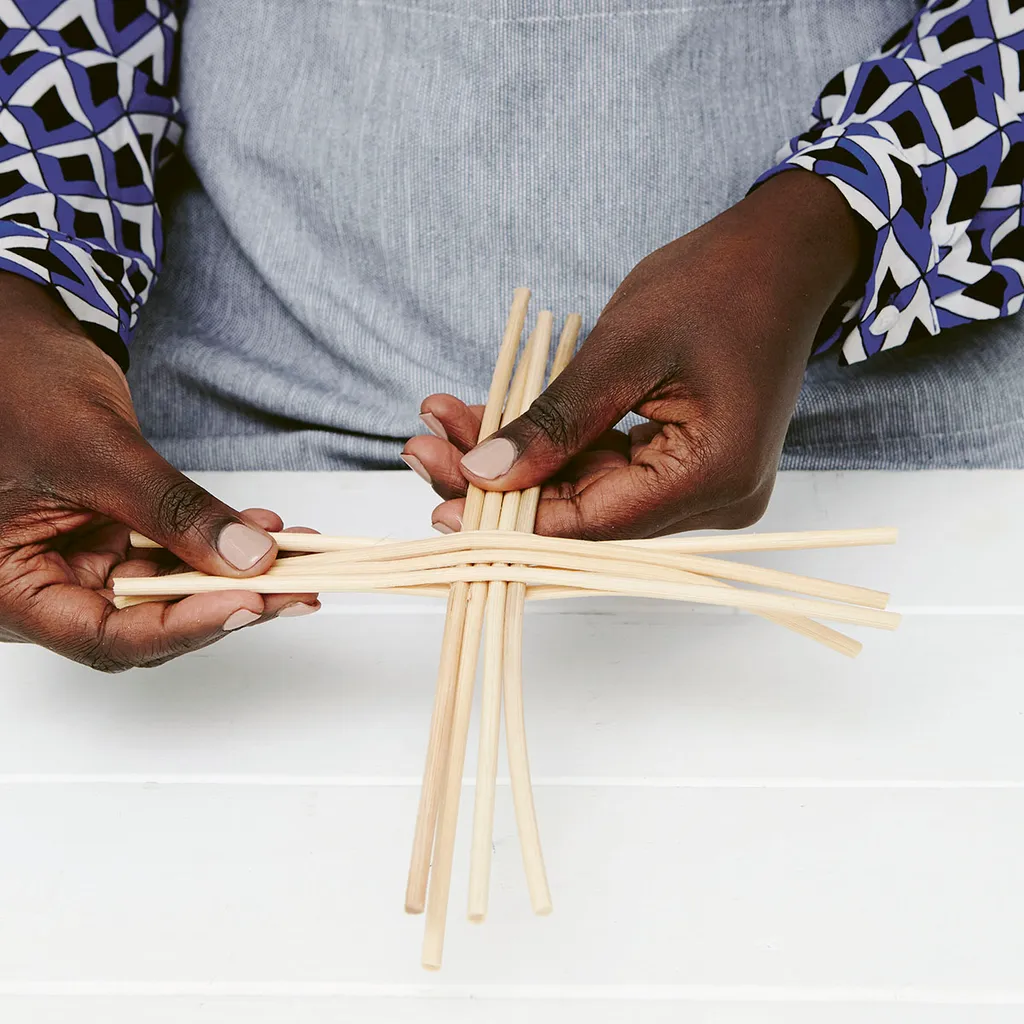
Poke the remaining 4 unpierced stakes through the 4 pierced ones to form a cross. Once you’ve completed your slath, start soaking a couple of lengths of cane in lukewarm water (loop each length of cane into a bundle and tie it so that it fits into your bucket and doesn’t unravel in the water).
Step 4
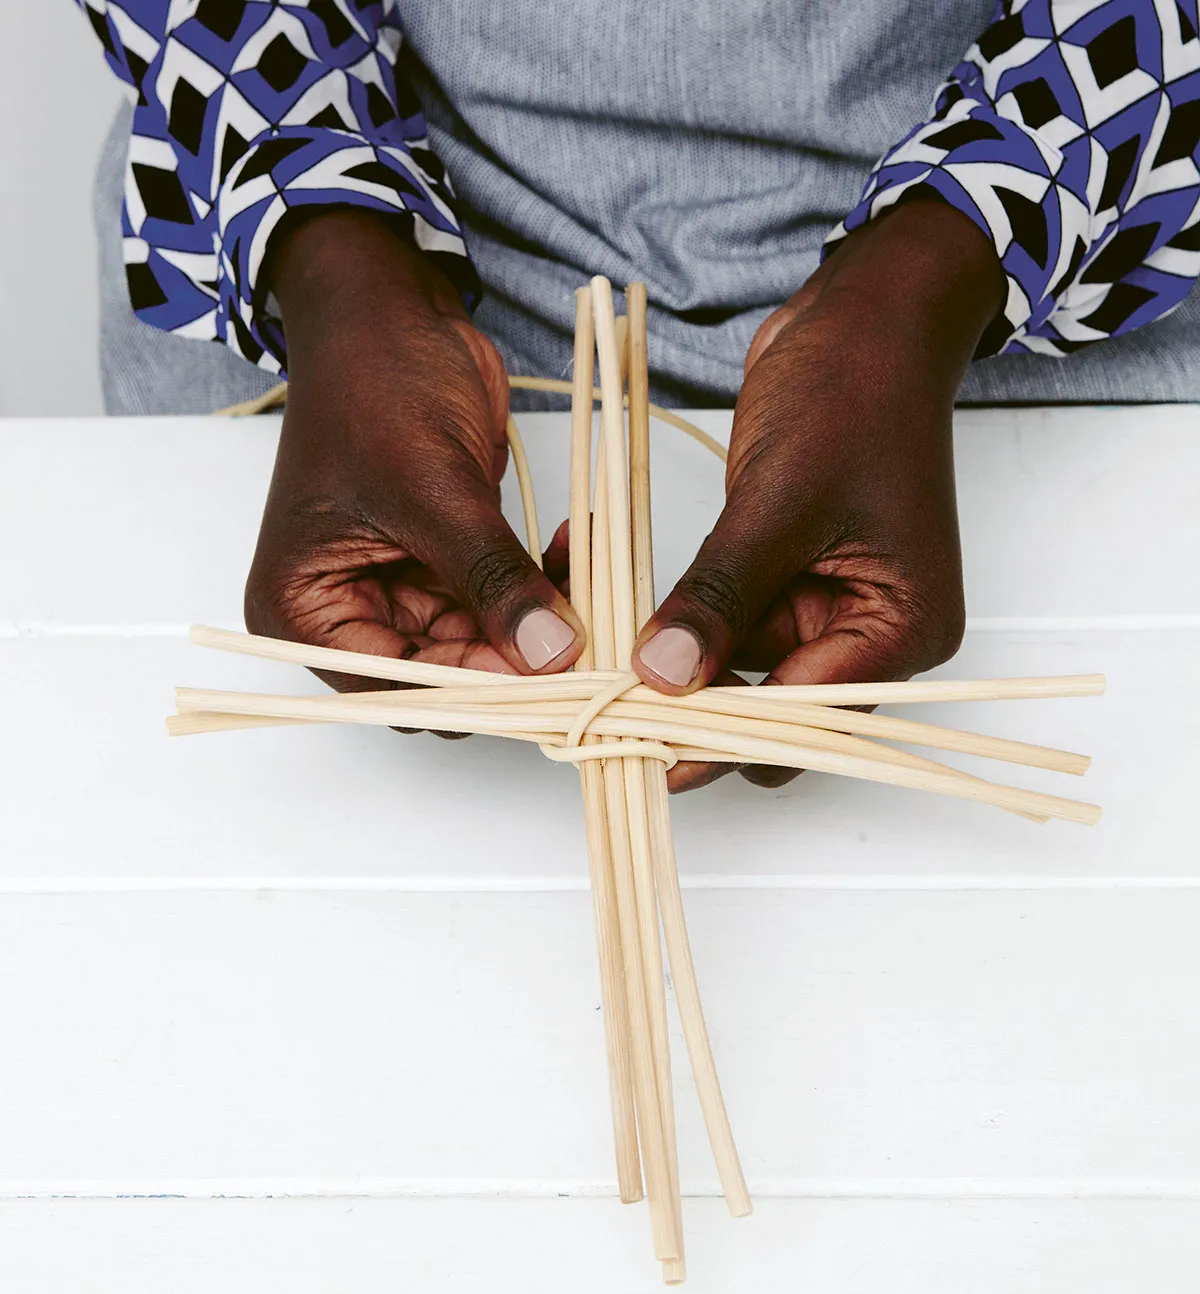
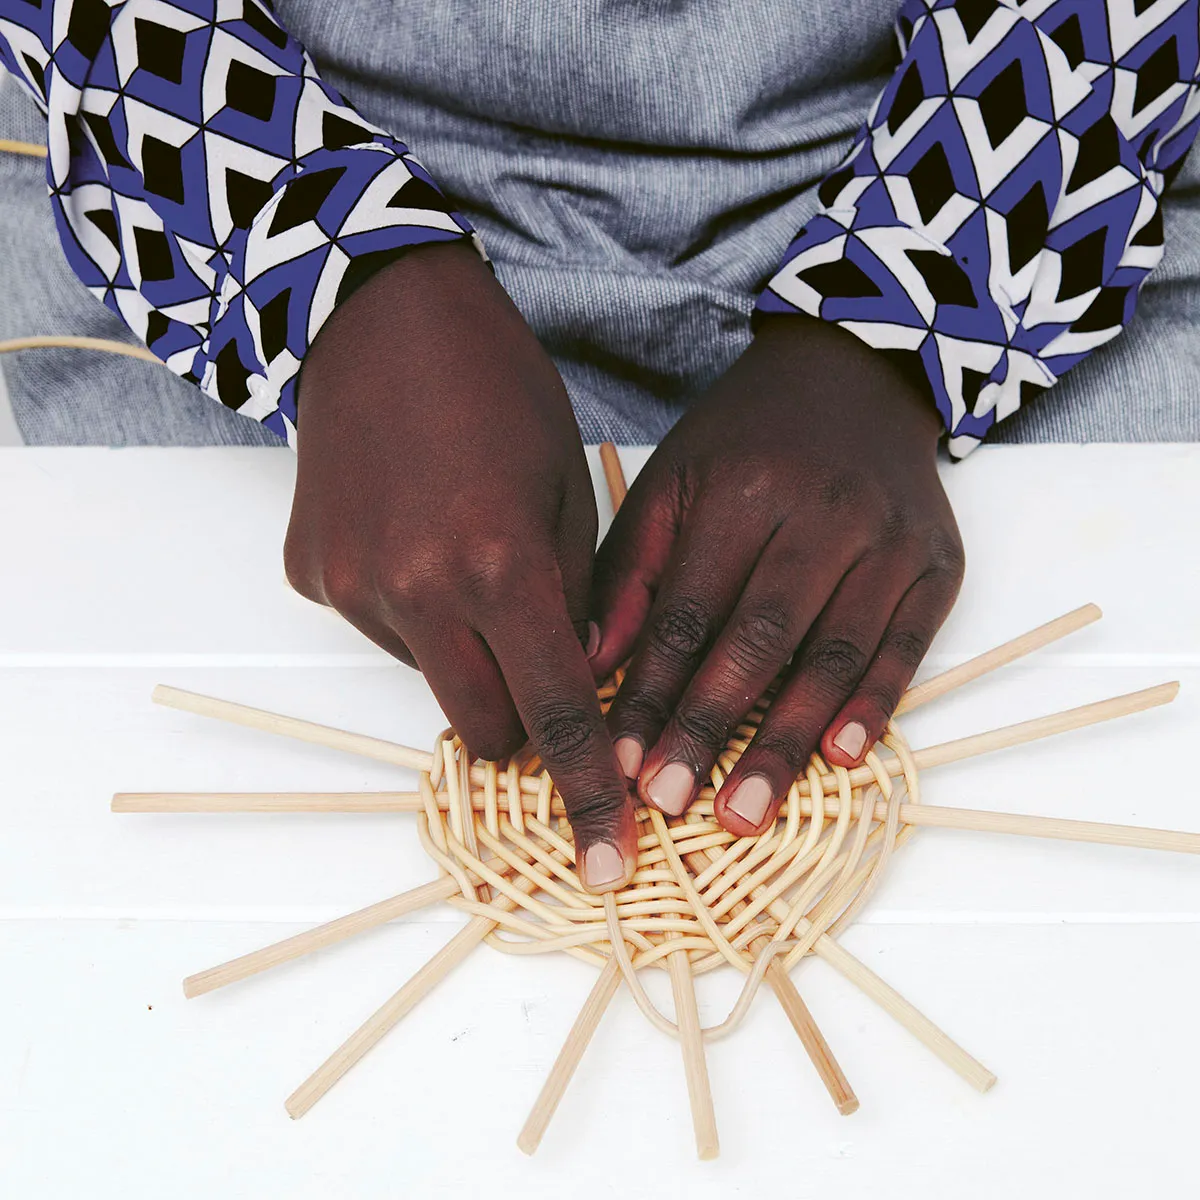
Loop one cane (the weaver) around 4 of the stakes and pull it down to sit next to the crossed pieces. Hold the weaver on the bottom (A) with your left thumb (this is the piece diagonally crossing the centre in the photo) and take the weaver on the top (B) in front of the first group of 4 stakes and behind the next group of 4 stakes.
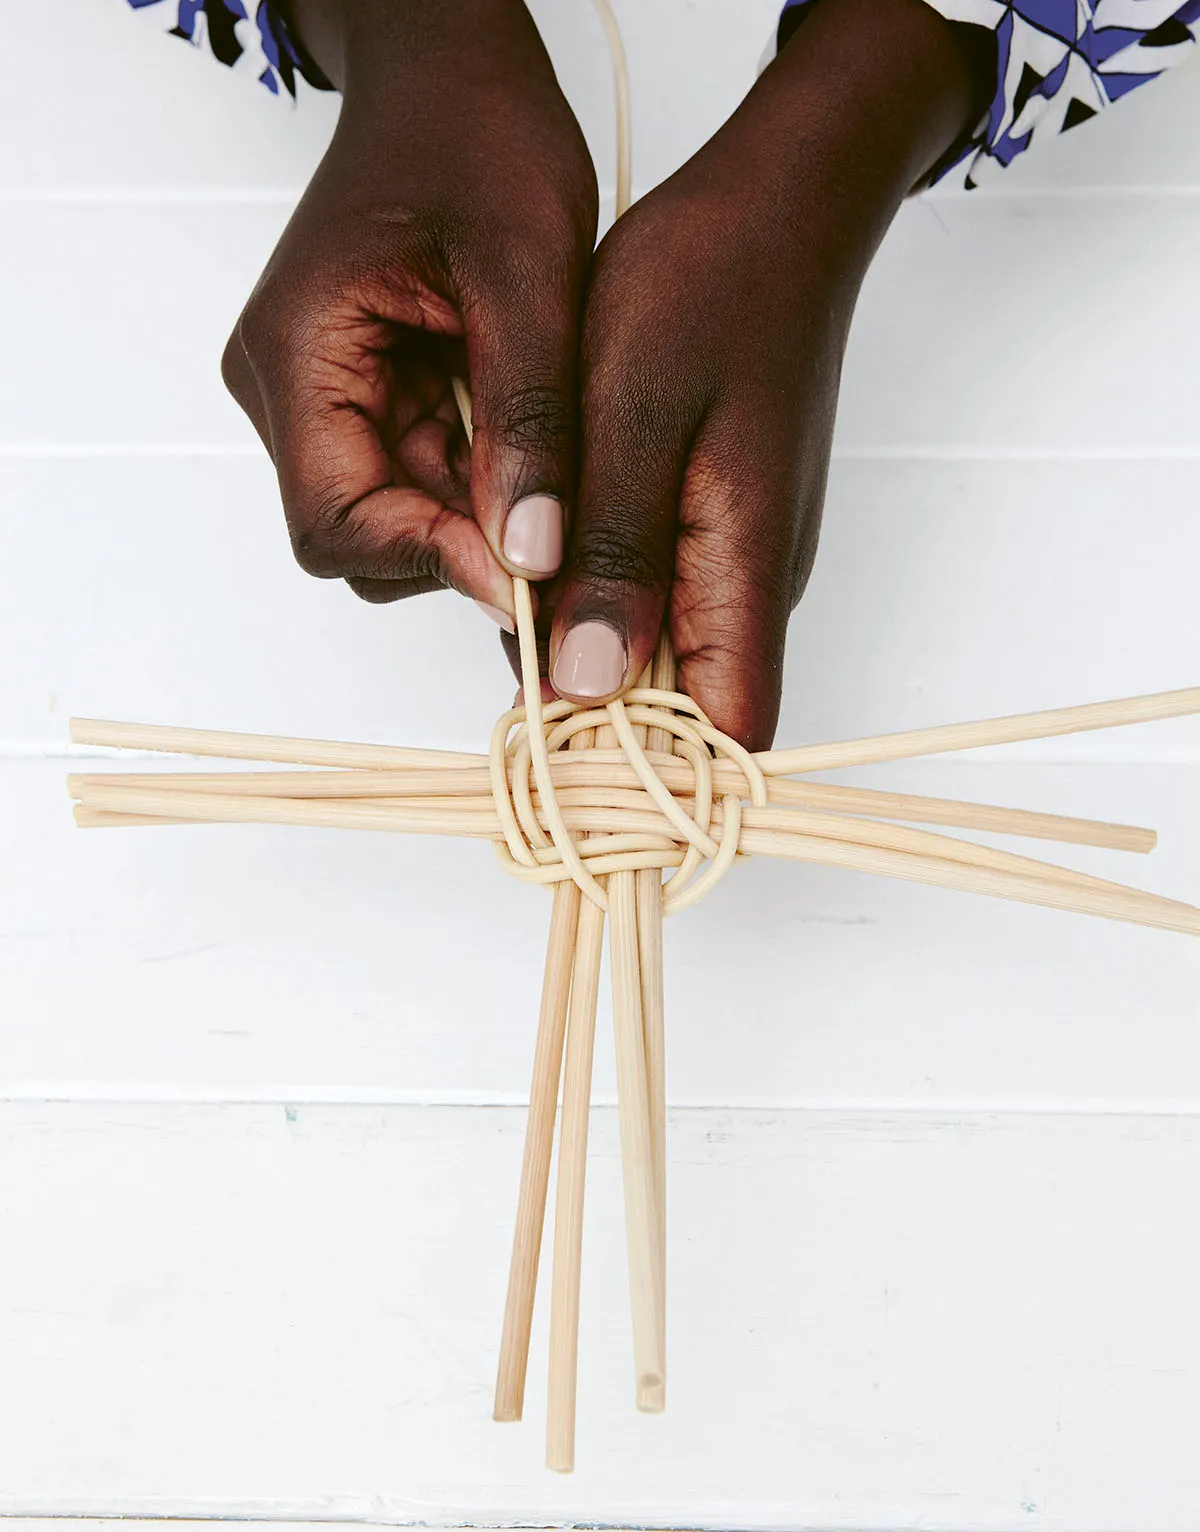
Pull tightly, then rotate the slath a quarter turn anti-clockwise. A is now on top, and B is underneath. Hold B in place with your left thumb, and take A in front of the next group of 4 stakes and behind the next group of 4 stakes. Pull tightly, then rotate the slath a quarter anti-clockwise. A is now underneath, and B is on top. Repeat until you have completed 2 rows.
Step 5
Next, separate the stakes into groups of 2 using the same pairing weave. Hold the weaver on the bottom (A) with your left thumb and take the weaver on the top (B) in front of the next 2 stakes and behind the next group of 2 stakes. Pull tightly, then rotate the slath a quarter turn anti-clockwise. A is now on top, and B is underneath.
Step 6
Repeat the pairing sequence in step 5 until you have completed 3 rows and increased the size of the base.
Step 7
Before opening the stakes to singles, pull the stakes apart a little so that the weaving can go down into the spaces between the stakes to ensure the weaving stays tight. Don’t hesitate to re-soak your cane if it doesn’t feel flexible enough. Try to keep the stakes open evenly.
Step 8
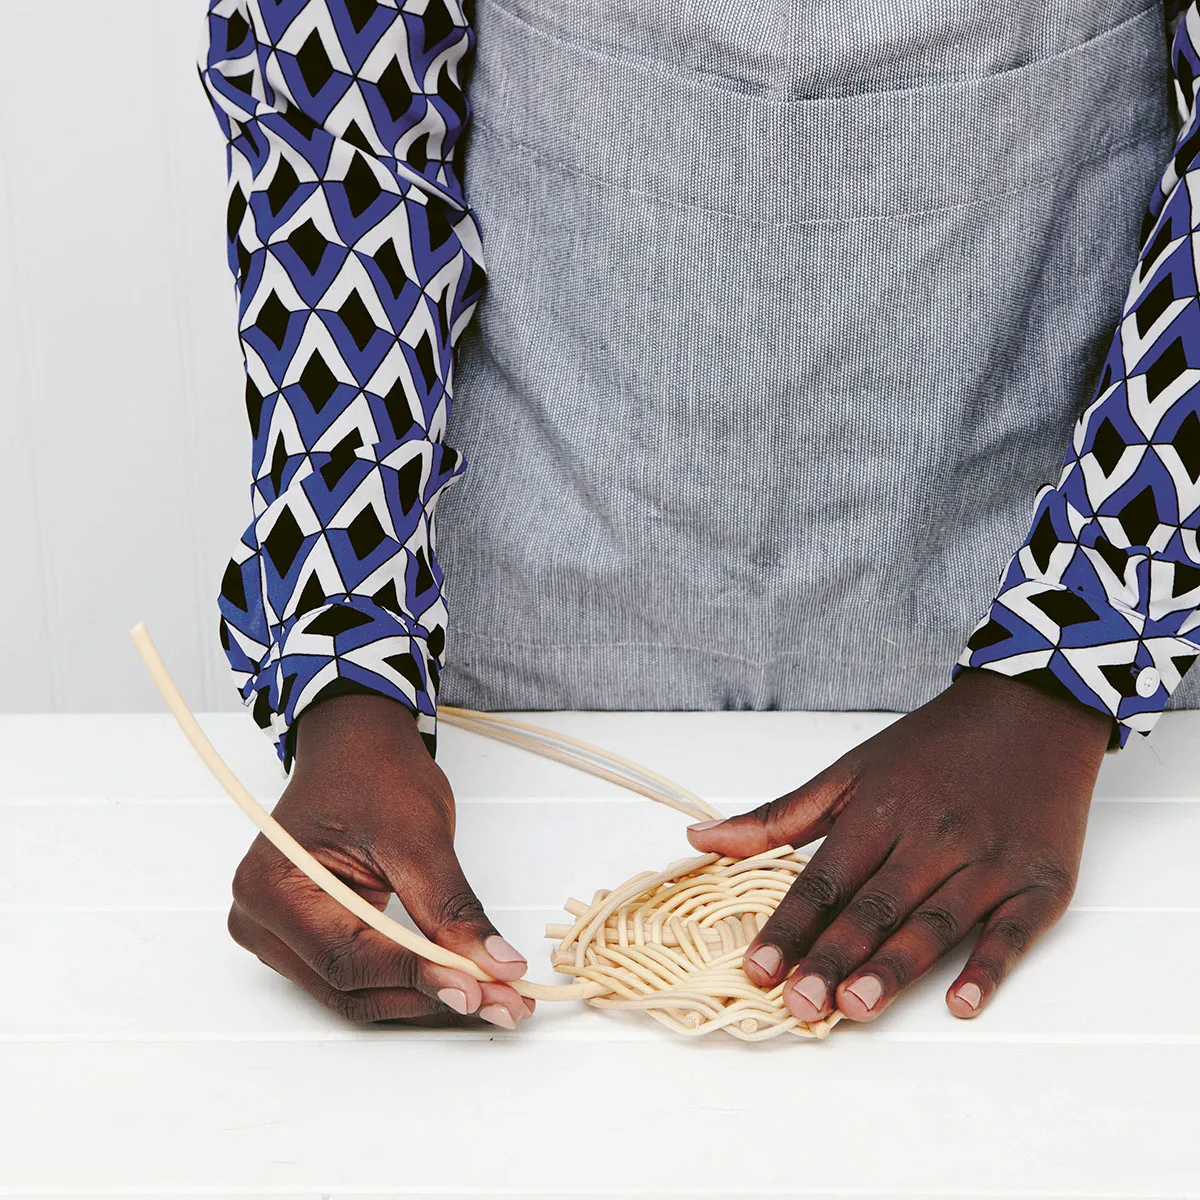
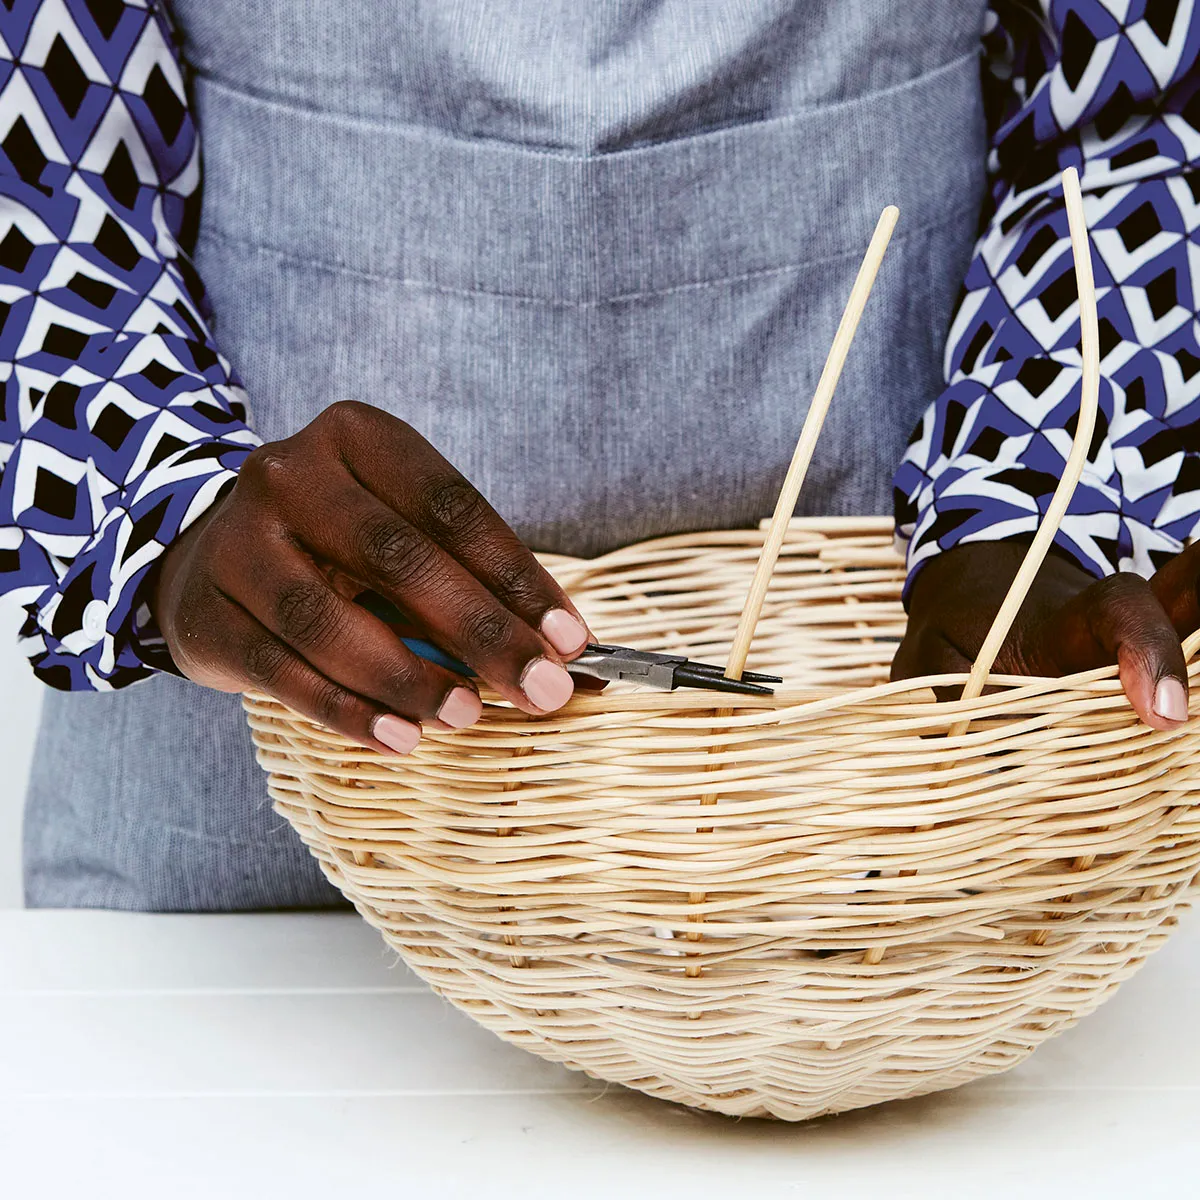
When the base has reached the desired size, start shaping the sides of the basket by adding new stakes that will be turned up vertically. Cut new stakes with your cutters and insert them on the right side of your base stakes, using the bodkin to create some space. Let it soak for a few minutes, then using pliers, pinch each stake at the base and bend it upwards.
Your next steps in basket weaving
We hope you've enjoyed learning about basket weaving with Tabara! Her website La Basketry has tons of basket weaving kits, advice and tips making it your one-stop shop for this beautiful craft.
Once you've weaved your first basket, it's easy to become enthralled in the varied world of basket weaving. There's a wide range of materials and weaves for you to try, and one of the best way of finding the next project to try is with a kit!
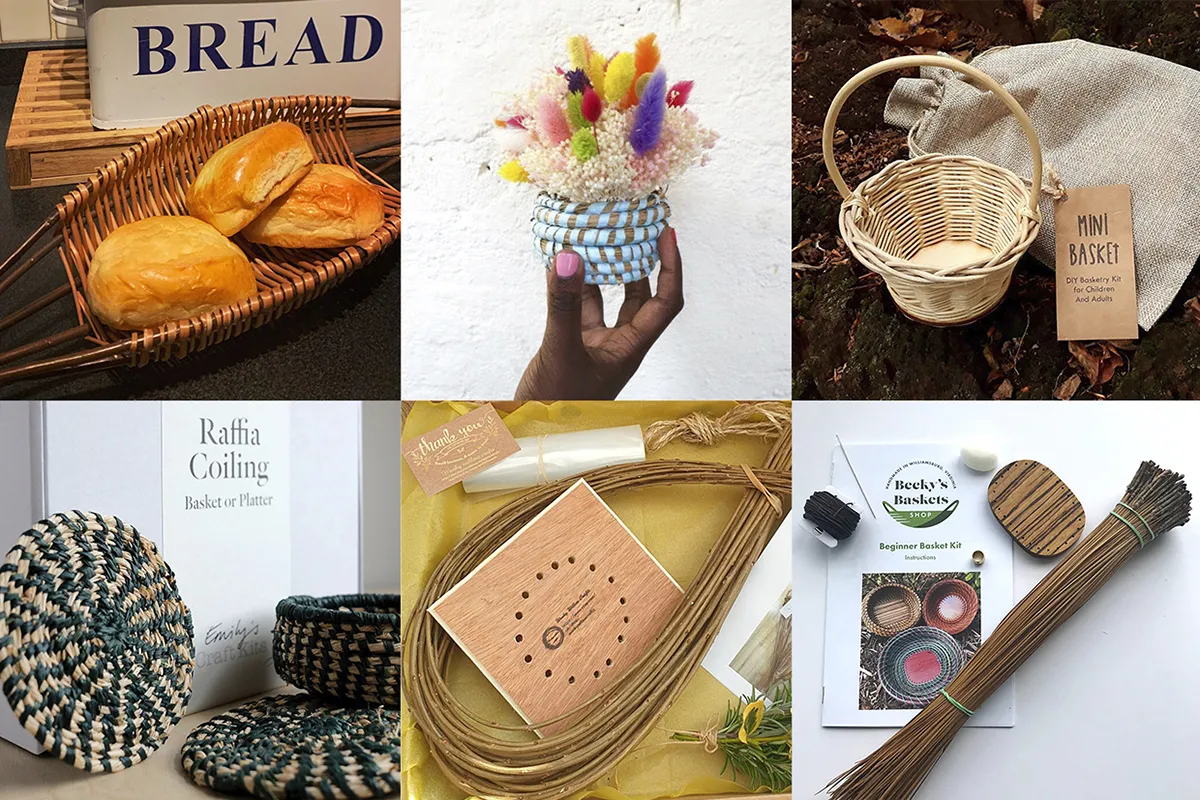
Treat yourself to a basket weaving kit
We've rounded up the best basket weaving kits available online, so check them out and treat yourself to some relaxing weaving time!