Step 1
There are two ways to make these flowers – with or without a Brother ScanNCut. For either method, first download and print your exclusive paper rose template PDF.
If a ScanNCut is still on your wishlist and you don’t have one yet, just print out the colour version, cut it out using a pair of scissors and skip ahead to step 5. Or why not print out the black and white version and simply colour in!

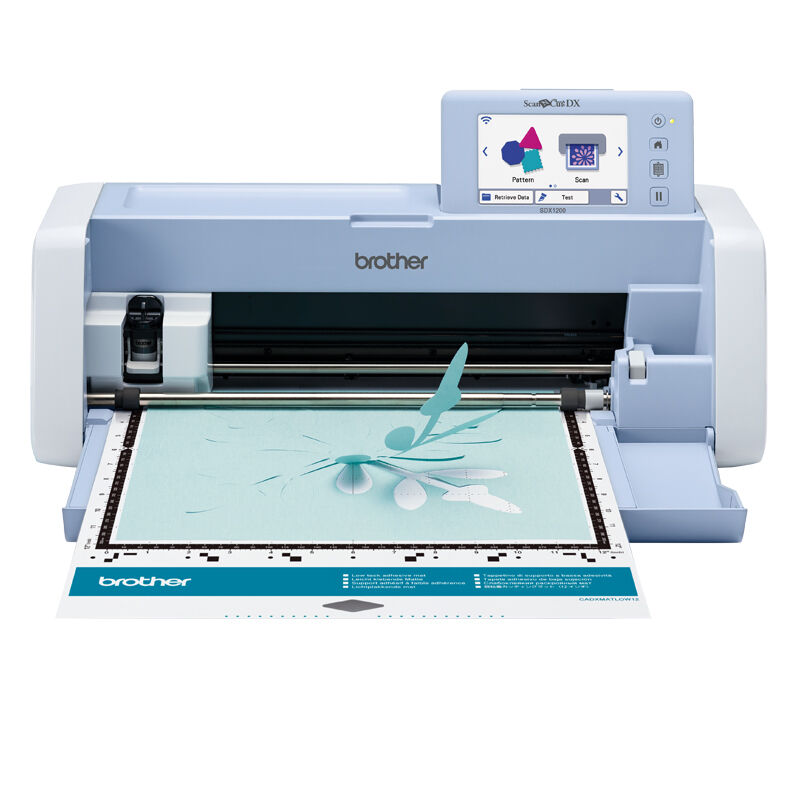
If you DO have a Brother ScanNCut, print out the black and white version and scan it into your machine and select ‘Scan to Cut Data’. The machine will run the template under the scanner and once it is finished, an image will appear on the screen. Using the touchscreen on the ScanNCut, adjust the crop around the image to remove unwanted areas and press ‘OK’. Then select the picture of the ScanNCut to save the template to your machine’s memory. Now you have a paper rose you can cut any time!
If you are using a ScanNCut machine, here is the Paper rose free SVG file! You can save it onto USB which you can plug into your ScanNCut machine, or you can import it into Canvas Workspace and send via wireless to your machine if you prefer.
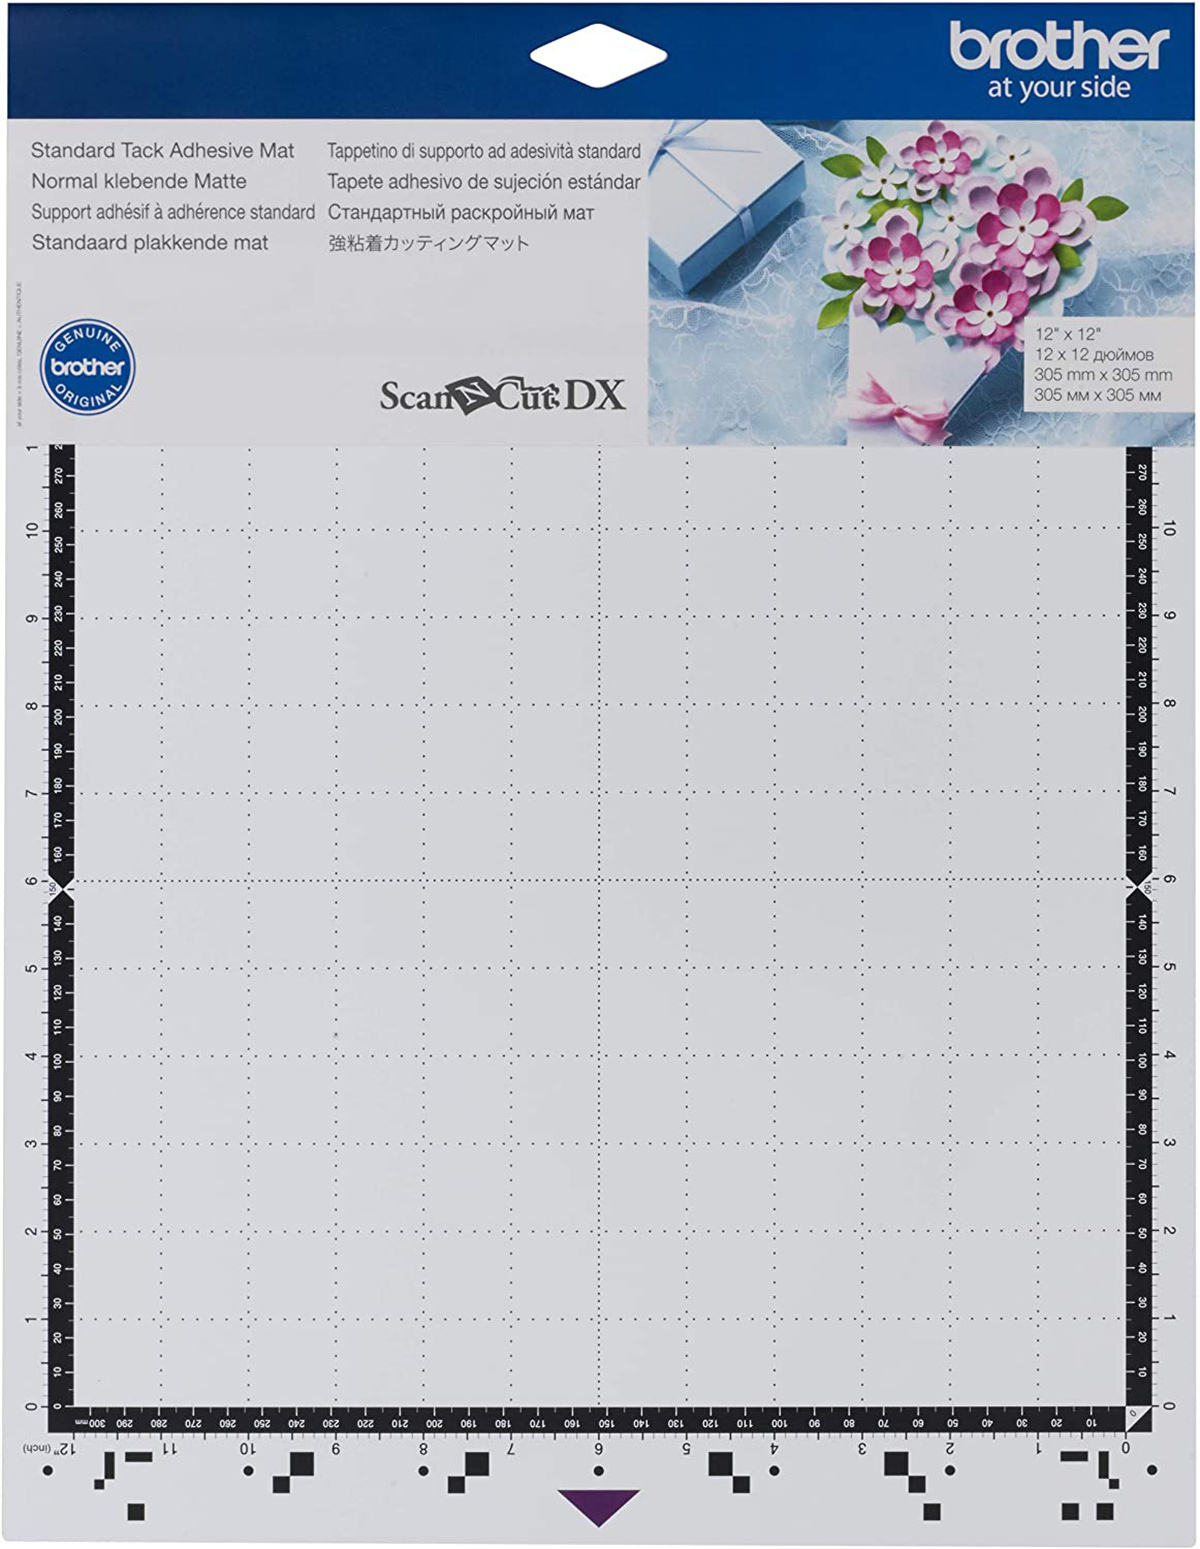
Alternatively, if you don’t have any of the right colour paper or card, or don’t want to dip into your stash, simply print out the colour version of the paper rose template and stick this down onto your Low Tack or Standard Tack Adhesive Mat instead. Scan using the ScanNCut and select ‘Direct Cut’ on your ScanNCut machine to cut out the template. Now skip ahead to step 3.
Step 2
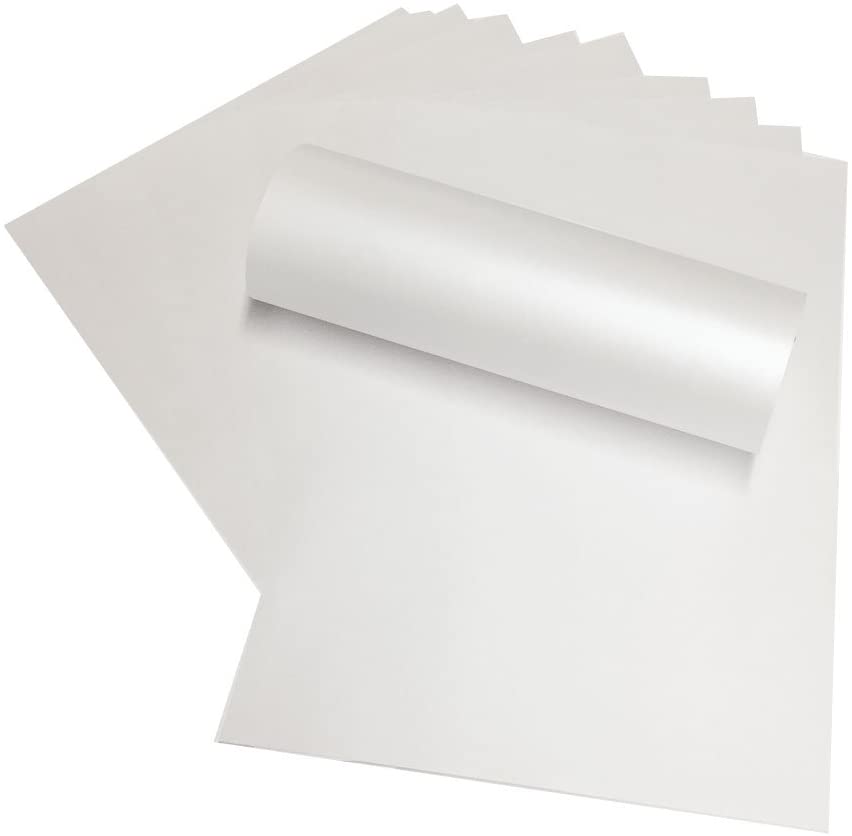
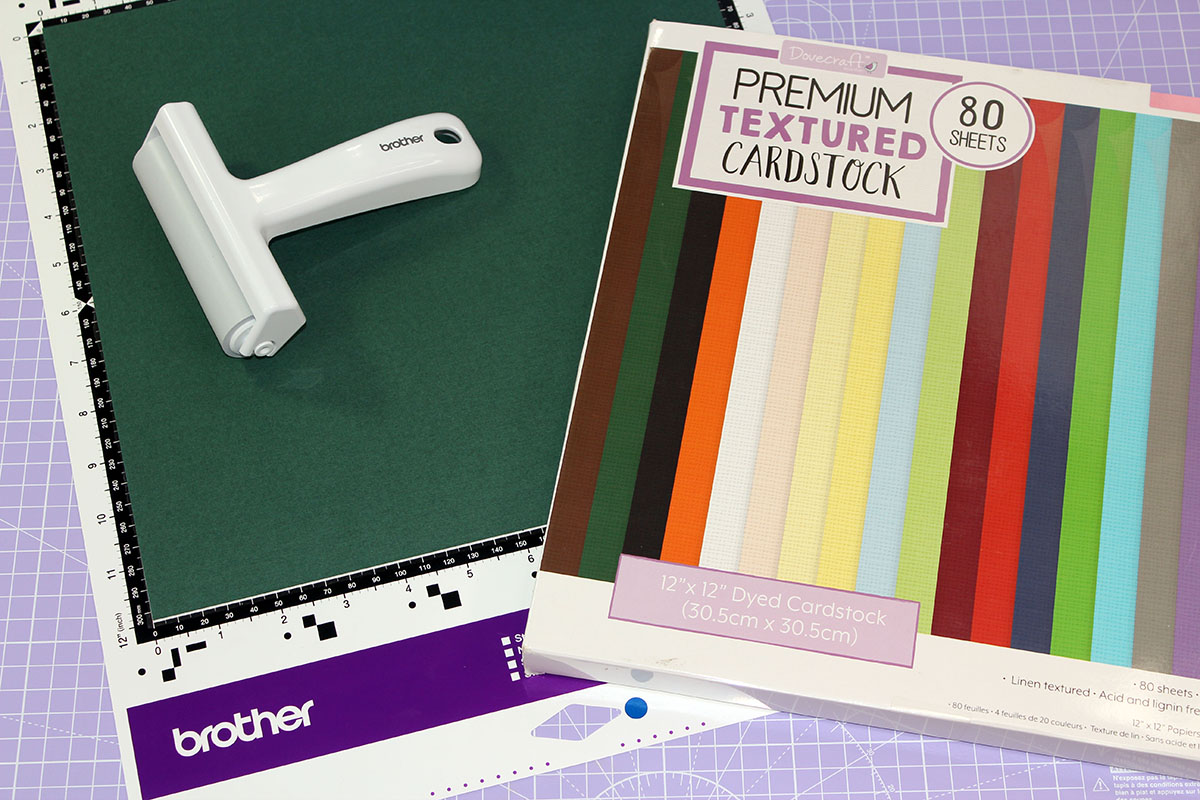
Stick some paper or card onto your Brother cutting mat. Burnish the paper or card down well. I’ve chosen a pearlescent white for my paper rose.
Step 3
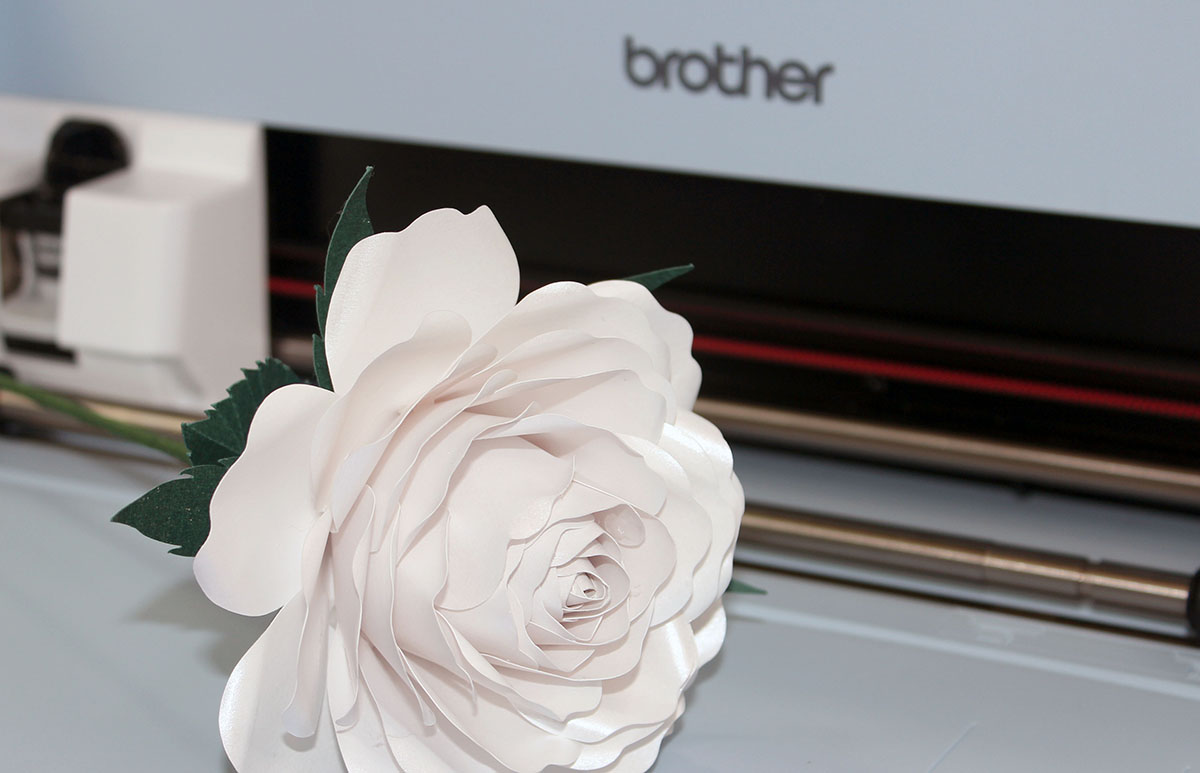
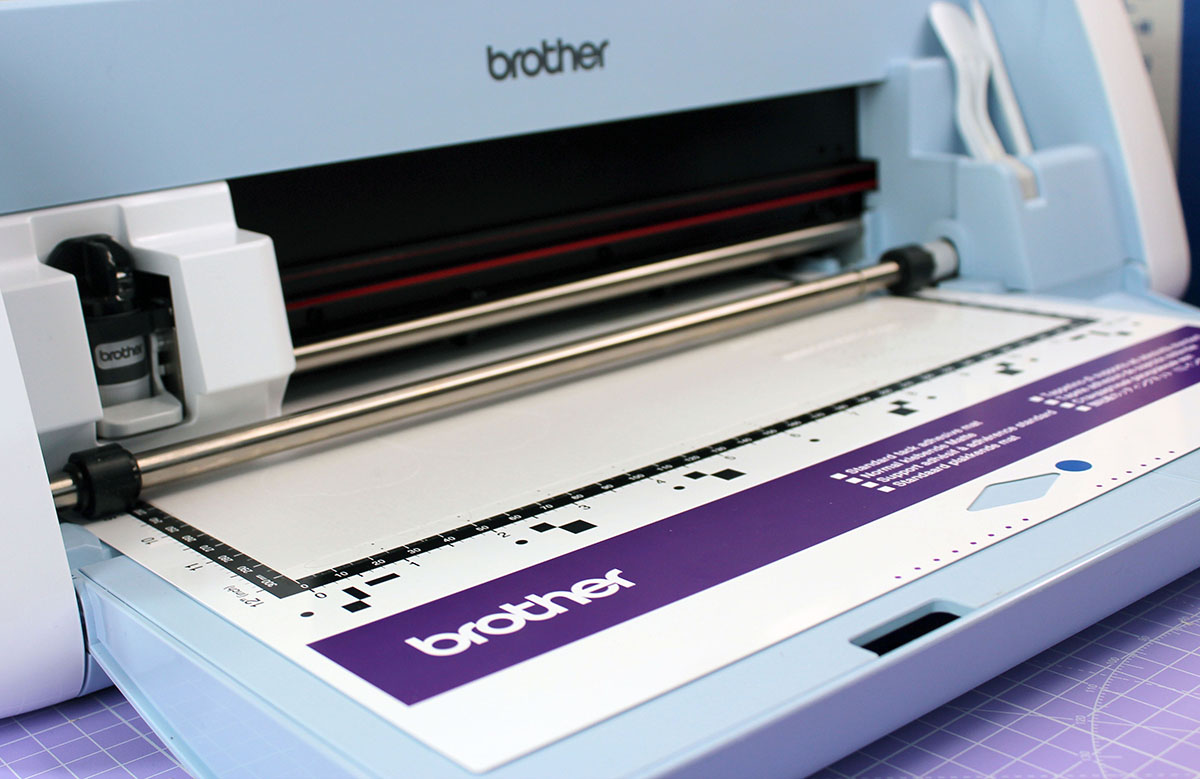
Load your Brother cutting mat into your machine if you haven’t done so already, and instruct it to cut the petals for your paper rose. Depending on how fulsome you want your paper rose – you’ll need 6-8 sets of petals (one “set" of petals is one of the flower-like pieces, made up of six individual petals).
Step 4
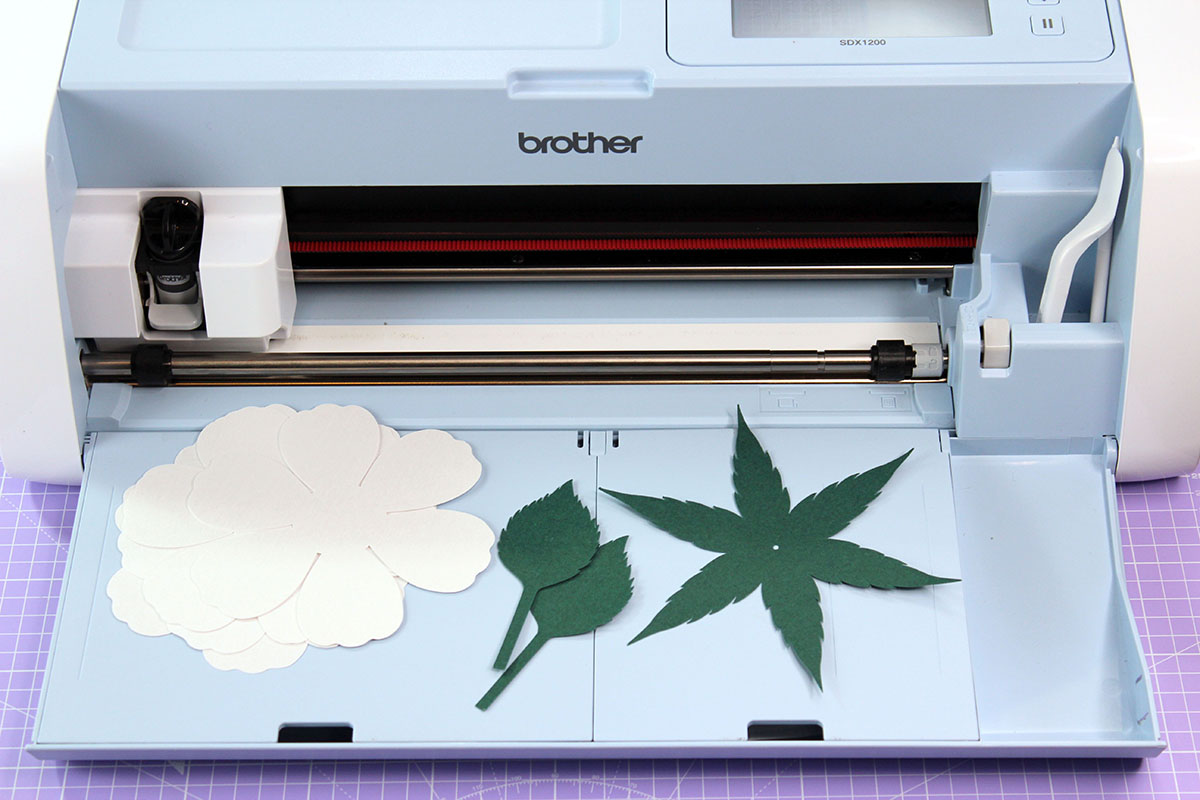
Next, load your Brother ScanNCut with some green paper or card for the sepal and main leaves, and instruct it to cut. Cut one sepal and two leaves.
Carefully peel the waste away from around the petals and leaves.
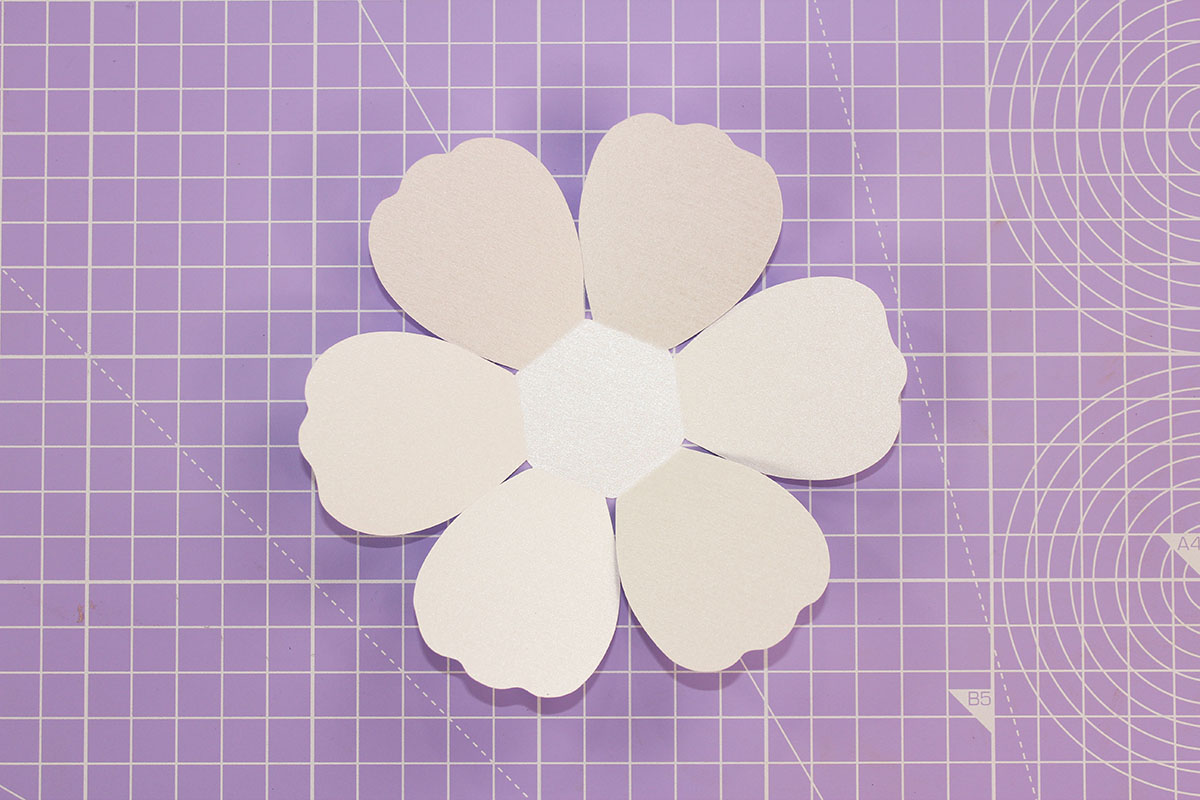
Step 5
Before we start assembling the paper rose, we need to shape the petals a little. This will encourage the paper to fall into the right place when we glue it together.
Fold the individual petals inwards towards the centre – you can do this individually like I’ve done here, or fold them all at once to save time.
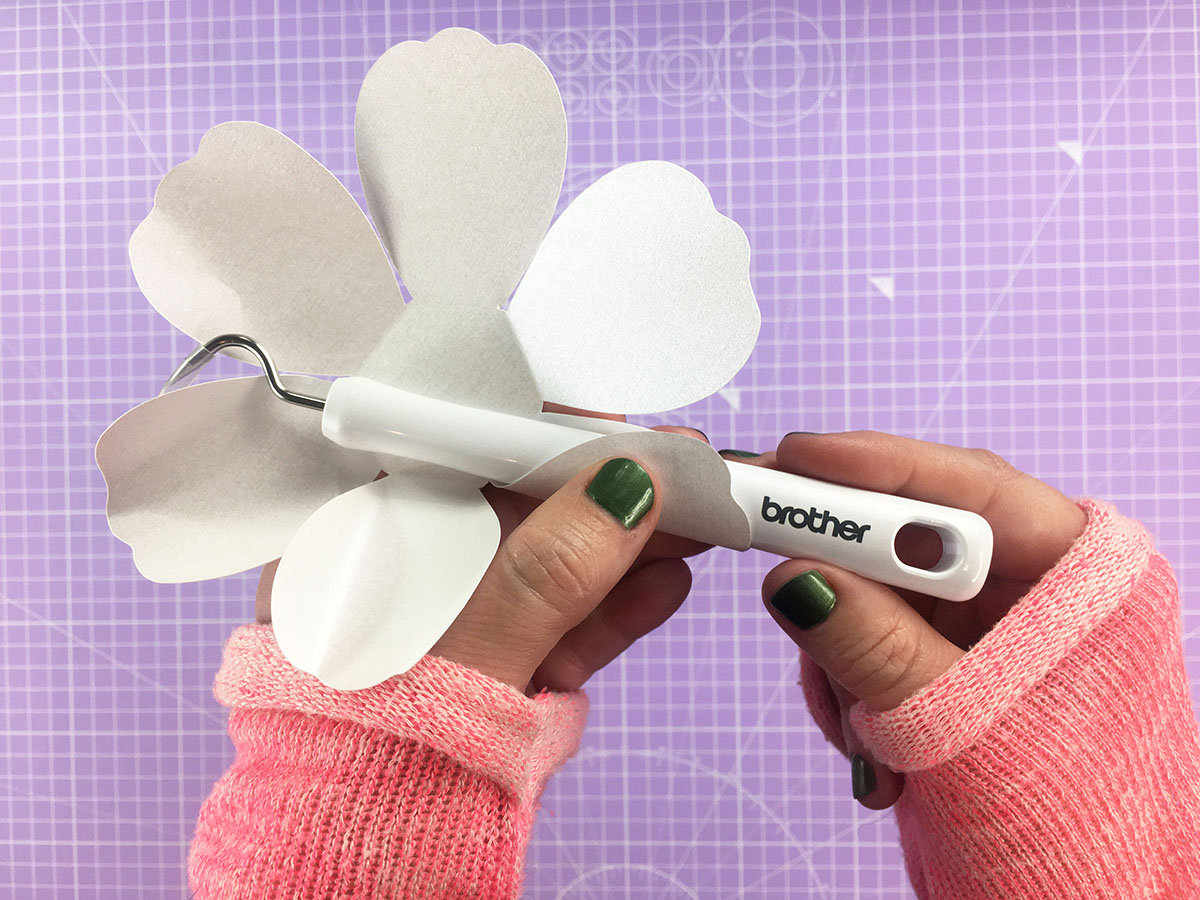
Step 6
Next, curl the edge of the petals inwards. This will help the shape of the paper rose to emerge when we assemble it.
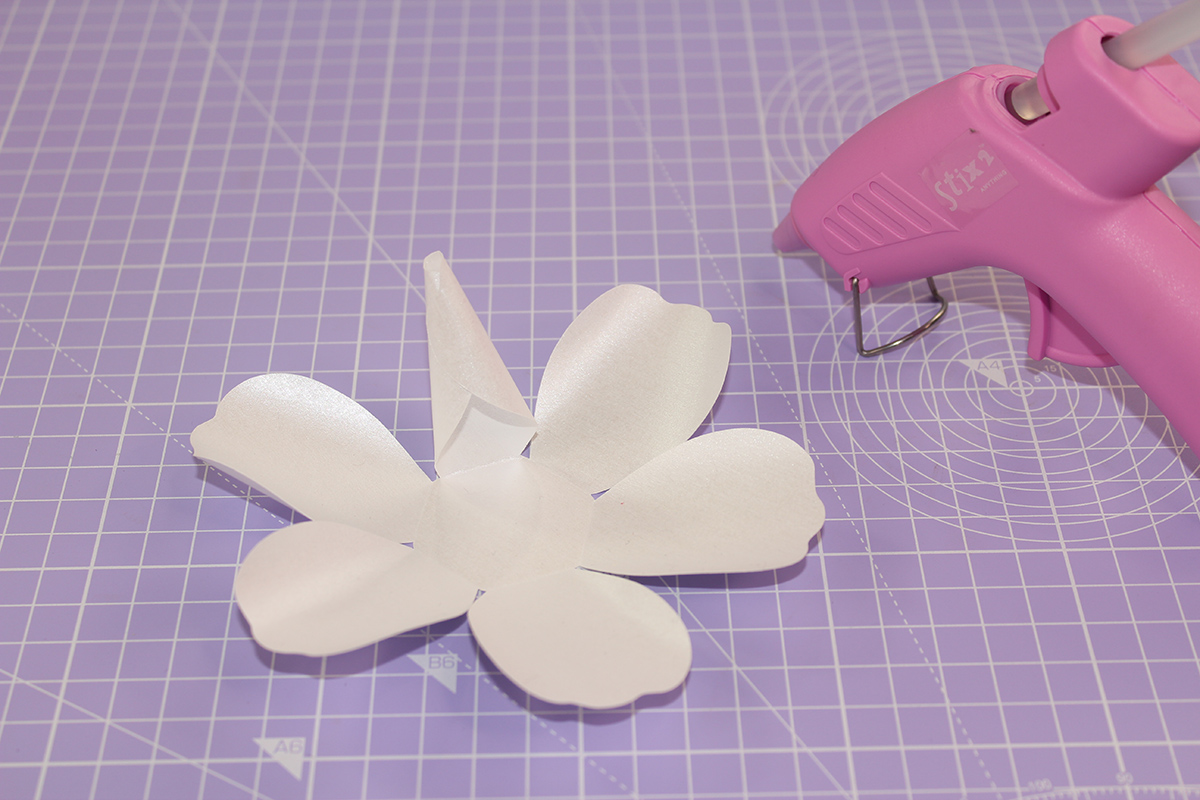
Step 7
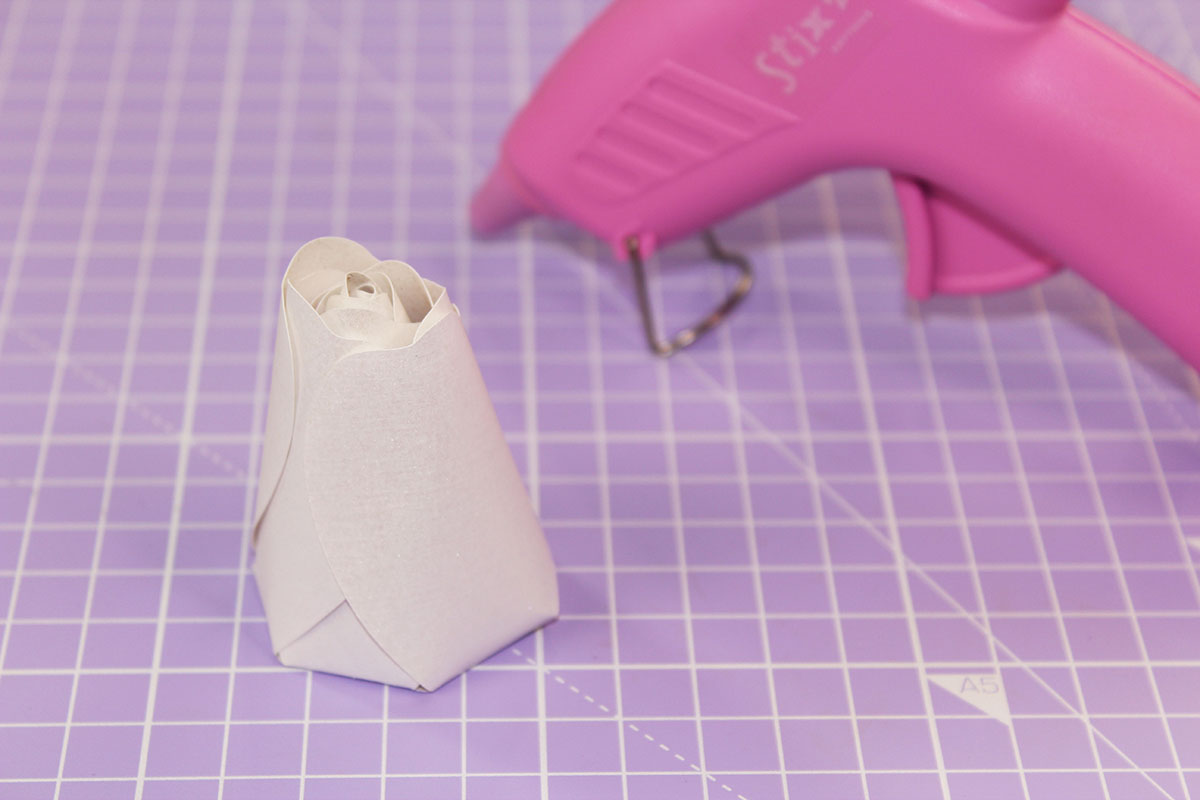
Take one set of petals and tightly curl one of the individual petals and glue it together, forming a cone shape. This is the very middle of the paper rose.
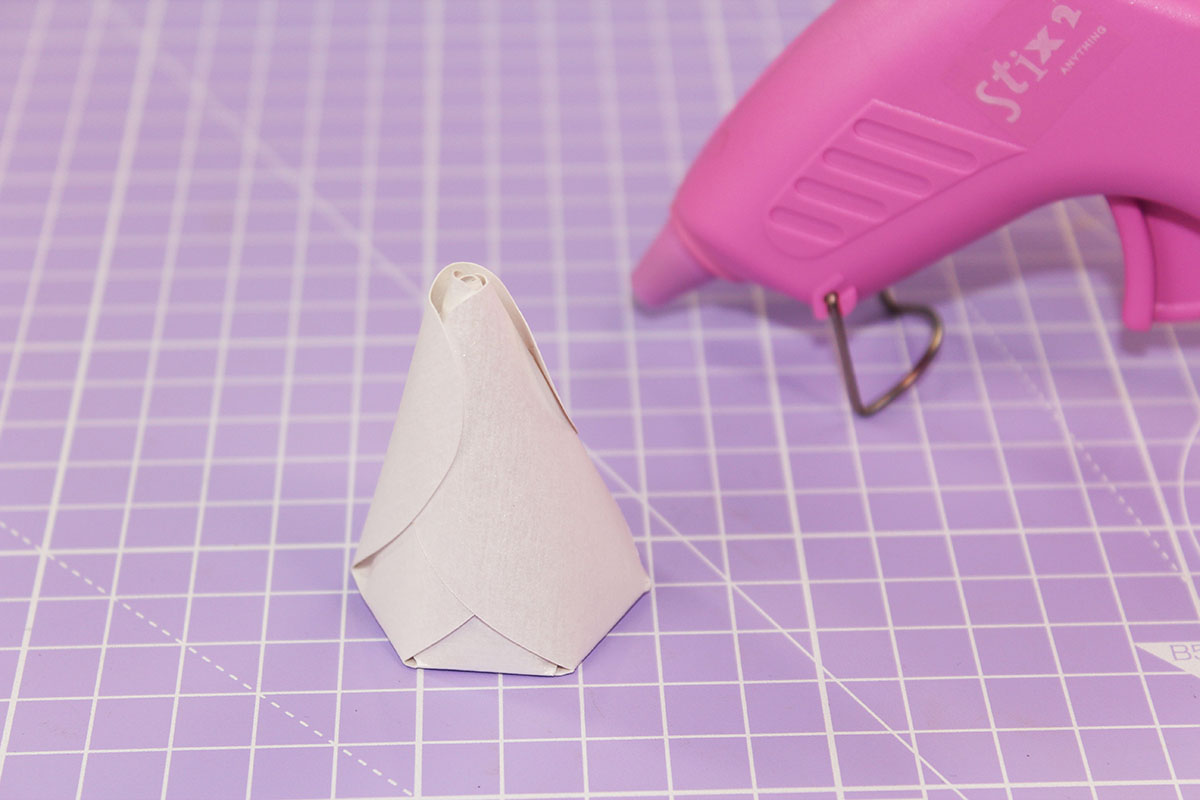
Step 8
Bring the opposite petal up, wrap around the cone shape and glue into place. As this is the very middle of the paper rose, we’re going to make it quite a tight cone.
Continuing to work with opposite petals, repeat the process of bringing one of the individual petals up, wrapping around the cone and sticking down. Do this until the first set of petals is fully assembled and you have a solid cone shape.
Step 9
Stick the next set of petals on to the bottom of your cone and repeat the process, bringing up opposite petals one at a time. This time, however, leave a little gap between the petals and the inside cone (ie don’t wrap the petals as tight).
Step 10
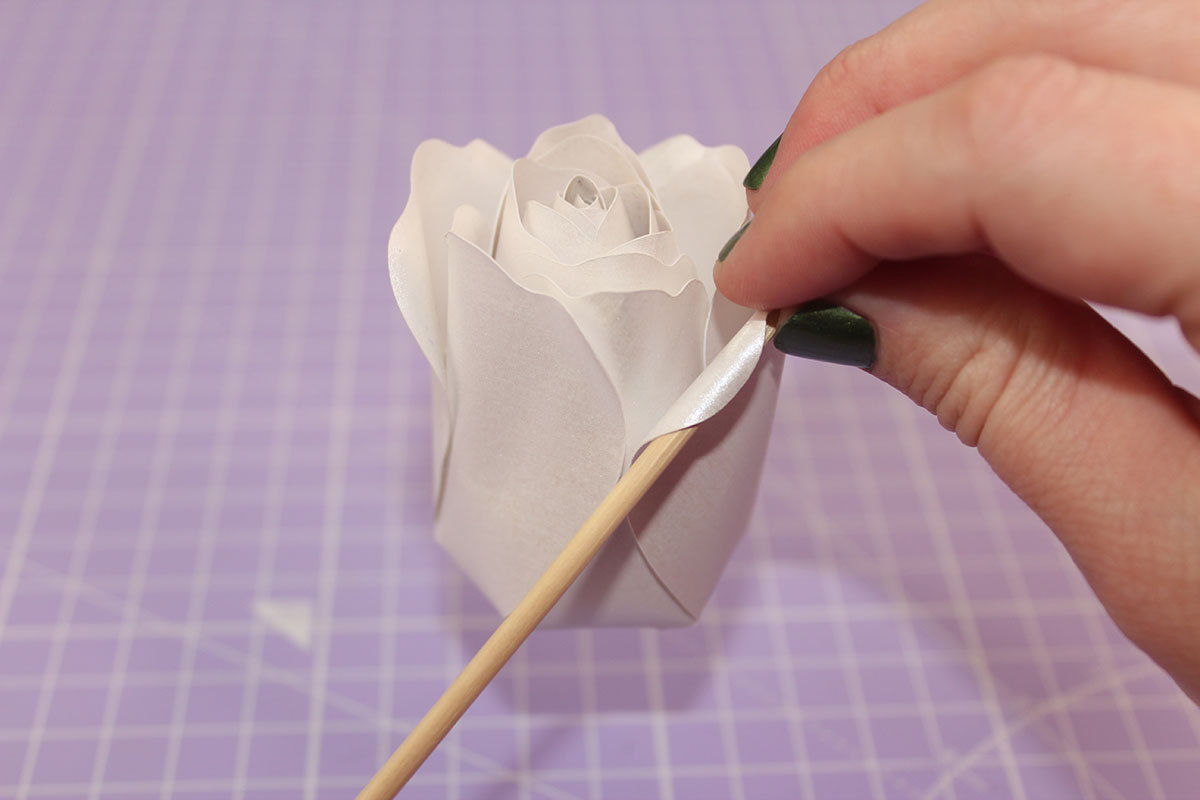
Continue adding the sets of petals, bringing up the individual petals in the same way. Once you get onto the third set of petals, curl the tips of the petals outwards (or you can also do this bit at the end).
Here’s a top tip: as your paper rose gets bigger and you move through the petals, move the placement of the glue further down the inside of your petals. Start with it near the top of the petal – this will create the tight bud we want in the middle of the paper rose – and gradually move the glue down the petal as you get further towards the outside of the flower.
Step 11
Keep adding the sets of petals to your paper rose in the same way until you get to the last set. We want the last set (the most outer set) of petals to be quite open, so put glue right at the bottom of the petals to create an open flower.
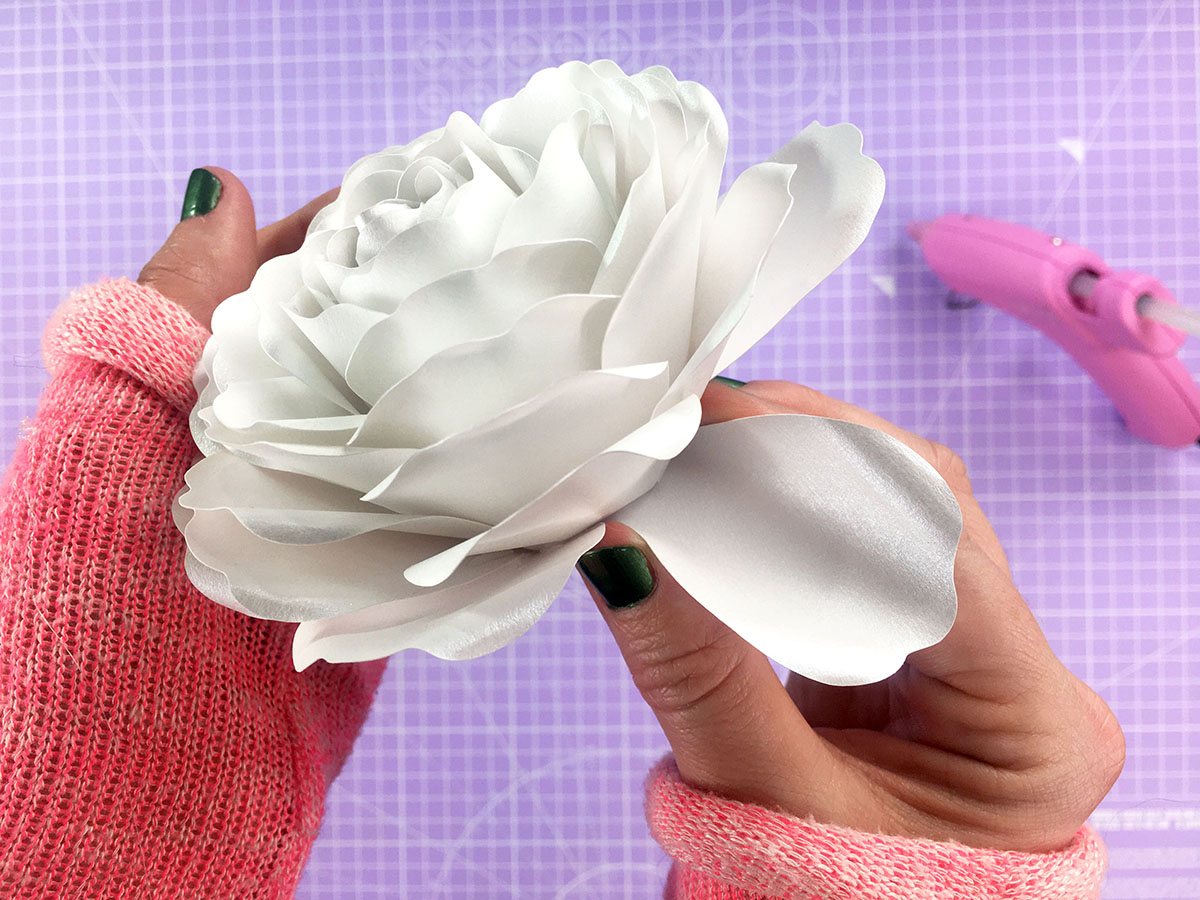
Curl the tips of the petals outwards, using a pen or other round object with a small diameter.
Step 12
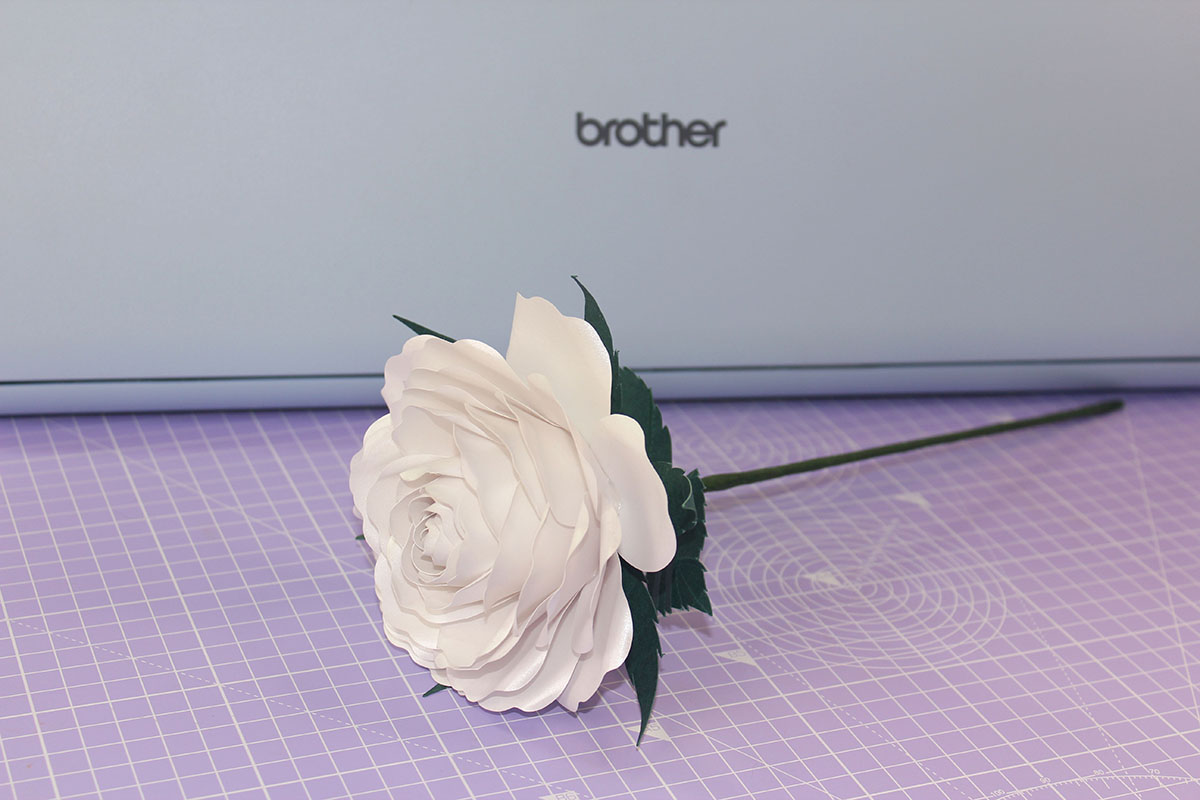
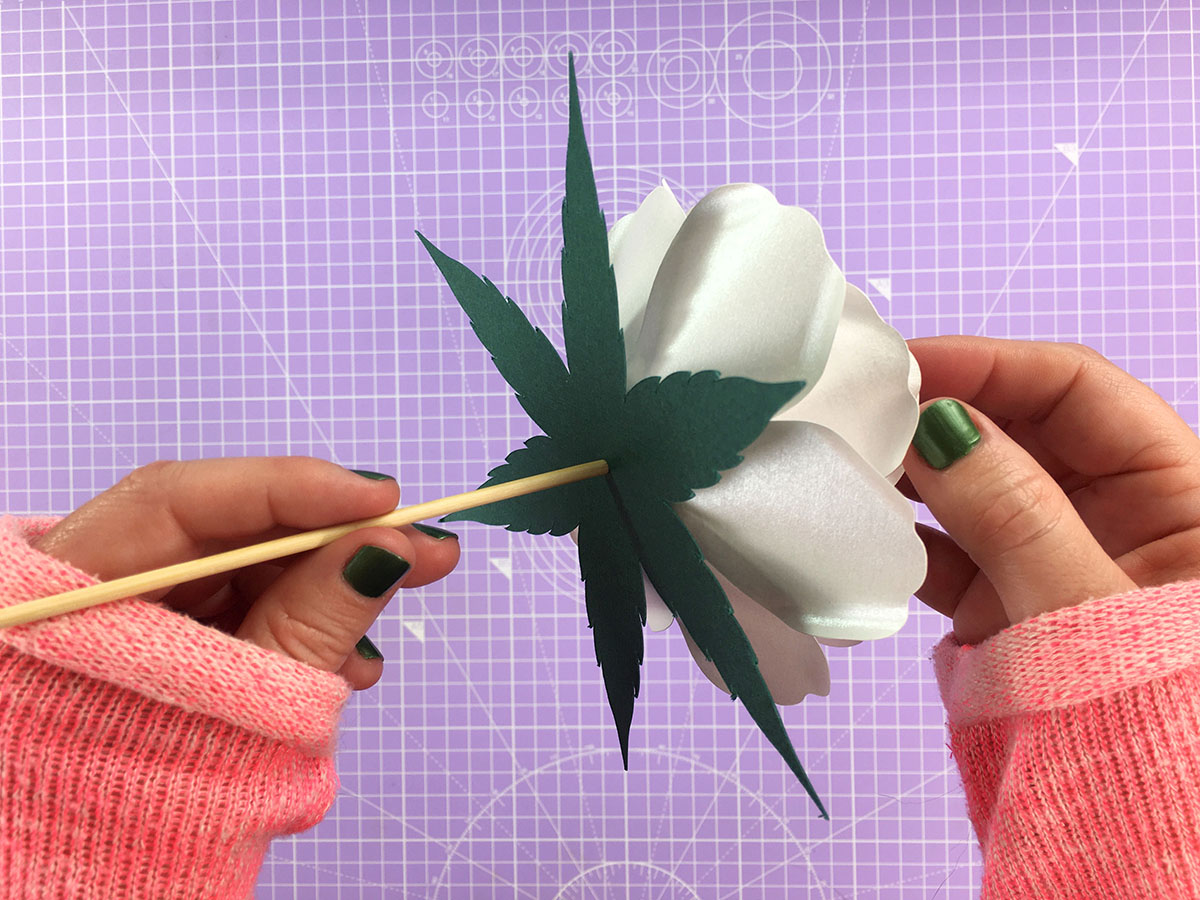
Your paper rose will be quite sturdy at this point, thanks to all the glue. Flip it over and position your sepal, but don't glue down just yet. Using the hole in the middle of the sepal as a guide, poke a wooden skewer through the hole, and through the bottom of your paper rose.
Remove the sepal, and work the skewer into the bottom of your paper rose. If you like, you can add a blob of glue onto the end of your skewer to hold it in place, but it should hold itself. Add the sepal back in and glue it into place.
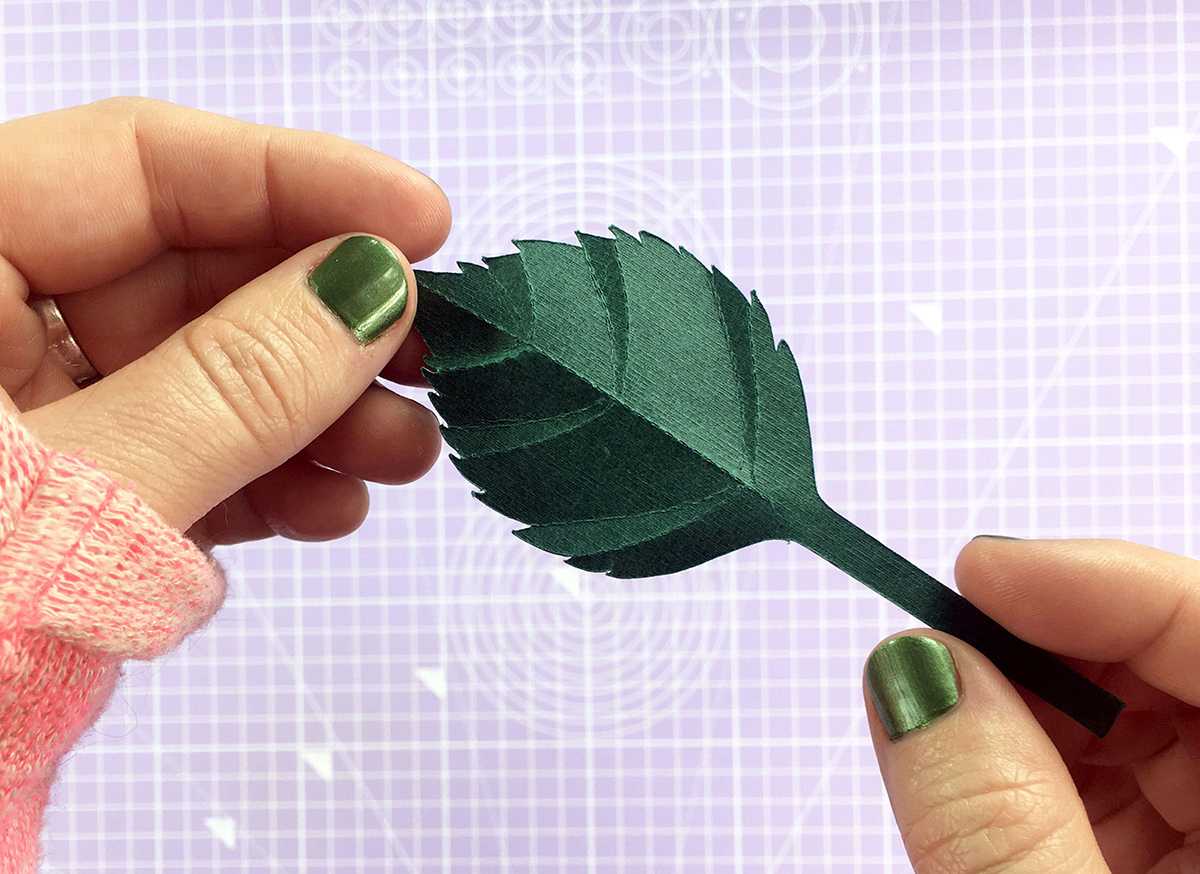
Step 13
Now, working on the leaves - fold along the dotted lines to give them shape. Rose leaves are quite jagged, so if you don't have a ScanNCut and don't fancy cutting round the detailed template, just cut a generic leaf shape, and randomly snip into the edges to create the jagged look.
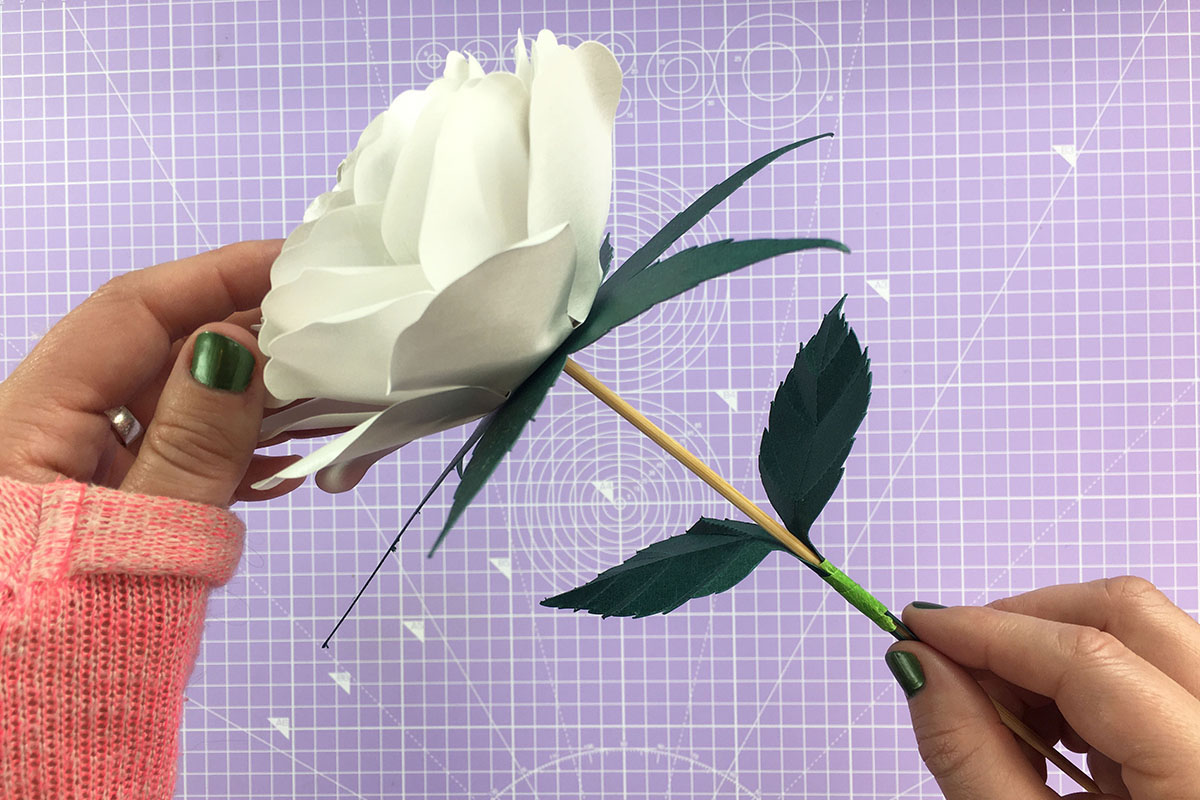
Step 14
Position the leaves on the stick - I've chosen to do one on either side - and tape them into place. Tape (washi tape, sellotape etc) is ideal for this as it will stop the leaves from being pulled out.
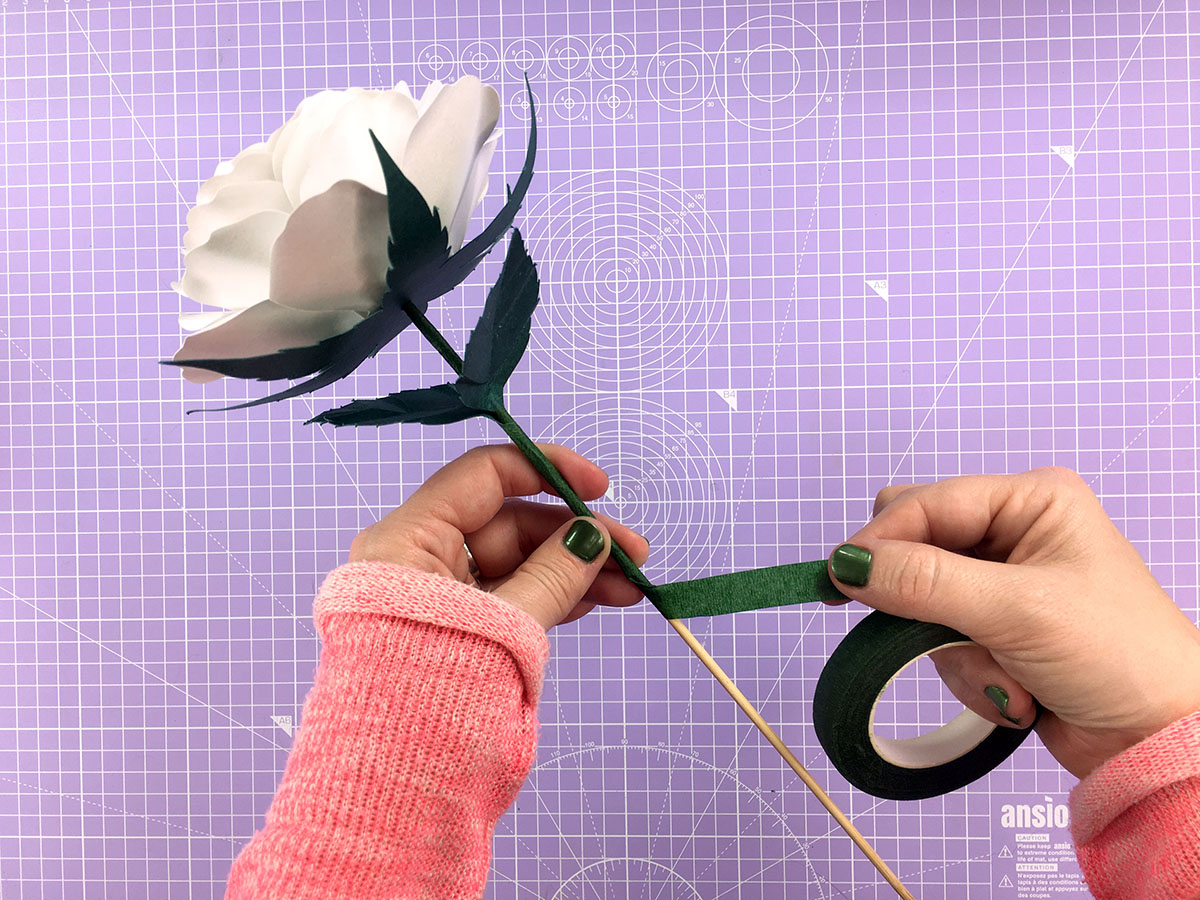
Step 15
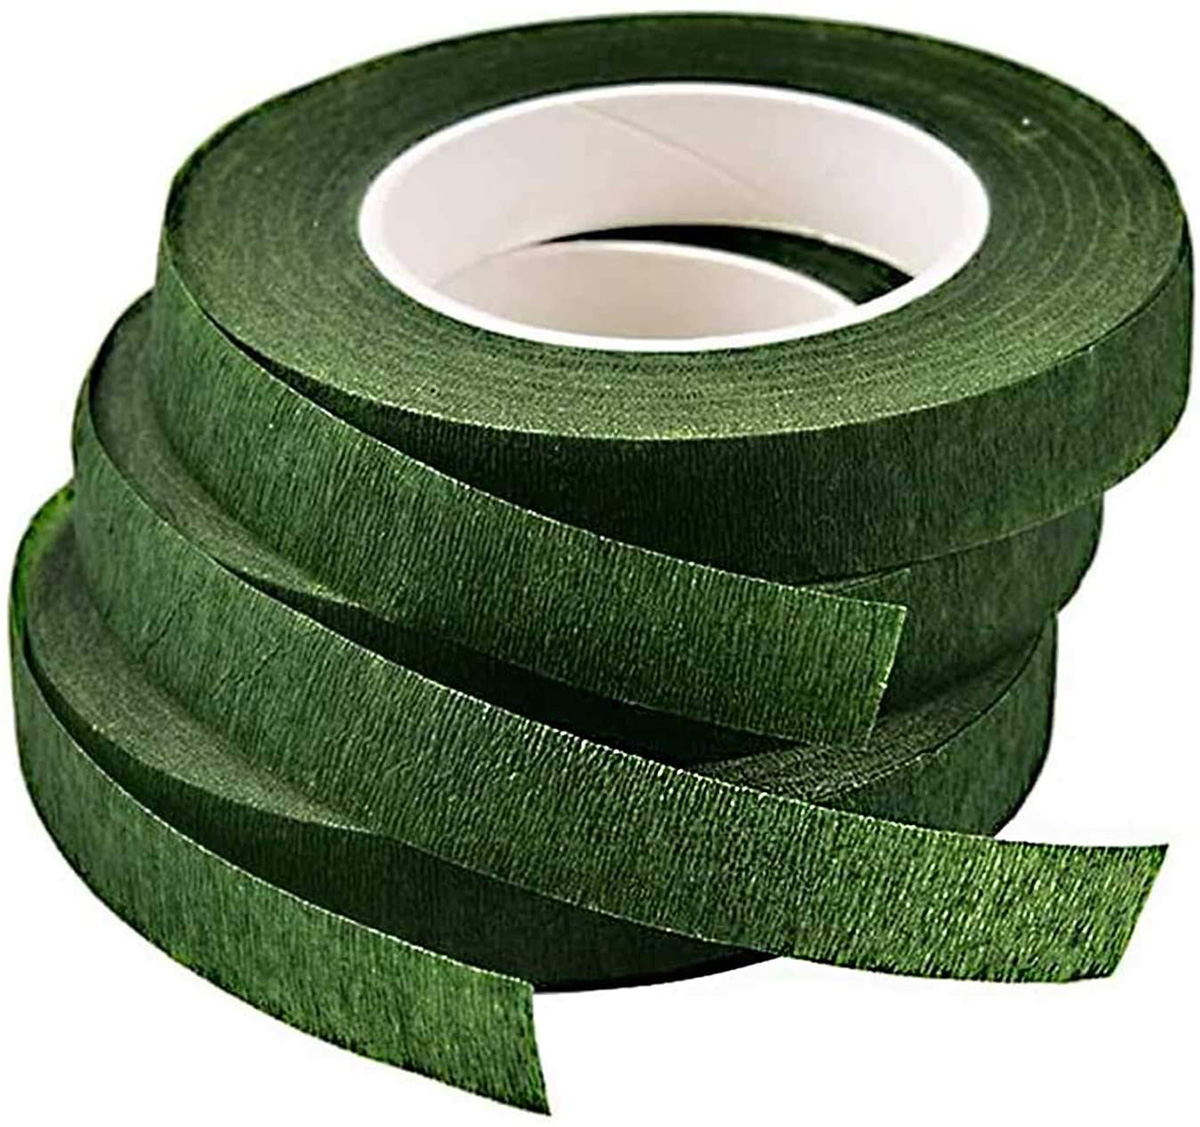
Trim the stick if you need to, then wrap the stick with floral tape, covering up the tape. Floral tape is self-adhesive, so stretch the tape a little to release the adhesive and ensure it stays stuck down as you wind it around the stick. If you feel it needs it, add a little blob of Pritt Stick at the end, just to make sure it doesn't work itself loose.
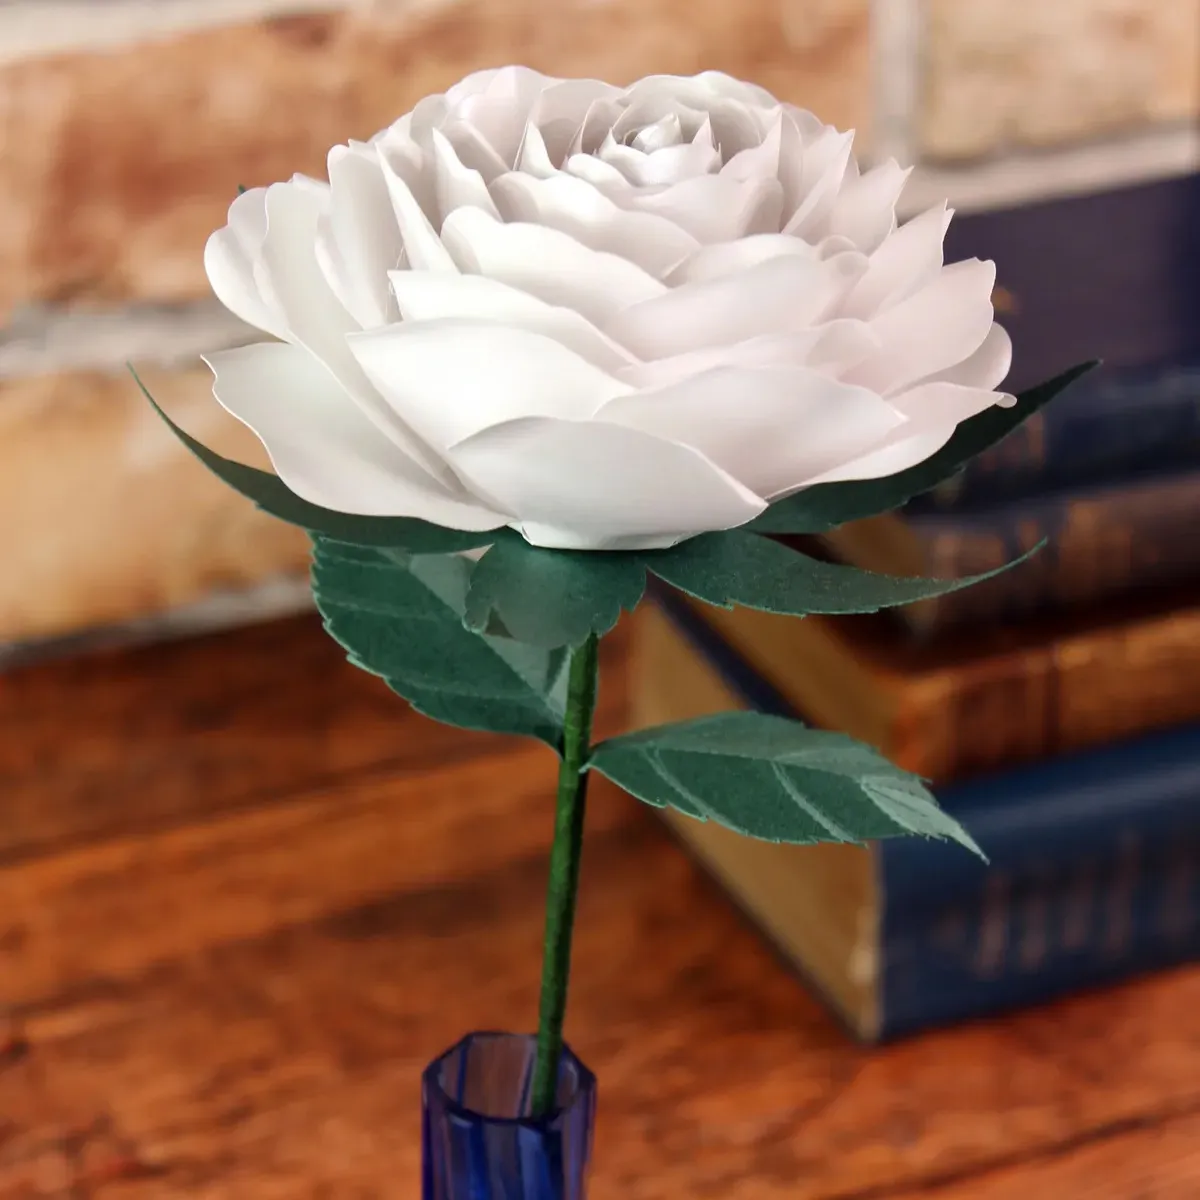
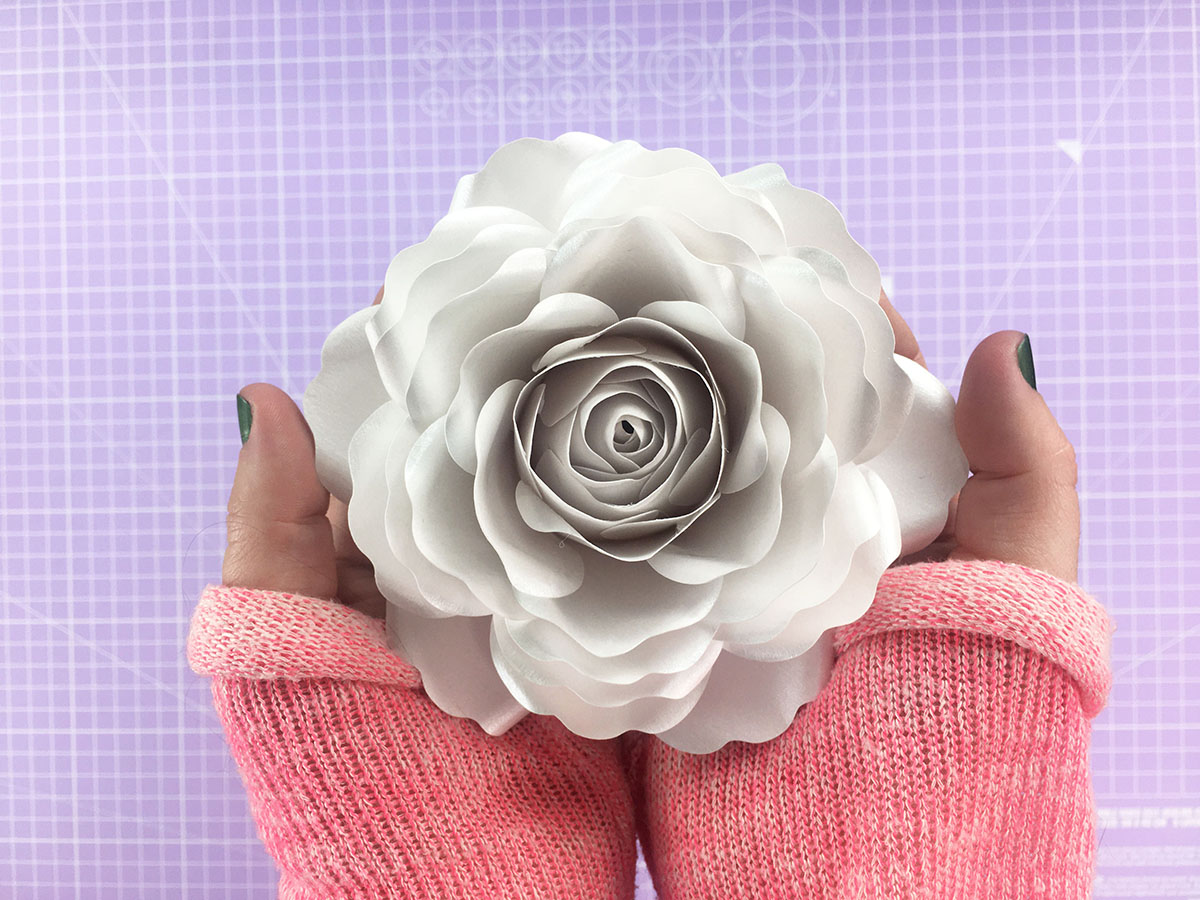
Step 16

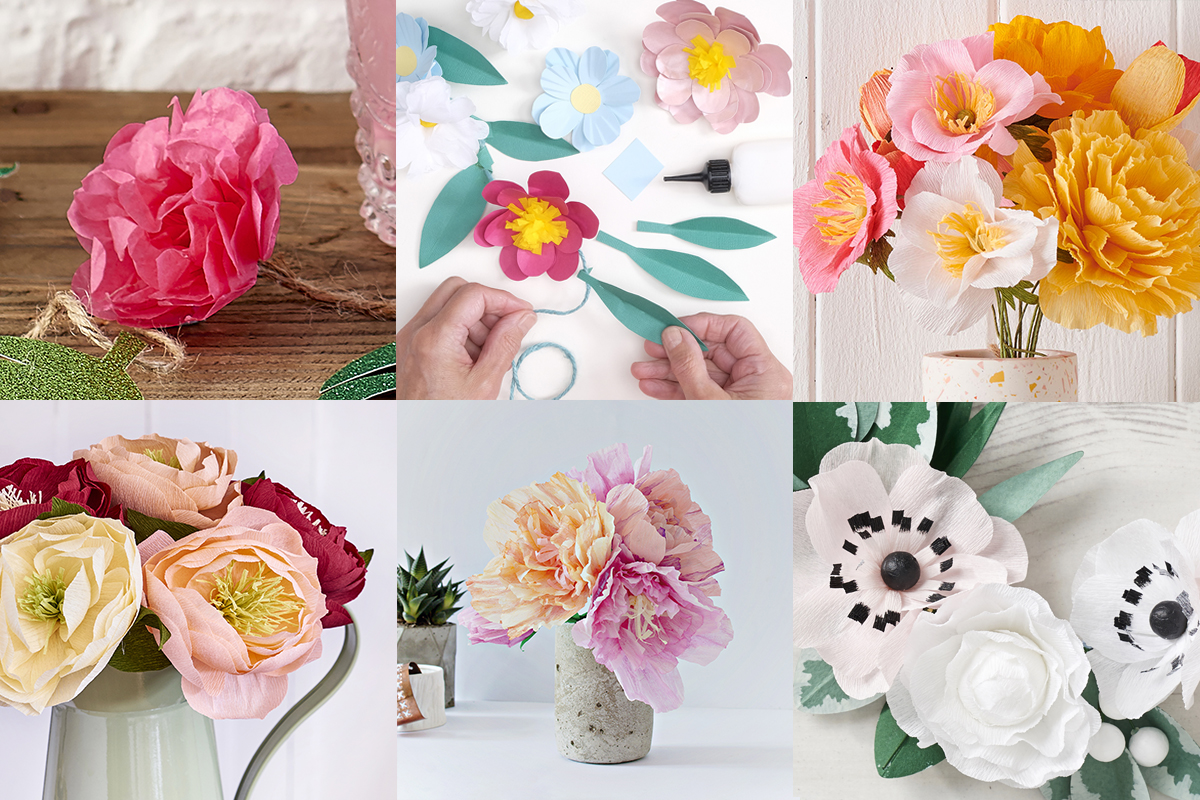
Finally, find somewhere to display your realistic paper rose! We love seeing what you make, so if you want - please share your craft projects with us on Facebook and Twitter, too!