All products were chosen independently by our editorial team. This review contains affiliate links and we may receive a commission for purchases made. Please read our affiliates FAQ page to find out more.

How to make a trick or treat bucket

Boo! Have fun with this frighteningly fun Halloween craft project as we show you how to make a trick or treat bucket using fabric, felt and a few basic sewing supplies.

6 issues of Simply Sewing magazine for £14.99|Save 78%!

Published: September 15, 2021 at 8:40 am

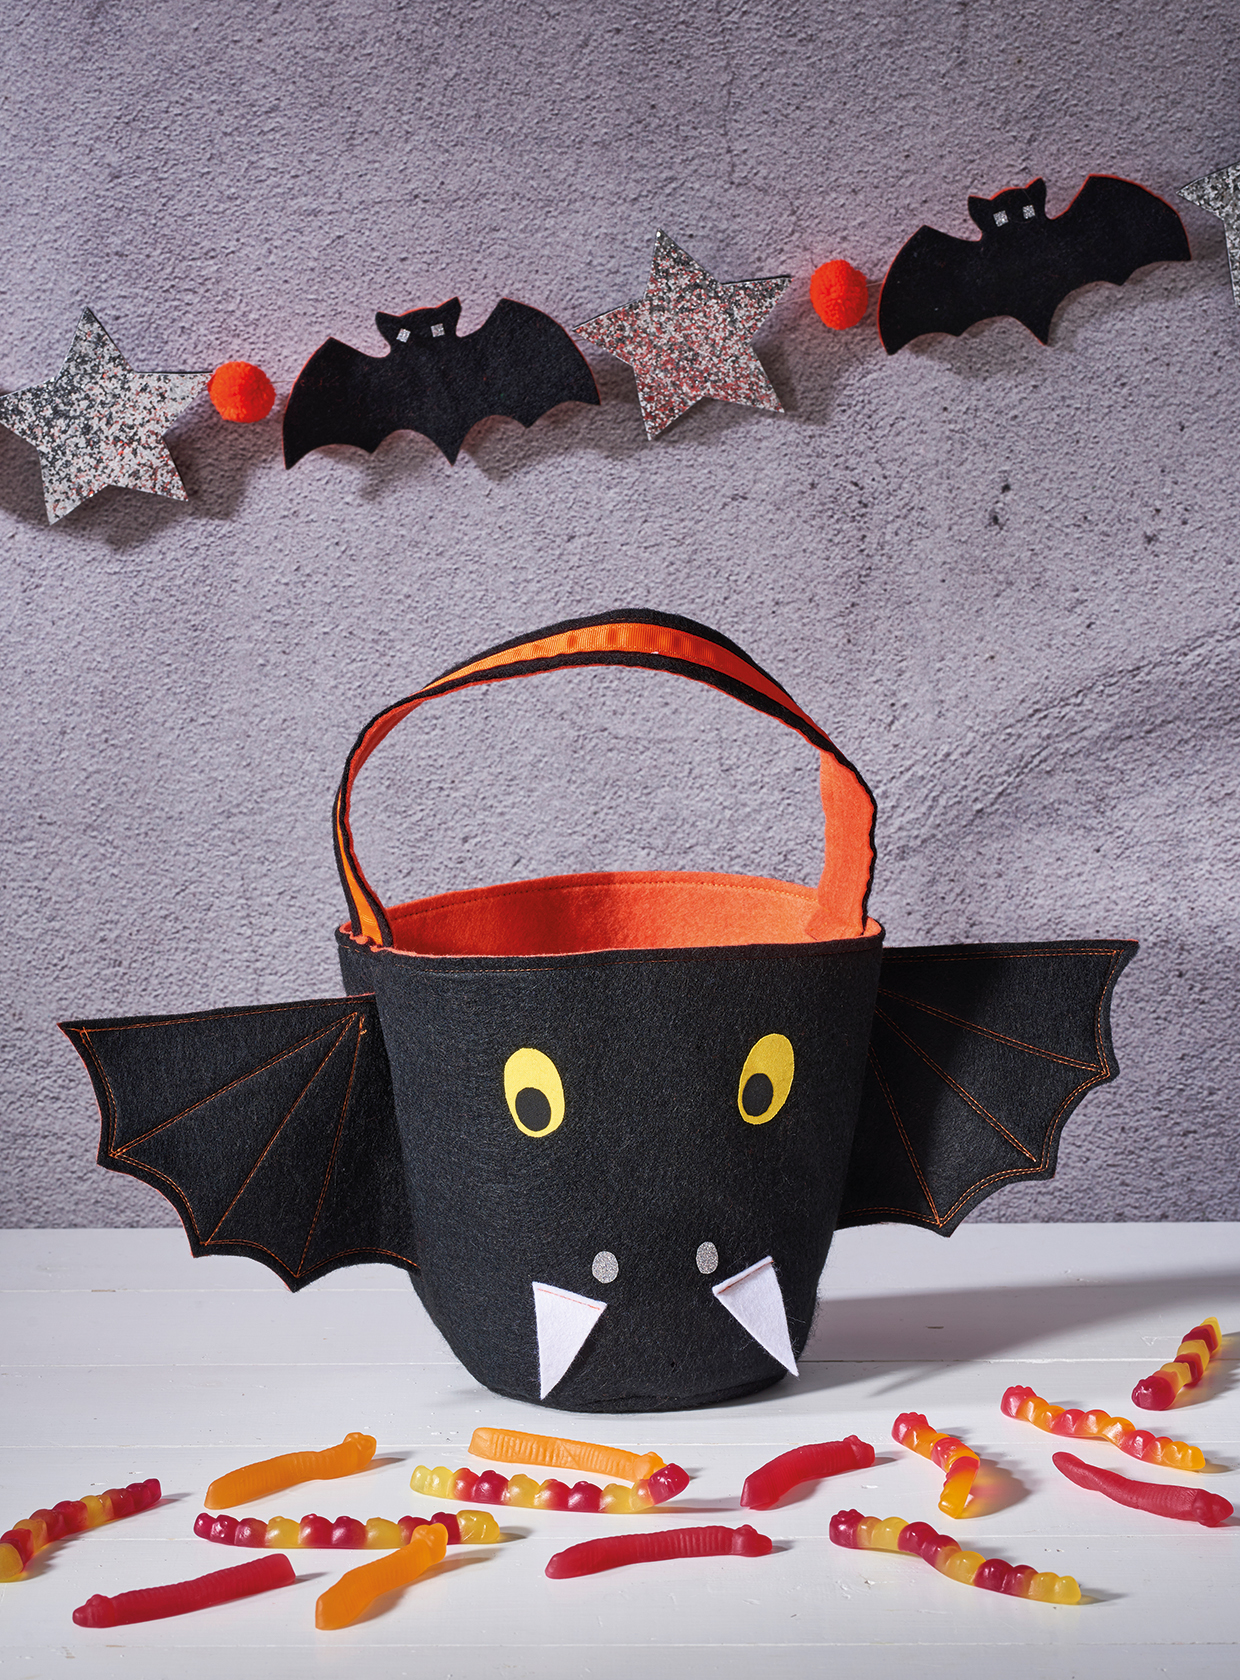
Reach for some felt and a few fabric scraps to whip up this spooky bat trick or treat bucket – it's sure to become a firm family favourite year after year!

Whether you're going trick or treating or just want somewhere to store some snacks, you're bound to find this trick or treat bucket useful to have around at Halloween. We love the bright orange lining and the cute bat face, which has been made using some simple felt shapes. This pattern uses a contrasting orange thread along the wings to make the lines stand out – it's a very effective technique to try.

This DIY Halloween bucket is a brilliant project for a beginner to make because it doesn't involve a lot of sewing, but if you'd like to improve your sewing skills then we have some helpful guides to support you. Take a look at our sewing for beginners, how to use a sewing machine, best sewing machines for beginners and sewing kits for beginners guides.

This DIY is actually a two-parter – find out how to make a Halloween garland to match in our tutorial by Kirsty Hartley, stitch an adorable bat plush pattern or try our other Halloween Craft Ideas.

This trick or treat bucket pattern was first designed by Kirsty Hartley for Simply Sewing Magazine. Simply Sewing is a fabulous magazine for sewers of all abilities and it's packed with exciting projects to sew, plus practical advice and sewing inspiration. Kirsty Hartley is a sewing designer and author who regularly contributes to magazines including Simply Sewing and MollieMakes.

Read on to learn how to make your own DIY Halloween bucket…

How to make a trick or treat bucket

Notes

  • The seam allowance is 1cm (38in) unless otherwise stated.
  • Download our Free halloween templates
  • WS = wrong side
  • RS = right side

Materials

Before your get started, we've put together some links to materials to save you time and money…
You will need:

  • Felt (68x43cm (27x17in) outer felt, 68x43cm (27x17in) lining felt)
  • Fabric scraps (Yellow, white, black and silver)
  • Ribbon (optional) (42cm (17in), to decorate the handle)
  • Bondaweb (24x76cm (10x30in))
  • Thread
  • Basic sewing kit

Cutting out

Step 1

Download, print and cut out all of the templates for the bag from our Halloween templates set.

Step 2

Following the manufacturer’s instructions, press the Bondaweb onto the wrong side (WS) of the lining felt piece. Wait for this to cool fully and then carefully peel off the paper backing. Place the outer felt piece over the top and press again to join the outer and lining pieces – these will then be cut out and sewn as one piece.

Step 3

From this joined piece cut out:

  • Bag body: cut two using the template.
  • Wings: cut a pair using the template.
  • Bag base: cut one using template.
  • Handle: cut one strip 42x3cm (16½x1¼cm).

Step 4

From the white felt cut cut two triangles for teeth.

Step 5

Press Bondaweb to the WS of the yellow, black and silver glitter fabric scraps.

Step 6

From the yellow fabric cut a pair of eyes using the template.

Step 7

From the black fabric cut a pair of pupils for the eyes using the template.

Step 8

From the silver glitter fabric cut a pair of nostrils using the template. 

Making the face

Step 1

Remove the paper backing from the shapes and position them on the treat bag front. Cover with a pressing cloth and press them into place.

Step 2

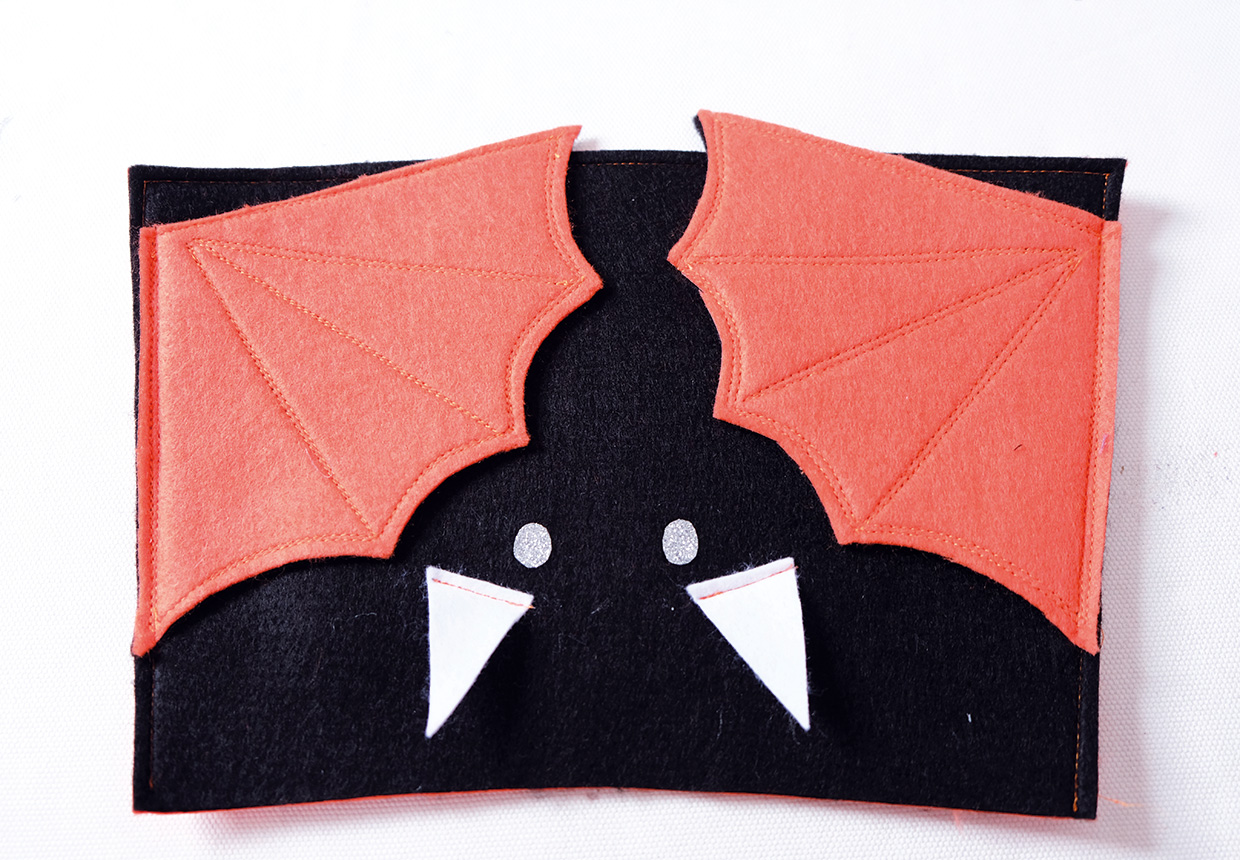
Position the teeth and then stitch along the top edge of each tooth only.

Attaching the wings

Step 1

Prepare each of the wings by sewing around the outer edge, using a contrasting thread for definition. Then sew the wing structure lines as shown in the picture.

Step 2

Place each wing 2cm (¾in) below the top of the treat bag then sew along the inner edge to secure.

Trick or treat bucket step 1

Assembling the treat bag

Step 1

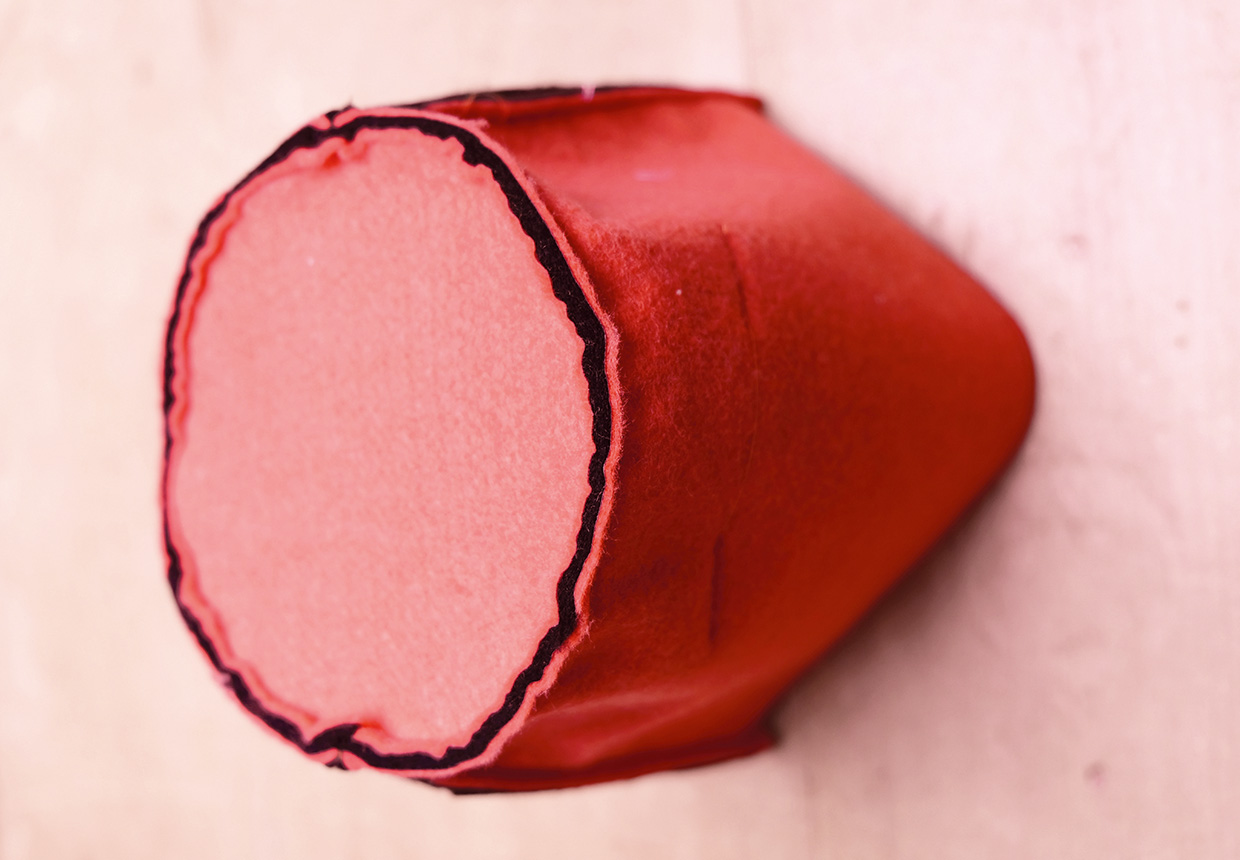
Sew the side seam of the treat bag by placing each treat bag half with right sides (RS) facing. Sew 5mm (¼in) in from the edge.

Step 2

Pin the base into position then sew into place 5mm (¼in) from the edge.

Trick or treat bucket step 2

Step 3

Sew along the outer edges of the handle for decoration.

Step 4

If desired, add a length of ribbon along the centre of the handle for decoration by topstitching along the long sides to secure.

Step 5

Position each end of the handle to the corresponding side seam on the inside of the treat bag and sew it into place.

Trick or treat bucket step 3

You’ve finished! We hope you had lots of fun making this spooky trick or treat bucket! Looking for more Halloween crafting ideas? Try our easy DIY Halloween costumes, Halloween crafts for kids and Halloween knitting patterns.

Trick or treat bucket