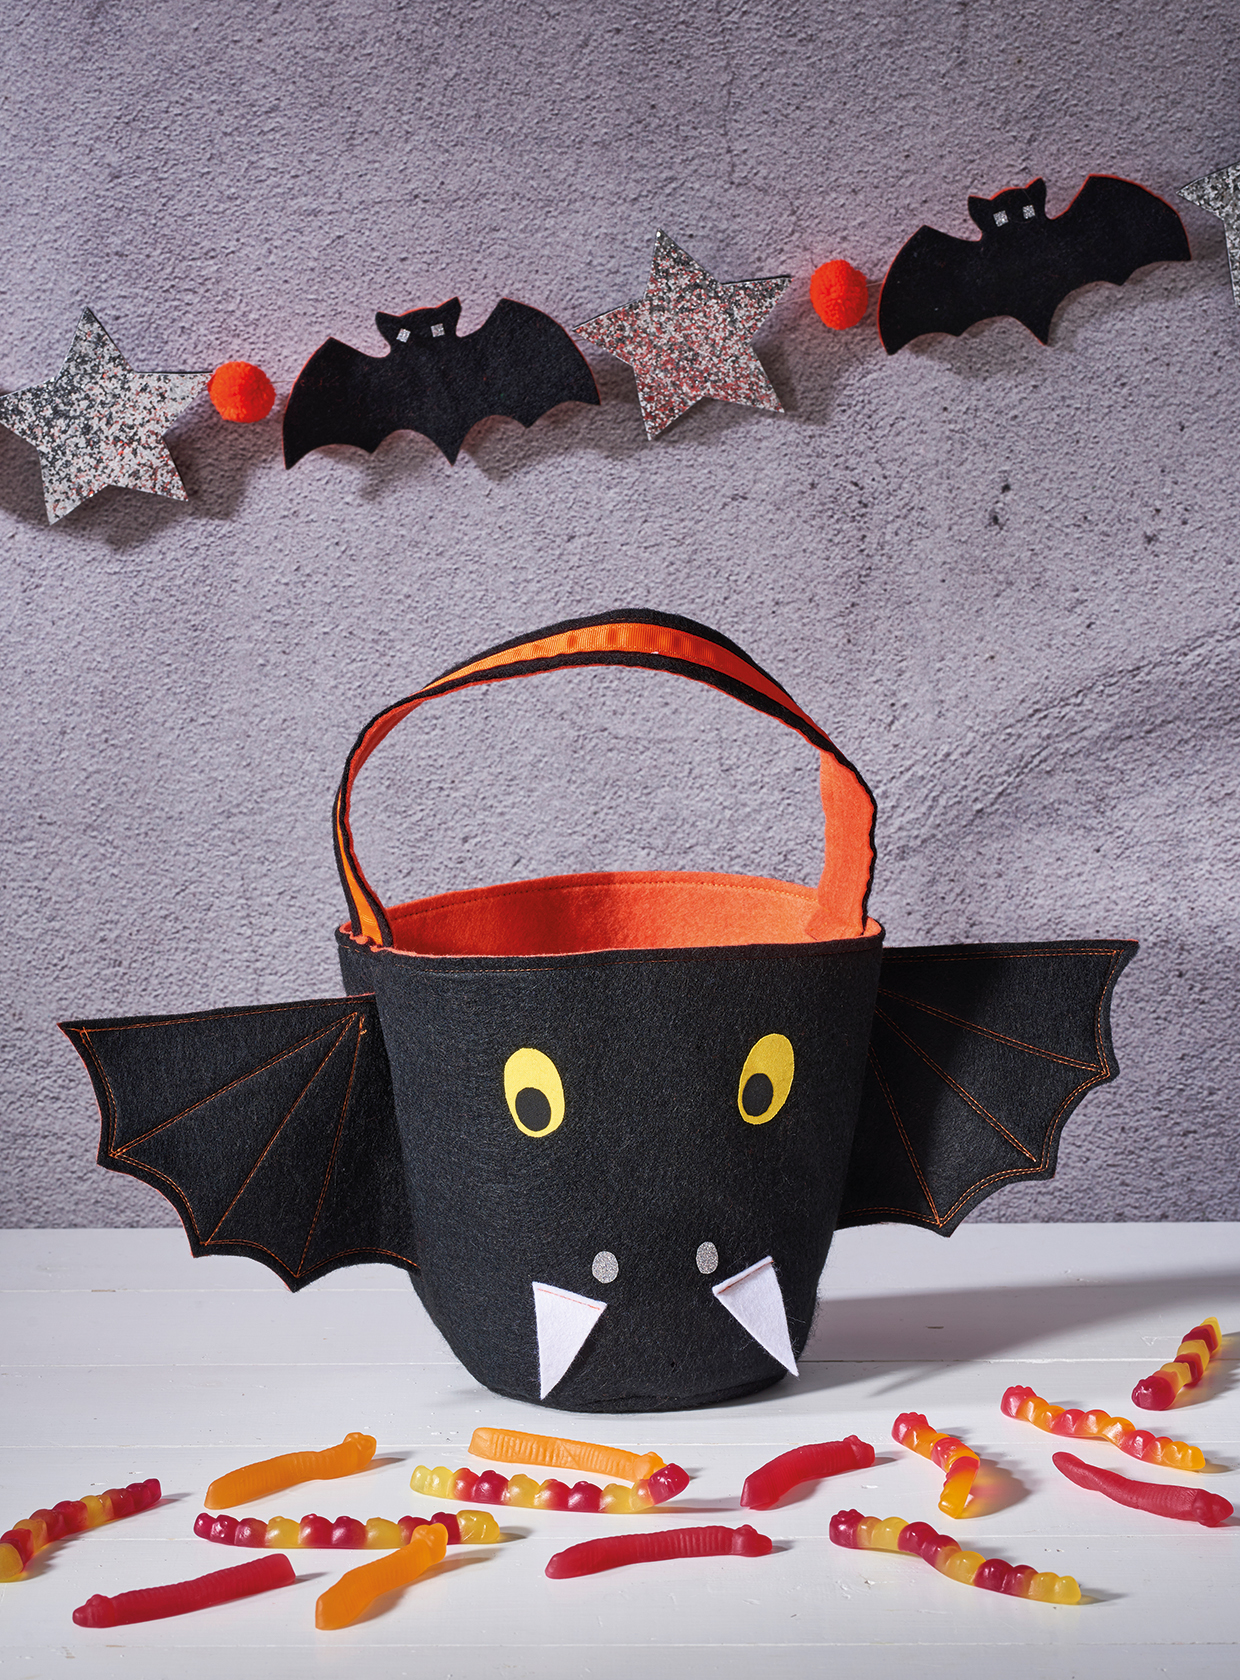
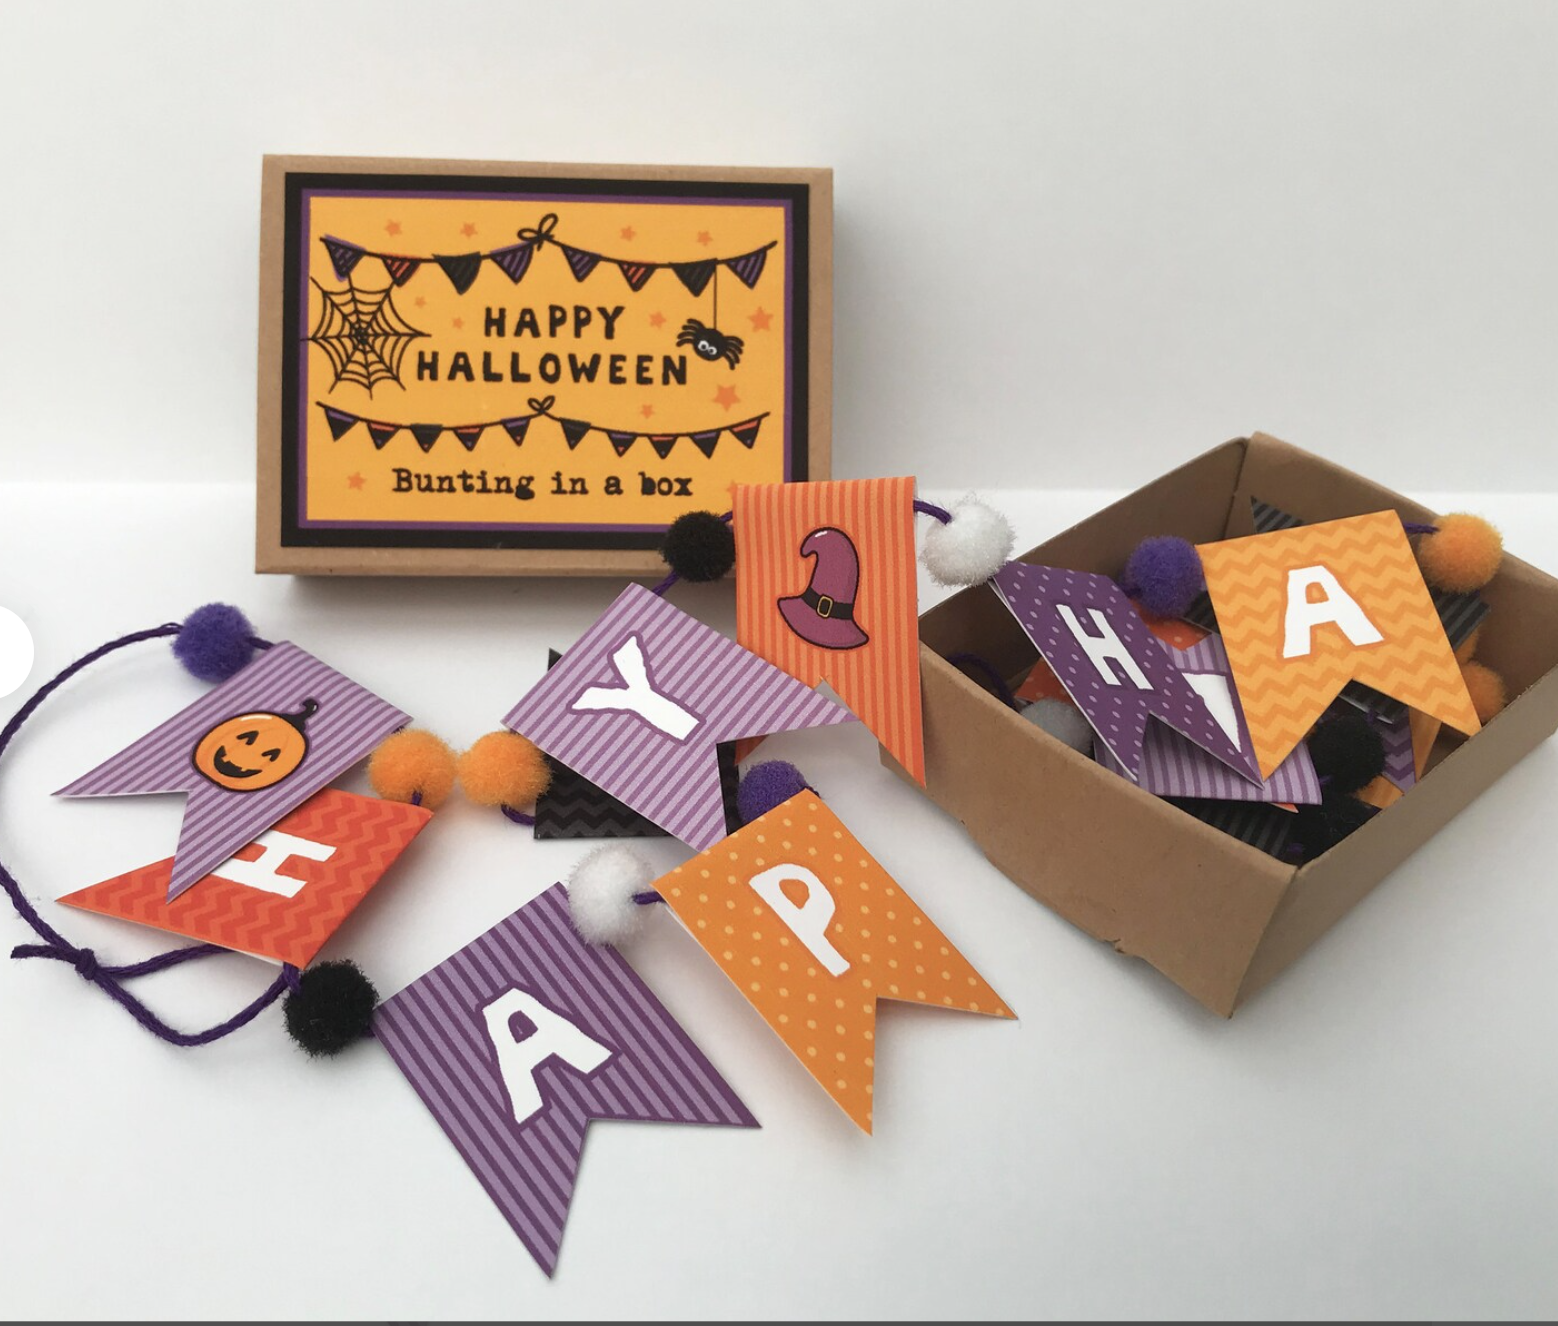
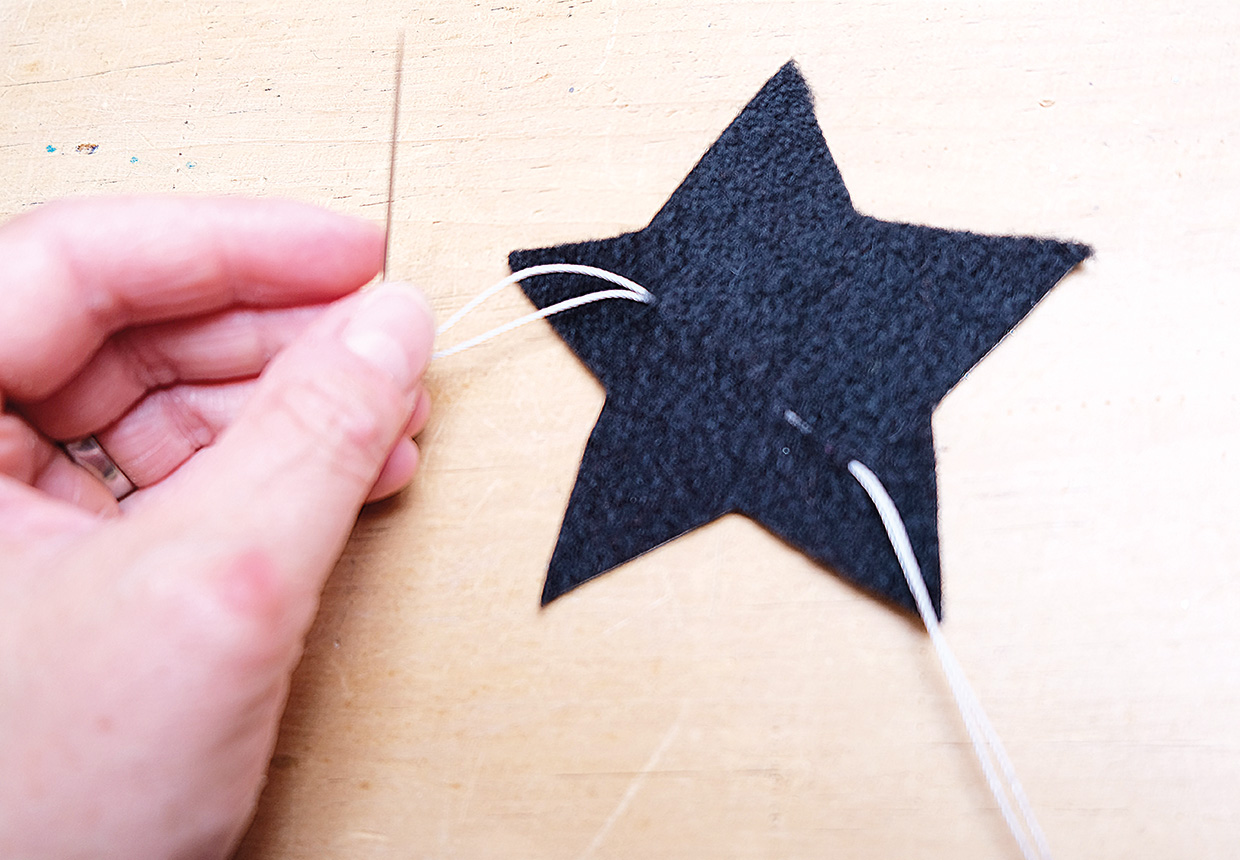
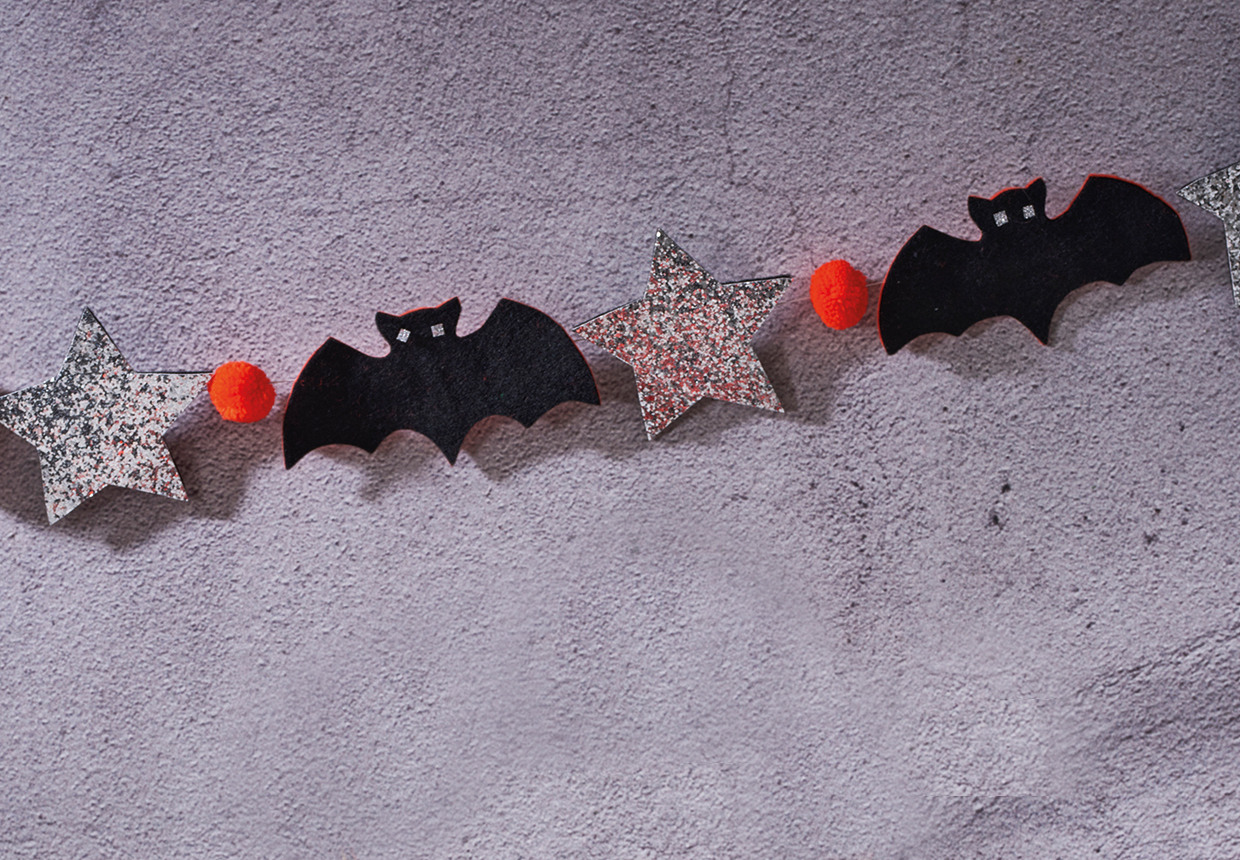
DIY your decor this Halloween with this frightfully fun craft Halloween bunting project. It's easy to whip up a string of spooky shapes to make your own DIY Halloween garland in just an evening with our quick-make tutorial. String up bats, glitter stars and pom poms to make your own easy Halloween banner using our step by step guide.
We've even included free DIY Halloween bunting printable templates to get you started, along with and easy-to-follow instructions.
We're huge fans of decorating for Halloween here on Gathered, and it brings us joy that the trend for making your own Halloween decorations is on the rise. The average American spent $87 a year on Halloween supplies in 2019, according to Marketing experts at The Shelf. So we're here to help you get in on the action. It doesn't matter if you don't have a big budget – you can easily adapt this tutorial to make it with everyday supplies from your craft stash.
While we've created this Halloween banner tutorial for makers all ages, it's also a great kids craft project to get children involved in crafting.
For more spooky makes, check out our sister posts: 27 DIY Halloween Decoration ideas, our favourite DIY Halloween costumes or get stitching with our free Halloween cross stitch patterns.
This projects was designed by Kirsty Hartley and was first published in Simply Sewing magazine – the UK best-selling magazine filled with projects for everyone who sews or wants to start.
DIY Halloween bunting tutorial
Notes
- The seam allowance is 1cm (3⁄8in) unless otherwise stated.
- Download our Free halloween garland templates
- To make the pom poms, you can either use a pom pom maker or head to our How to make a pom pom article
- WS = wrong side
- RS = right side
- This project doesn't require much actual sewing but if you'd like to learn more, head to our Guide to sewing for beginners to learn the basics
 Enjoyed making our DIY Halloween bunting banner?