Upcycled sweater project

Do you have an old sweater that you can't bear to throw away? Learn how to make this stylish upcycled sweater with Portia's expert advice.

6 issues of Simply Sewing magazine for £14.99|Save 78%!

Published: January 3, 2021 at 8:26 am

We love an upcycling make here at Gathered and Portia Lawrie's upcycled sweater project is a great way to reuse old clothes – and make something wonderful at the same time.

Creating fabric uses a huge amount of energy, so finding new ways to upcycle your clothes is a great way to make your wardrobe more sustainable. It extends the lifespan of your clothes, plus it's a fun way to try out new styles and save yourself a bit of money.

To create your upcycled sweater, you'll need to make sure that you use complementary fabrics that are a similar weight to make stitching the garment together easier. Combining different weights of fabric can cause problems when you're sewing them together, especially if one of the fabrics is more stretchy than the other. If you've just started sewing, check out our beginners guide to sewing to help build up your skills.

Top tip: edgestitch close to each seam in a matching thread colour for a neat finish.

Looking for more upcycling inspiration? Find out how to sew a pocket to give a t-shirt a new lease of life, get creative to make a sock bear and transform old jeans into cool denim plant pots or even a denim skirt.

Old sweater hacks

Enjoyed upcycling your old sweater? Try these ideas to give your refashioned sweatshirts a unique look…

  1. Try using different colour and texture combinations for each of the sections.
  2. Replace the sleeves or back with contrast fabric as well.
  3. Experiment with colour-blocking in stripes, triangles, or even curves!
  4. Replace the ribbing in a contrast colour around the hem, cuffs and neckline.
  5. Play with using the wrong side of your knit fabric for a contrast in texture.
  6. Try tonal blocking using different shades of the same colour.

Read on to discover how to upcycle old sweaters into new clothes.
You will need:

  • A sweatshirt that fits you
  • Scraps of jersey or knit fabric of a similar weight
  • Matching thread
  • Basic sewing kit

Preparing and cutting out

Step 1

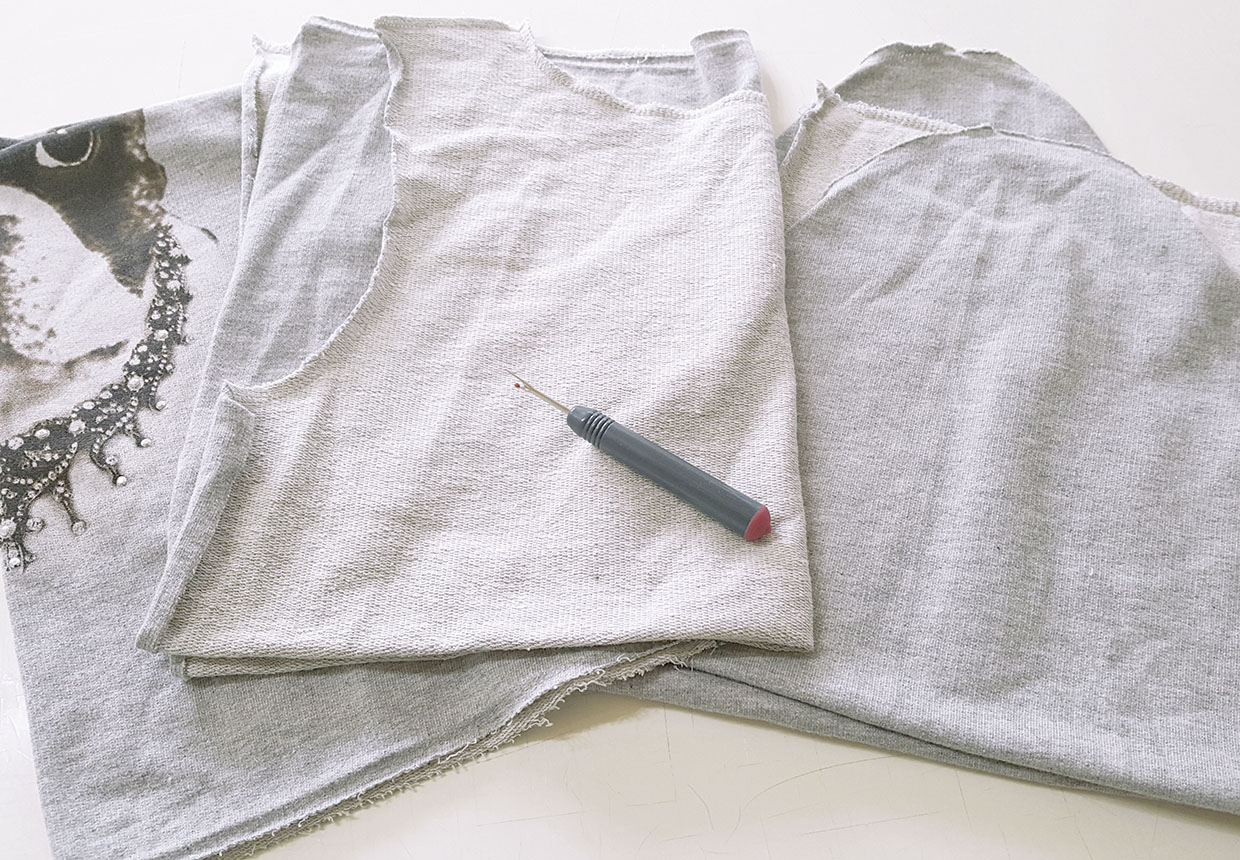
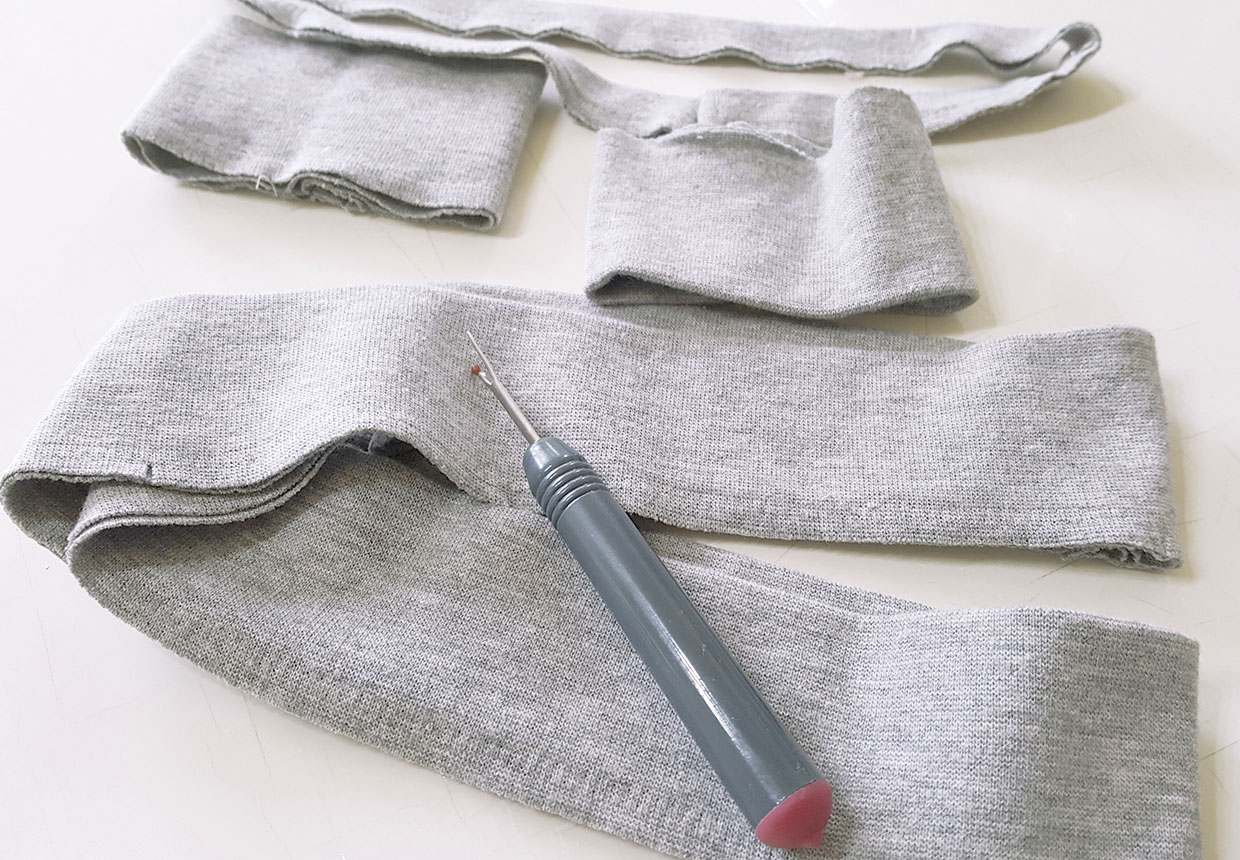
Begin by unpicking the ribbing sections from the hem, neckline and cuffs using a seam ripper. We are retaining the original seam allowances so no cutting is involved.

Upcycled sweater step one

Step 2

Next remove all of the remaining stitching. Essentially you are deconstructing the entire garment until you are left with its component parts.

Upcycled sweater project step two

Step 3

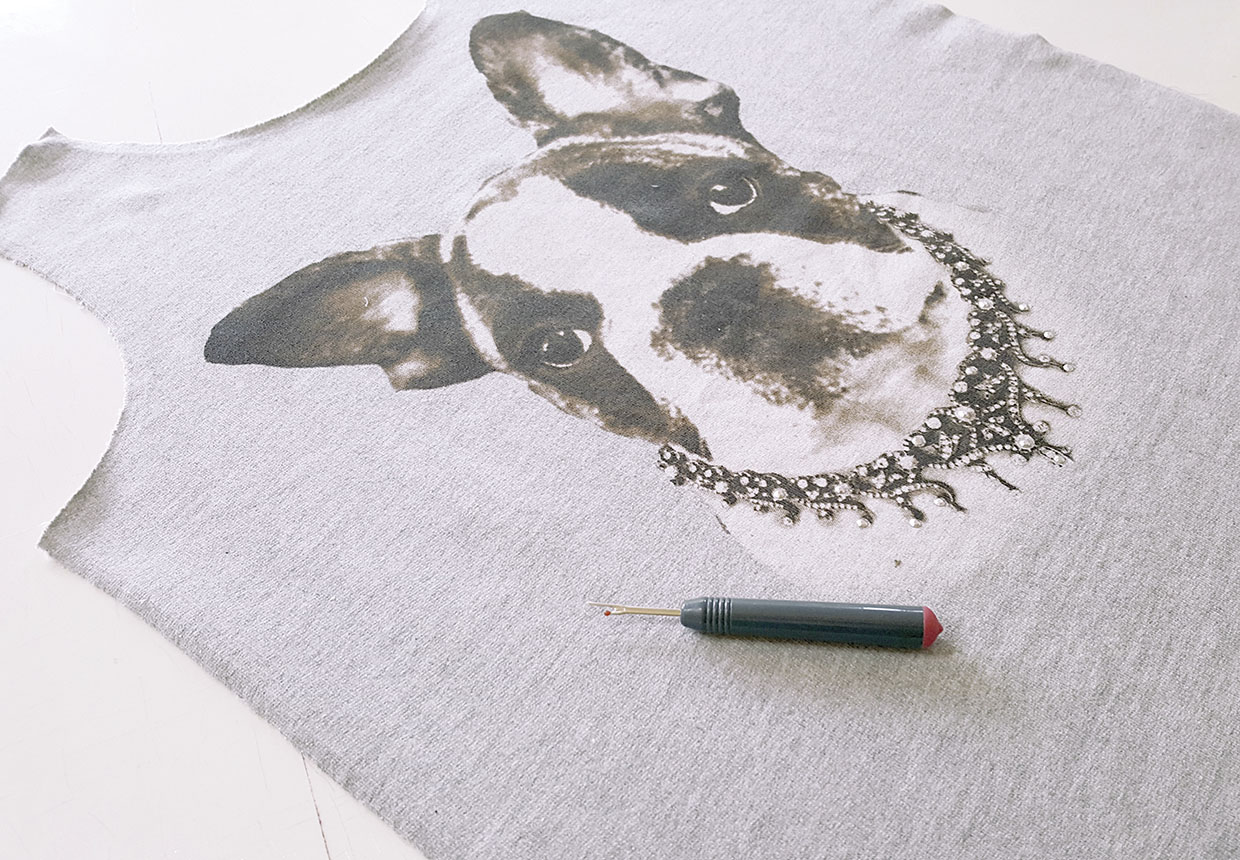
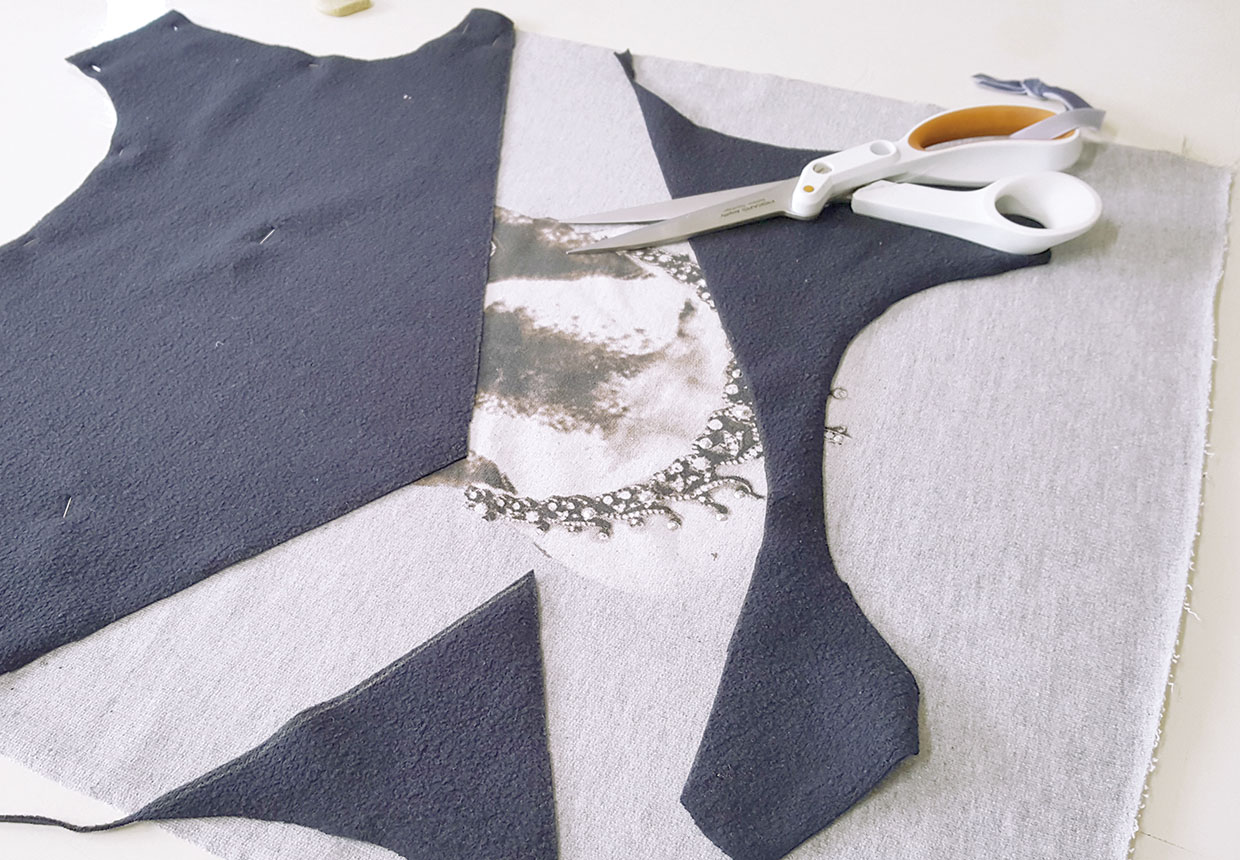
Press all of the pieces flat, including the seam allowances. Set all of the pieces aside apart from the front section you are replacing. We will use this as a template to create a new front section.

Upcycled sweater project step three

Selecting the fabric

Step 1

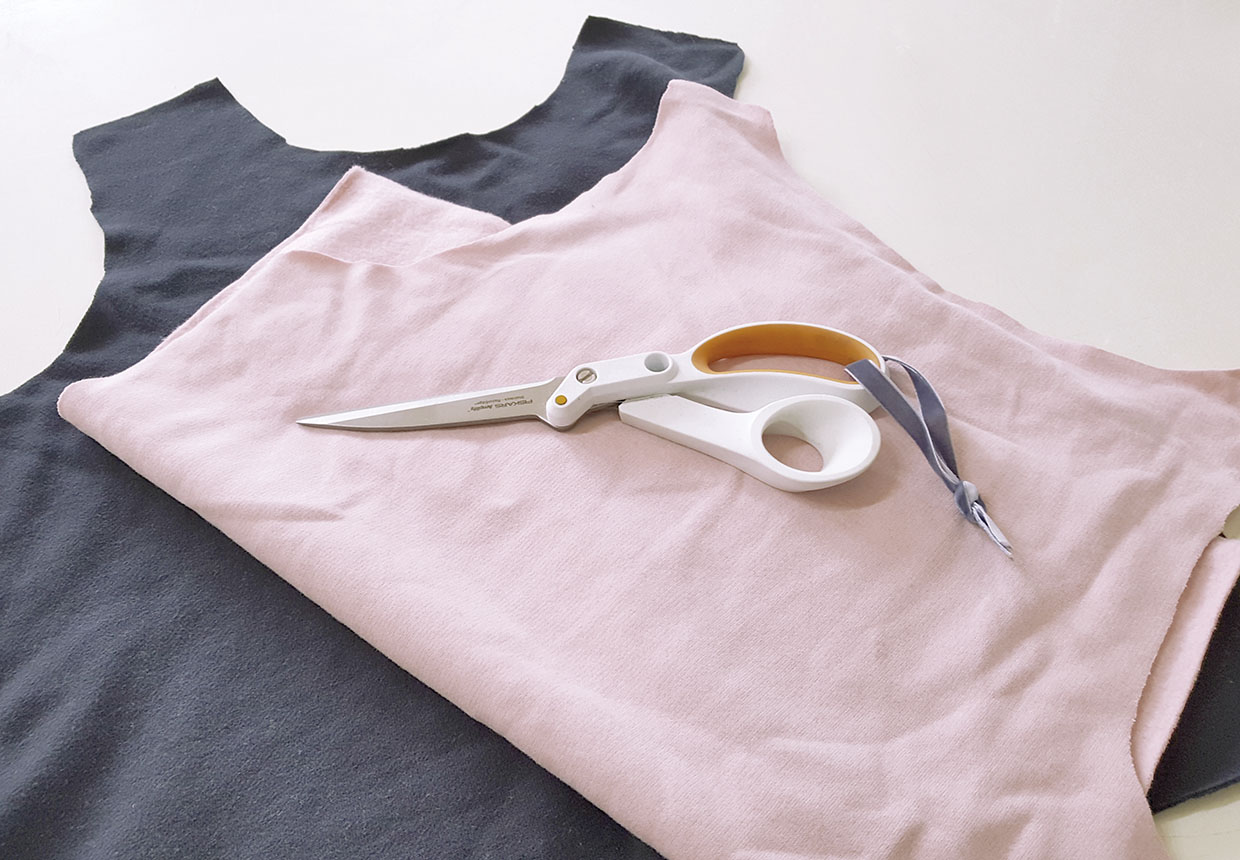
Select your contrast jerseys in a colour or print combination you find pleasing. They should be of a similar weight to each other and the sweatshirt you are refashioning.

Upcycled sweater project step four

Step 2

We are starting with the top geometric section and working down, so decide on the arrangement of colours you would like on your finished piece at this stage.

Making the geometric sections

Step 1

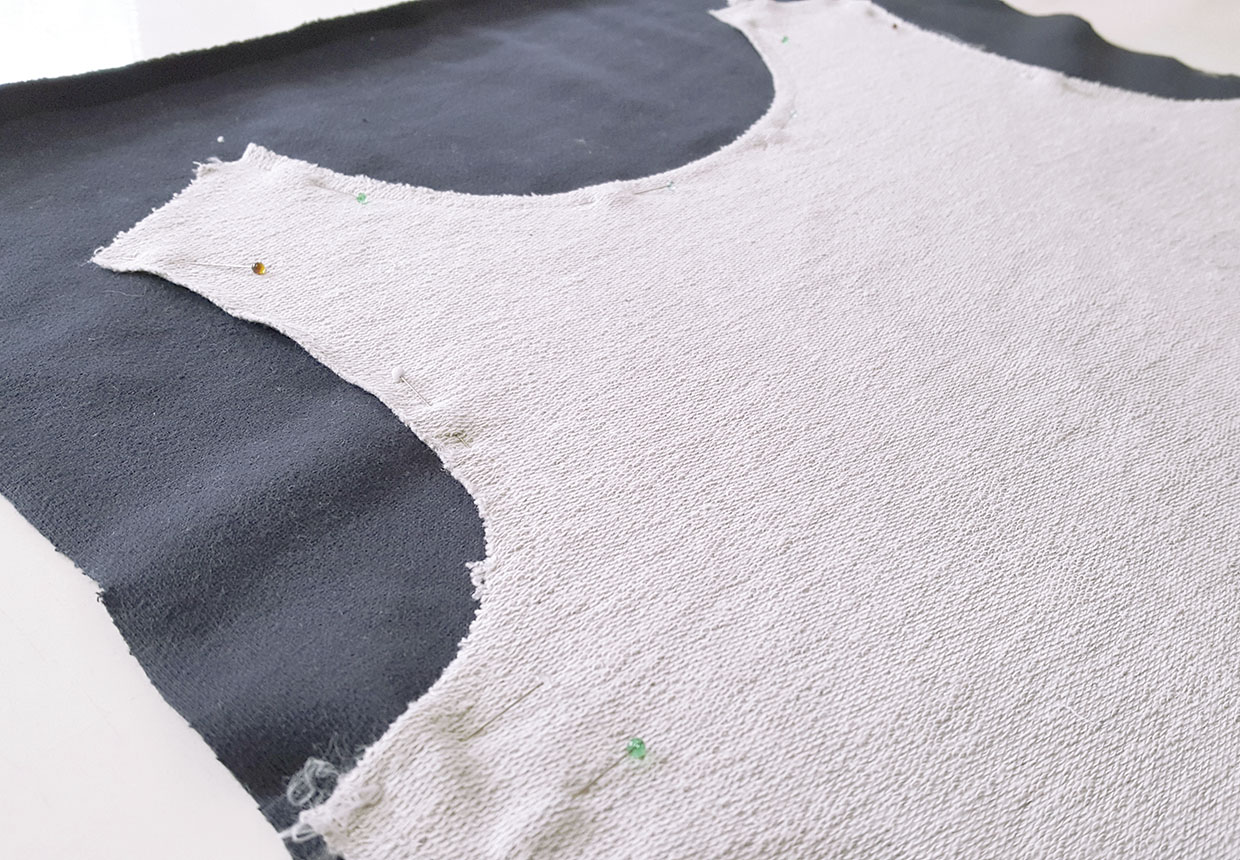
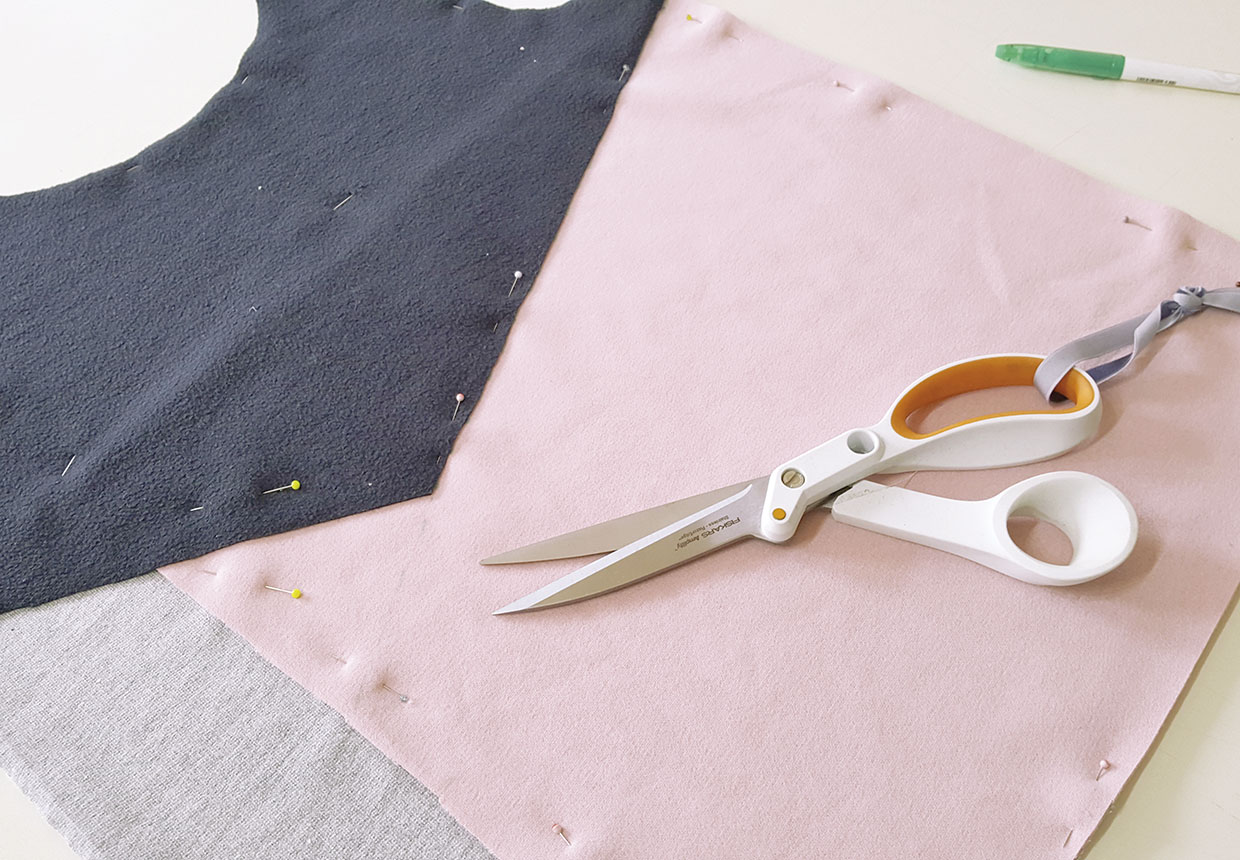
With the right sides (RS) together, pin the front section fabric template to your first piece of jersey.

Upcycled sweater project step five

Step 2

Flip the piece over. Cut away the excess fabric in line with the outer edges of your template piece.

Step 3

Cut angled lines into the new fabric pieces to start forming geometric shapes.

Upcycled sweater project step six

Step 4

Sandwich the second piece of fabric between the template piece and your newly cut top section. Trace the angled lines you have just cut onto this new piece.

Step 5

Cut away the excess fabric that falls outside your fabric template piece. Add a 5mm (¼in) seam allowance and then join the two pieces together.

Upcycled sweater project step seven

Step 6

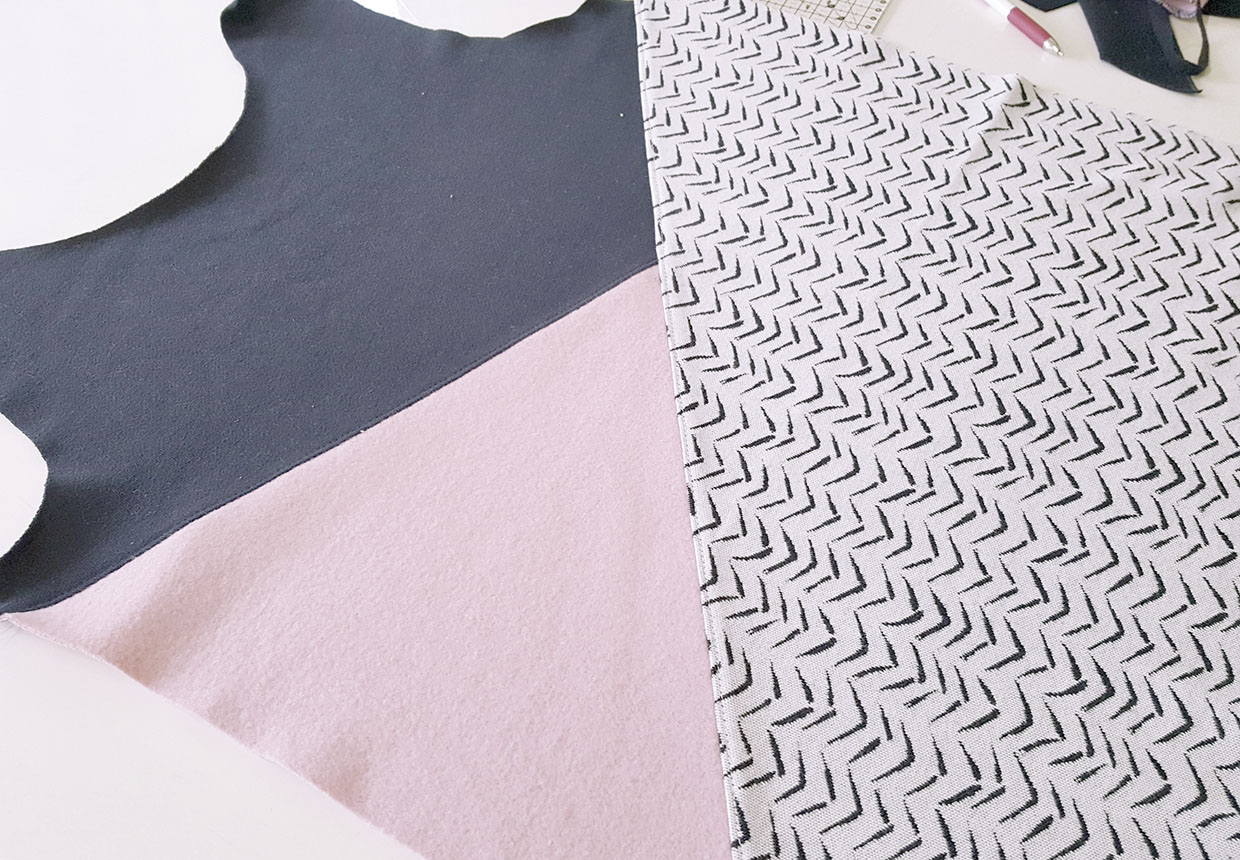
Repeat with a third piece of fabric. You can of course choose to incorporate more than three fabrics – just keep adding pieces of fabric until the new piece is the same size as your original template piece.

Finishing the sweatshirt front

Step 1

Press the seams to one side as you go and edgestitch close to the seam lines.

Upcycled sweater project step eight

Step 2

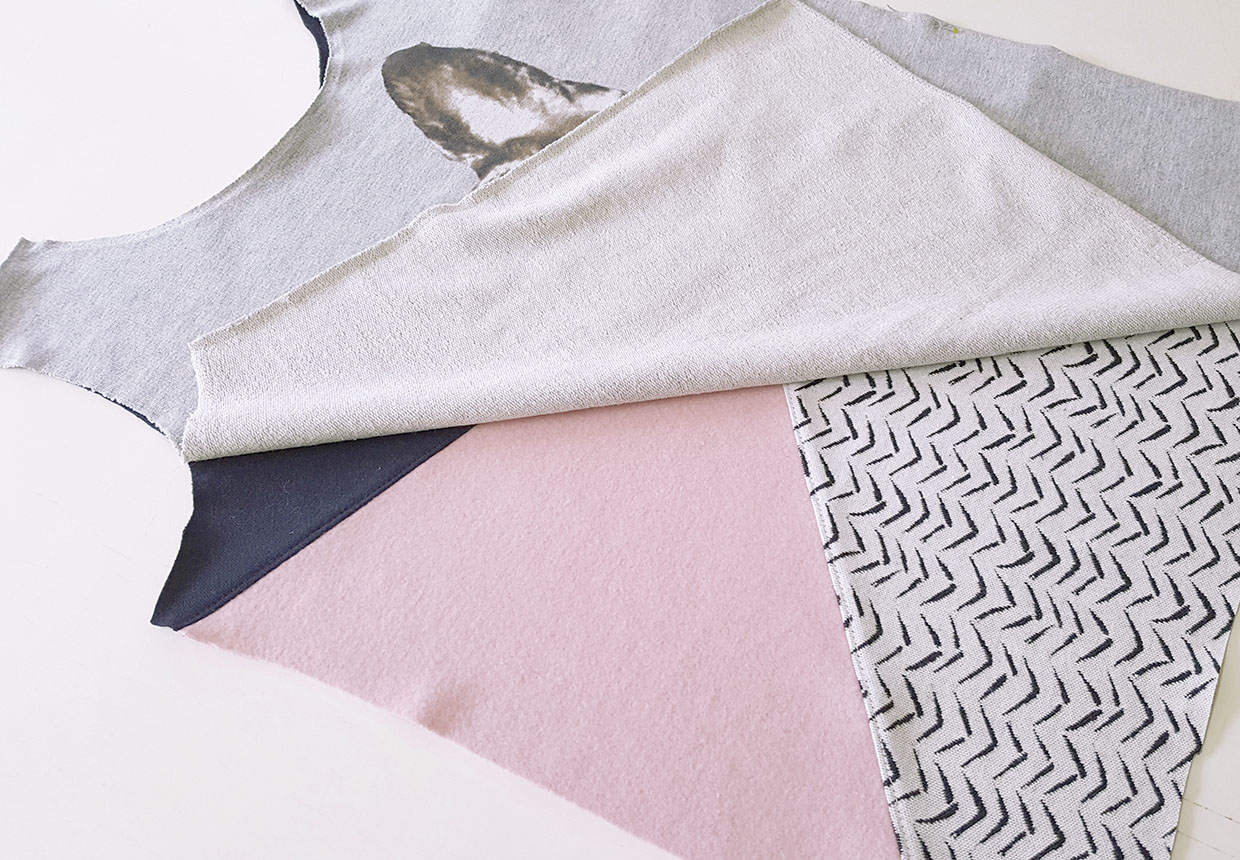
Once the new front piece has been assembled, pin the original front template piece to it again.

Step 3

Trim away any final bits of excess fabric. Now you will have a front section that is an exact replica in size and shape of the original front piece.

Upcycled sweater project step nine

Assembling the sweatshirt

Step 1

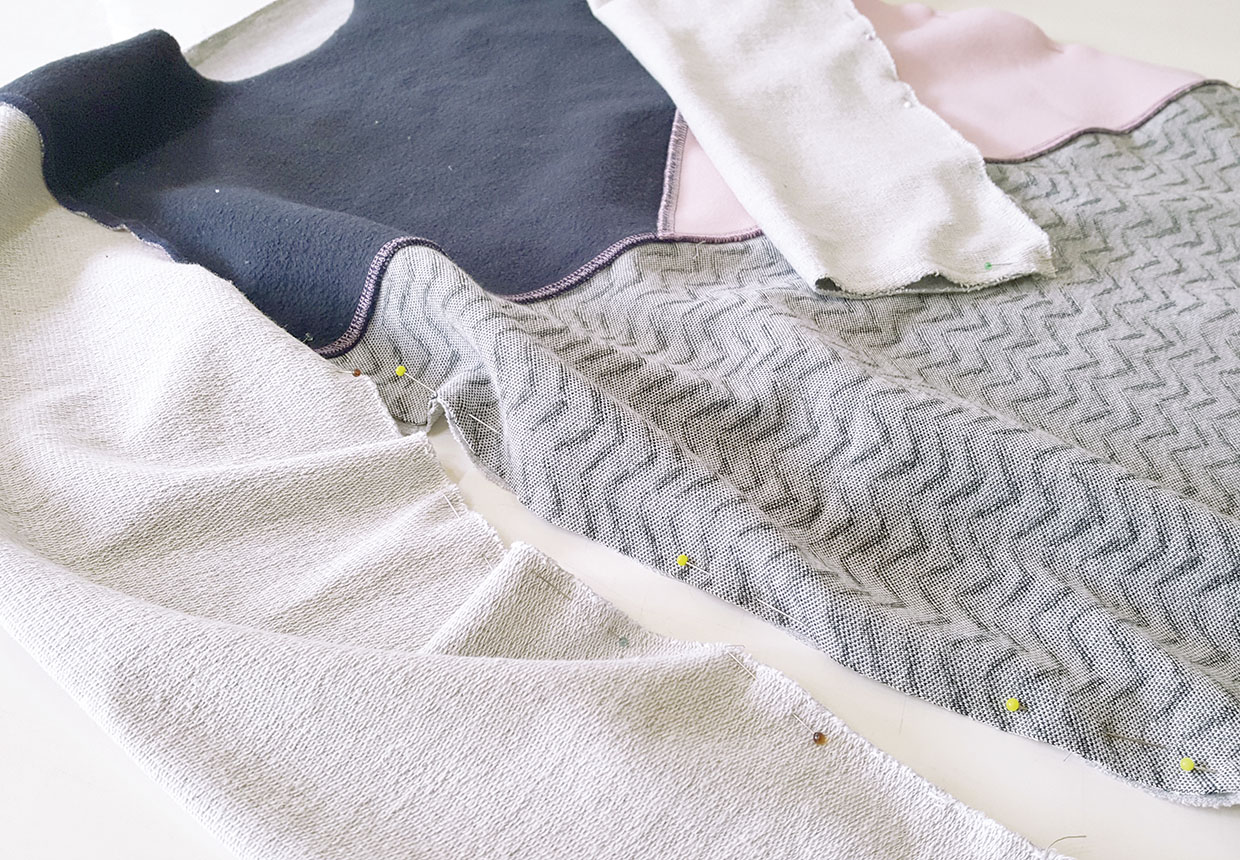
Now we need to reassemble the garment in the usual way, using the original seam allowances as a guide.

Step 2

With RS together, pin then sew the shoulder seams together using the original seam allowances.

Step 3

With RS facing, pin the sleeve and side seams together.

Step 4

Sew the pinned seam together in one pass along the sleeve and side seam.

Upcycled sweater project step ten

Step 5

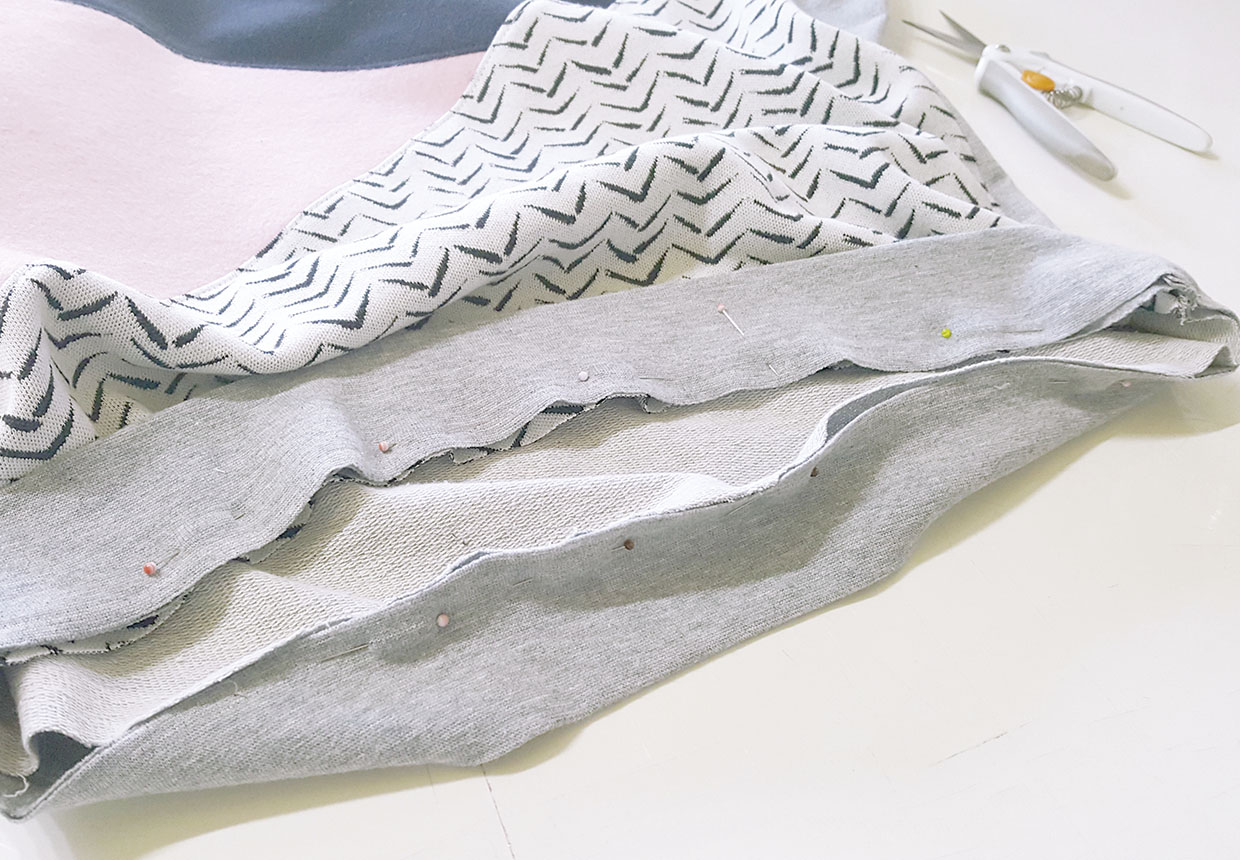
To reattach the ribbing place it RS together with the sweatshirt hem. Align the raw edges then sew the pieces together using the original seam allowance. Press.

Upcycled sweater project step eleven

Step 6

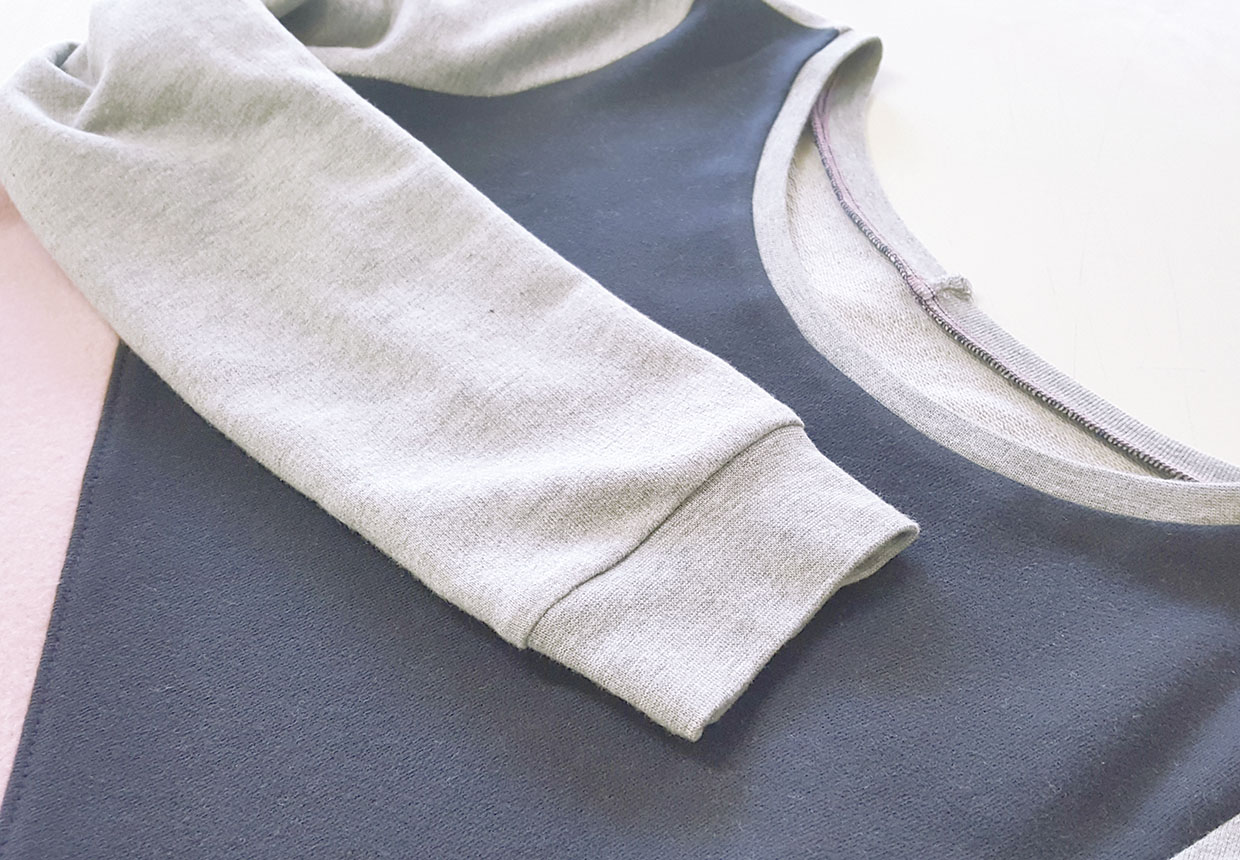
Repeat these steps to reattach for the cuffs and the neckline ribbing.

Upcycled sweater project step twelve

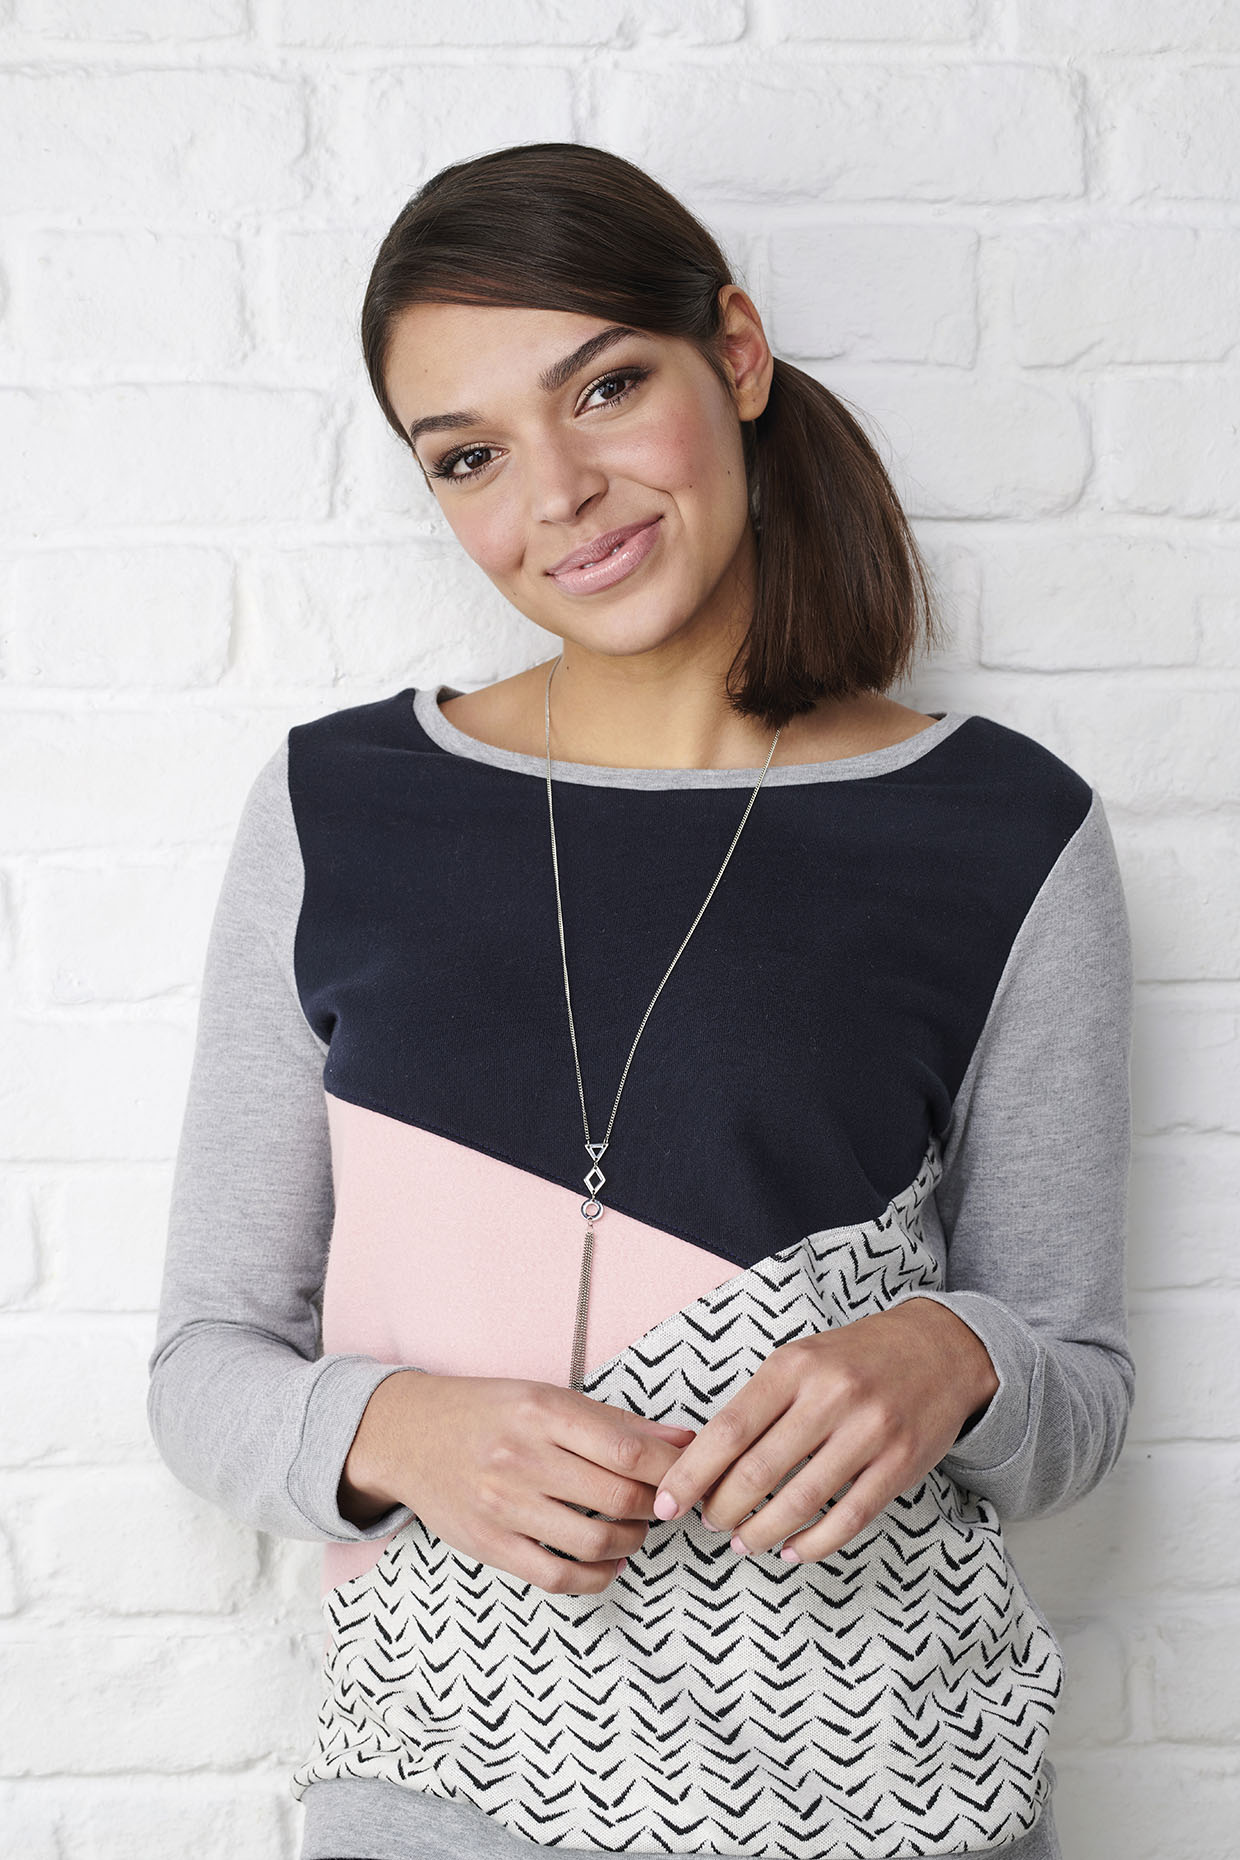
You’re finished – enjoy wearing your fantastic DIY upcycled sweatshirt! If you’re looking for more creative recycling ideas, you could have a go at refashioning a t-shirt into a peplum top, making a lunch bag out of your old jeans or adding embroidered flowers to an old denim jacket.

Upcycled sweater project