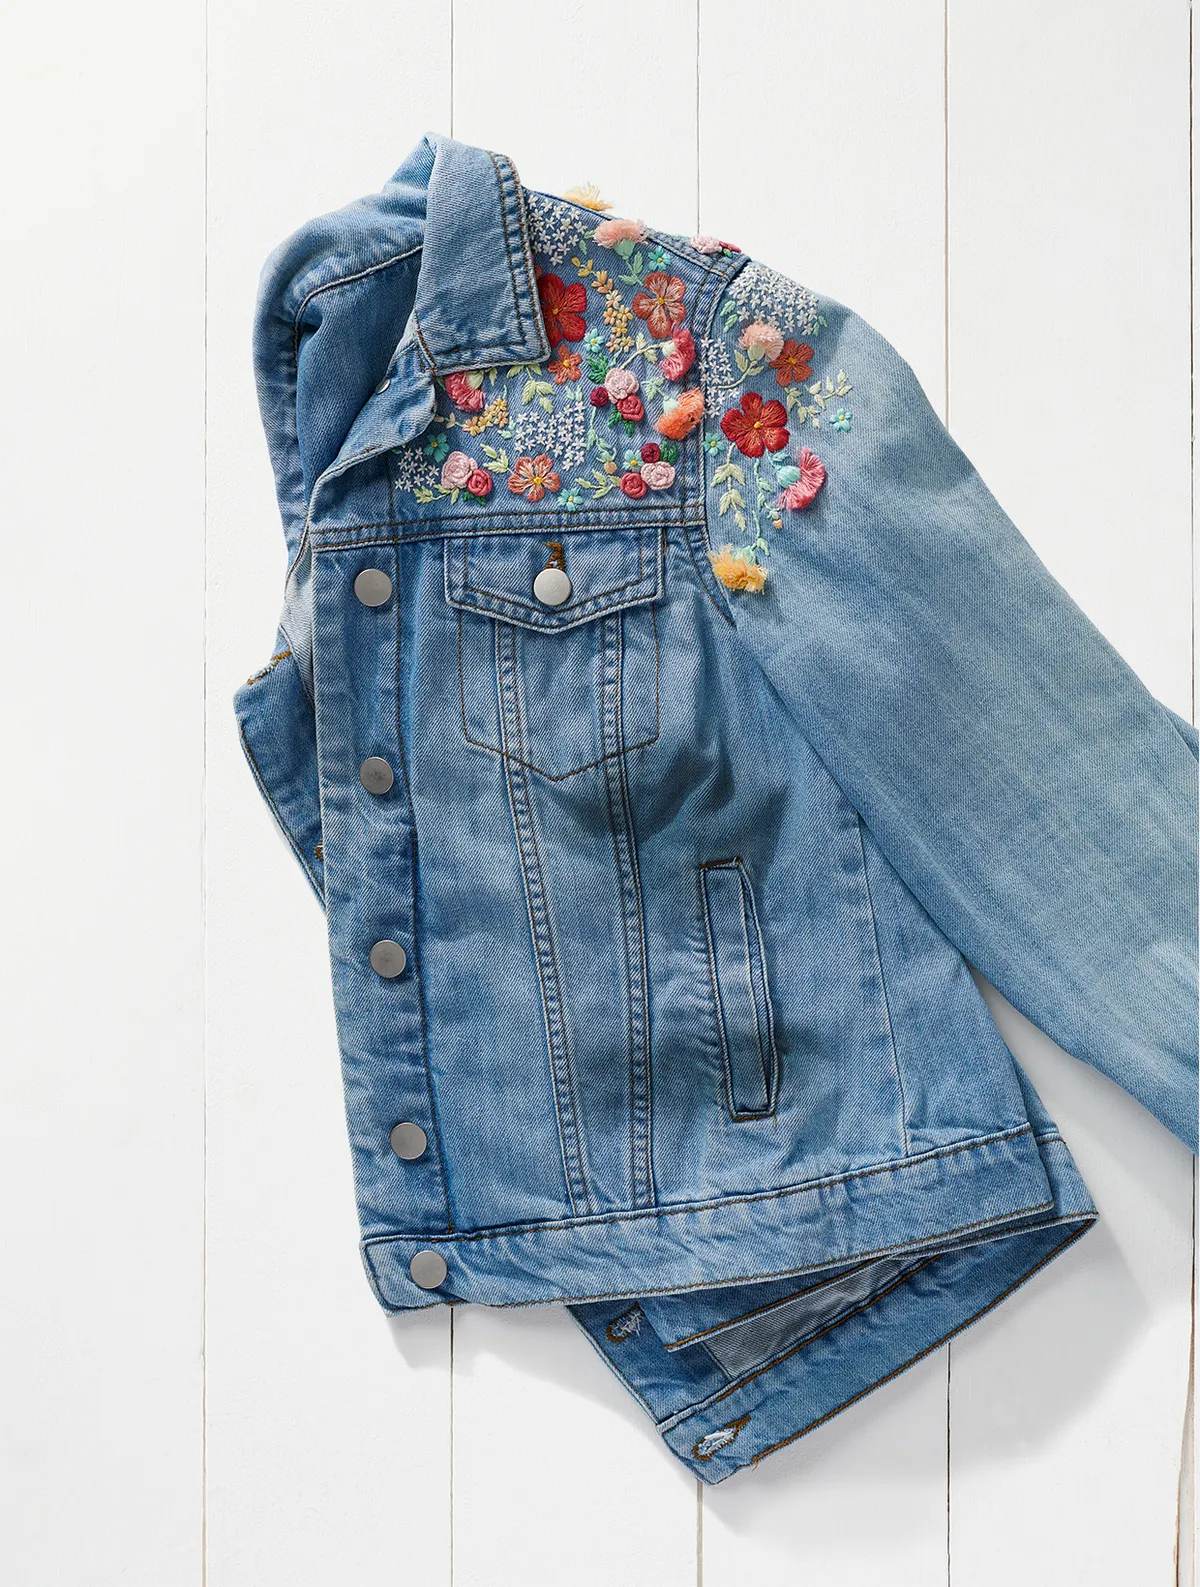
Denim jacket embroidery ideas: fun flower embroidery!
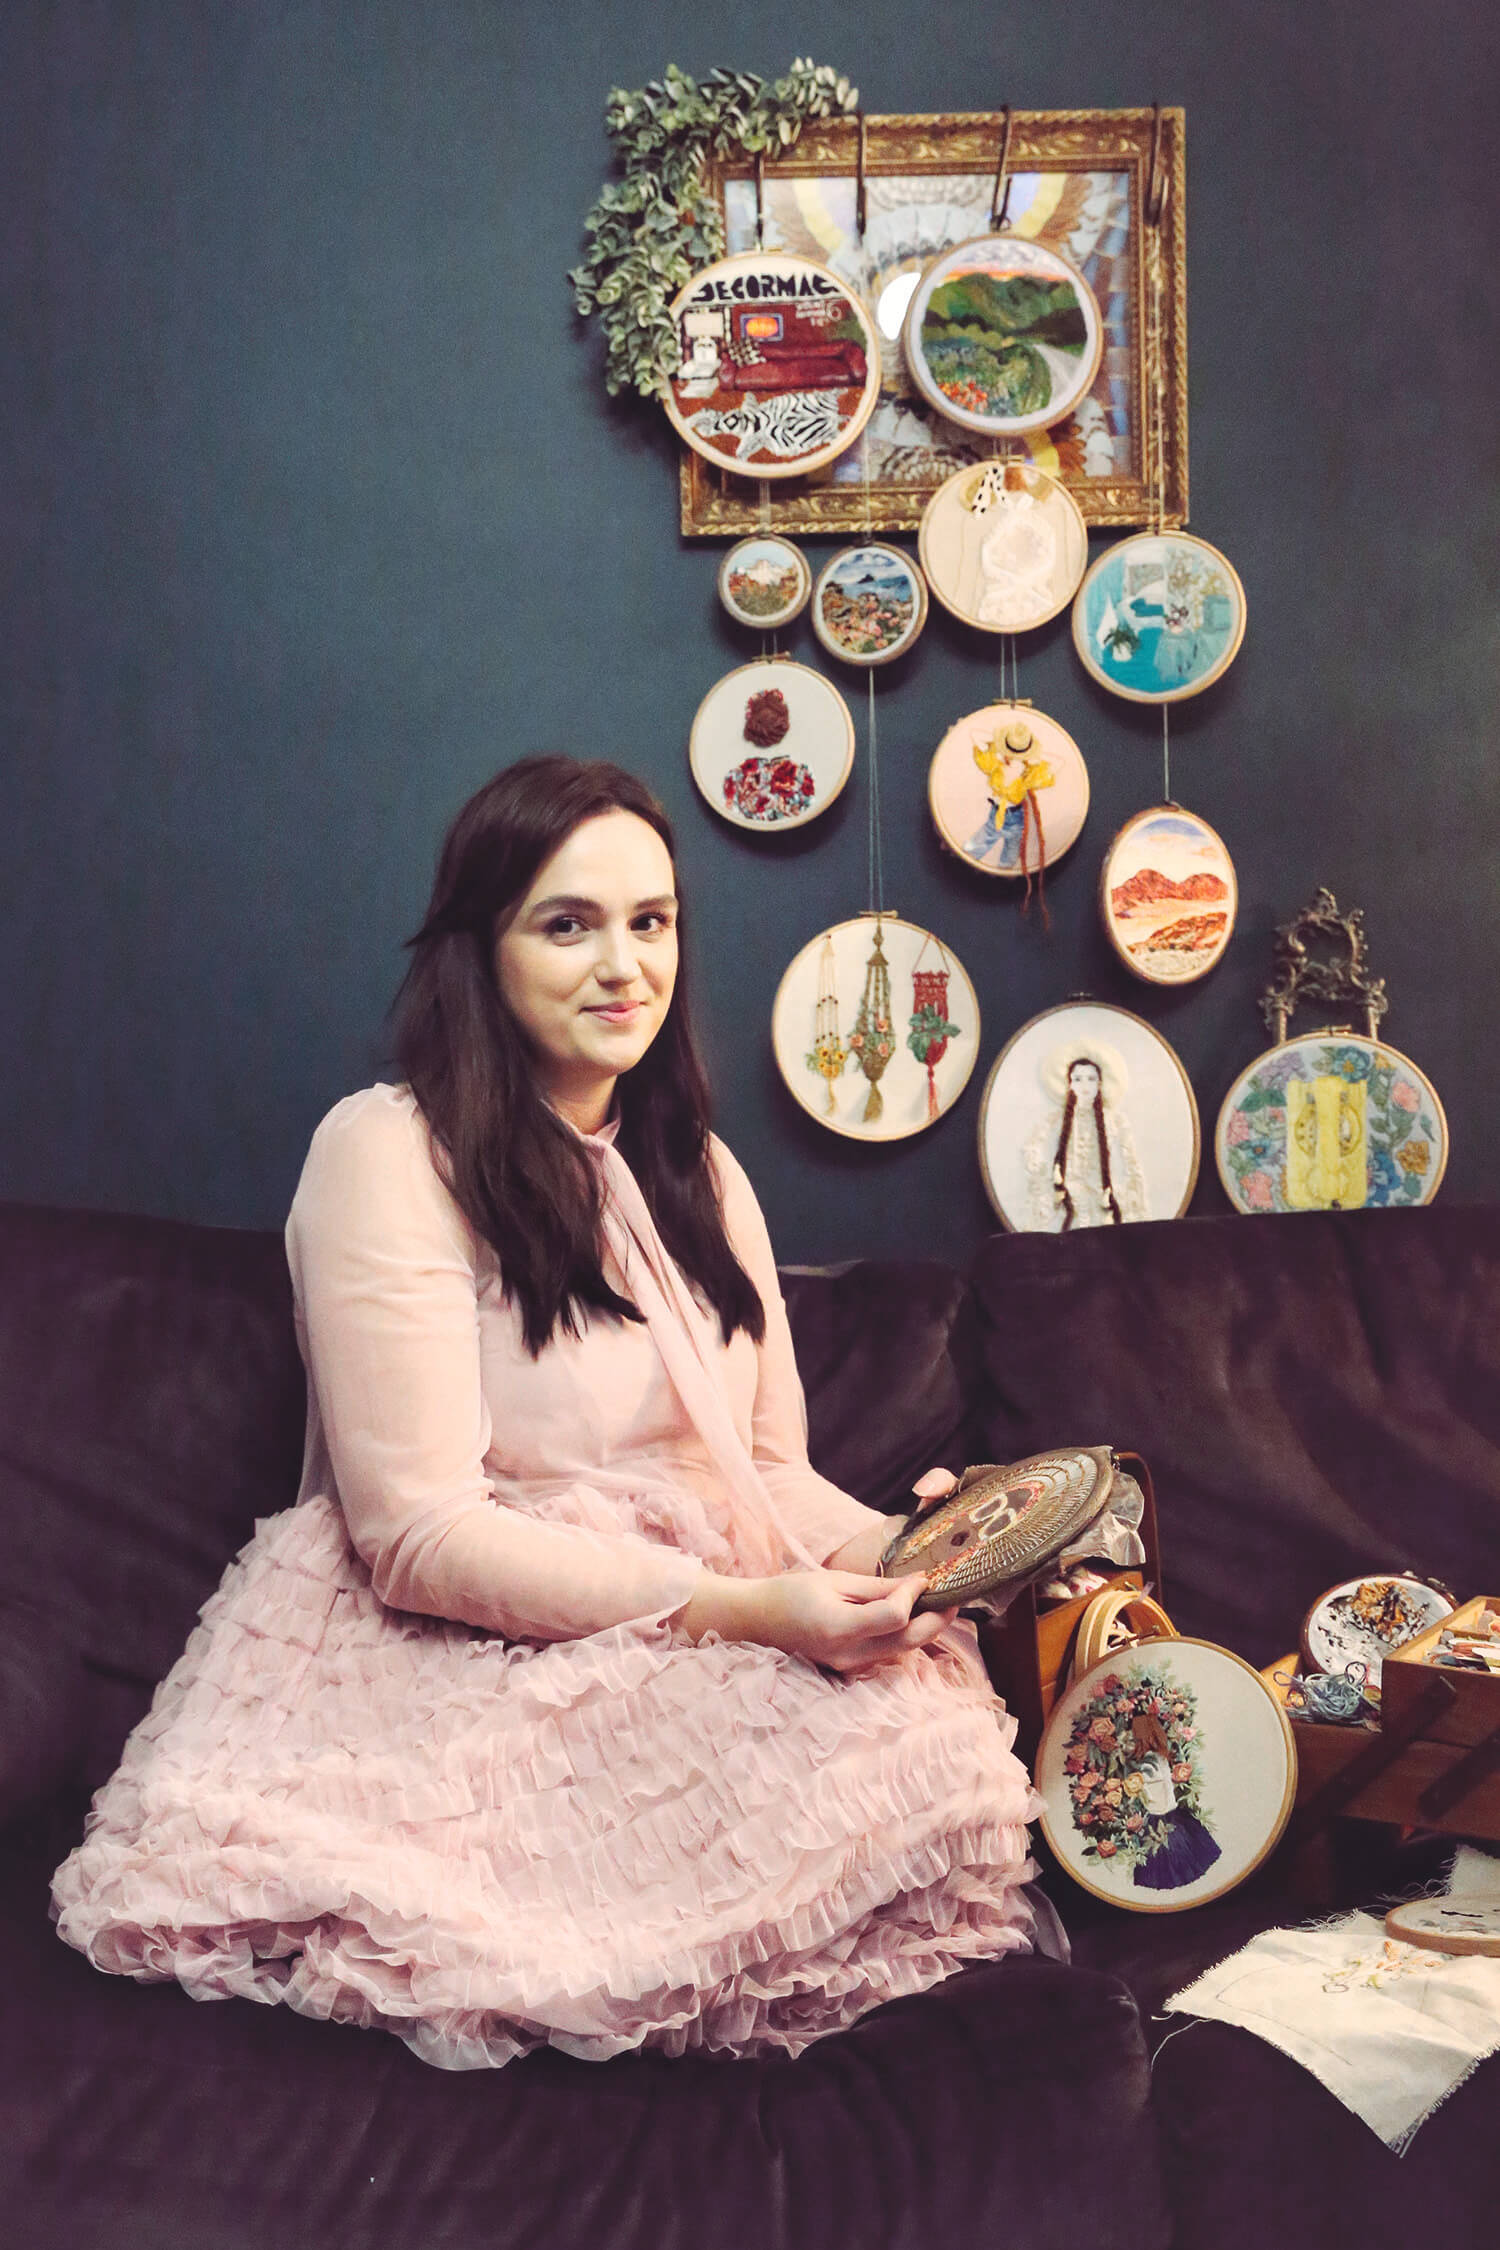
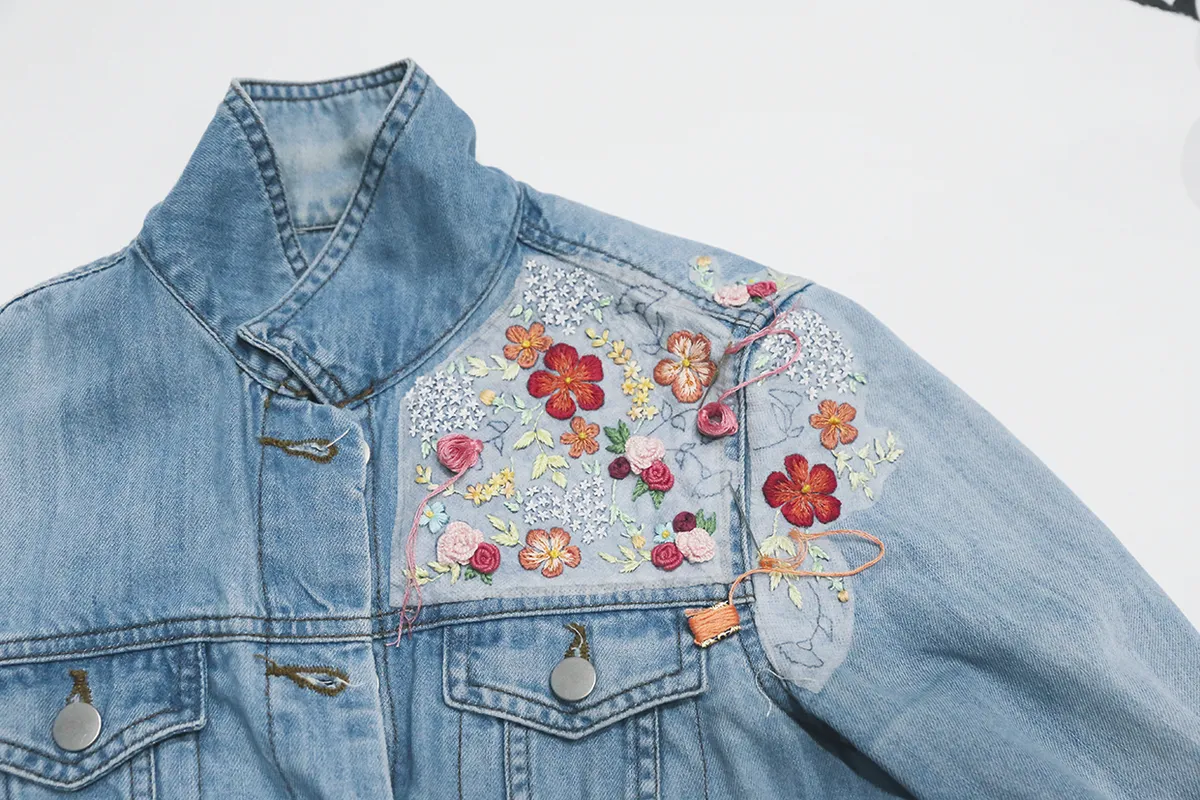
Transform a brand new, or a well-worn denim jacket (as we have done), into a statement accessory for your spring wardrobe with Rachael Dobbins’ gorgeously tactile flowers embroidery design.
She’s chosen a deliciously bright colour palette for her embroidery flowers that you work the three-dimensional stitches in.
The flower embroidery design was originally featured in Love Embroidery magazine and it's now one of our favourite free embroidery projects. You'll find walkthrough guides showing how to work the embroidery flowers in the free flowers embroidery design right here on Gathered.
If you are starting out with this great hobby and are looking for some advice then check out our embroidery on clothes guide.
Items needed for our denim jacket embroidery ideas
- Denim jacket
- Stranded cotton
- Water-soluble stabiliser
- Basic embroidery kit
Stitches used in this flower embroidery pattern
- Bullion Knot
- Cast-on Stitch
- Couching Stitch
- Fishbone Stitch
- French Knot
- Satin Stitch
- Straight Stitch
- Woven Wheel
You will also need to download our Free flower embroidery templates
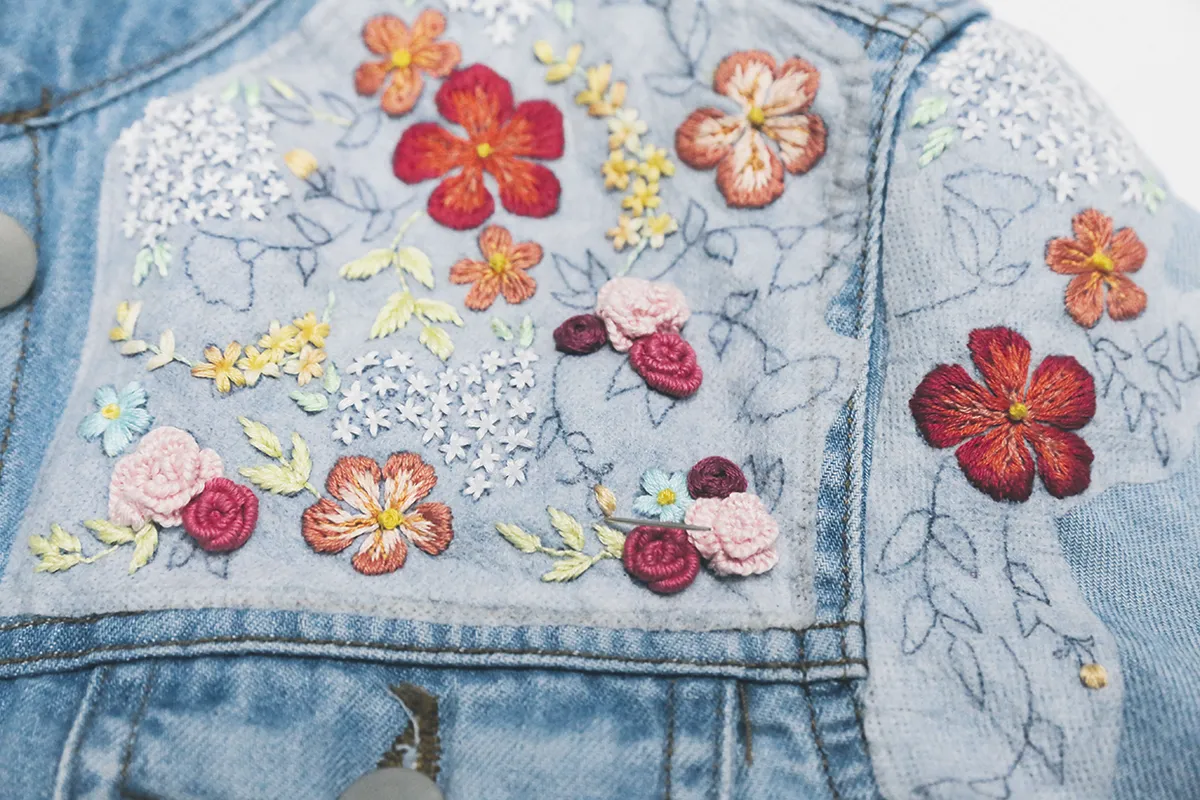
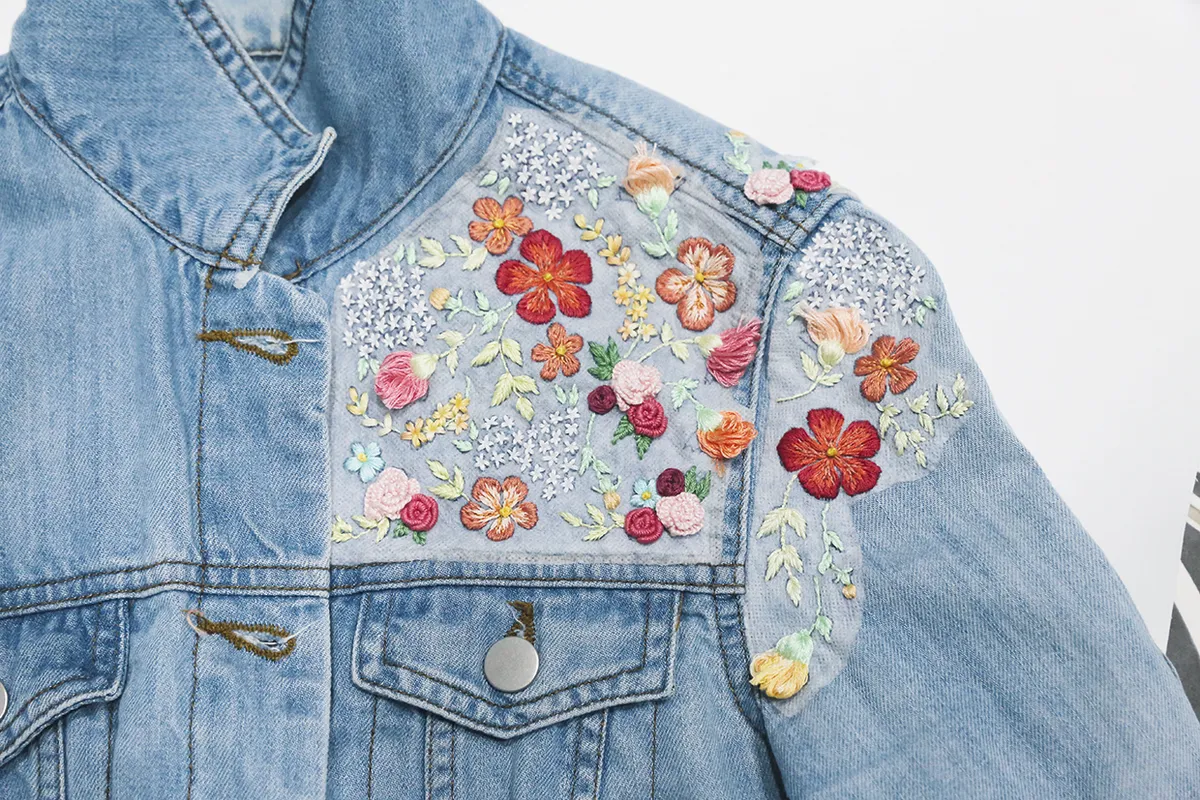
Denim jacket embroidery ideas: florals
Flower embroidery pattern
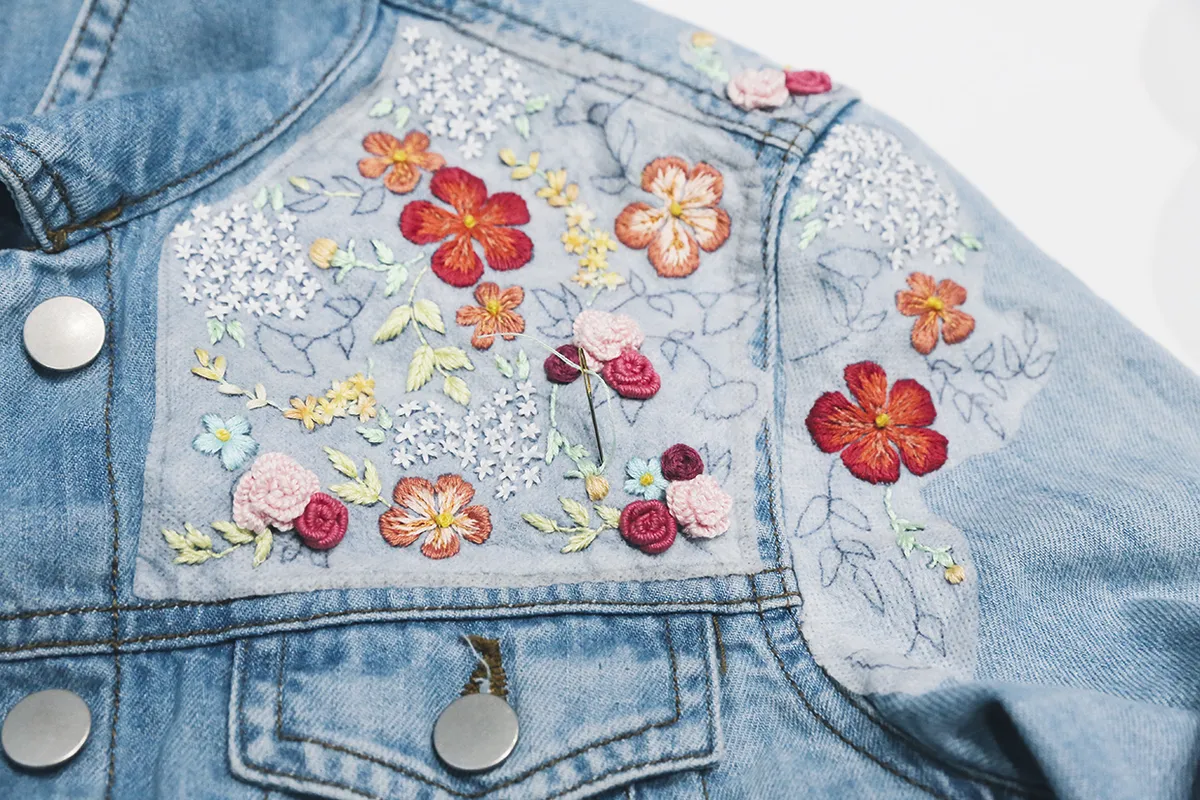
Step 1
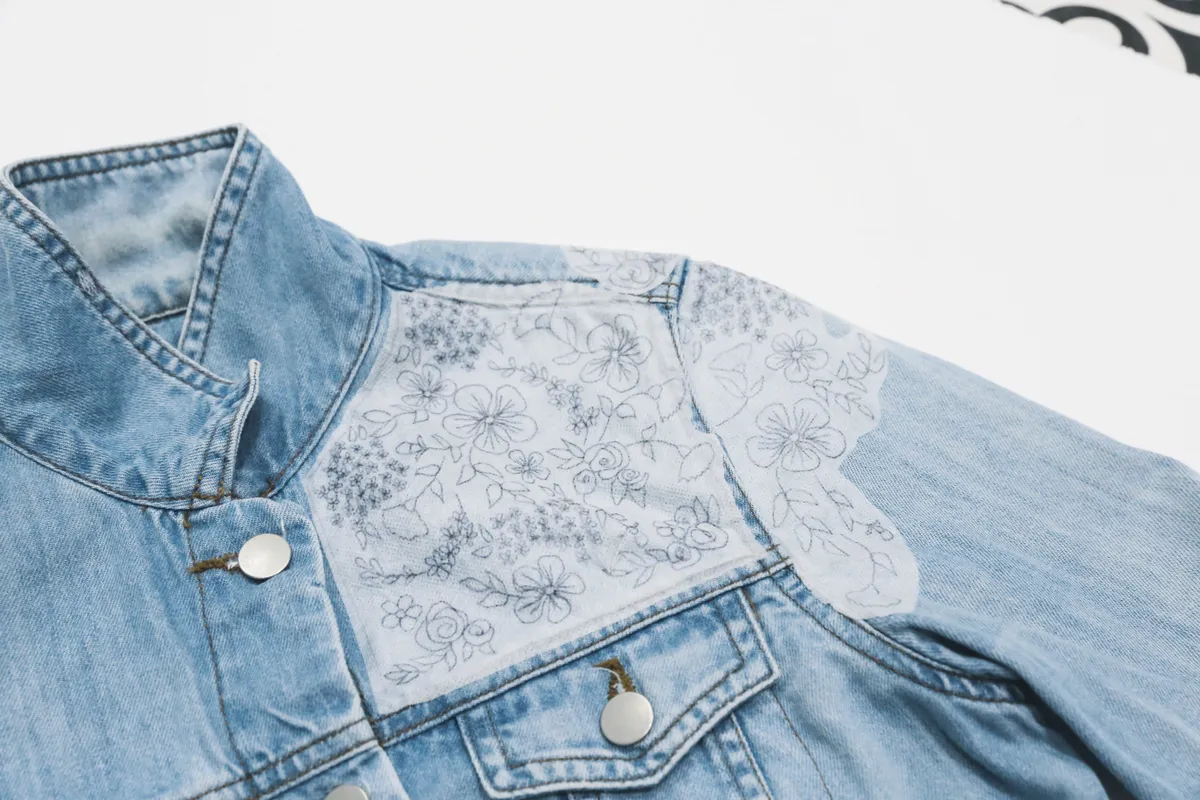
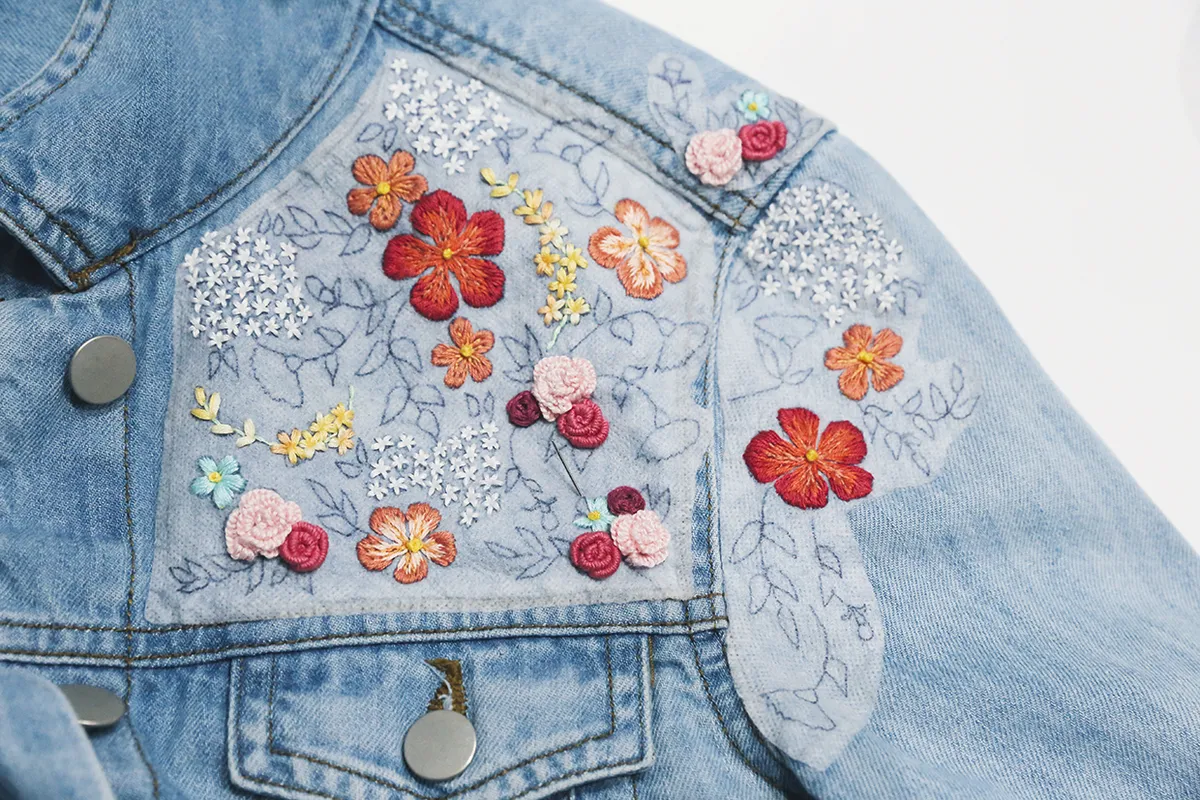
Trace the design from the template onto water-soluble stabiliser, then stick it in place on your jacket.
There are three sections: one for the front, one for the top of the sleeve and a small one that reaches over the seam at the back.
These are all designed to be stitched on the left side of your jacket. Flip the design and place it on the right side if you want to mirror the design.
Add the white embroidery flowers
Step 2
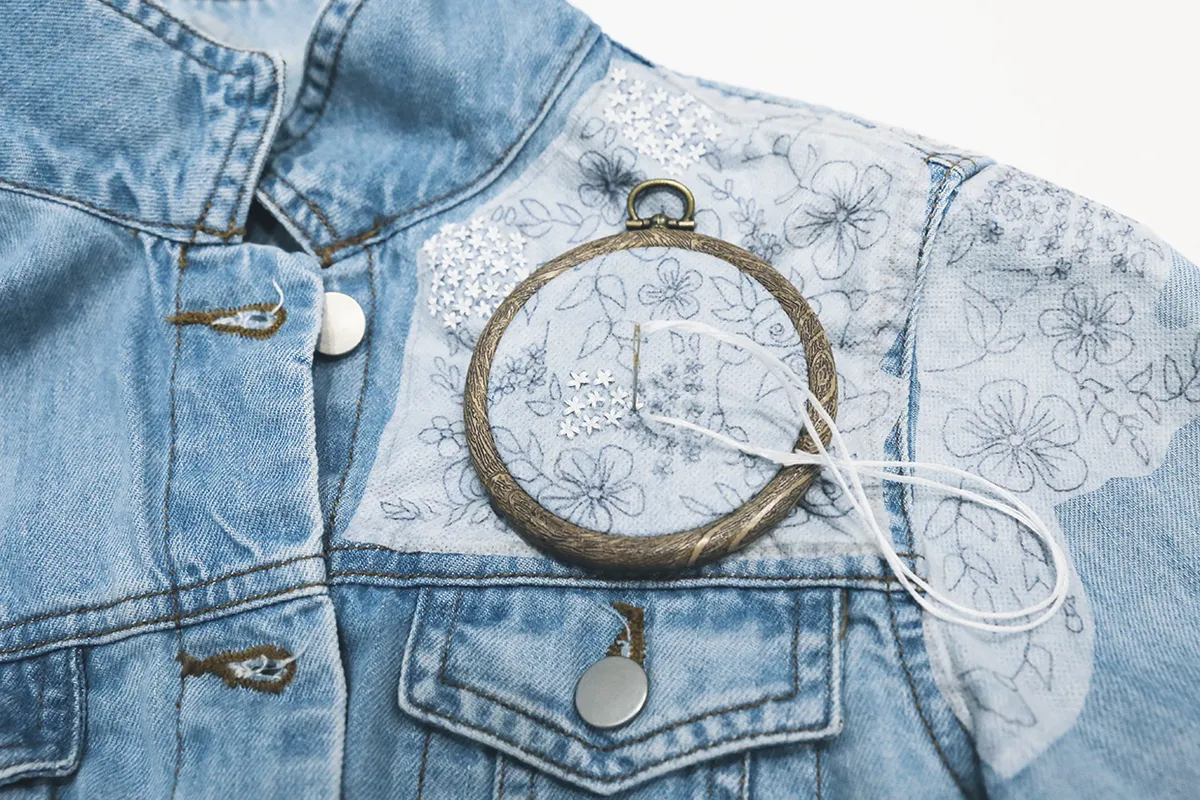
Work the embroidery flowers petals in Straight Stitch using six strands of white. Work them in a star shape, always coming back to the middle of the flower with every stitch.
This creates a small hole in the centre to give definition and shape to the flower. Work the individual leaves around the embroidery flowers in Fishbone Stitch using six strands of light green.
Add the red and peach embroidery flowers
Step 3
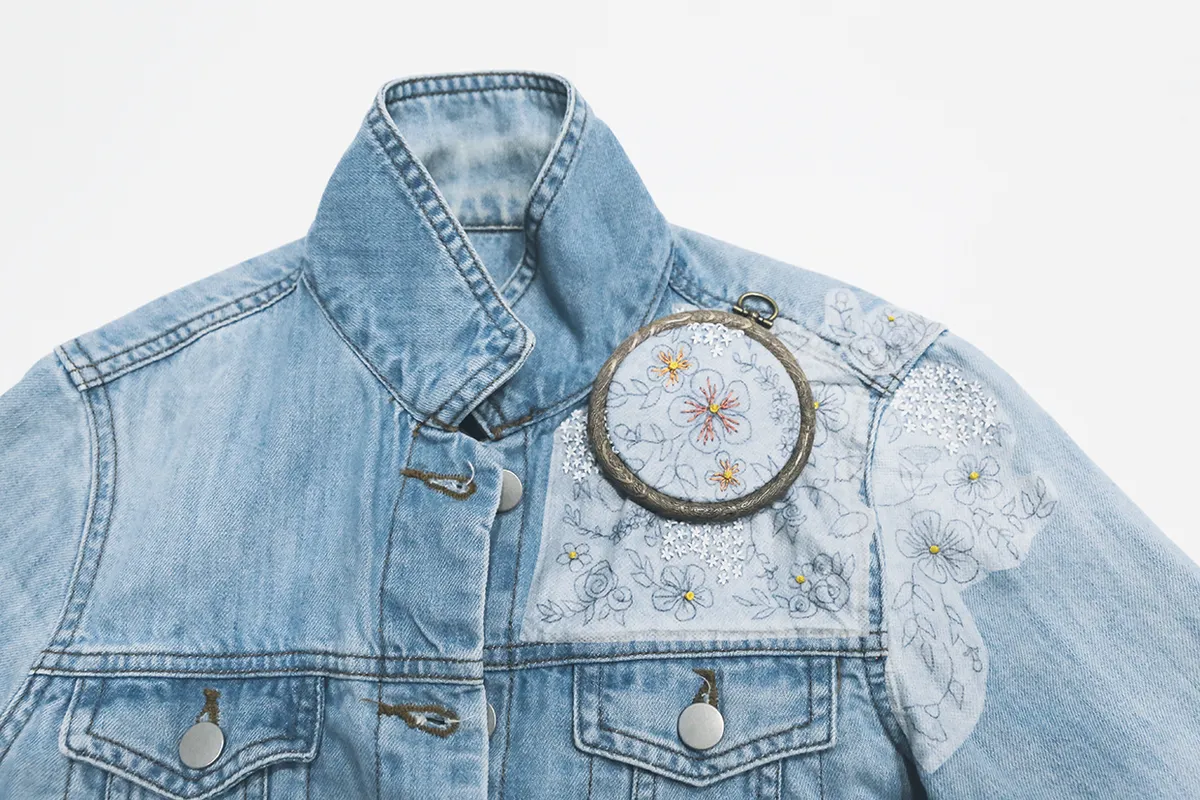
Work a French Knot in the centre of each embroidery flower in six strands of yellow.
Couch the inner petal lines by working the laid thread and the Couching Stitches in the same colour using three strands for each.
Use dark peach for the red embroidery flowers and dark orange for the peach embroidery flowers.
Step 4

For the red embroidery flowers, fill in the petals with Satin Stitch using three strands of red on the inside and raspberry on the outer edges.
When stitching the two-tone peach embroidery flowers, fill in the petals with Satin Stitch using three strands of light peach on the inside and dark peach on the outer edges.
Fill the solid peach embroidery flower petals with Satin Stitch using three strands of dark peach.
Add a branch of embroidery flowers
Step 5
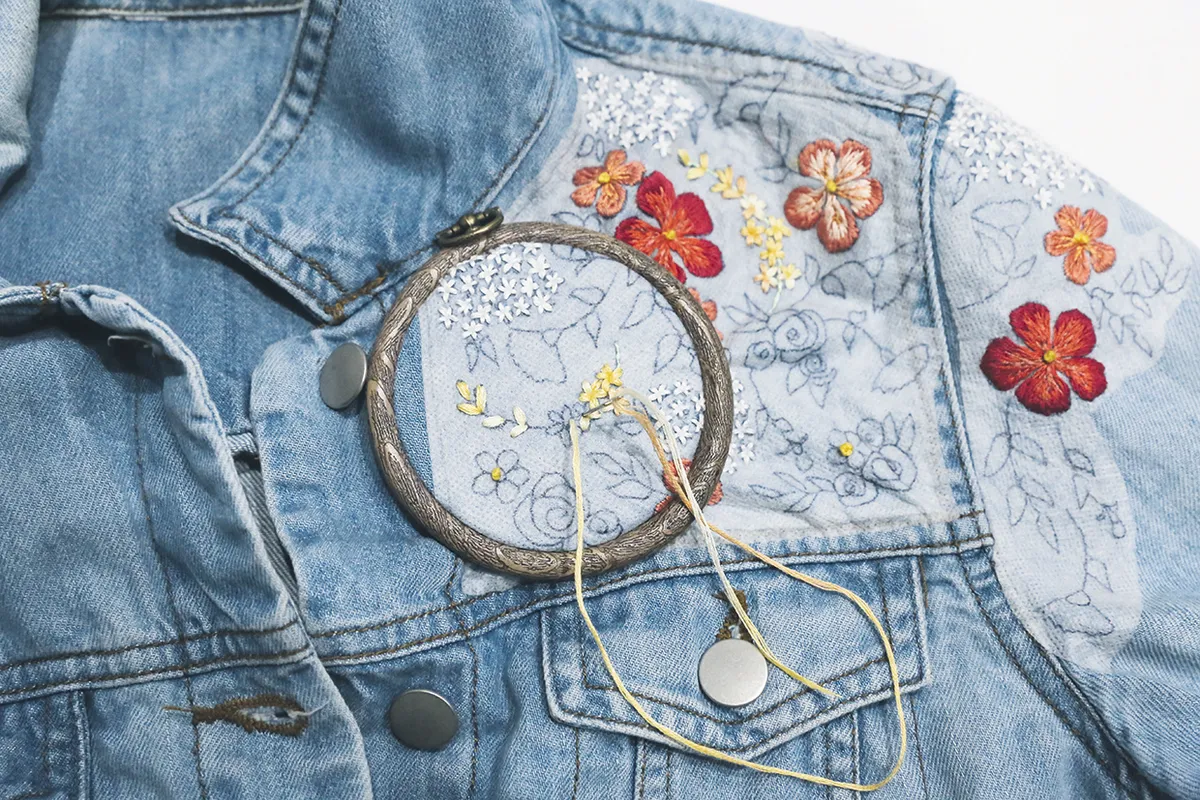
Work the individual petals and star flowers on the branch in Straight Stitch using six strands of variegated orange.
Work the star embroidery flowers in the same way as the white embroidery flowers.
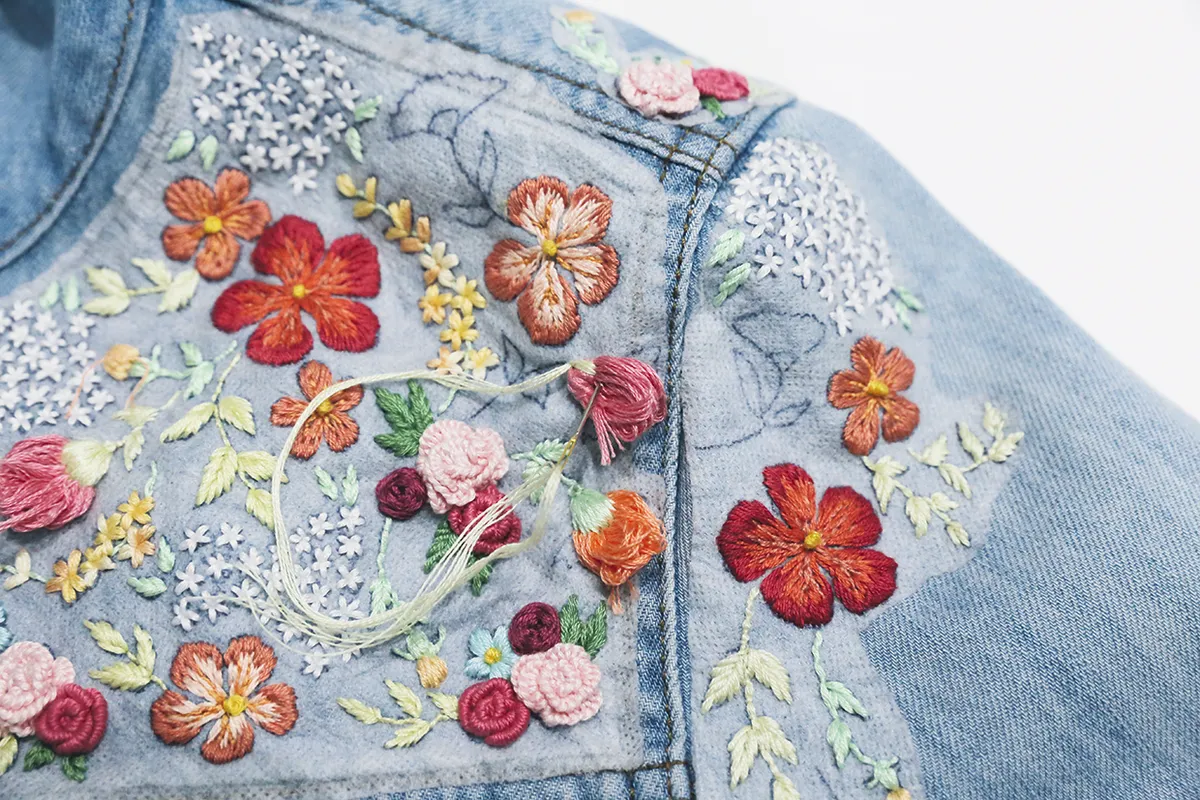
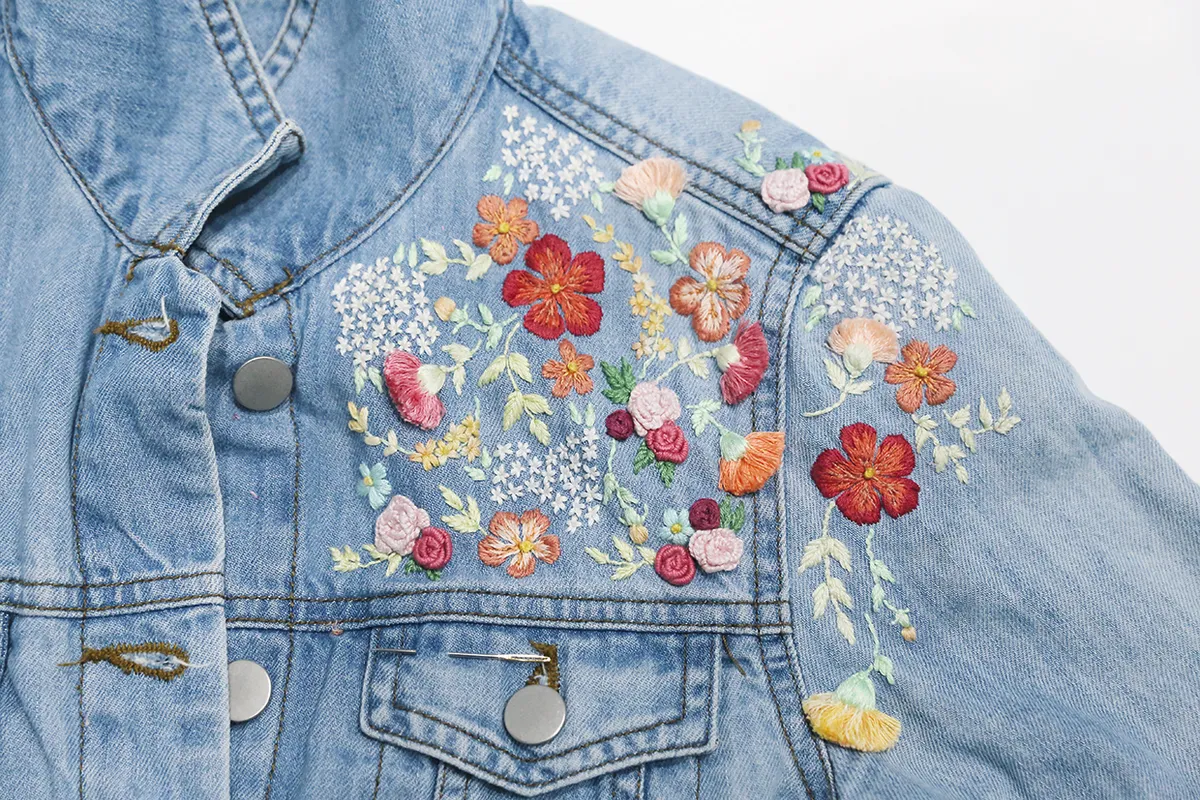
Add a range of embroidered roses
Step 6
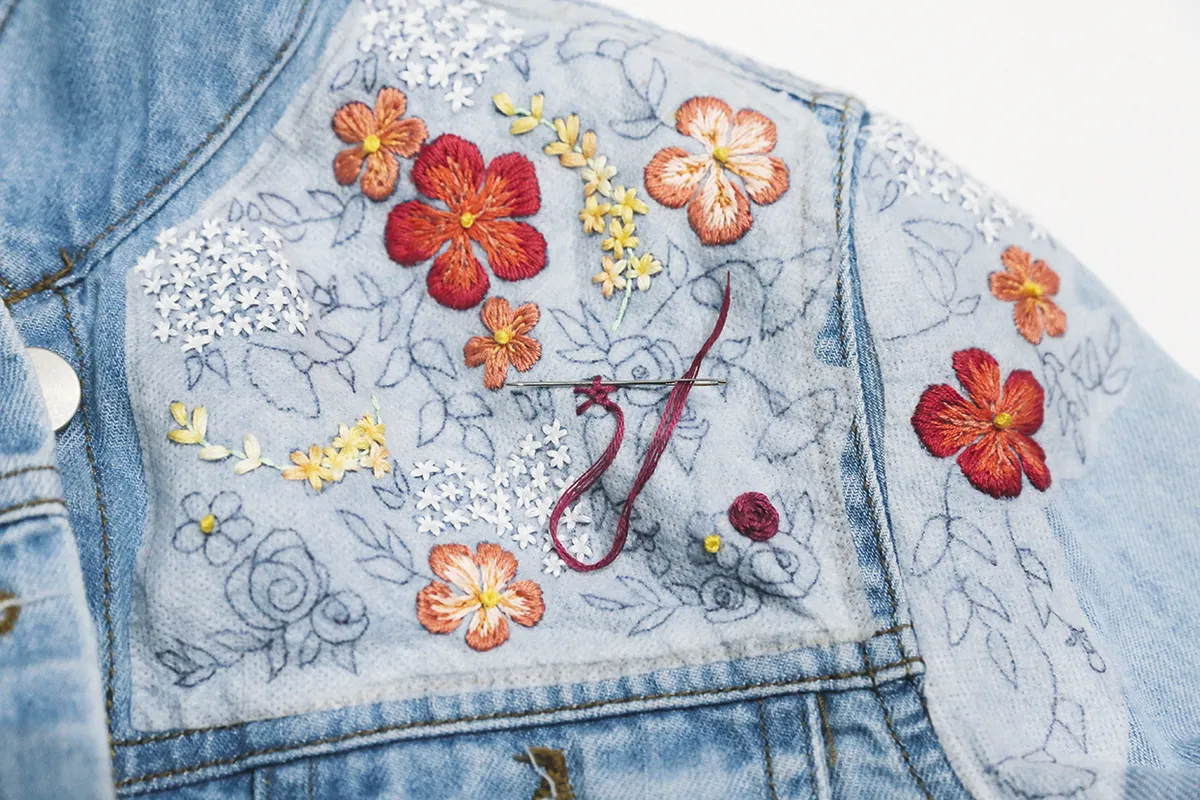
Work the darkest roses as Woven Wheels using six strands of plum.
Step 7
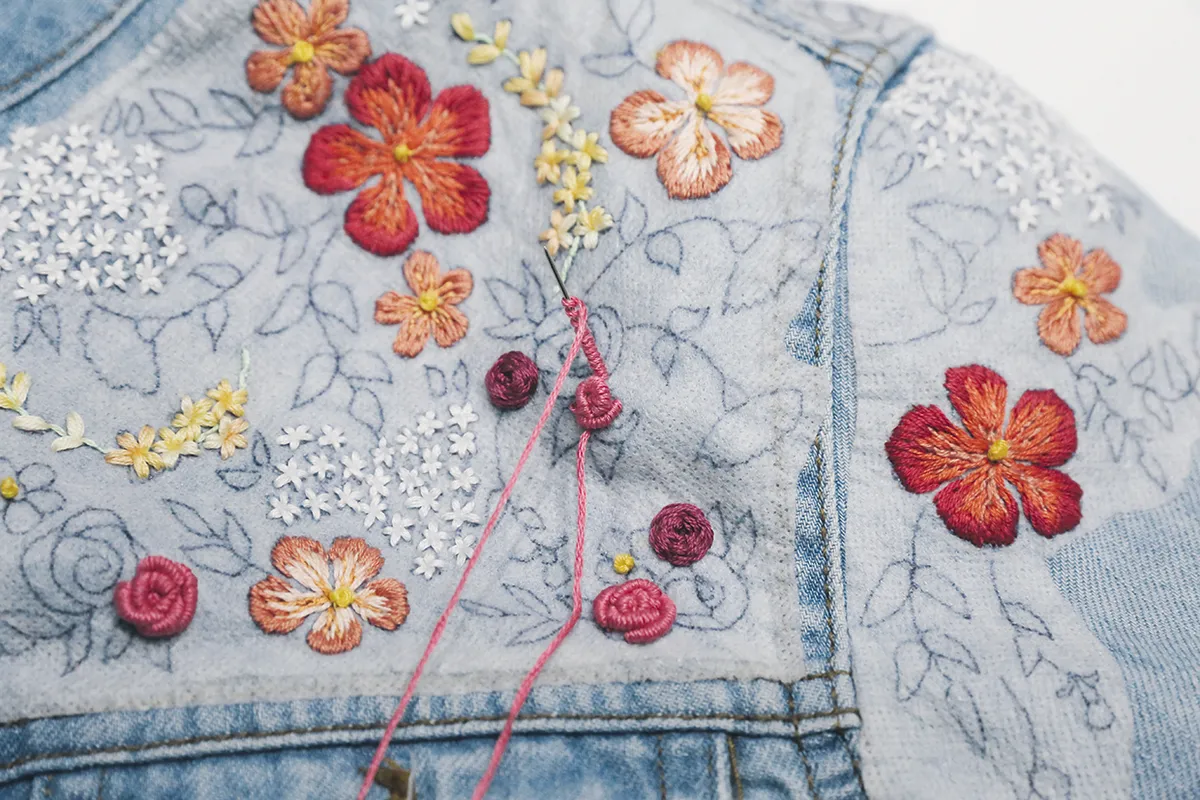
Work the medium-toned roses as Bullion Knots using six strands of dark pink. Start by working a French Knot in the centre of the rose, then work two Bullion Knots either side of the French Knot in semi-circles.
Keep adding more Bullion Knots around the outside so they overlap to form rose shapes.
Follow the design lines or feel free to create your own shape. Try to curve the Bullion Knots to create the petal shapes. This is done by making the wrapped thread longer than the actual stitch.
Step 8
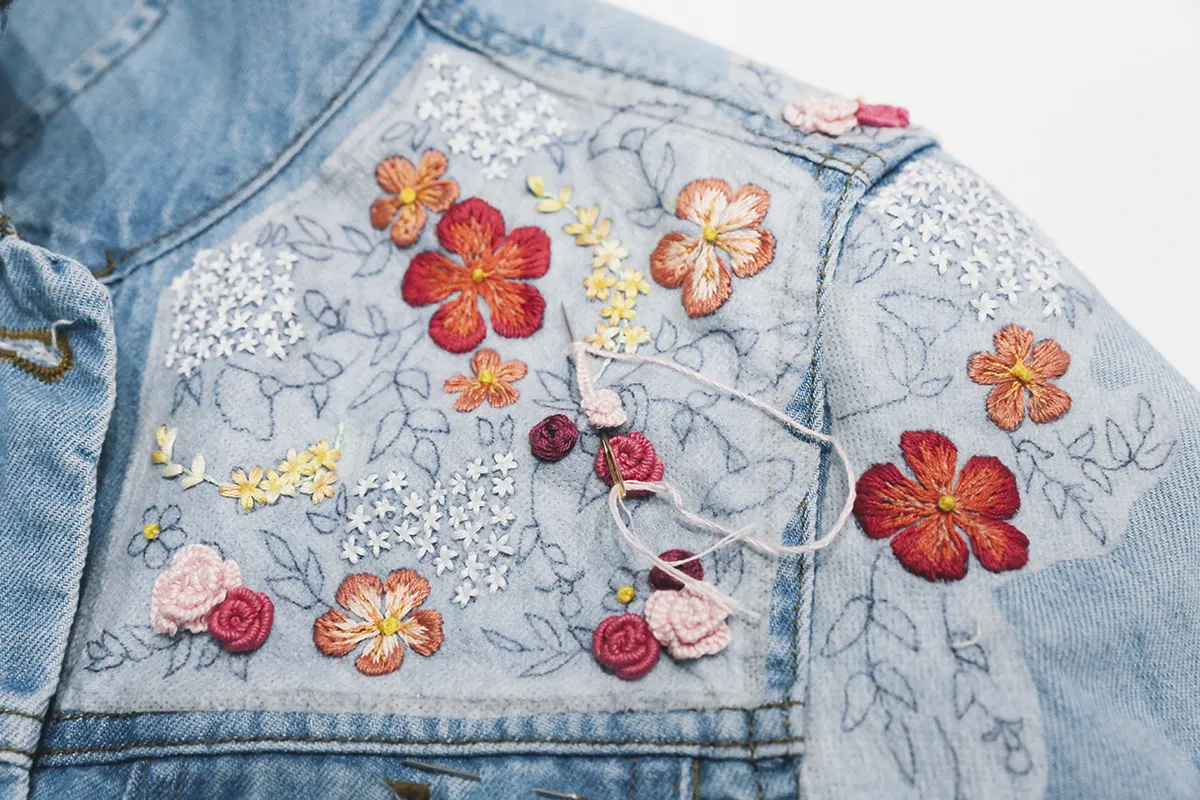
Work the palest roses in Cast-on Stitch using six strands of light pink and a chenille needle. Start by working a French Knot in the centre, then work two Cast-on Stitches either side of the French Knot in semi-circles. Add more Cast-on Stitches round the outside to build up the rose.
Step 9

Work the rose leaves in Fishbone Stitch using six strands of dark green.
Add some subtle blue embroidery flower designs
Step 10
Work these small embroidery flowers in Satin Stitch using three strands of blue. Each petal is formed of three stitches. Work a French Knot in the centre using three strands of yellow.
Some embroidered leaf branches will help to bring the design together
Step 11
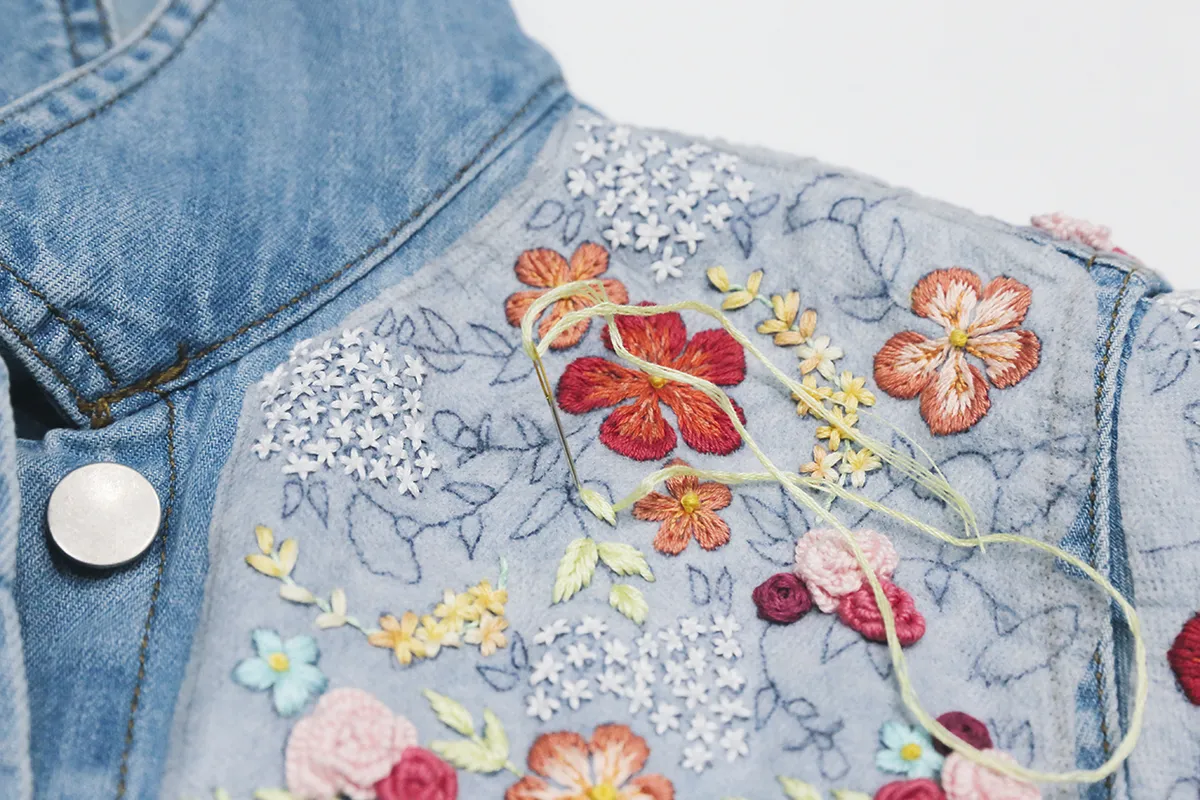
Work the leaves and stems in pistachio. Make each leaf in Fishbone Stitch using six strands. Stitch the stems in Couching Stitch using three strands.
Add some lovely stemmed roses
Step 12
Work the rose buds at the ends of the stems in Satin Stitch using six strands of light orange. To make the buds three dimensional, work several stitches on top of each other.
Step 13
Work the stem, leaves and sepal in light green.
Make the stem using Couching Stitch( two strands).
Stitch the leaves in Fishbone Stitch using three strands.
Make the sepal in Satin Stitch using six strands.
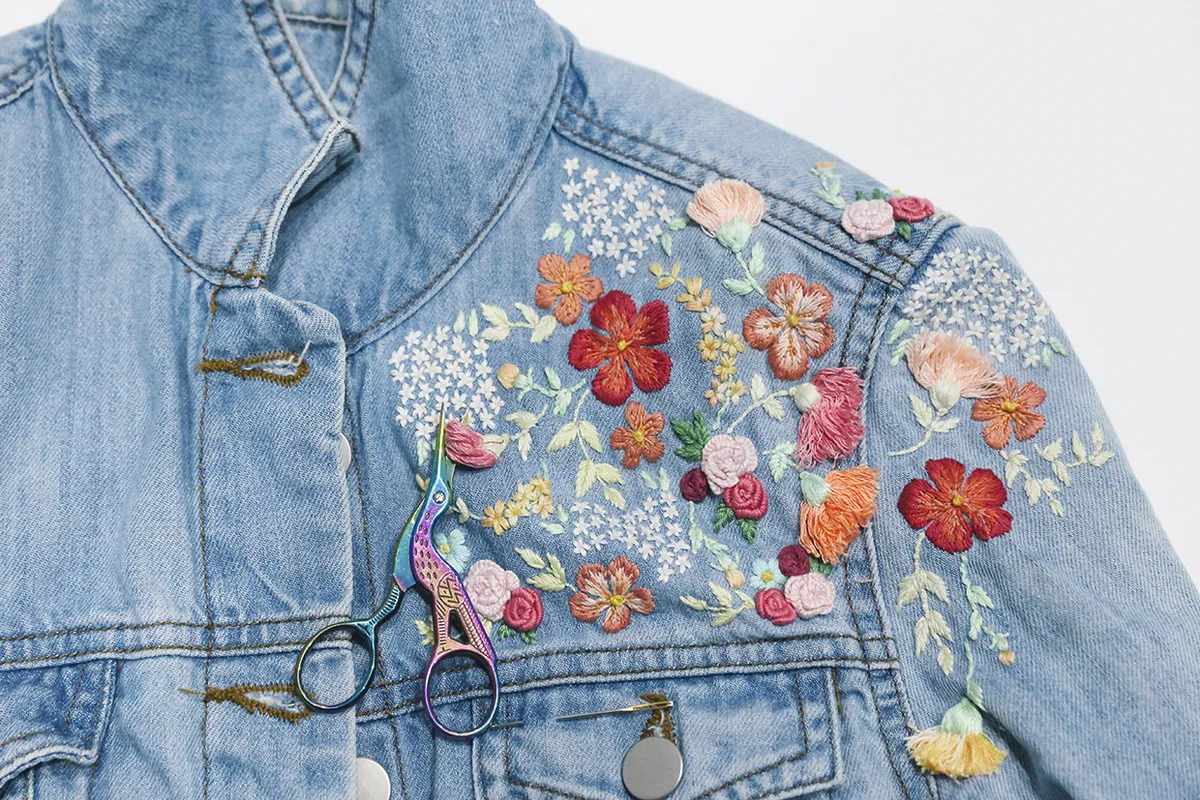
Add texture with fringed embroidery flowers
Step 14
These are all worked in six strands of either rose, medium peach, variegated orange or light peach.
Start by making a tassel by wrapping the stranded cotton 15-20 times around the thread wrapper, cut to 2cm in length.
Thread a length of stranded cotton through the top loops and knot to hold them together, then pull off the wrapper.
Stitch the tassel securely into place at the top of the stem with two horizontal stitches worked from each side and into the centre.
Step 15
Make the sepal in Satin Stitch using six strands of either light green or pistachio over the top of the tassel to cover the horizontal stitches and hold in place.
Step 16
Work the stem and leaves in the same colour as the sepal. Make a French Knot at the base of the sepal using six strands.
Create the stem using Couching Stitch. Use six strands for the laid thread and two strands for the couching stitches. Stitch the leaves in Fishbone Stitch using six strands.
Finishing off the denim jacket embroidery idea
Step 17
Immerse the jacket in warm water to dissolve the stabiliser, then rinse and wait until dry to finish the tassels.
Cut the loops at the top of the tassel and run the needle through each strand to separate them. Trim the embroidery flower to a curved shape, keeping it as long or short as you like.
Step 18
Ensure all thread ends are securely tied off. Iron stabiliser on the back to protect the threads.
To care for your embroidery flowers jacket, it’s best to always hand wash your jacket.
Update a denim jacket with embroidered flowers
Once you've made this denim jacket embroidery project you don't have to stop there!
Keep adding more and more and go full maximalist by covering the entire jacket, or keep any offcuts of the water-soluble stabiliser to add small simple flower designs to a range of garments.
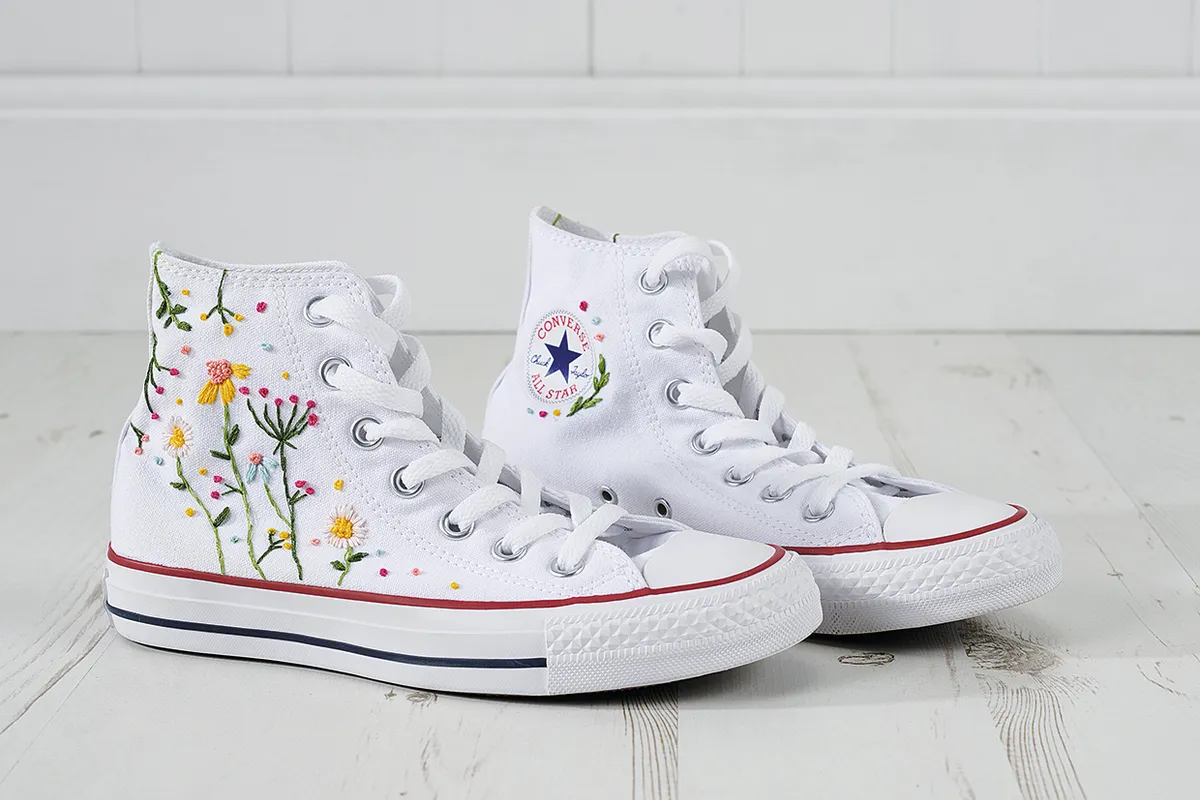
Complete your outfit with embroidered sneakers
Once you've made your floral embroidered jacket, go full-on flower fashionista by trying Gathered's DIY embroidered Converse tutorial!