Maybe you were the not-so-lucky recipient of a bumper pack for Christmas, or perhaps you’ve got spares in the draw whose other half you cannot for the life of you track down.
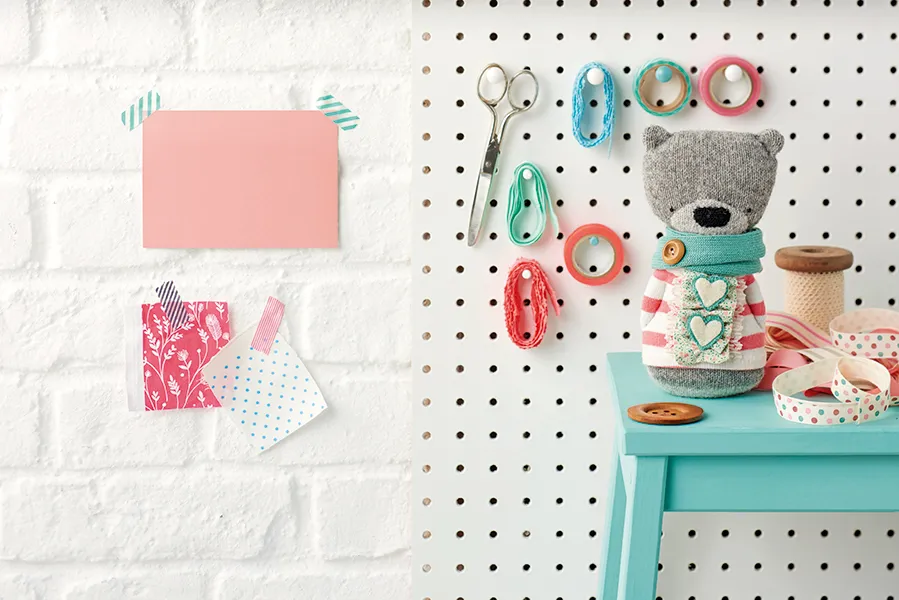
Liberate those poor, unloved socks by giving them a second life in the form of a soft, squishy bear toy – with a little personalisation he’d make a sweet Valentine’s love token, and we’re sure kids will love cuddling him too.
If by some freak occurrence you don’t have any spare socks right now, buy some pure wool work socks for the main body (you only need to use one of these for each toy so you can make two!), and a thinner, smaller decorative pair for the jumper.
This project was created by Amber for Mollie Makes magazine – for more easy-make craft projects and creative inspiration, subscribe to Mollie or click here to find out more.
Materials
- One large thick wool work sock
- One printed sock
- Scissors
- Tiny piece of black felt for the nose
- Polyester stuffing
- Needle and thread
- Beans for weight (optional)
How to make a sock bear
 Cut both socks in half as shown. You’ll be using the foot part of the wool sock and the upper part of the decorative sock


 If you want, add a scarf to keep your little bear extra cosy. Choose an old jumper or another sock that coordinates with your toy, then measure 2.5 times around the