How to draw lips step by step

Drawing lips can be tricky, but in this easy tutorial Charlotte Kinson will show you how to draw lips step by step

Try our magazines – get 6 issues from just £9.99!

Published: April 18, 2024 at 8:00 am

Knowing how to draw lips is one of the trickier parts of drawing faces – from getting the proportions right, to fine-tuning those little details that make a person recognisable, it’s hard to know where to start!

In this step-by-step tutorial, we’ll be breaking down how to draw lips – with a bit of practise, you’ll be a master of expressions in no time.

undefined

Lips come in all shapes and sizes and it’s important to remember this when you’re drawing yours – there is no ‘right’ or ‘wrong’ shape for a set of lips! They could be thinner, or a little plumper, but all lips have a few similarities that we can focus on to help us get to grips with drawing them.

One of their most recognisable features is the ‘cupids bow’, that distinctive ‘M’ shape of the upper lip. The top lip is generally a little thinner than the bottom lip, and the centre line that divides the two lips will often follow a similar shape to mirror the cupids bow, just a little softer. These are all important things to remember when learning how to draw lips.

To start with, we’ll be keeping it simple and walking you through how to draw a simple pair of closed lips, but once you’ve had a bit of practise you can start tackling more expressions such as open mouths, pursed lips and more.
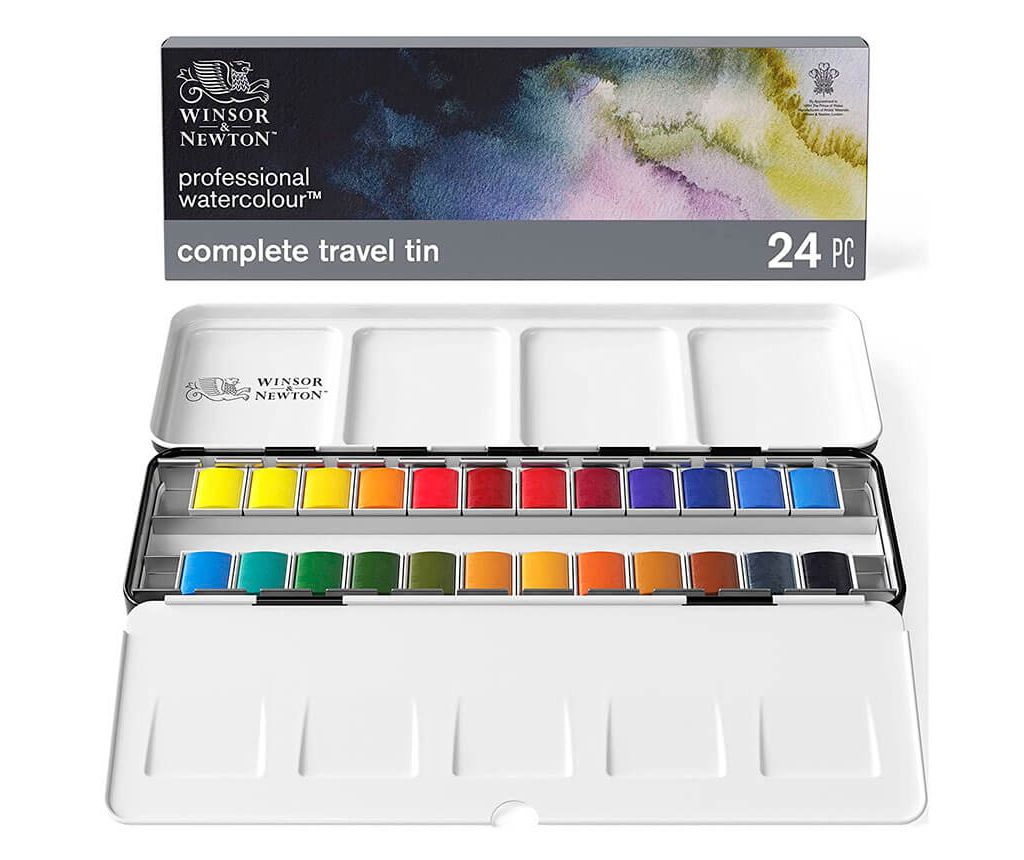
Best drawing pencils

Perfect pencils

If you're looking for drawing materials, take a look at our best drawing pencils guide.

A good place to start, before you begin drawing, is to look at some examples of lips to get yourself used to the look and shape of them. You could simply search for some photos of lips online, or better yet, take a look in the mirror at your own! If you can, open your mouth a little and get a good look at how your upper and lower lip differ in size and shape, where the curves start and end.

And finally – don’t get too caught up with having to create smooth, perfect lines the first time around. Try plotting out your lip lines very gently and go over them with a firmer line once you’re happy with how they look. Alternatively, you can create more sketchy lines to gradually build the shape you want. If all else fails, there’s always that trusty eraser if you’d like to have another go.

How to draw lips the easy way

You will need:

  • A sheet of white A4 paper
  • Drawing pencils
  • Eraser or putty rubber
  • Coloured pencils (optional)

Step 1

First, we want to plot out three markings on our page to act as a guideline for where we’re going to draw, all equal distance from each other. These marks will create the line separating your two lips in the very middle.

Start with a marking in the middle of your page, then add one dot on either side to represent where the lips end.

How to draw lips step 1


Step 2

Next, you want to plot a line from the first marking to the second – remember how that cupids bow is slightly mirrored in the line that makes up the centre of the lips?

Draw a line that very gradually arches up, then bring it back into a downwards swooping curve to meet the middle.

Each side should mirror the other, so do the opposite of this the other side until you have one curvy line joining all three points together.

How to draw lips step 2


Step 3

Now we’ve got a nice centre line dividing our two lips that will help us plan out the rest of our lip shape. Add another marking just above the centre of the lip in the very middle, then one below.

The bottom mark should sit a little lower than the top one – remember, bottom lips are usually a bit bigger than the top lip.

How to draw lips step 3


Step 4

It’s time to tackle that cupid’s bow – draw a short line coming up from one side of the marking at the top of your lips, then mirror this on the other side.

This should look like a wide ‘V’ shape.

How to draw lips step 4


Step 5

From here, you can join up one end of the ‘V’ of the upper lip to meet the edge of the lips, before repeating on the other side.

Try to add a little bit of curve to these lines as they flow down to the edge of the lip, either with an upwards or downwards curve, depending on the thickness of lip you want to achieve.

How to draw lips step 5


Step 6

The upper lip is done, you’ve officially made it to the half-way point!

Now it’s time to move onto that larger bottom lip. Again, we’re using that middle marking to help guide us with the shape of the lips, so draw a curved line from that centre point back up to the edge of the lips, then repeat on the opposite side.

You can get a little creative here – do you want thinner lips, or plumper ones?

How to draw lips step 6


Step 7

And there you have it, a set of luscious lips! If you’ve gone in with gentle lines, now is the time to go over them again with your pencil to make them really stand out. We also recommend making use of your eraser to remove your guideline markings if they’re still visible.

How to draw lips step 7 part 1

If you want to add even more depth to your lips, you can add some small smile lines just outside of the lip edges, or perhaps some little curved lines inside the bottom lip to show where it plumps up in shape.

We’ve also mirrored that cupid’s bow ‘V’ shape very lightly in the top lip to really give that some definition.How to draw lips step 7 part 2


Step 8

You can also add some shading to your lips to make them bold and lifelike – try adding shadow to the centre where the two lips meet, as well as around the curves of the lower lip and edges of the top lip, to highlight the roundness of the shape.

The bottom lip will usually have a visible shine to it too, so either leave some small gaps for that within your shading, or go in with the eraser afterwards to create a glossier look.

How to draw lips step 8


Step 9

If you really want to bring your illustration to life, you can add a wash of watercolour like we have to really make those lips pop!

Layer your colour gently, applying your paint in stages and allowing the paper to dry before you add more.

You should mirror your shading in how you apply the colour – add a darker tone to the edges and curves of the lips, leaving a lighter area in the centre for the lip shine (or you can add this after your watercolour has dried with white acrylic paint).

How to draw lips step 9


You’ve done it! You now know how to draw lips. From here, the world is your oyster, and you can try all sorts of different styles of lip, applying the same techniques to draw lips from different angles and in varying shapes.

Why not take some photos of your friends and family’s lips (if they don’t mind) to get some practise drawing from reference with – you’ll be surprised at the differences in shape everyone’s lips can have.


Winsor and Newton professional watercolor paints

The world of watercolours

If you fancy transforming your drawings into painting, check out our guide to the best watercolour paints.


There's no lips like your lips

For an instant reference, find a small mirror you can place on the table in front of you as you draw and reference your own lips. The best way to learn is by looking, and if you don’t mind looking silly, you can pull all sorts of faces in the mirror and learn how to draw lips smiling and grinning, frowning, or even pouting!

Master more portrait techniques

The more you practice, the better you'll get. So why not go beyond sketching and learn how to paint a watercolour portrait with Gathered.

Watercolor portrait