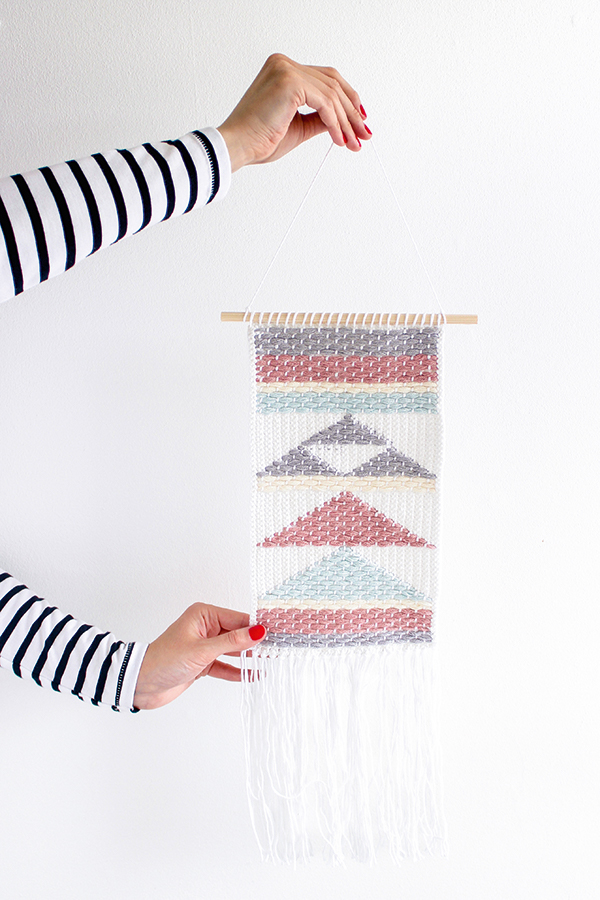
Woven wall hangings make us happy, especially when they tap into our love for geometric shapes and soft pastel shades.
If you want to craft your own but don’t have a loom, try this version and weave patterns in and out of a simple crochet panel instead. Once you’ve got the hang of it, experiment with different shapes like squares or diamonds, or get creative with your colour combinations – neons, anyone?
This project was created by Victoria Haynes for Mollie Makes magazine – for more easy-make craft projects and creative inspiration, subscribe to Mollie or click here to find out more.
Instructions
Follow the steps to make a background crochet panel, then use this as a base to weave on to.
Materials
- Rico Creative Cotton Aran, 100% cotton, 50g/85m per ball, two balls in White (80) (Yarn A)
- DMC Natura Just Cotton XL, 100% cotton, 100g/75m per ball, one ball each in Grey (12) (Yarn B), Pink (41) (Yarn C), Cream (03) (Yarn D), Blue (73) (YarnE)
- 3.5mm (UK 9, US E/4) crochet hook
- Yarn needle
- Wooden dowel
- Scissors
Tension
21 sts and 10 rows to 10cm (4")
Abbreviations (UK)
st(s) stitch(es) ch chain dc double crochet
Finished size
Approx. 18 x 100cm (71/8 x393/8")
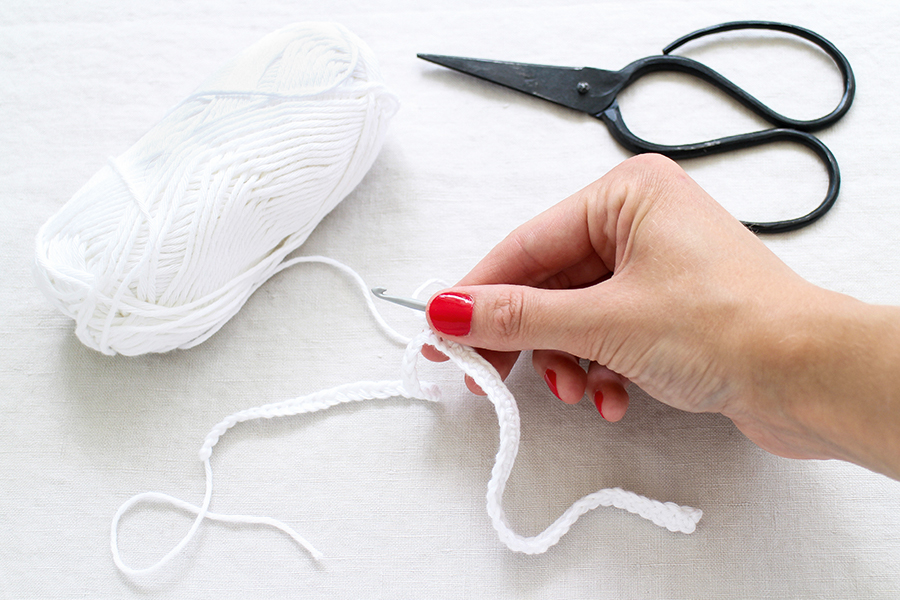
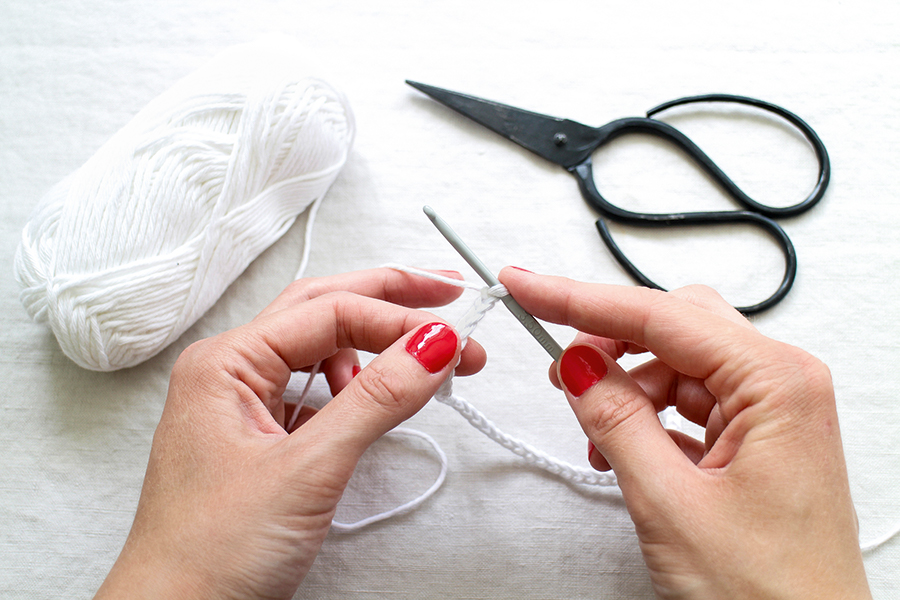 Foundation Using Yarn A, ch66 Row 1 1dc in 2nd ch from hook (ch missed does not count as st), 1dc in each remaining ch to end, turn [65 sts]
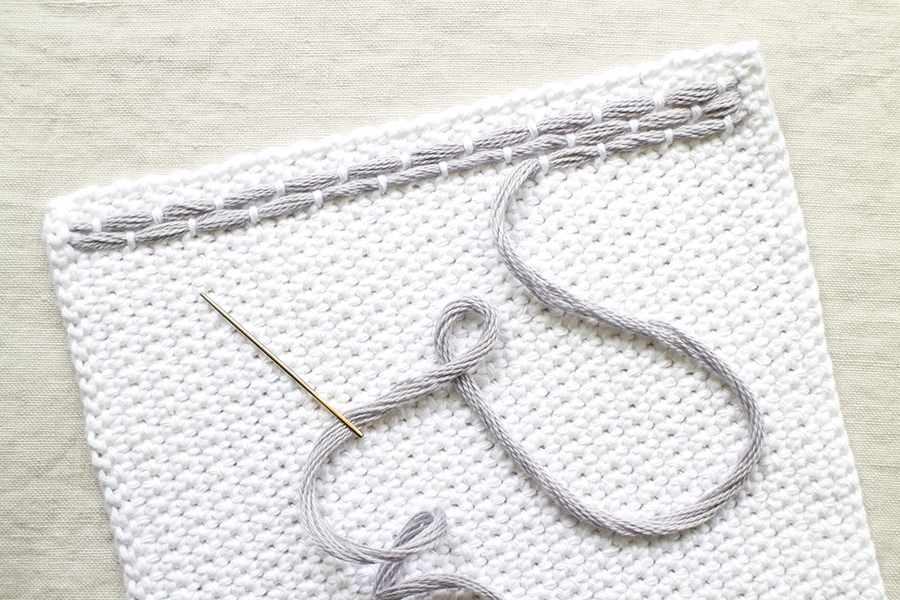
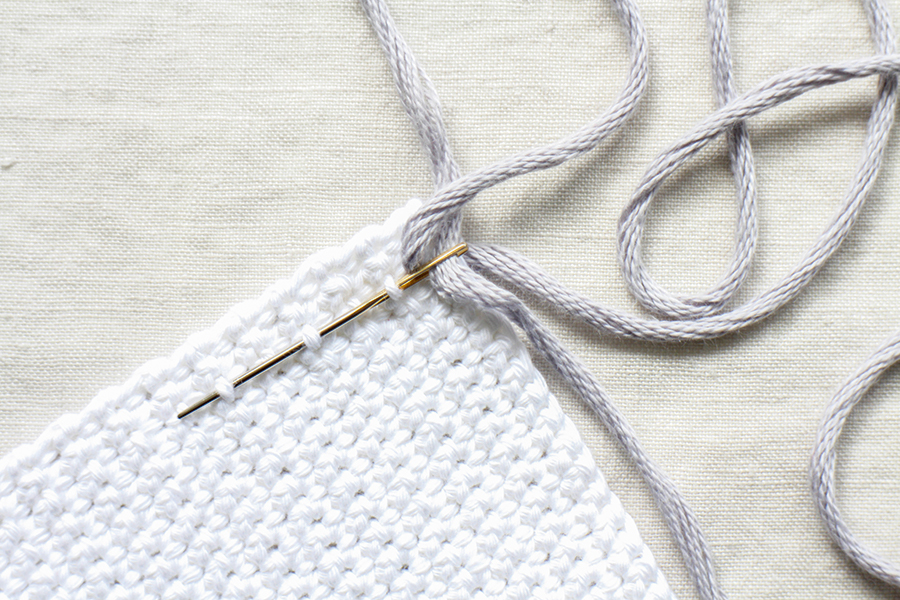 Leaving a small gap at the bottom, weave the thread across the work behind every other vertical stitch, three stitches at a time. This prevents the yarn from getting tangled.
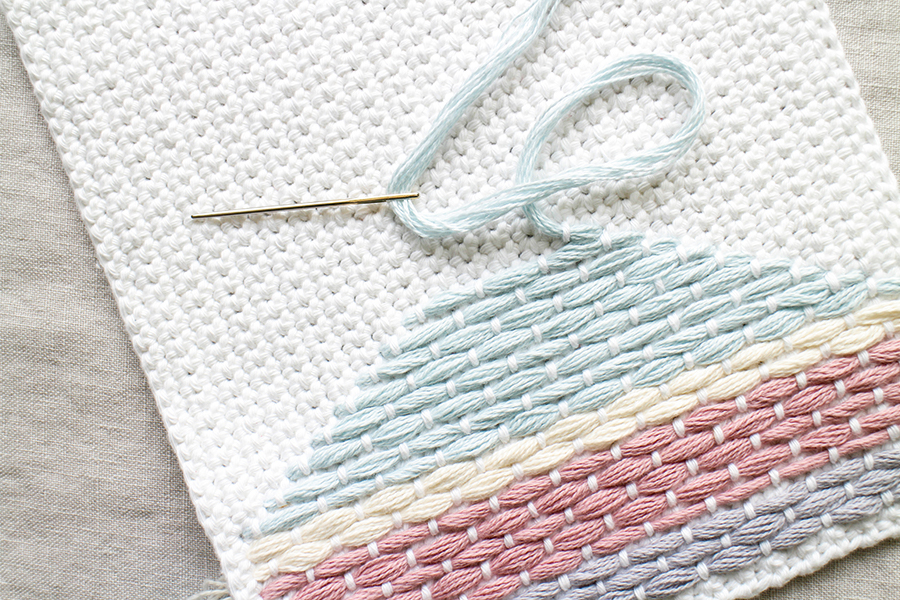
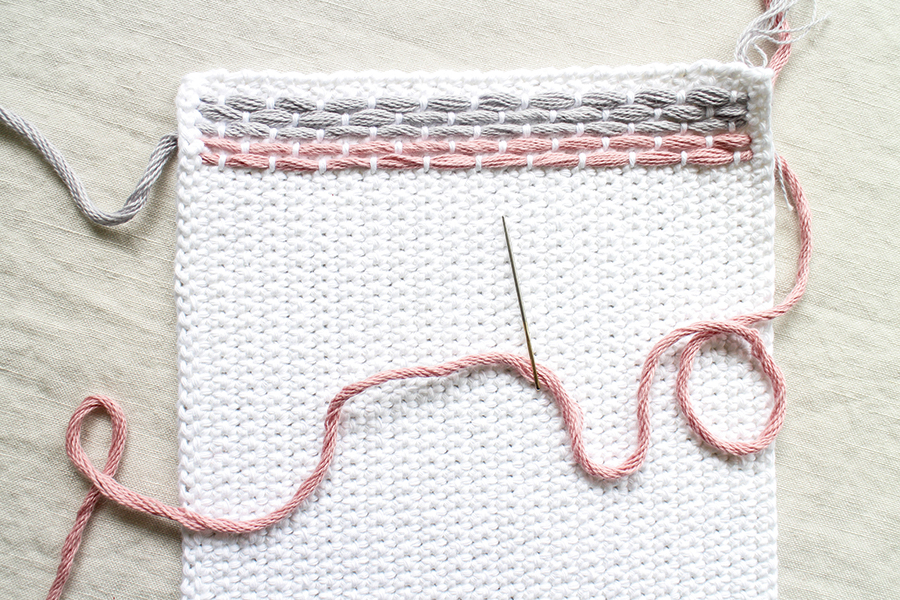 Repeat step 3 to give three rows of Yarn B, then change to Yarn C and work five rows as before.
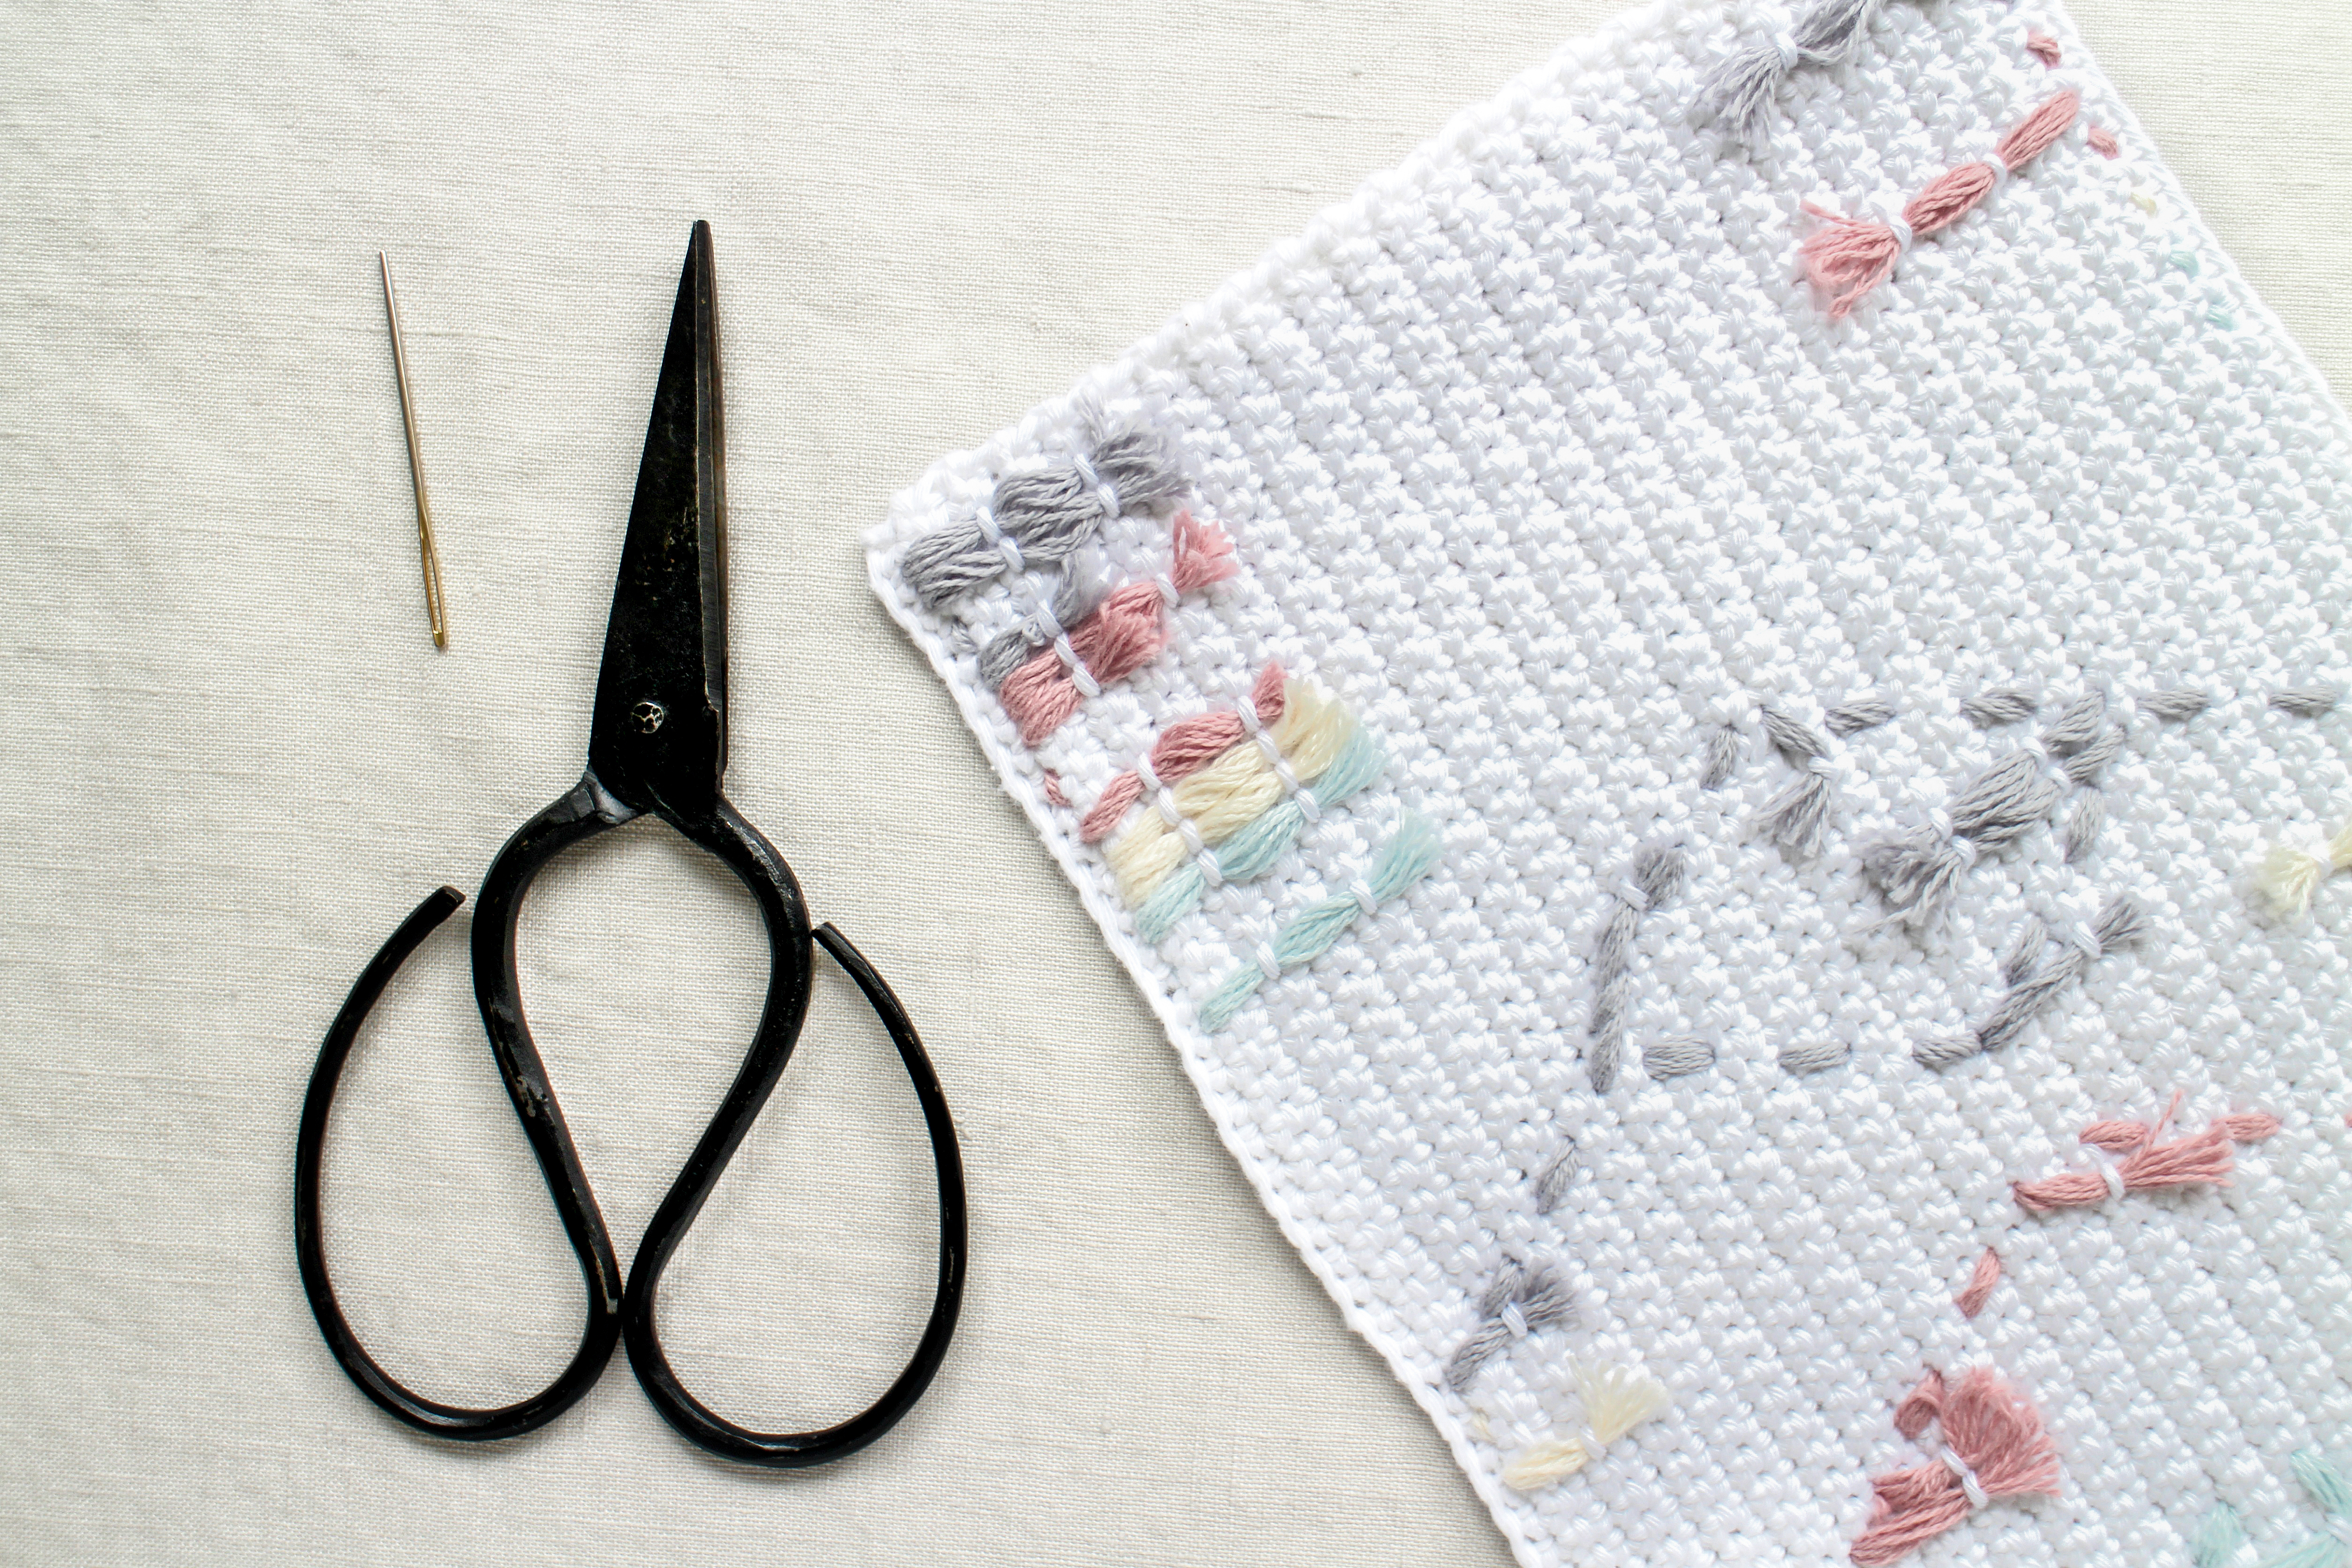
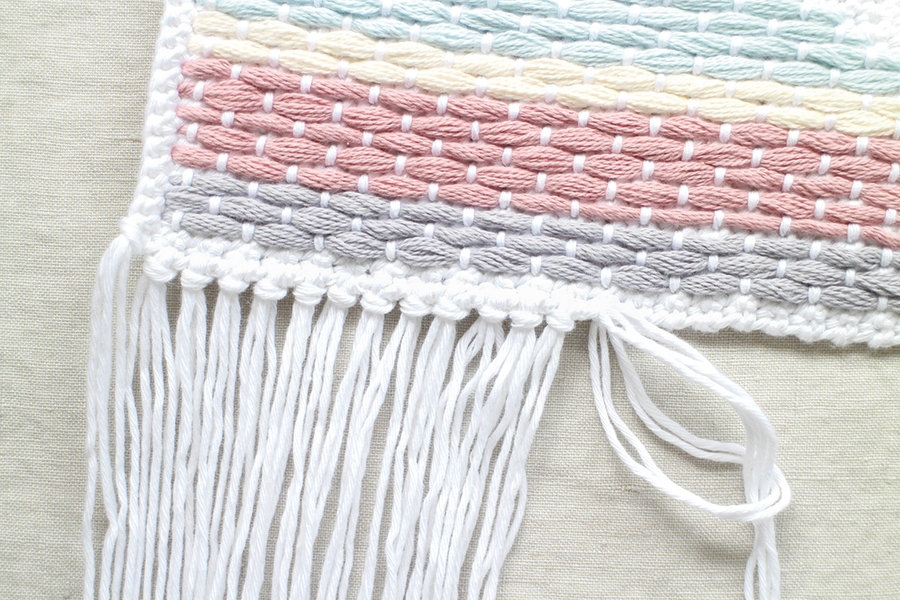 To make your tassels, take two 44cm (17 /8") pieces of Yarn A, hold them together and fold them in half. Thread the looped end through your needle, then weave it from front to back through the bottom of your work. Remove the needle, thread the ends through the loop and pull tight. Repeat until the bottom is covered in tassels, then trim to neaten.
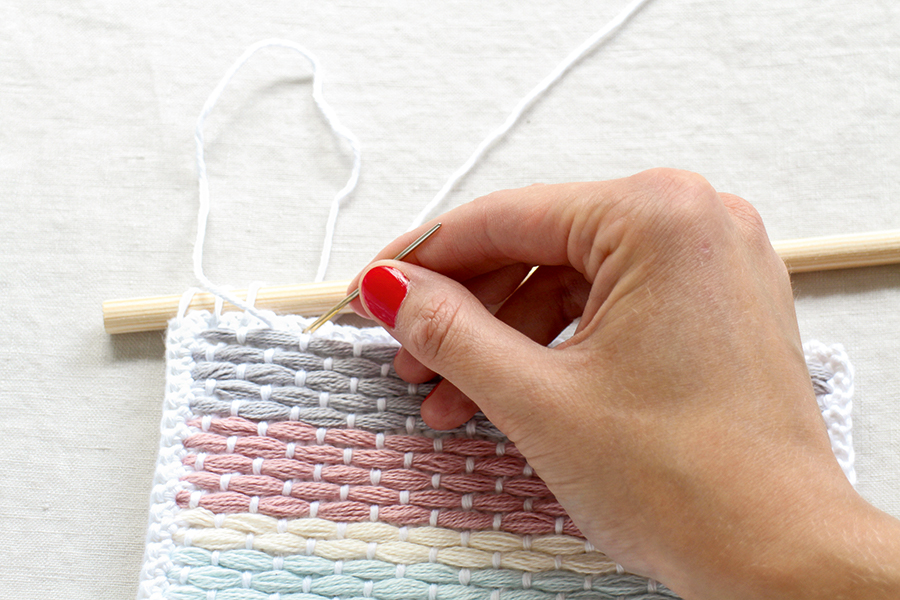 Place the dowel at the top of the hanging. Thread your needle with a length of Yarn A, then stitch the dowel and the wall hanging together. Fasten off and weave in the ends.
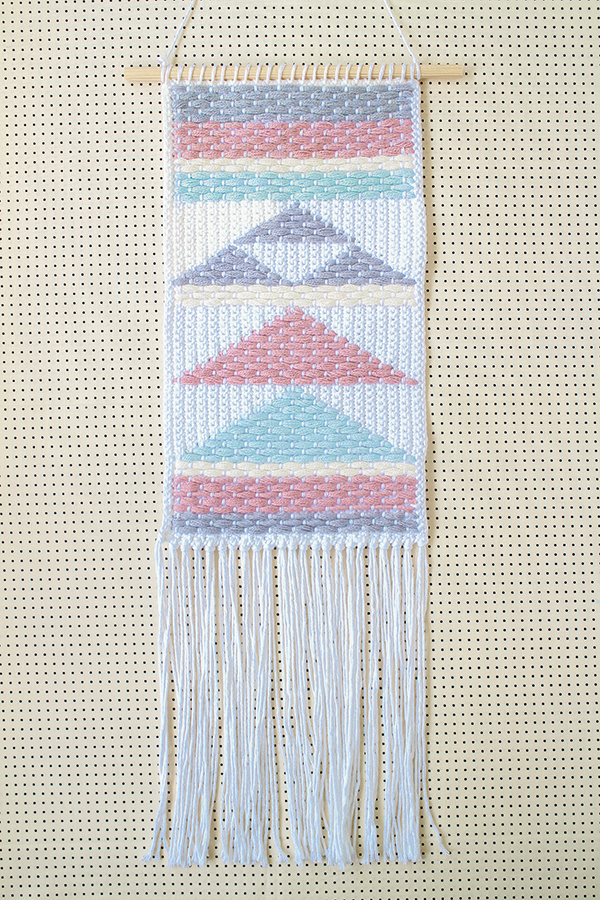 To hang, tie a piece of Yarn A onto one side of the dowel, then repeat for the other side. Fasten off and weave in the ends.
