How to make a pendant

Learn how to make a pendant using salt dough! We show how adding tissue paper transforms salt dough into a beautiful ceramic style pendant.

Try our magazines – get 6 issues from just £9.99!

Published: May 18, 2021 at 5:00 am

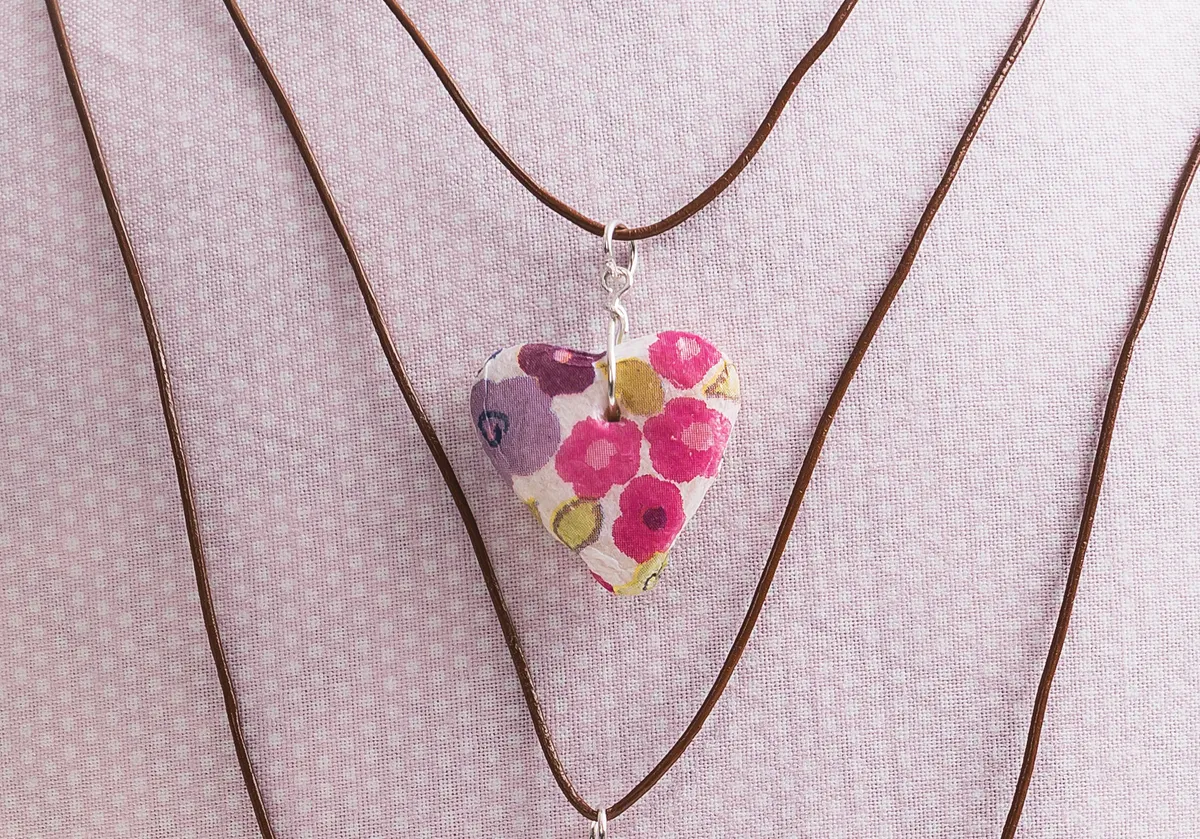
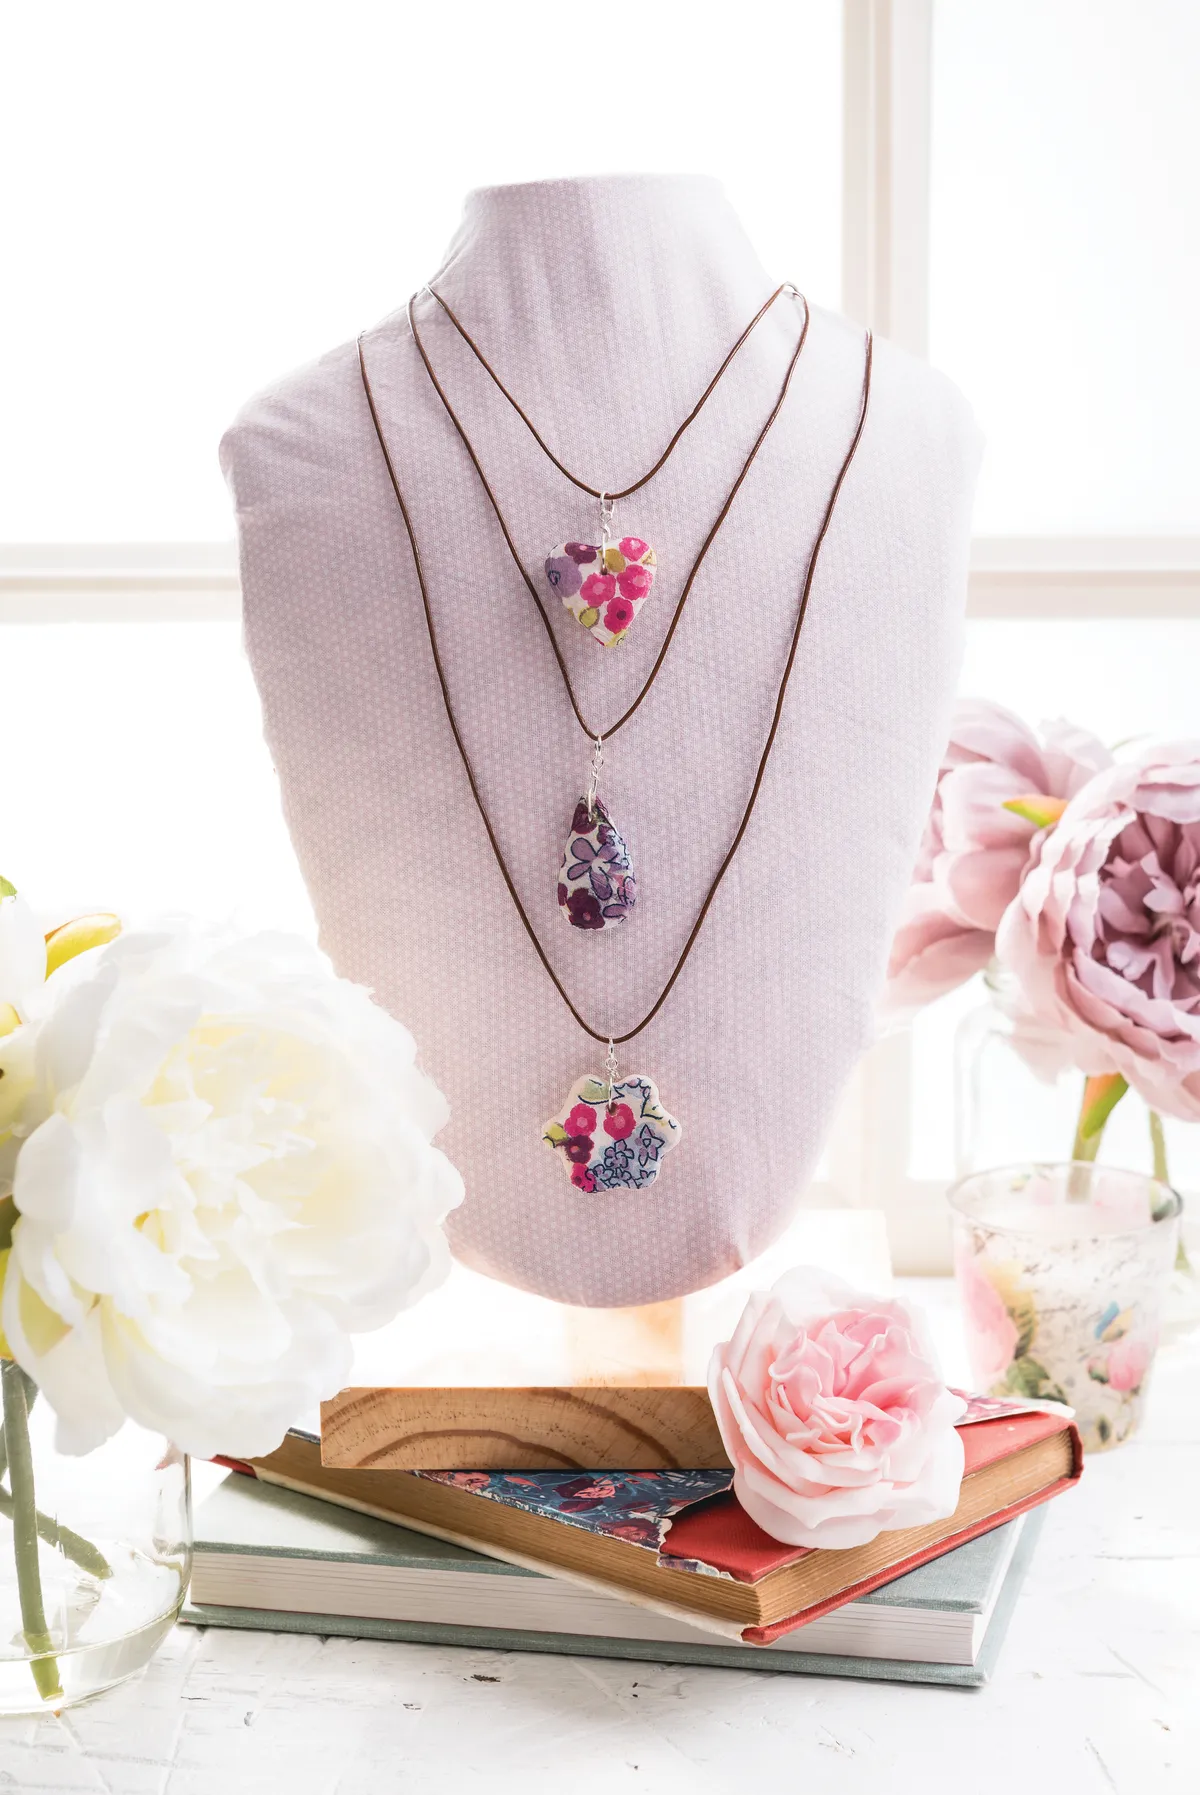
It’s hard to believe that these fab little necklace beads are actually made from that old childhood favourite, salt dough. Simply adding an overlay of tissue paper transforms the hard dough shapes into a pretty, wearable pendant. designed by Claire Watkins, they’re really quick to make, too – our microwaved version of the salt dough recipe saves hours of air-drying so you can whip up a batch of these in under half an hour. Our pendants are only the beginning – experiment with this cost-effective material to create a set of enamel-look beads, fridge magnets and more.

If you don't know how to make salt dough or need a refresher, check out our step-by-step photo guide and video tutorial on how to make salt dough.

Looking for more awesome jewellery making tutorials? Check out this bold necklace made from embroidery threads - perfect for using up all those odds and ends!

We love seeing what you make, so don’t forget to share your craft projects with us on Facebook and Twitter, too!

To make this pendant you will need:

  • Plain flour
  • Table salt
  • Mini cookie cutters
  • Patterned tissue papers
  • Leather cord
  • Necklace coil ends
  • Eye pins
  • PVA glue and paintbrush
  • Cocktail stick
  • Protective top-coat spray

For the salt dough:

  • 125g (4½oz) plain flour
  • 135g (4¾oz) salt
  • 100ml water

How to make a pendant

Top tips

  • Use small patterned tissue paper to get the best effect

Step 1

Put all the dry ingredients into a bowl and mix them together. Slowly add the water, mixing with your hands until a soft dough forms. Knead for 10 minutes.

Step 2

Leave the dough to rest for about 20 minutes before rolling out.

Step 3

Dust your work surface with flour and roll out the dough until it is about 3mm thick. Cut out shapes using mini cookie cutters. Create a hole in the top of each shape using a cocktail stick to form a hole that is roughly 2-3mm wide.

Step 4

Cover a microwaveable plate with greaseproof paper, then arrange the salt dough shapes onto it. Blast in the microwave for 10 seconds. Check the shapes to see how hard they are, then repeat, microwaving them for 10 seconds at a time until the shapes are hard. This should take around 40-50 seconds in a 750w microwave. Leave to one side to cool before decorating.

Step 5

Once the salt dough shapes are completely cool you can begin to apply the tissue paper. Coat one side of the shape in PVA glue and stick on a piece of tissue paper. Ease the paper around the sides of the shape and apply more glue. Leave this to dry before applying tissue paper to the back. You don’t need to be too exact with this process as overlaying papers can create an interesting effect. Cover the whole of the tissue paper with PVA glue and, when dry, spray over the top of it with a clear protective topcoat or varnish.

Step 6

Attach an eye pin through the hole in the pendant and bend in half so the eye is at the top and can be attached to the necklace with a jump ring. Twist the remaining wire from the eye pin around itself to prevent the bead from moving.

Step 7

Attach a jump ring to the eye hole. Cut a piece of leather cord 20cm (8in) long and thread the jump ring onto it. Attach a cord end finding with lobster claw clasp to the ends of the leather cord, to finish.

How to make a pendant using salt dough – purple

Once you’ve made your salt dough pendant, be sure to tag us in a picture on InstagramTwitter and Facebook – we love to see when you’ve made one of our projects!