How to make a photo booth backdrop

Make your New Year pics instantly Insta-worthy with Lana Red’s photo backdrop tutorial!

Try our magazines – get 6 issues from just £9.99!

Published: November 4, 2021 at 9:35 am

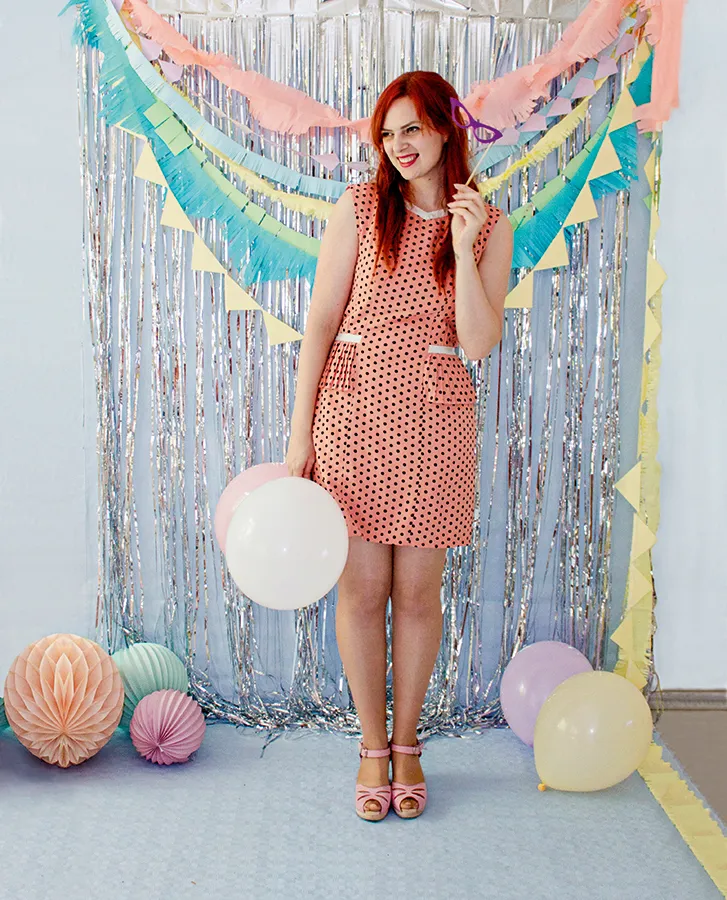
If you’re throwing a party to celebrate New Year, Christmas, a wedding, or even a birthday, make sure it’s one to remember by installing a photo booth! There's always great fun and give your guests something to remember the night by. Crafter Lana Red shows you how to make a photo booth backdrop from a few simple and affordable materials. You can make your photo booth backdrop in colours and materials that match your event theme or using scrap papers from your stash. Set up your camera then add some props – and a few bottles of fizz – for an evening of fun and a collection of memories. If you don’t have access to a digital camera, use your backdrop as a selfie station instead. Or pick up some disposable and polaroid cameras for instant fun! Create your own hashtag (#molliemakers anyone?) and share your pick of the pics the morning after.

To go with your new photo booth backdrop why not craft up some New Year’s Eve DIY party decorations too? We've even got a how to make an ice cream pinata tutorial here on Gathered so you can make an entirely DIY party! But first Lana is going to take you through some of her top photo booth backdrop tips then show you how to make it.

How to make a photo booth backdrop

Lana's tips for setting up your photo booth...

  • Play around with the way you hang the garlands, draping them at different heights, or stacking them above each other.
  • Add extra accessories around your photo backdrop, such as clusters of pom poms hung at different heights.
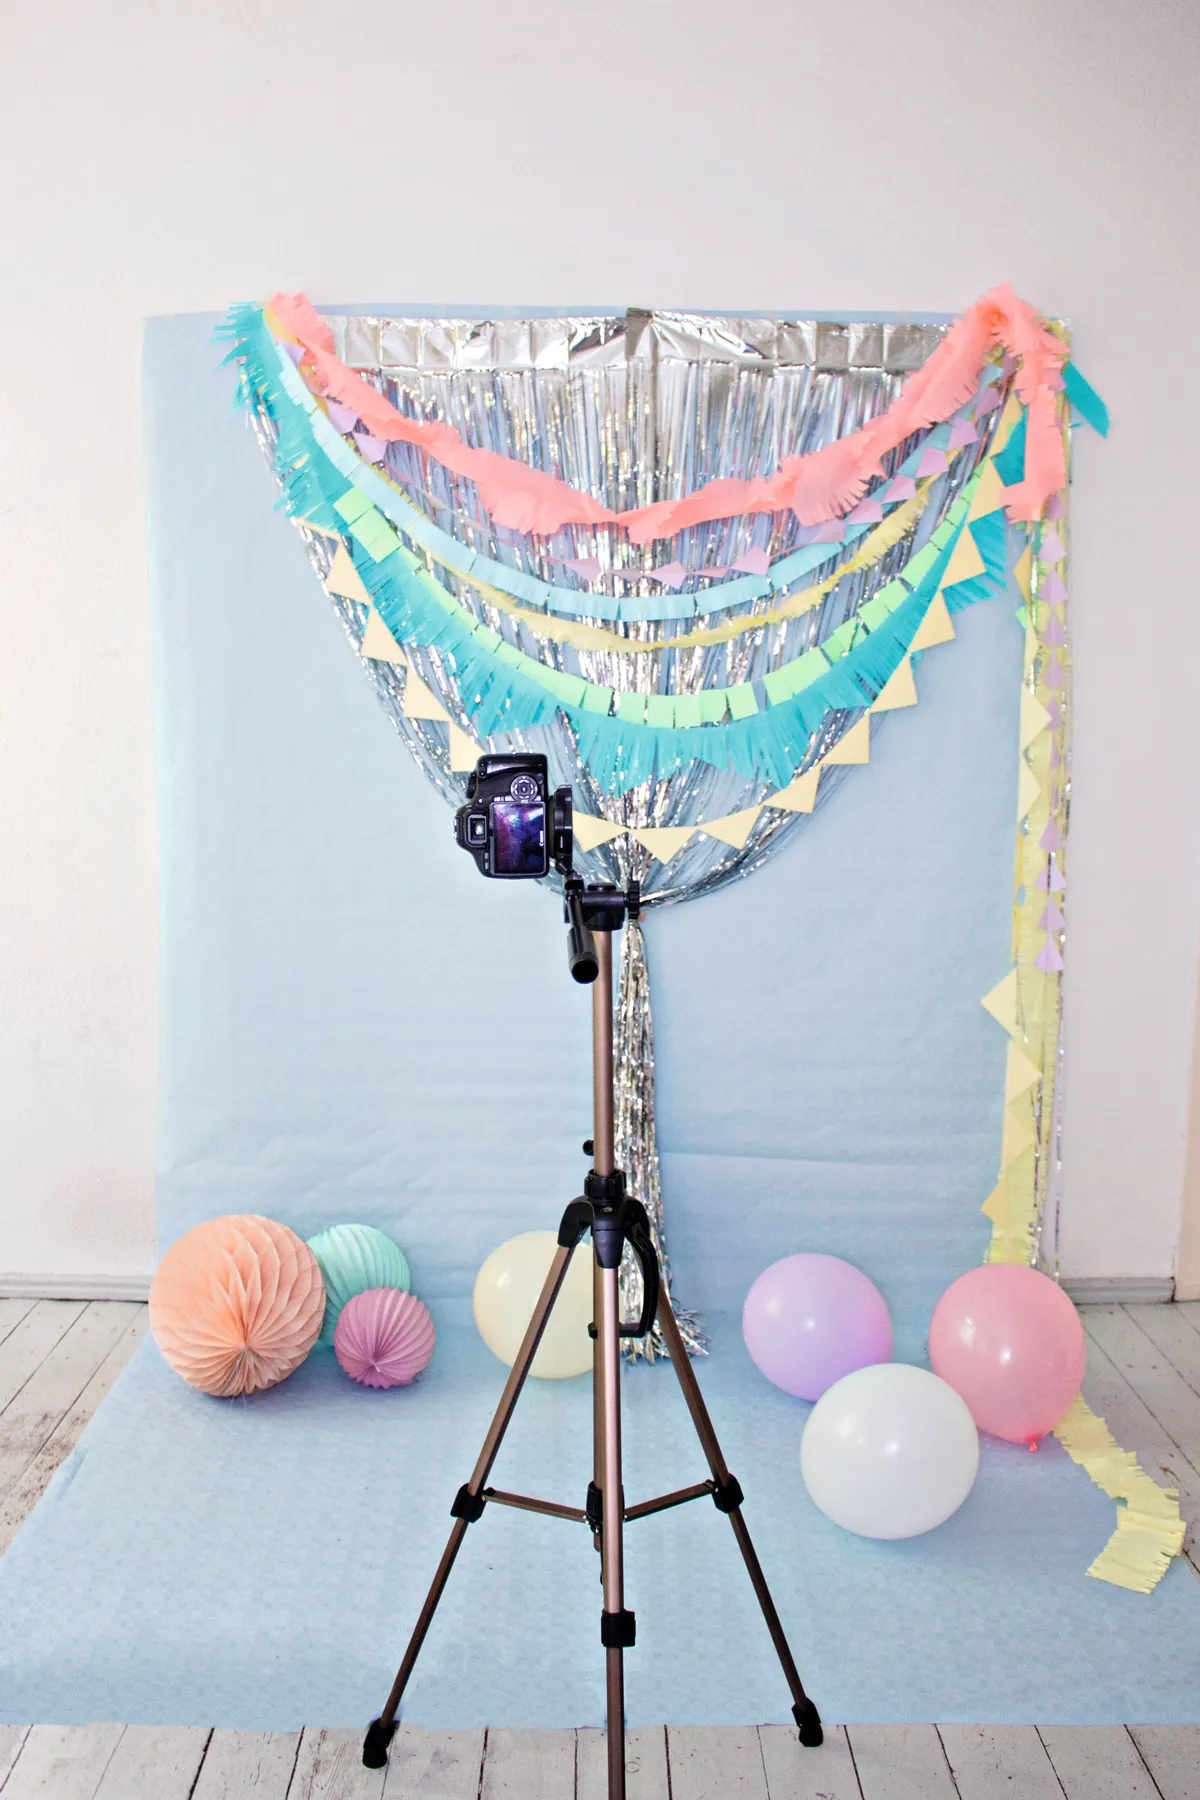
  • Have someone stand in front when you’re setting up the camera. Auto-focus on your model, then switch the auto-focus off. That way, in the pictures taken after, the camera will always capture the right subject.
  • Mark a standing point on the floor with washi tape to ensure everyone stands the same distance from the camera.
  • Mark the position of your tripod legs in the same way – if someone bumps into it, you can easily put it back in position.
  • Create a prop table next to your backdrop, just outside of the shot. Having props to hand adds a touch of spontaneity to the photos, and is great for getting a good variety of pictures.
  • Buy or borrow a camera trigger – this handy device means your guests can take photos without anyone having to stand behind the camera.
How to make a photo booth backdrop finished

You will need:

  • Foil fringed curtain
  • Sticky tape
  • Large sheet of patterned paper
  • Paper
  • Crepe paper
  • Ribbon or twine
  • Paper decorations
  • Balloons
  • Props

How to make a photo booth backdrop

You will need:

  • Foil fringed curtain
  • Sticky tape
  • Large sheet of patterned paper
  • Paper
  • Crepe paper
  • Ribbon or twine
  • Paper decorations
  • Balloons
  • Props

Step 1

How to make a photo booth backdrop Step 1RE

Choose a space in your room to set up the backdrop, then hang the foil curtain. We used small nails to attach it to the wall, but you could use adhesive tack or tape instead.

Step 2

How to make a photo booth backdrop Step 2RE

Roll out the large sheet of paper onto the floor, positioning it underneath the curtain. Secure the paper with tape to prevent it from moving. You could also hang a sheet of paper behind the foil curtain to add a pop of colour to the wall, or to add a plain background if your walls are already patterned or painted in a bold colour.

Step 3

How to make a photo booth backdrop Step 3RE

To make the first paper garland, cut symmetrical shapes from your paper – this is easier if you fold it in half first, then cut the shapes along the fold. Repeat until you have enough to make a long garland. Lay the shapes on the floor, side by side, then run a length of twine or ribbon along the middle. Secure it to each shape with tape.

Step 4

How to make a photo booth backdrop Step 4RE

Take two long pieces of crepe paper and place them on top of each other. Fold the pieces in half along the length, then fringe the ends by cutting small straight lines into the paper. Repeat this all the way across, then tape a length of twine along the inside to hang it.

Step 5

How to make a photo booth backdrop Step 5RE

Cut out a rectangular piece of paper for the third garland. Fold the top of the paper over a length of twine and secure it with tape. Repeat, making and folding rectangular pieces to create a bunting-style garland.

Step 6

How to make a photo booth backdrop Step 6RE

For the fourth garland, lay out a long piece of crepe paper on a flat surface. Cut triangular shapes from the bottom of the paper, then fringe the triangles left on the garland by cutting vertical lines roughly 2.5cm (1") down from the top.

Step 7

How to make a photo booth backdrop Step 7RE

Use small nails or tape to hang the garlands across the backdrop.

Step 8

How to make a photo booth backdrop Step 8RE

Scatter your decorations on the floor and position your props nearby, then set up your tripod and camera in front of the backdrop.

We hope you’ve enjoyed making your photo booth backdrop! For more party ideas check out our free printable birthday cards and our suminagashi gift wrap tutorial to make all your gifts look extra pretty.

Meet the Maker

Lana has a background in art and design and loves sharing her beautifully photographed images on her DIY and lifestyle blog, Lana Red Studio. Be it showcasing innovative craft tutorials or capturing her own fashion collection, Lana’s unique blog is always filled with visual inspiration and new ideas.