How to make an origami fabric butterfly

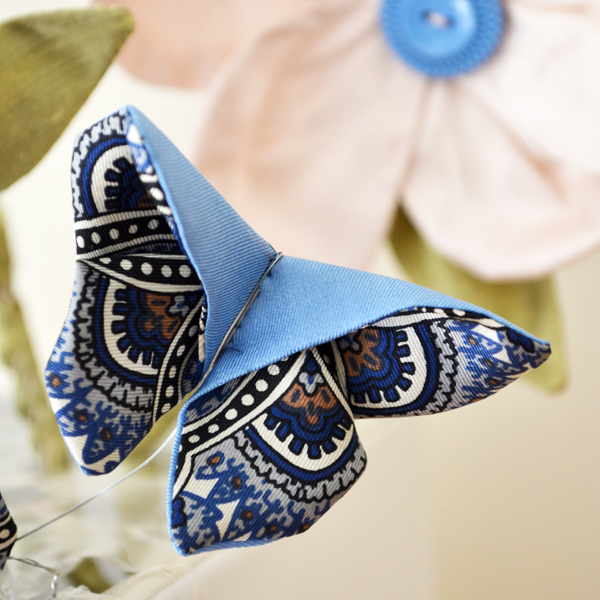
A summery scrap-busting project you can make in under 30 minutes! Turn your cut-offs and fabric scraps into a pretty origami fabric butterfly.

Try 6 issues of your choice of craft magazine from just £9.99

Published: September 15, 2020 at 12:08 pm

A summery scrap-busting project you can make in under 30 minutes! Turn your cut-offs and fabric scraps into origami fabric butterflies with a project by Kitchen Table Sewing. Remember to subscribe to Mollie Makes, or pick up our latest issue, for more fabulous makes and jewellery inspo.

We think we’ve found just the tutorial for using our most-loved ditsy florals and vintage prints. Turn them into hair accessories, jewellery or even pretty summer bunting. Who loves fabric origami? Us too!

You will need:

• Rotary cutter and quilters ruler and mat (ideal but not essential) • 2 x pieces of fabric cut to a 3:4 ratio (e.g. 9 x 12cm) • Sewing machine • Sharp scissors • Chopstick or another turning tool • Iron • Needle • Matching thread
How to make an origami fabric butterfly

You will need:

  • Fabric
  • Sewing machine
  • Iron
  • Needle
  • Thread
  • Ruler

Step 1

How to make an origami fabric butterfly step 1

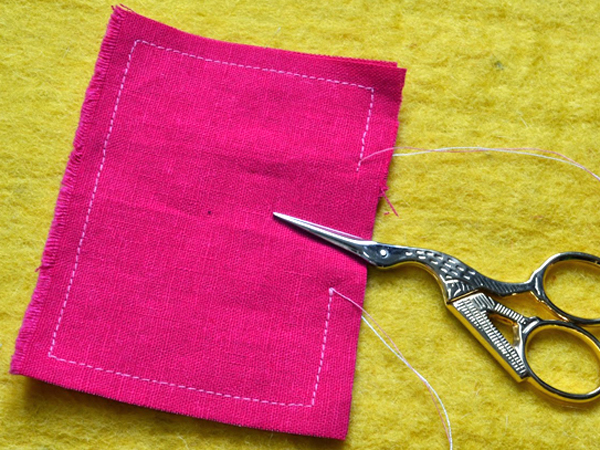
Sew along the edge leaving a gap in the middle of one long edge to turn. Trim the corners. This will ensure your butterfly has nice, neat pointy wings.


Step 2

How to make an origami fabric butterfly step 2

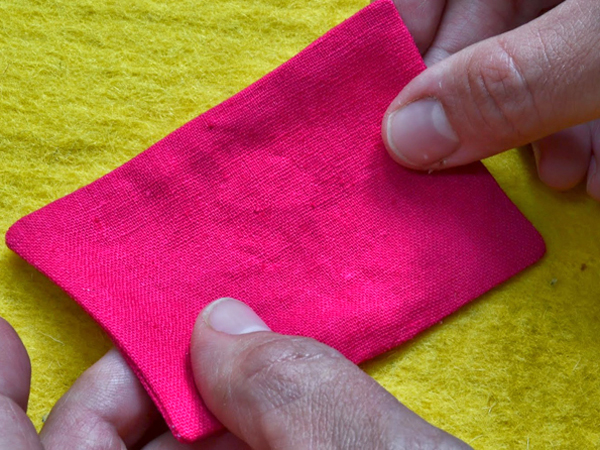
Turn using a chop stick or similar. Gently ease the corners out even more with a pin if you think they need it. Press. Hand sew the opening shut using blind stitches.

Step 3

How to make an origami fabric butterfly step 3

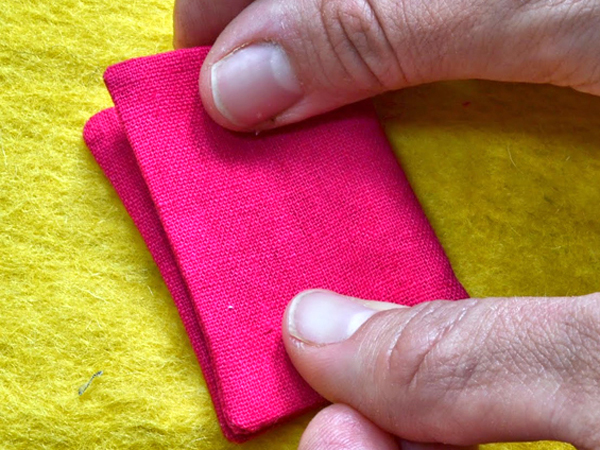
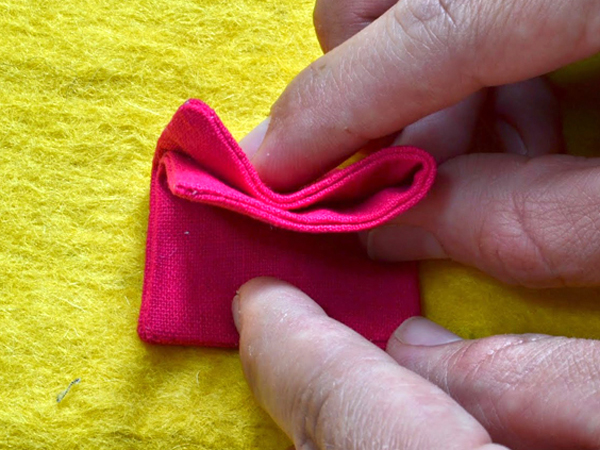
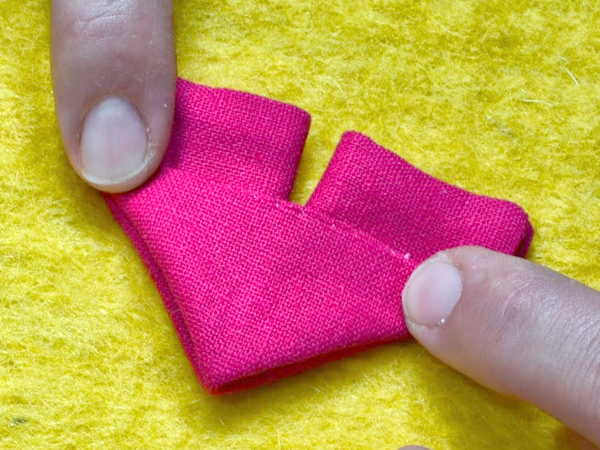
Fold the rectangle in half along the short side.

Step 4

How to make an origami fabric butterfly step 4

Fold it in half again (short side). Finger press as you go, and keep adjusting the work at each step to check the corners match up.

Step 5

How to make an origami fabric butterfly step 5

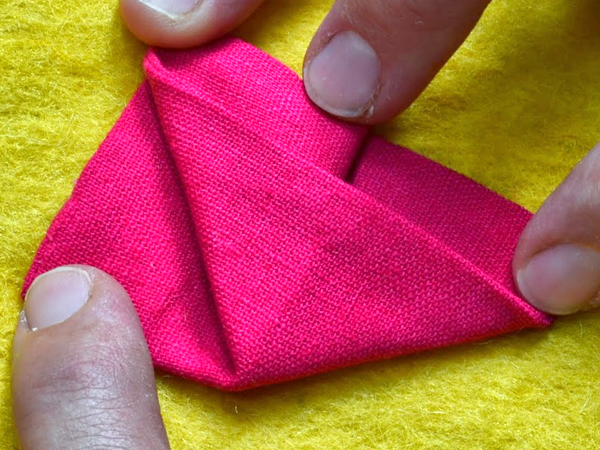
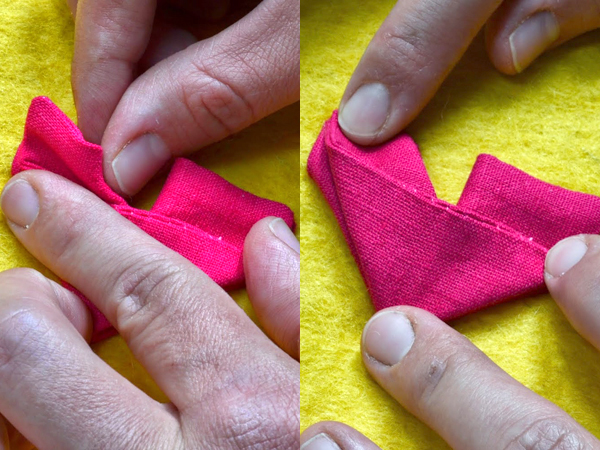
With the folded edge of the rectangle facing you, lift and fold the left corner toward the bottom right corner. This should form a triangle.

How to make an origami fabric butterfly step 6
How to make an origami butterfly step 7

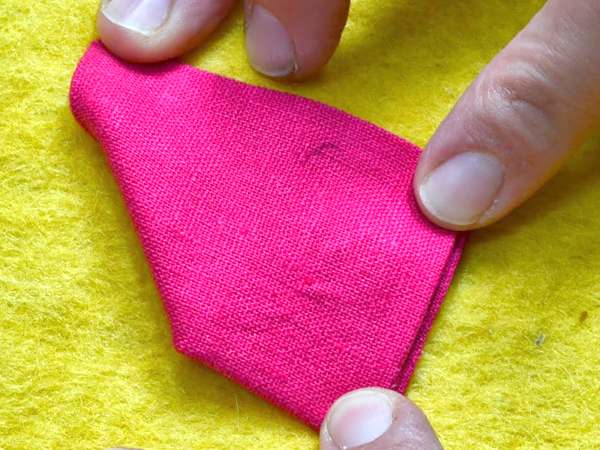
Flip over. Now your fabric shape should look like this.

Step 6


How to make an origami fabric butterfly step 8

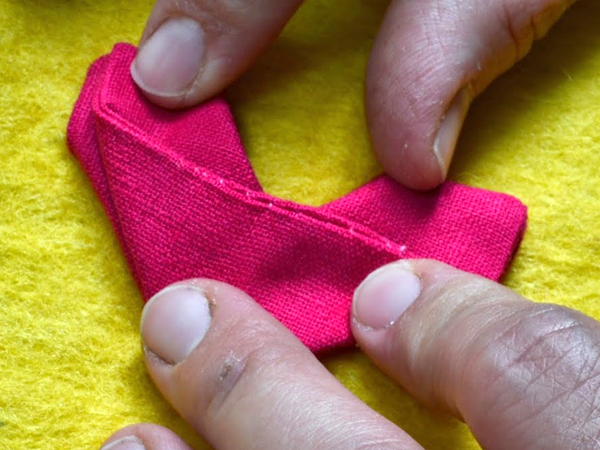
With your work flipped over, lift the rectangular shape so it points upwards. Press the folded left corner of the rectangle toward the bottom right corner. This creates another triangle. Ensure the lengths line up.

Step 7

How to make an origami fabric butterfly step 9

Do the same for the left rectangle: turn the bottom-right corner inwards and fold a diagonal line across the rectangle, starting top-right to bottom-left.

Step 8

How to make an origami fabric butterfly step 10

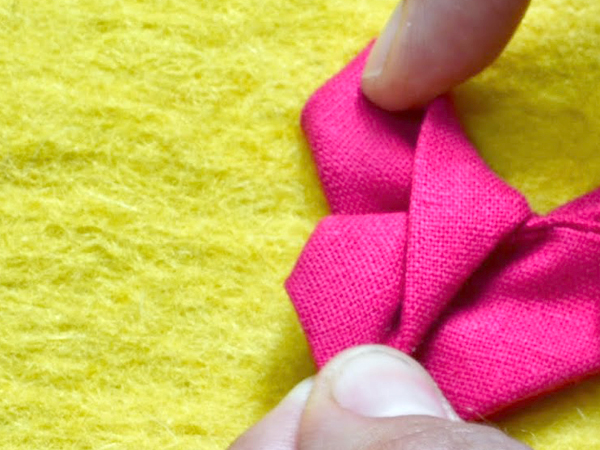
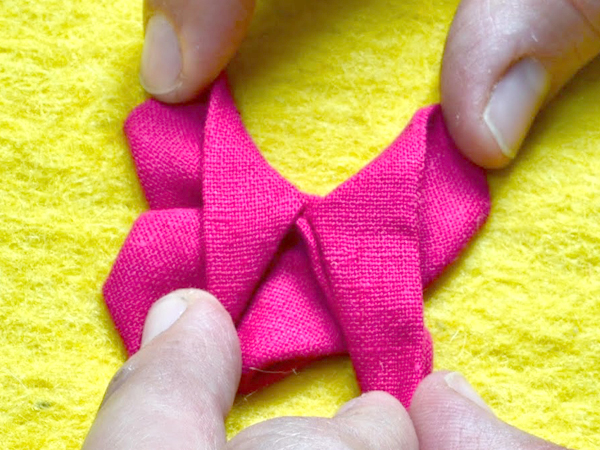
With the peak of the triangle pointing left, fold the top layer of the right-hand corner toward the triangle peak. Your diagonal fold along the rectangle now becomes the butterfly’s body.


Step 9

How to make an origami fabric butterfly step 11

Do the same with the bottom corner: fold top layer of the bottom-right corner toward the peak of the triangle.

Step 10

How to make an origami fabric butterfly step 12

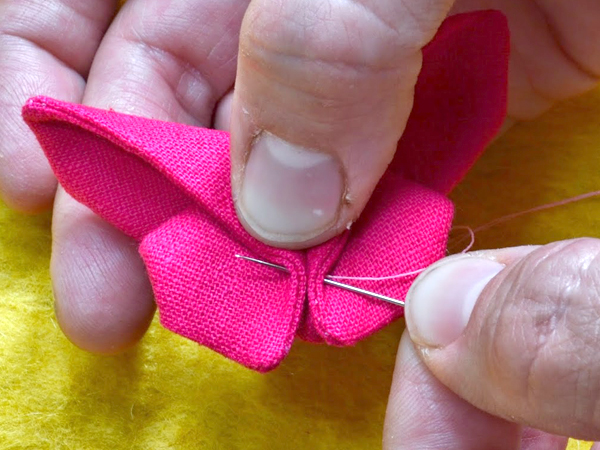
Pinch the bottom corners to firm up the body and stitch in place with needle and thread.

This tutorial was originally published on Kitchen Table Sewing. Follow on Kitchen Table Sewing on Pinterest or Twitter and share your origami fabric butterfly pics using #molliemakers.

How to make an origami fabric butterfly step final

Check out our craft section on the blog for loads of free tutorials, reads and inspiration for you to explore. Be sure to tag us in your pictures of your makes on InstagramFacebook and Twitter!