
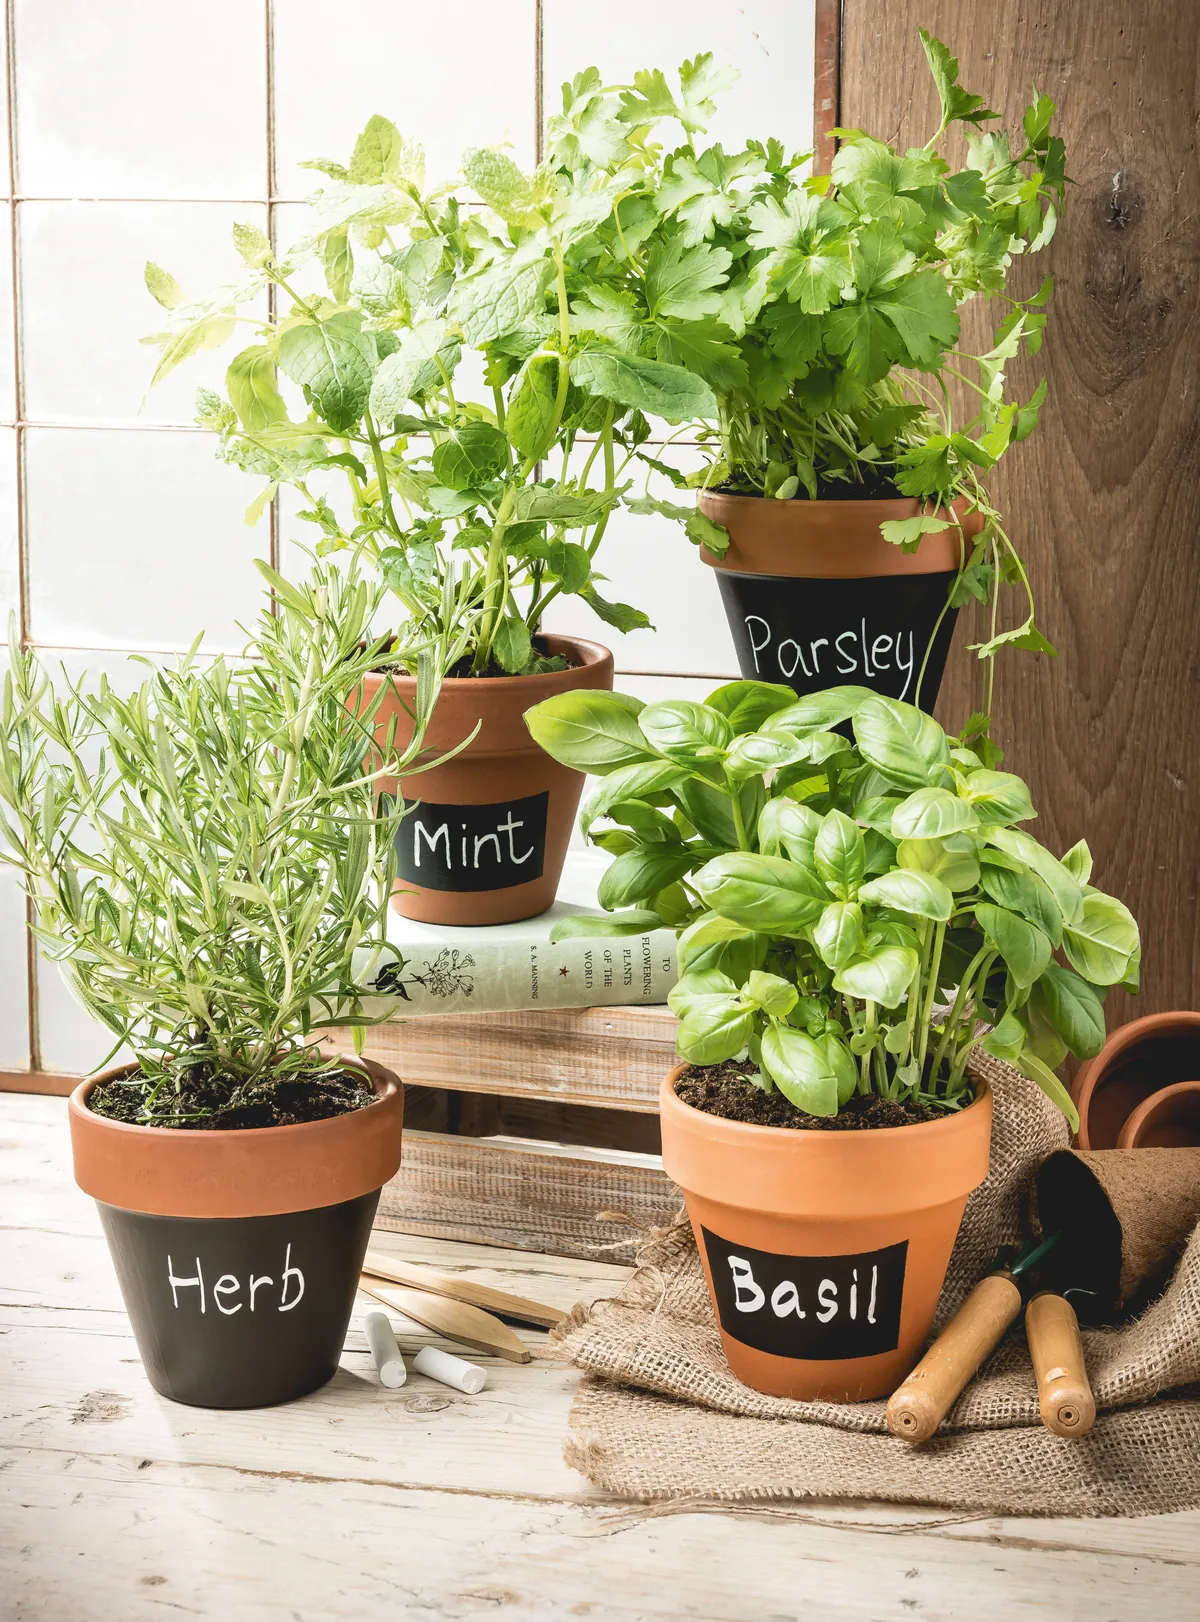
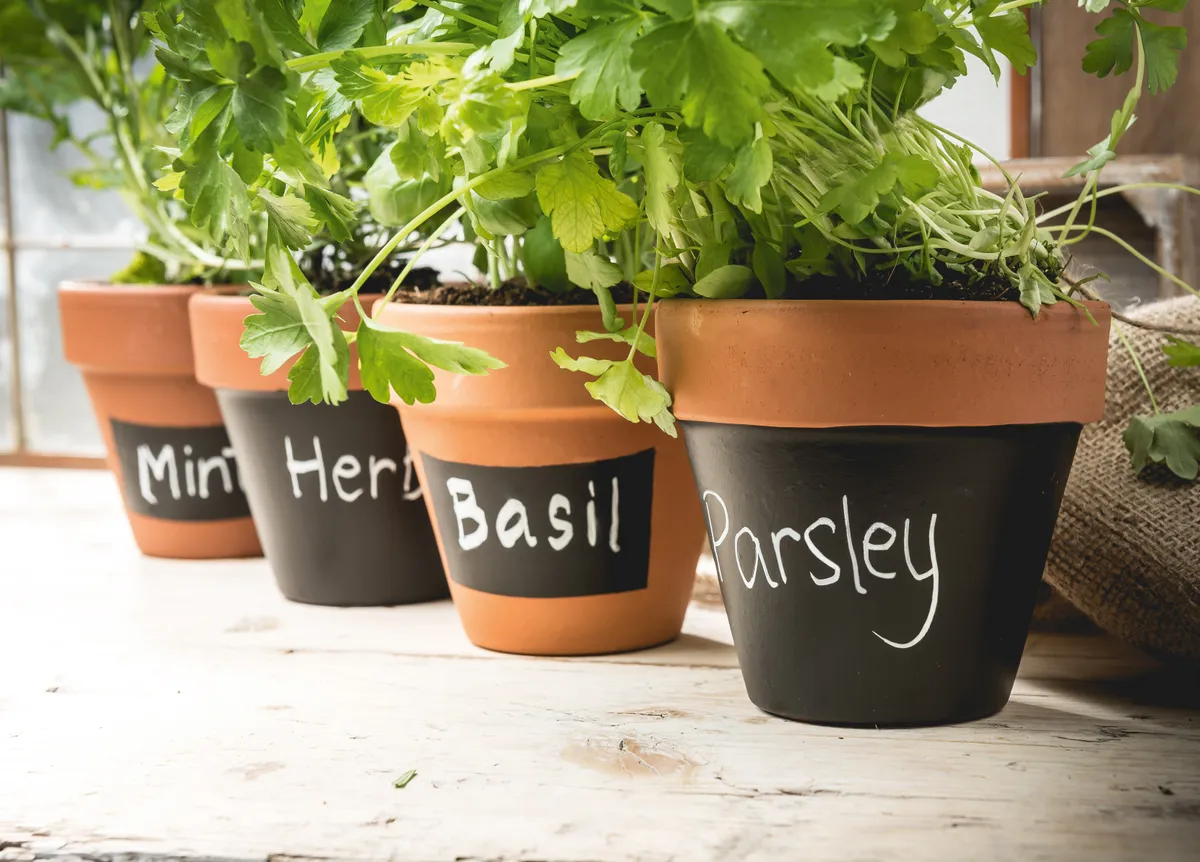
Our rustic herb pots are simple makes that will look and smell great in your kitchen window. If you're selling your wares, DIY herb pots are the perfect price point for gift shoppers.
Sold individually, they're an easy impulse purchase for people looking to treat themselves or packed in sets of four are a cool, gastro-style decoration for homely kitchens.
If you are looking to sell - have a wide variety of different herbs so shoppers can mix and match to suit their taste buds!
This project, how to make herb pots, was designed by Pembrokeshire florist Marie Parie, of By The Sea. Bookmark her page, By The Sea Flowers, if you’re after beautiful wedding flowers, sympathy flowers or floral gifts – she runs floristry workshops, too!
Make sure your terracotta pot has a hole in the bottom for drainage
And if you like this project, have a look at our other floristry articles by Marie Parry - we love this DIY terrarium - or how about this gorgeous planter box made from an upcycled toolbox! If you're planning a garden party this summer, Marie's floral centerpiece could be just the ticket!
We love seeing your projects, so don’t forget to share your DIY terrarium projects with us on Facebook and Twitter, too!
To make these herb pots you will need:
- A selection of herbs
- Potting compost
- Terracotta plant pots
- Black chalkboard paint
- Masking tape
- Chalk writer pen
- Paintbrush


