Rug hooking wall hanging
Retro rug hooking meets modern brights in Stephanie Fradette’s bold wall hanging.

Published:
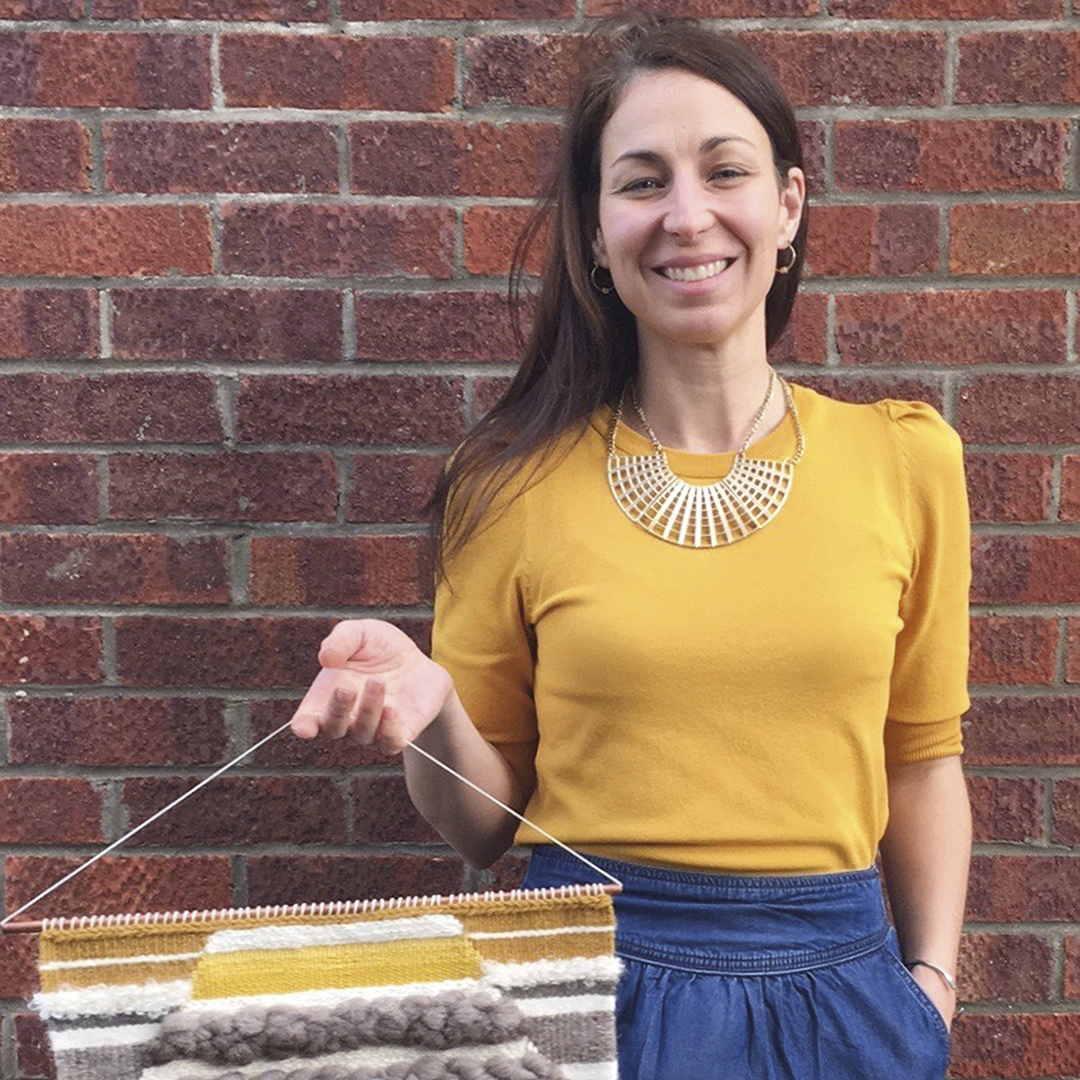
Say hello to our newest craft obsession – rug hooking. Modern loopy projects are emerging all over the shop, and this geometric hoop is an easy way to experiment with this statement trend.
Gather an armful of your brightest yarns and have a play with a simple technique that creates the most satisfying touchy- feely texture, and adds fuzzy warmth and colour to your walls.
This project was created by Stephanie for Mollie Makes magazine – for more easy-make craft projects and creative inspiration, subscribe to Mollie or click here to find out more.
Materials
- 30 x 30cm (117/8 x 117/8″) white hessian fabric. Chunky yarns, 20g of each in pink, blue, yellow and orange
- Needle punch rug tool
- 2mm (UK 14, US B/1) crochet hook
- 20cm (77/8″) embroidery flexi hoop
- Hot glue gun
- Marker pen
Rug hooking wall hanging
You Will Need
- needle punch rug tool
- Crochet hook
- glue gun
Total time:
Step 1

Step 2

Using the crochet hook, thread the end of the yellow yarn through the centre of the needle punch tool, from top to bottom, then through the eyelet outwards.
Step 3

The end of the yarn should be sticking out approximately 3cm (11⁄4″) from the needle punch, as shown. Don’t cut the yarn, as it can be fed through directly from the yarn ball. Adjust the needle punch tool to the third notch from the top; this will give loops approximately 1cm (3/8″) long.
Step 4

of the yarn through to the right side (RS), leaving a loose end of approximately 3cm (11⁄4″), as shown.
Step 5

Turn the hoop over to the WS. Take the needle punch out slowly and glide the needle tip at 45° along the line for approximately 0.5cm (1⁄4″), while keeping the open side of the needle punch facing in the direction you’re working. If you’re right-handed, this will be from right to left.
Step 6

Punch through again until the base of the handle touches the fabric, then lift it up gently and drag the needle forward. Check there is no looseness between the yarn and the tip of the needle. Also, make sure the yarn leading into the tool is slack, otherwise the loops won’t form properly.
Step 7

Continue punching to the end of the line. To change direction, keep the needle in the fabric and rotate the needle. The opening will now be facing in the new direction.
Step 8

Punch the outline of the shape first, then start filling it in by either coiling inwards or going back and forth. The rows should sit neatly side by side. Don’t jump over stitches – it’s better to end at that point and start in a new spot.
Step 9

To end a colour or shape, punch in the last stitch, turn the hoop to the RS with the needle punch still in it, then pull the yarn gently away from the needle. Cut the yarn a little longer than the loops.
Step 10

Complete all the shapes using the image as a colour guide, or using your own colourway, until the entire hoop is covered with yarn. Keep the fabric on the hoop taut at all times; it will give a much smoother punching experience.
Step 11

To tidy up the completed piece, snip any long ends on the RS of the hoop to the same height as the loops. Longer loops can also be cut down. Using a needle or similar, poke any loops that have tangled up during the punching process back to their intended place.
Step 12

To neaten the back, apply hot glue around the inner edge of the WS and push the fabric down in a circular motion. Trim off any excess fabric to finish, as shown.
We hope you enjoyed making Stephanie’s project. Share a picture of your rug hooking wall hanging with us on Instagram using #molliemakers, and don’t forget to subscribe to Mollie Makes to get creative inspiration delivered to your door every month!