Sustainable Christmas garland

Give your cards a new lease of life with Miesje Chafer’s sustainable Xmas garland.

Try 6 issues of your choice of craft magazine from just £9.99

Published: December 30, 2020 at 8:35 am

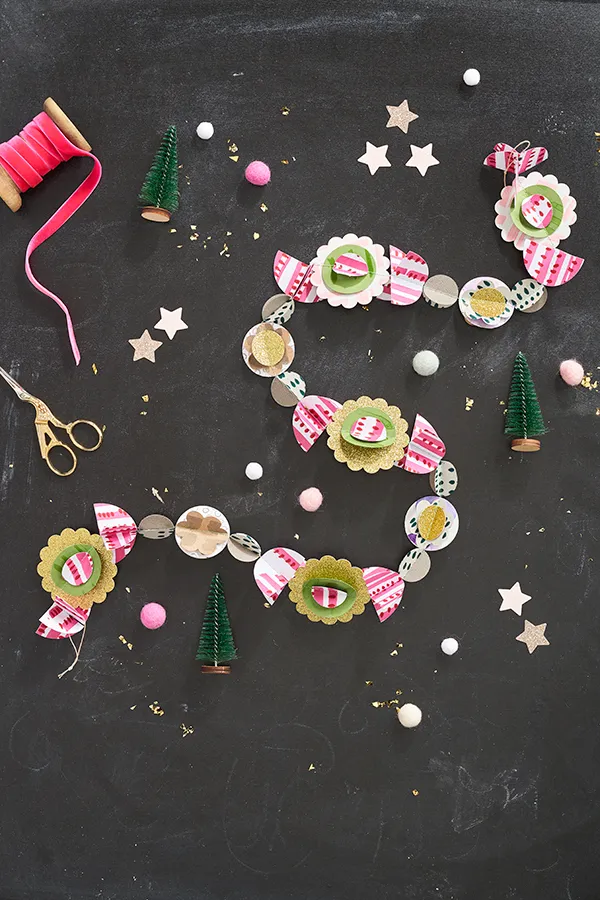
Eliminate some of your Christmas-waste guilt with these pretty recycled garlands. If, like us, you find yourself hoarding your greeting cards from loved ones every year, this is a super creative way to put them to good use. Use a variety of designs, and add in some jazzy mirror or glitter card for extra Christmas pizazz.

Feel like your design isn’t working? Just cut it where you’re not happy and, starting halfway down the last shape, re-join the next shape.

This project was created by Miesje for Mollie Makes magazine – for more easy-make craft projects and creative inspiration, subscribe to Mollie or click here to find out more.

Materials

  • Old Christmas cards
  • Used wrapping paper
  • Extra card
  • Pens
  • Pencils
  • Inks
  • Paints
  • Paint brushes
  • Paper punches
  • Sewing machine
  • Thread
  • Hole punch
  • Twine

Sustainable Christmas garland

You will need:

  • Card
  • Paint
  • Thread

Step 1

sustainable Xmas garland Step1

Gather together any old Christmas cards, greeting cards, gift wrap and coloured card you have. Paper punches work best with slightly thicker paper or card, so avoid using thinner paper.

Step 2

sustainable Xmas garland Step2

Using either pens, pencils, inks, paints or any other medium you choose, decorate the plain side of the paper and card with a variety of patterns. We used dots, dashes, lines and circles in a variety of different colours and thicknesses to add interest. Remember, the finished garland will be seen from afar, so the bolder, the better.

Step 3

sustainable Xmas garland Step3

Use the paper punch to cut out shapes from the patterned side of the greeting cards and gift wrap, and play around with layering the different sizes to form a selection of shapes. In order to create a 3D garland, each shape will need to have at least two layers. Generally, sewing machines are robust enough to cope with at least four layers of paper or card, and the more you include, the fuller the garland will look

Step 4

sustainable Xmas garland Step4

Once you’ve decided on the final pattern, punch out enough shapes to allow it to repeat to the desired length of your garland. Separate them out into their individual piles and layer them up for ease of sewing.

Step 5

sustainable Xmas garland Step5

Thread the sewing machine with either a corresponding or contrasting coloured thread, depending on the look you want to achieve. Start by inserting the first shapes under the foot. Sewing should begin halfway down the first shape and finish halfway down the last shape. Once you’ve come almost to the edge of the first shape, pick up the next shapes and, making sure all the layers are pinched together, feed them under the foot so they’re butted up next to the first shape.

Step 6

sustainable Xmas garland Step6

Continue to feed the card shapes under the foot one after the other as per Step 5, until the last shape is reached. To create an even looking garland, try not to leave a gap between the shapes – make sure to continue butting them up next to each other as they’re fed under the foot.

Step 7

sustainable Xmas garland Step7

Tie all the loose threads in small knots to prevent them coming loose, then trim the ends. Use the hole punch to punch a hole in the first and last shape, then create a hanging loop using the twine.

Step 8

sustainable Xmas garland Step8

Starting at one end and working along the garland, fold each of the card shapes along the stitched line to create a 3D effect. The finished garland can then be hung up, or wrapped around a Christmas tree

We hope you enjoyed making Miesje’s project. Share a picture of your sustainable Christmas garlands with us on Instagram using #molliemakers, and don’t forget to subscribe to Mollie Makes to get creative inspiration delivered to your door every month!