How to make a pillowcase with a flap

Bring a fresh look into your bedroom by sewing your own unique pillowcases! Learn how to make a pillowcase step by step with Rebecca Reid

6 issues of Simply Sewing magazine for £14.99|Save 78%!

Published: April 22, 2022 at 10:50 am

Making your own pillowcases can really transform the look of your bedding. It's a great way to make sure your bed coordinates with the rest of your room without having to make a completely new set of bedding.

However, if you wanted to you could go the whole hog and learn how to make a duvet cover too.

In this easy tutorial, we'll show you how to make a pillowcase with a flap. It's really simple to follow and we're sure that you'll want to make pillowcases for every bed in your house.

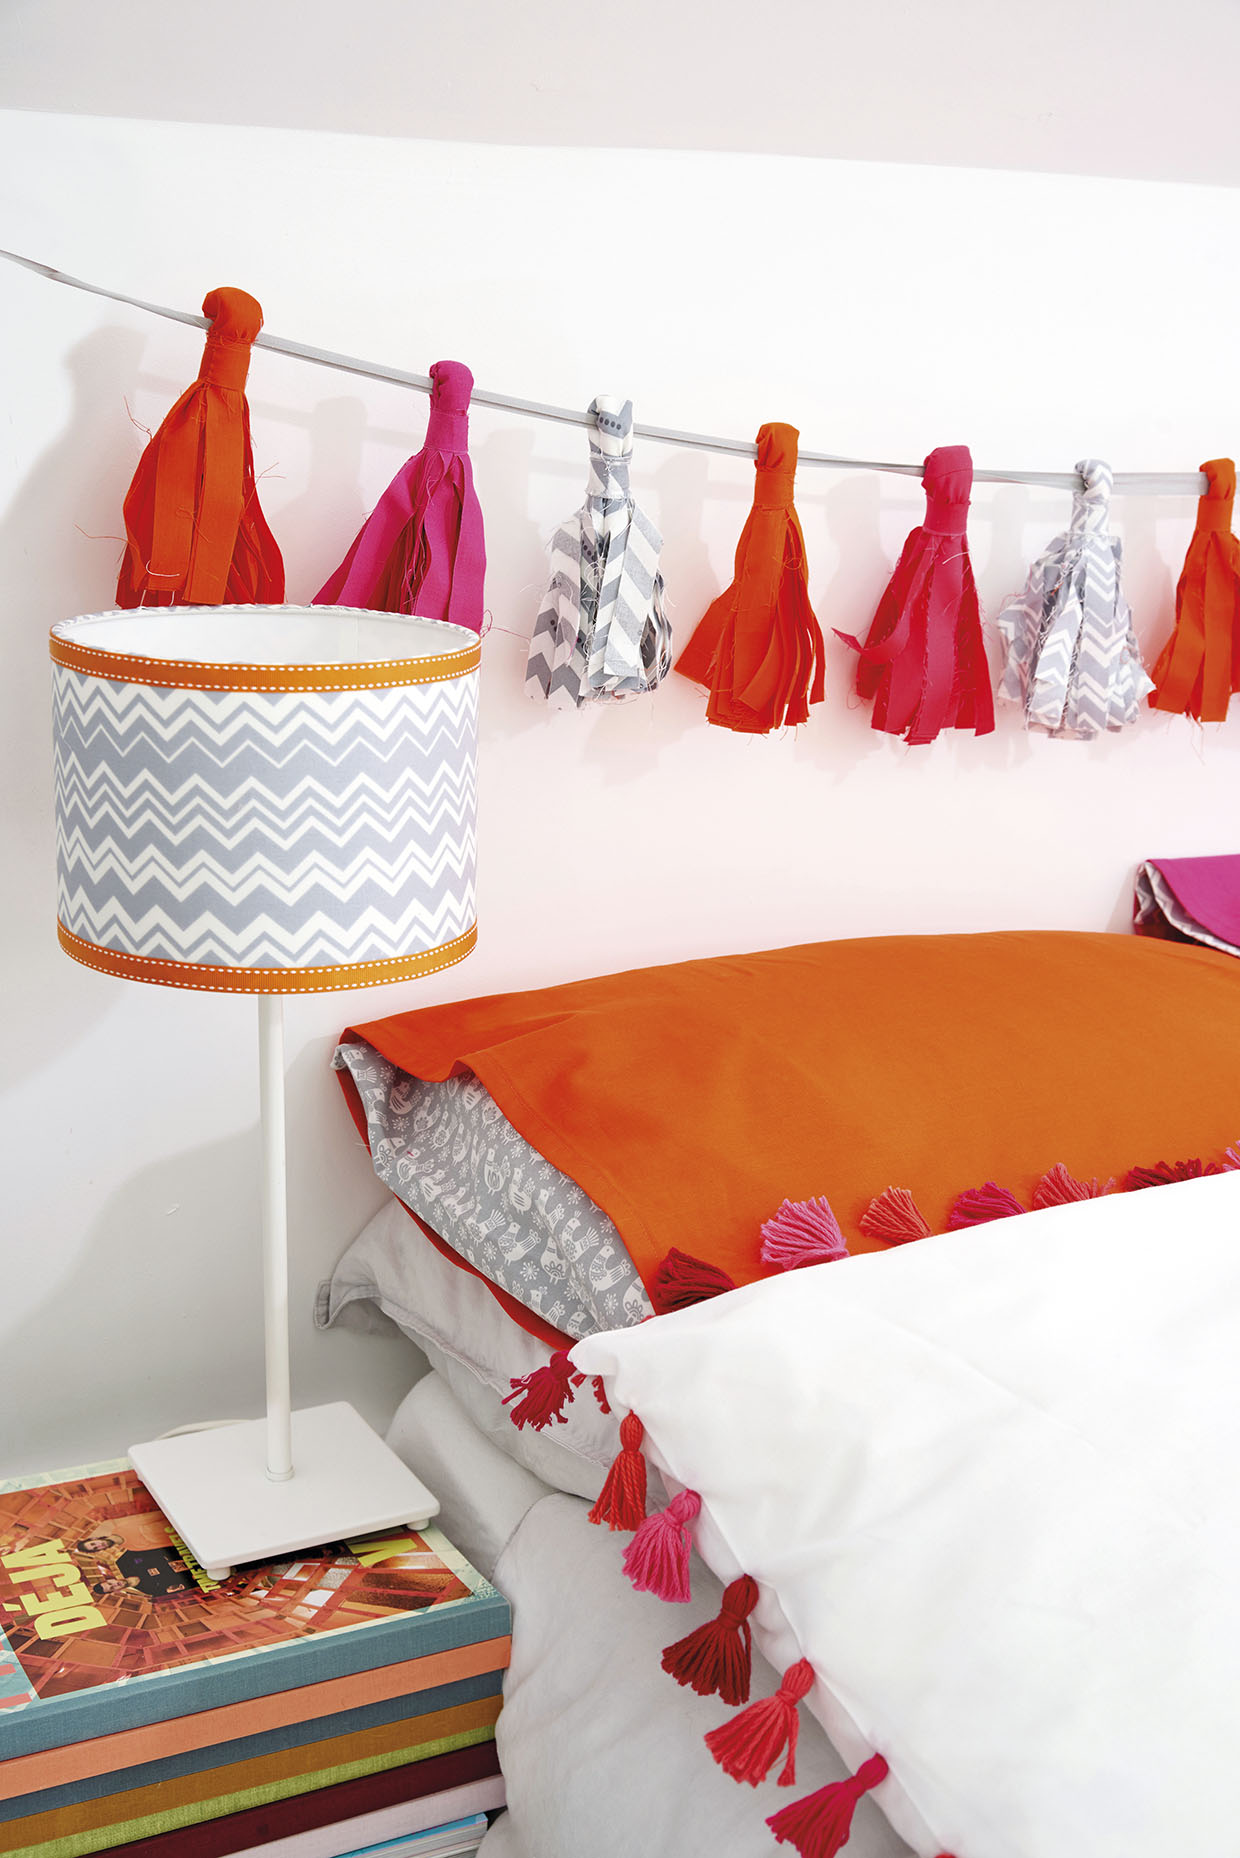
We love the way these fabric inserts look like there’s one pillowcase inside another! We’ve gone for bold brights as our main casing; for a more subtle look, use a bright accent as the insert and a softer shade for the main case.

This project was first published in Simply Sewing Magazine. Simply Sewing is a beautiful magazine packed with patterns and practical tips for sewers.

Looking for more ways to give your bedroom a makeover? You could have a go at making this beautiful DIY embroidered pillowcase. You can also try our tutorials to learn how to make a lampshade or find out how to make roman blinds.

Read on to learn how to make a pillowcase…
How to make a pillowcase

You will need:

  • Standard pillowcase (50x75cm (20x30in))
  • Contrast fabric (see instructions for sizing)
  • Matching sewing thread

Step 1

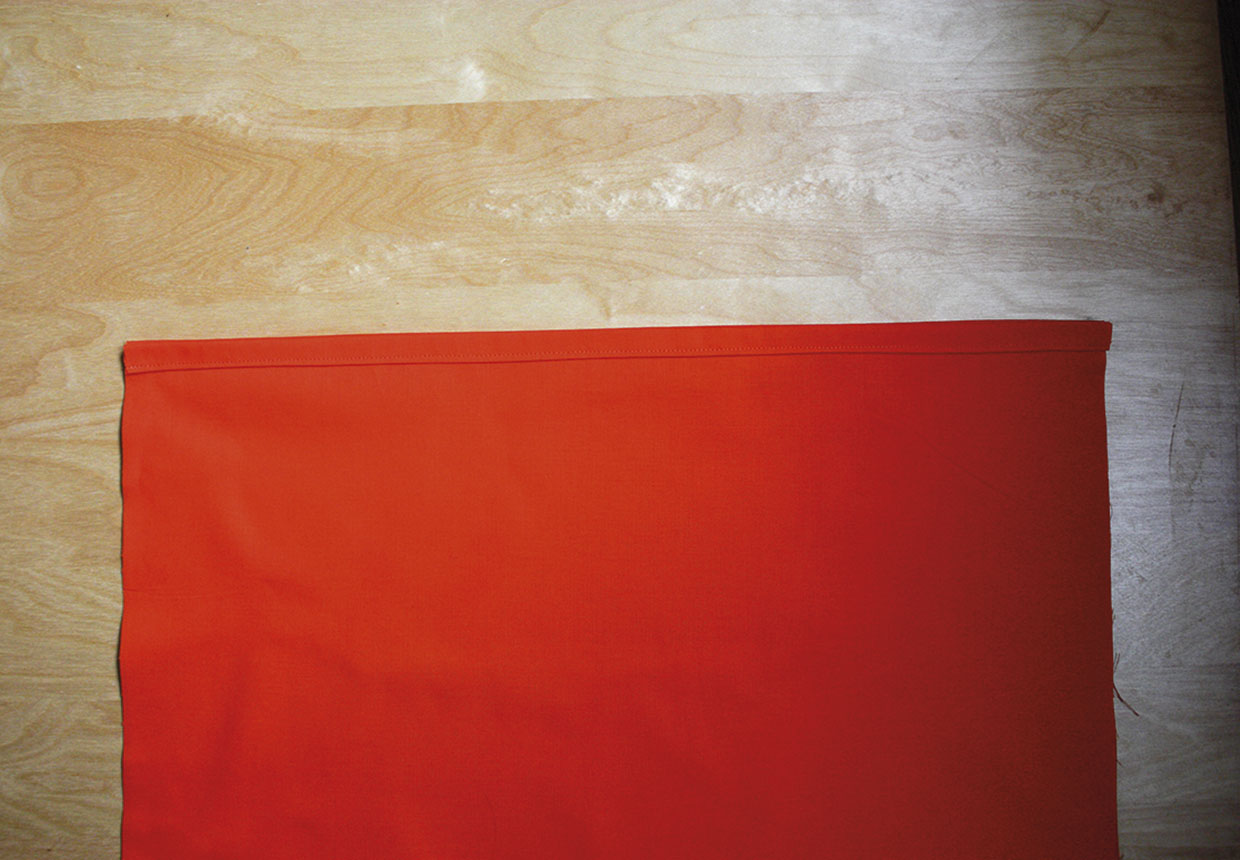
Turn your pillowcase inside out and undo the side seams. One of the short edges will already be hemmed and the other has a large pocket to slip your pillowcase in. You need to cut the pocket edge to meet up with the other edge but cut it 3cm longer for the hem. Turn over the edge by 1.5cm and 1.5cm again, then stitch down. The two ends of your pillowcase will now be the same length.

Undo the side seams

Step 2

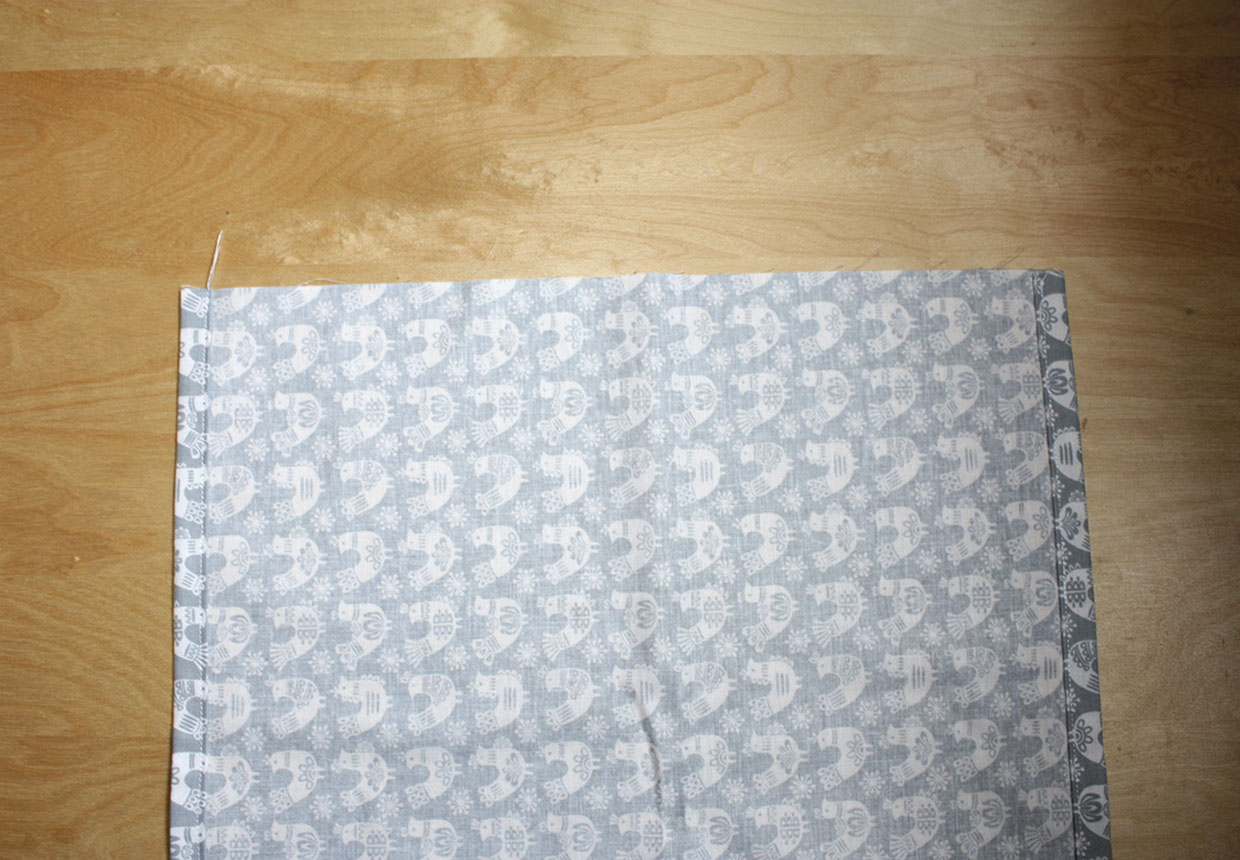
Measure across the hemmed edge of your pillowcase and cut your lining fabric to this length and 46cm wide. On your lining fabric, turn both long edges over 1.5cm then 1.5cm again to the wrong side, press then stitch these hems into place.

Measure the hemmed edge of your pillowcase

Step 3

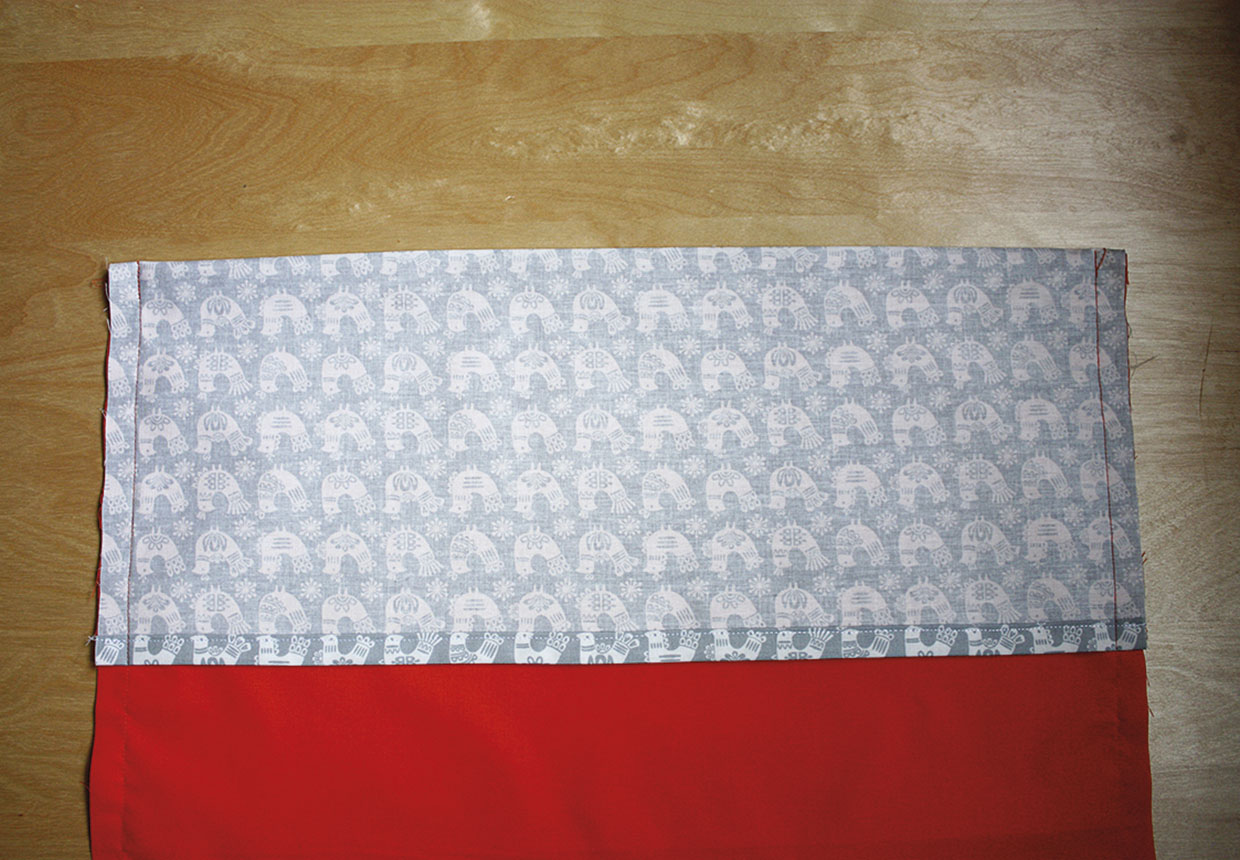
Fold the lining fabric in half lengthways with right sides together. With your pillowcase inside out, place it inside the folded lining fabric, making sure the two hemmed edges are all the way up inside the fold, aligning the side edges of the pillowcase and lining fabric. Stitch together down both side seams of the pillowcase, through all layers of pillowcase and lining fabric.

Fold the lining fabric in half

Step 4

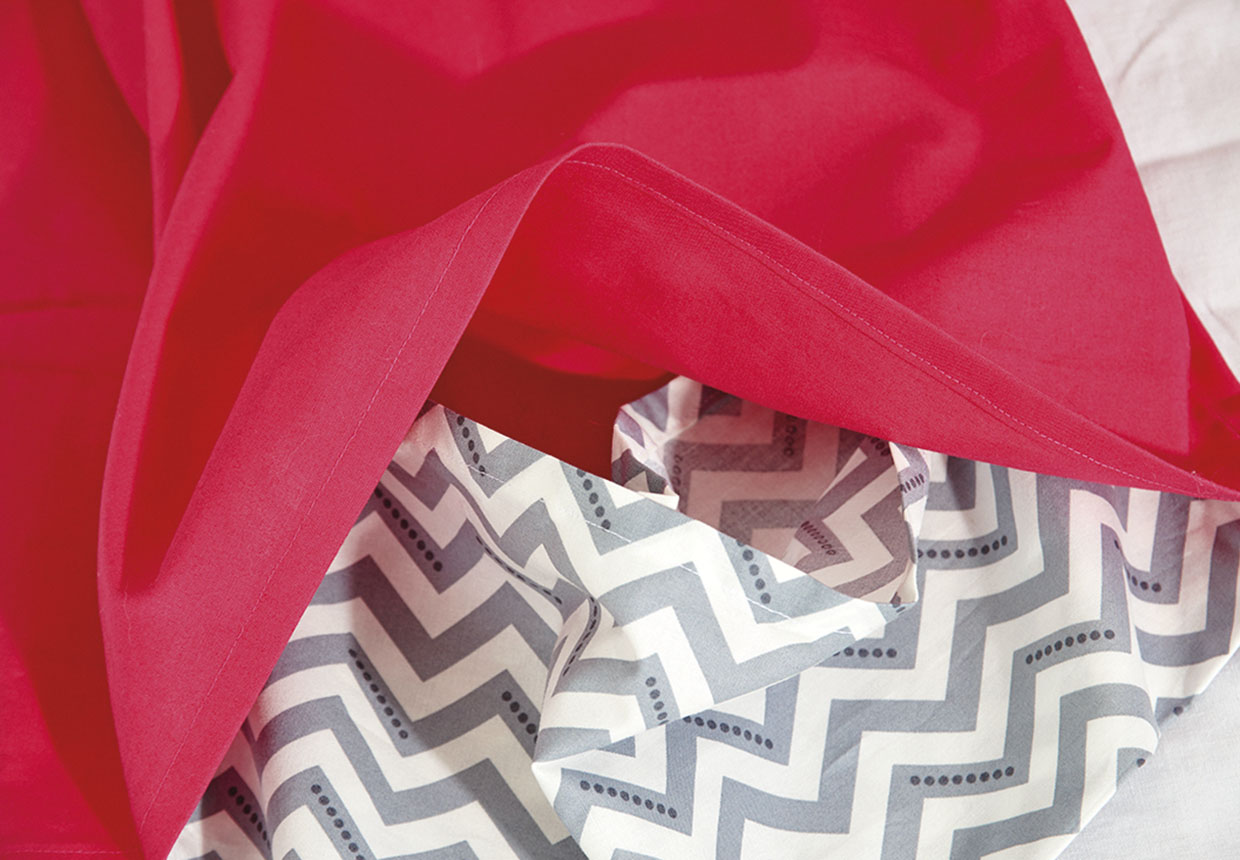
Turn your finished pillowcase right sides out, with the lining fabric inside. When you put your pillow inside, make sure the lining fabric encases the end of the pillow.

Turn the pillowcase inside out

You’ve finished! We hope you enjoy using your new pillowcases. Are you new to sewing? You might find it useful to check out some of our beginner’s guides for more tips and advice. Read our sewing for beginners and how to use a sewing machine guides.

How to make a pillowcase