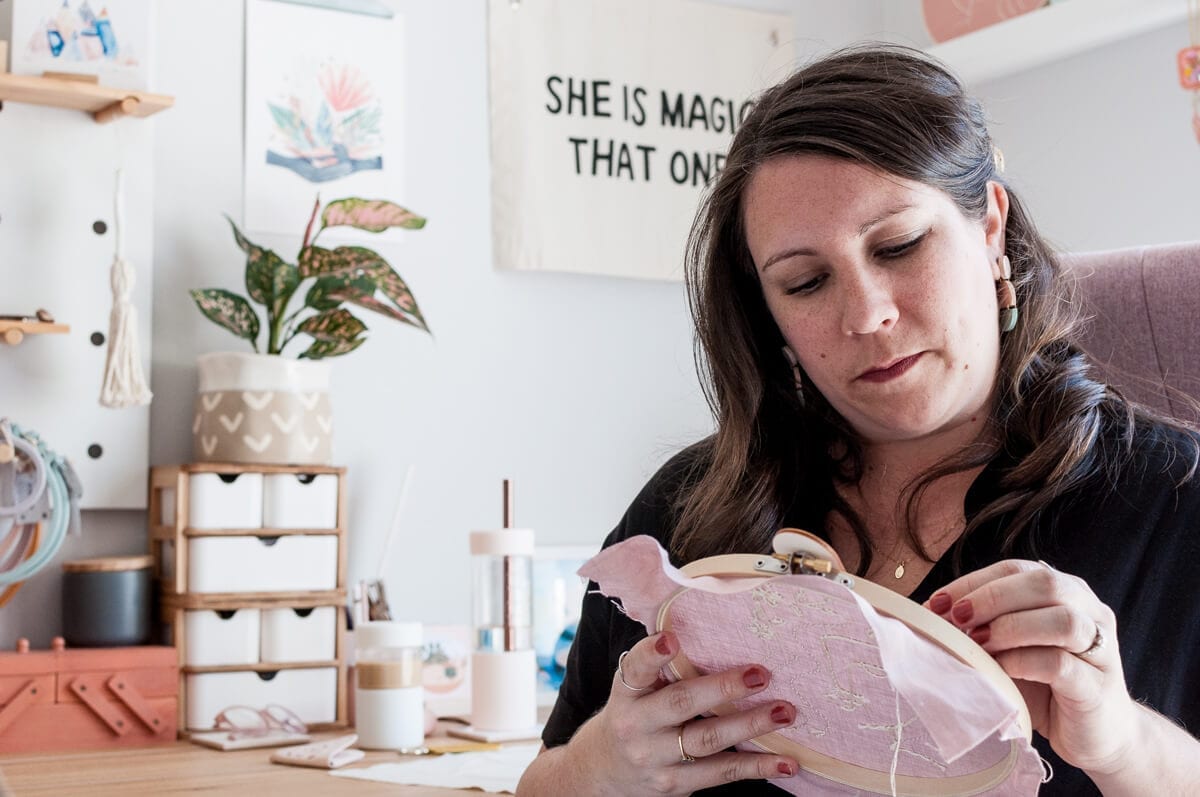
Sleeping in a freshly made bed is one of life’s little treats, so why not upgrade the experience with this beautiful DIY embroidered pillowcase tutorial by Amanda Bryde. Decorative hand-stitched florals make everything better.
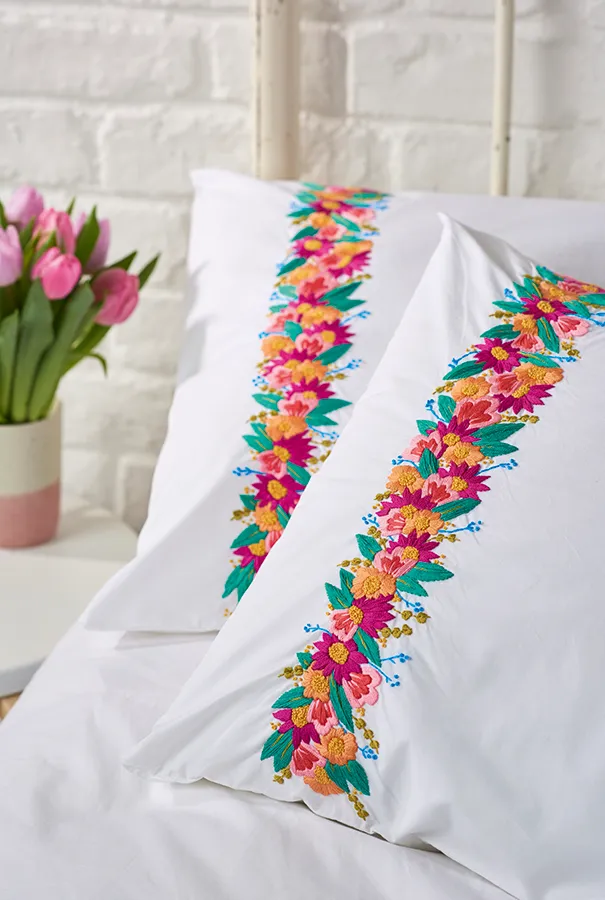
Use them to give a tired set of linen a new lease of life, or to fancy up a plain set and give your bedroom a sunny spring vibe. Amanda’s template for her DIY embroidered pillowcase design is in issue 96 and is easily customisable – to go all out, repeat it along the top of a duvet cover and make yourself a matching set.
If you prefer a quick-stitch option, lift elements of the design and stitch as small accent motifs in the corner of a pillowcase instead. If you're new to embroidery check out our embroidery for beginners guide and pick up everything you need from our embroidery starter kit round-up.
Materials
- White cotton pillowcases
- Erasable fabric marker
- Embroidery hoop
- Embroidery thread - we used DMC Stranded Cotton in:
- 891 (pink)
- 957 (light pink)
- 728 (yellow)
- 722 (orange)
- 718 (purple)
- 943 (green)
- 733 (olive)
- 3843 (blue)
- Tapestry needle
For a complete guide to every stitch used in this tutorial head to embroidery stitches library.
 Print the template from
  It’s best to stitch the design in sections, completing one area and moving on to the next, using the embroidery hoop to hold the fabric taut. Work from the top of the design down to the bottom, using three strands of thread throughout. Start by stitching the pink florals, using pink thread and satin stitch for the inner section, and light pink thread and satin stitch for the outer section. Use a single straight stitch and light pink thread to add the detail on the inner section.
 Next, fill in the centres of the flowers using yellow thread and French knots. Outline the centre first with a single row of French knots around the template line, then fill in the rest.
 Using orange thread and satin stitch, fill the outside of the orange flowers, then repeat with purple thread for the purple flowers.
 Add in the larger leaves using green thread and satin stitch, then stitch a single straight stitch up through the centre in olive. Finally, use yellow thread to embroider the decorative French knots that are scattered around.
 DIY embroidered pillowcase complete! You may need to rinse the pillowcases to remove any traces of marker pen once you’ve finished stitching. If so, roll them up in a towel after, leave to dry, then press.